Soft Gluten-Free Burger Buns
This post contains affiliate links. Please read my disclosures.

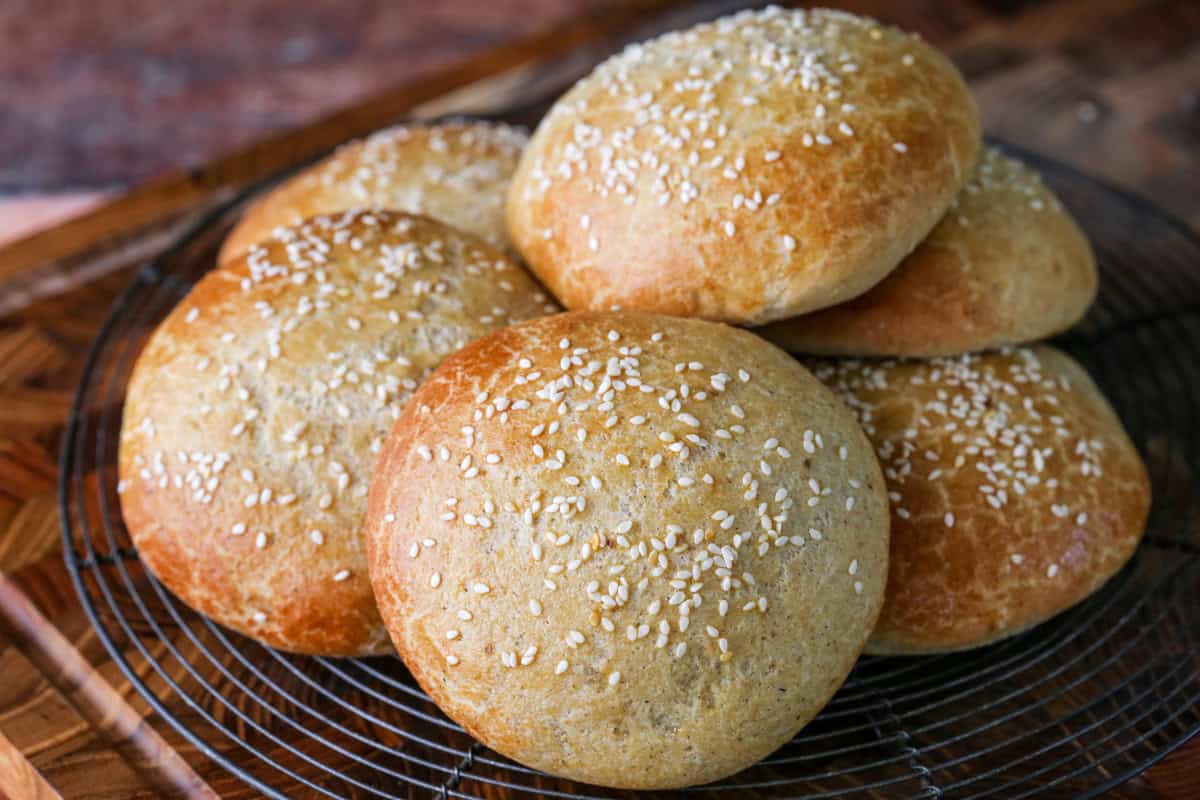
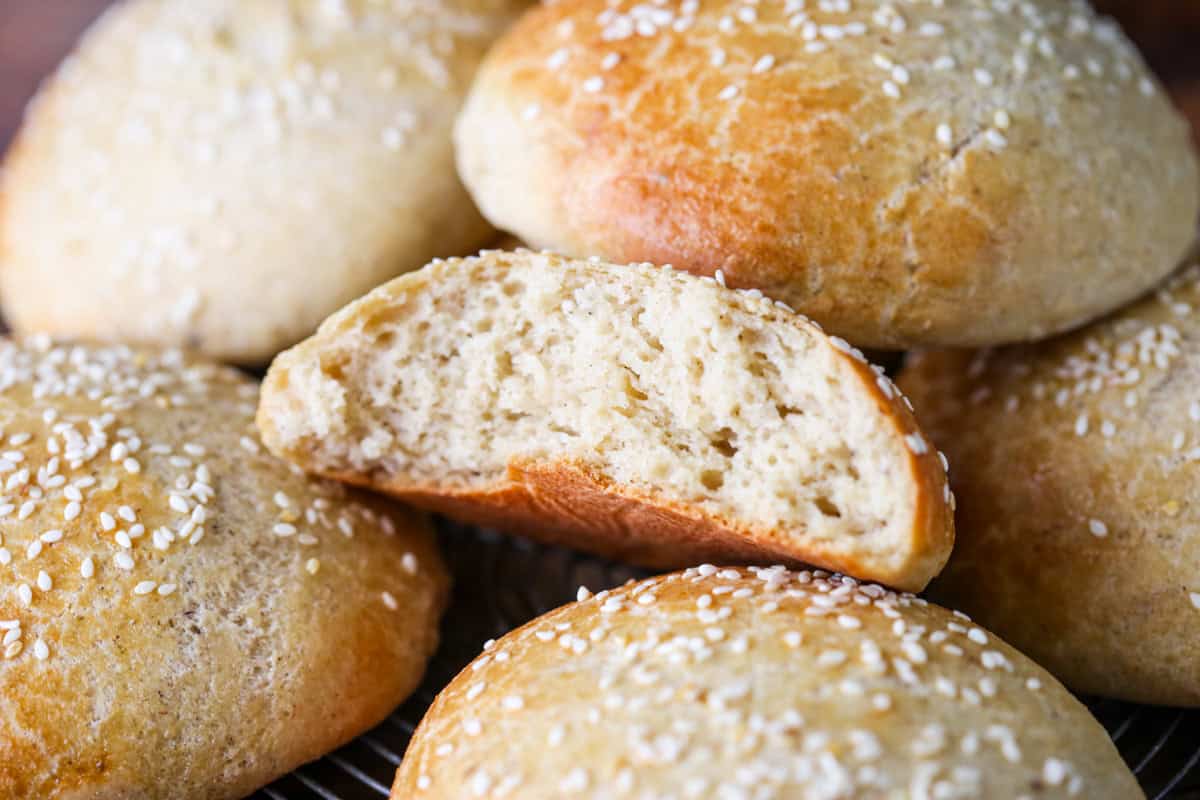
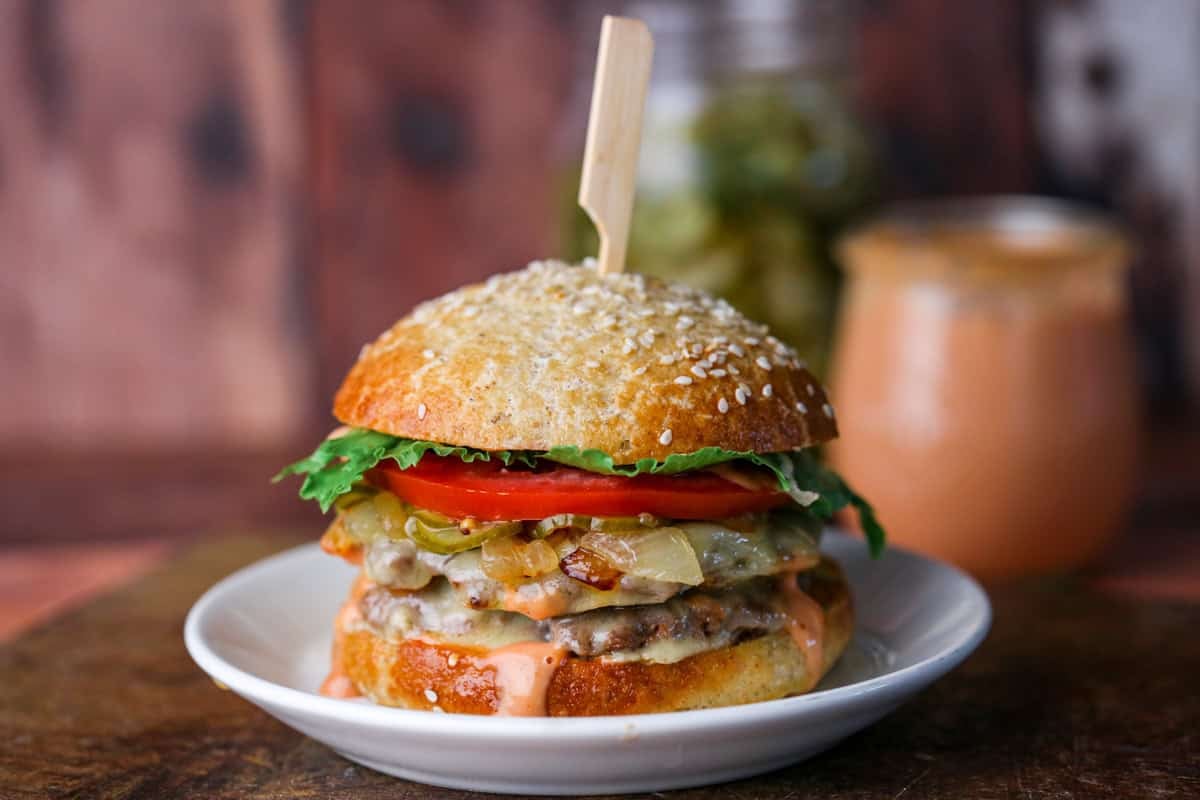
These seeded Gluten-Free Burger Buns are soft and fluffy and have a slight sweetness reminiscent of a brioche bun. They are made with a unique gluten-free flour blend and no xanthan gum. They will hold up to a juicy burger beautifully and even allow you to stuff it to the rafters with toppings and no worry of everything falling apart.
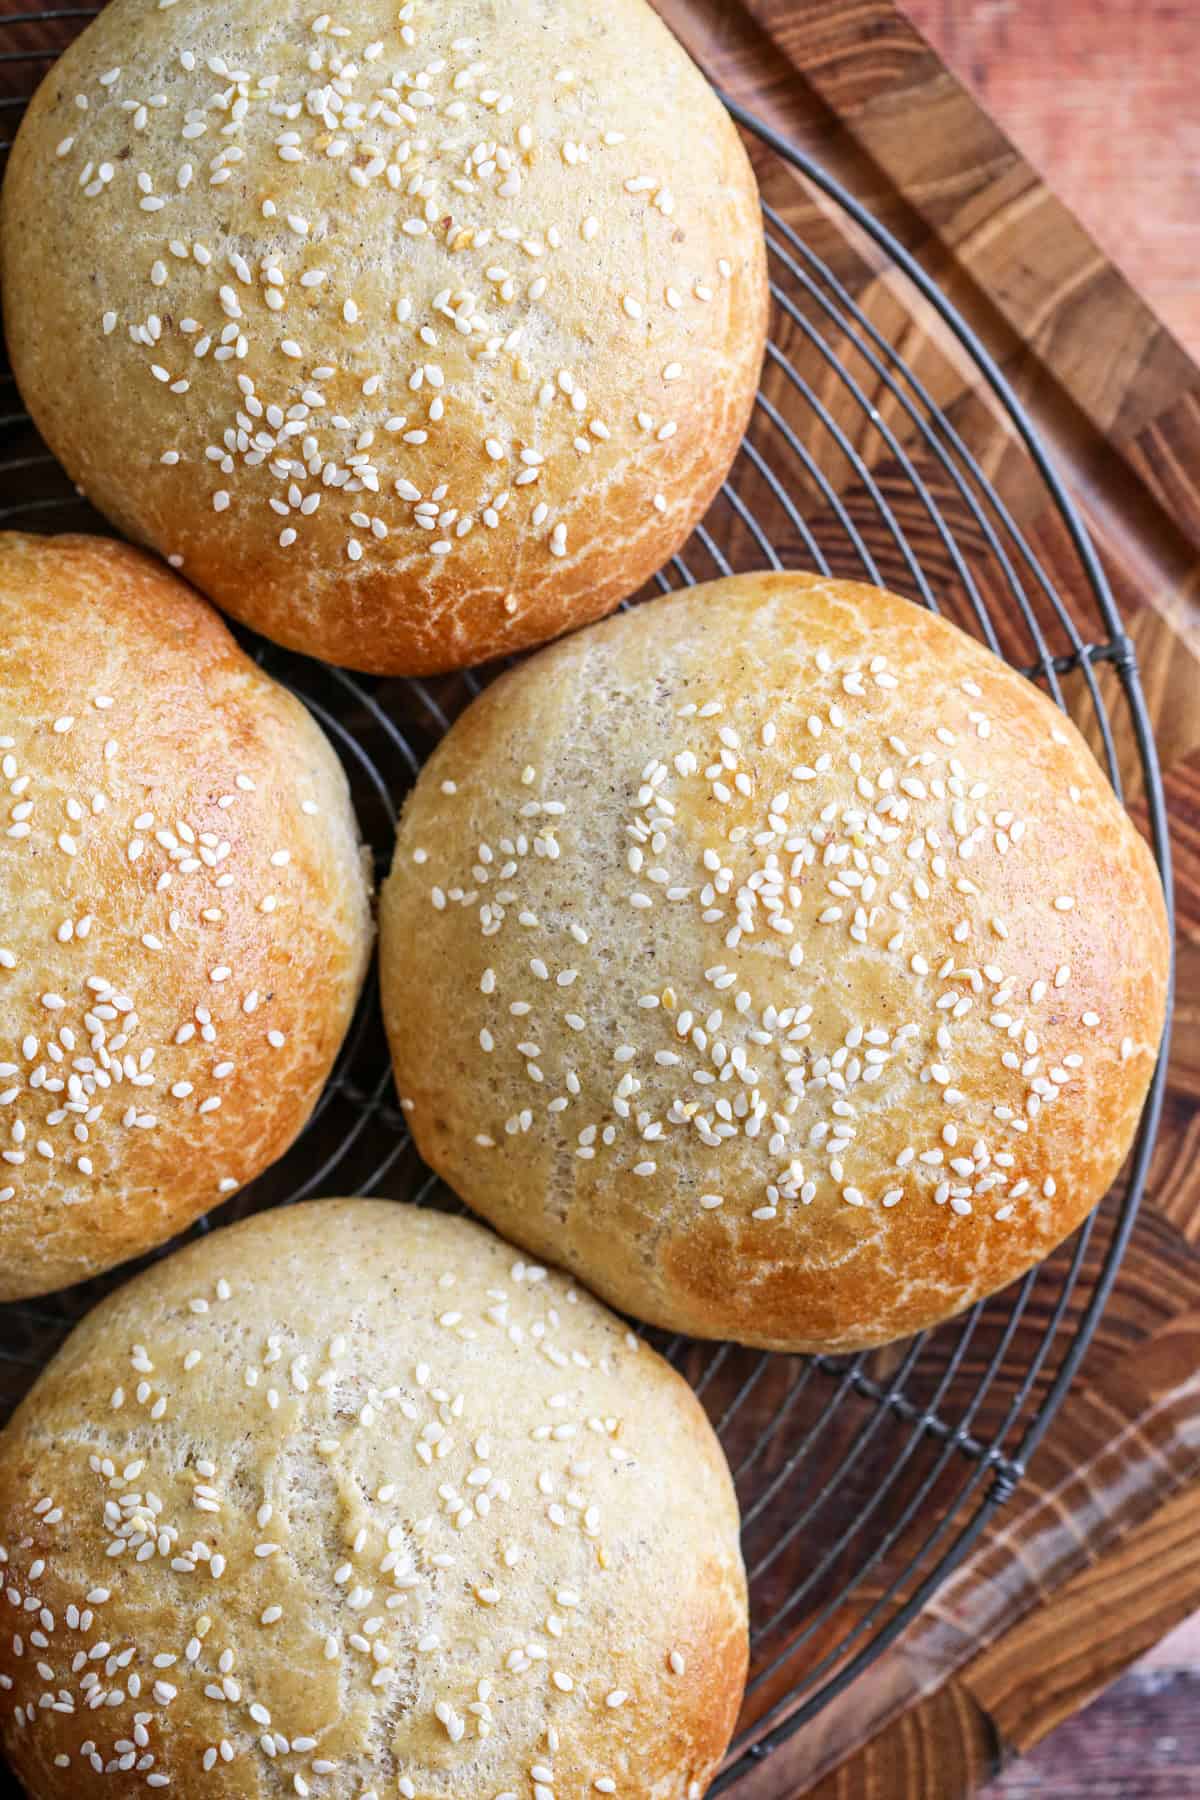
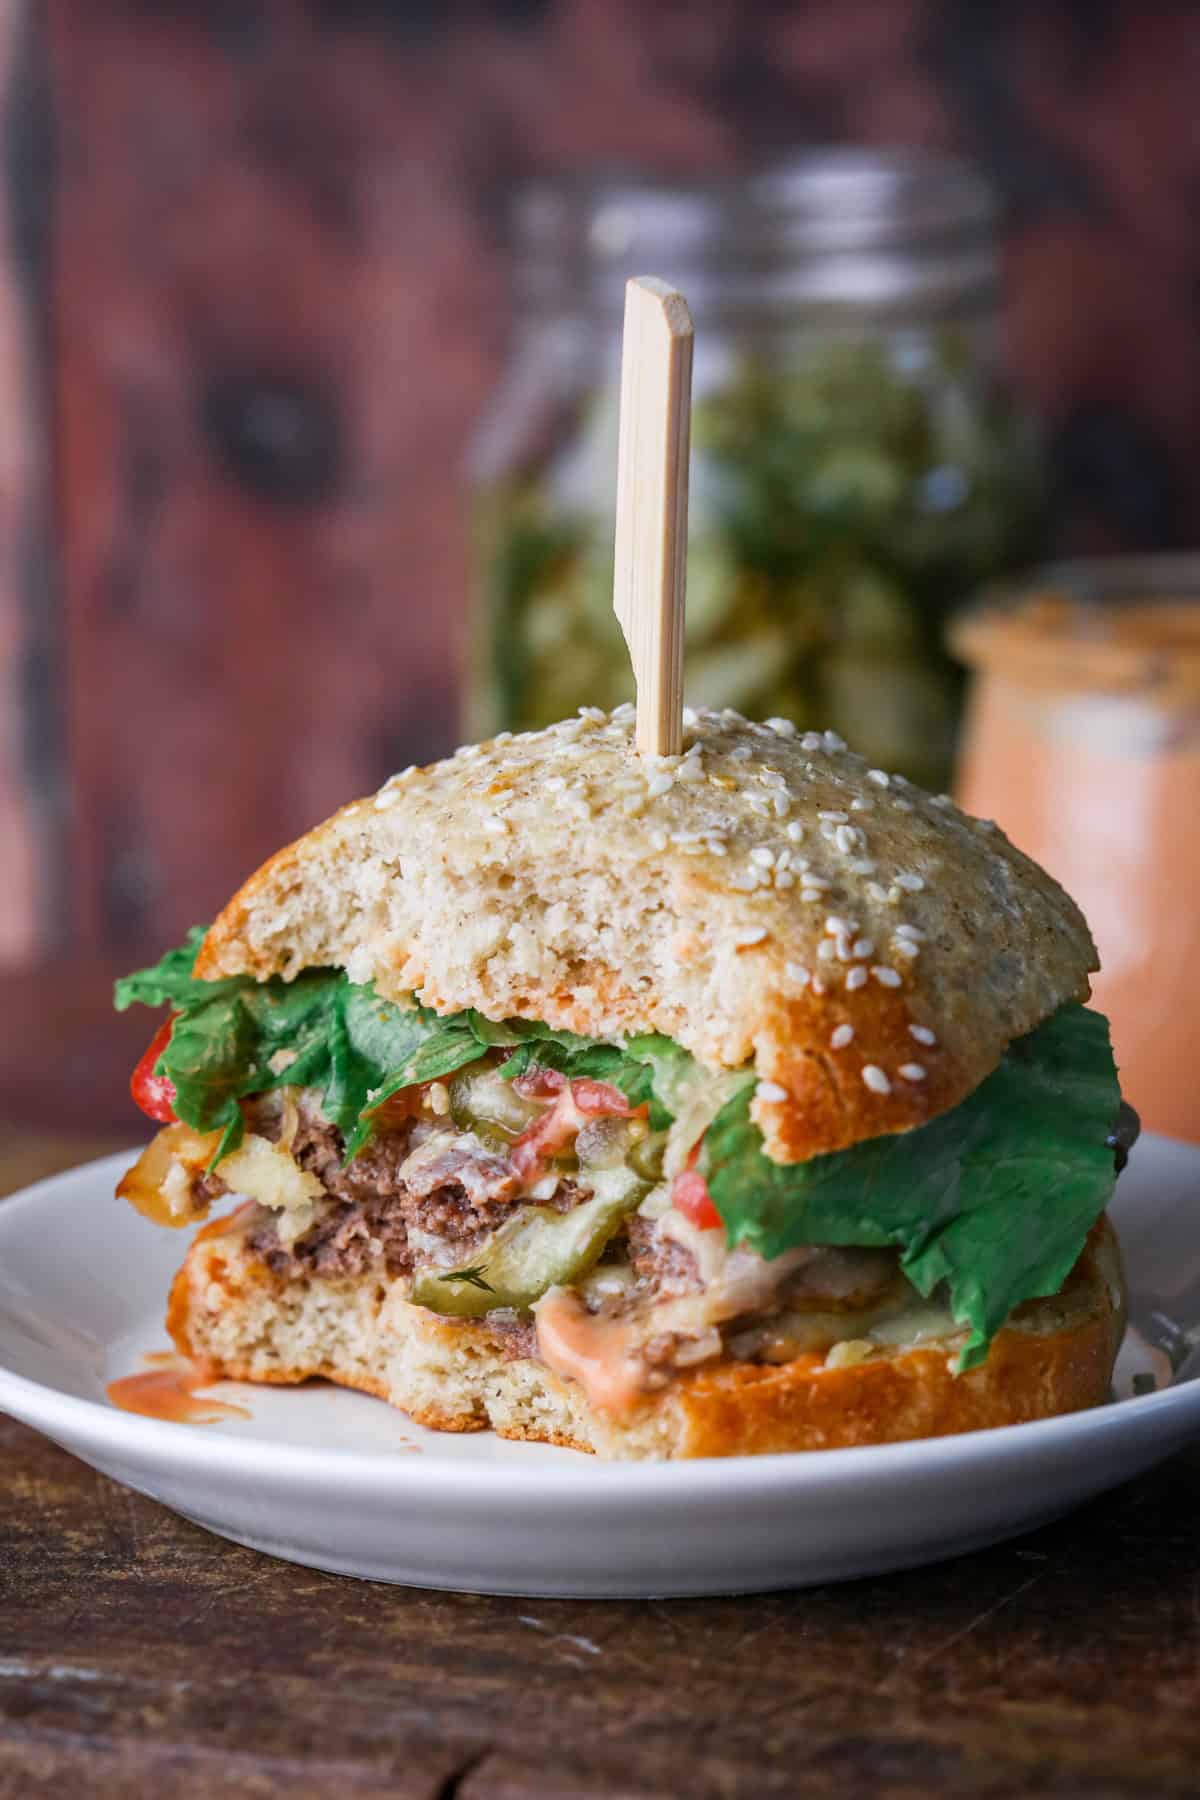
These gluten-free burger buns have been developed out of my obsession this year to create the Ultimate Smash Burger. If your family, like ours, has a weekly burger night then is a great recipe to try. I was fed up of buying in burger buns that were expensive, filled with ingredients I didn’t recognise, and fell apart when I wedged our burgers inside. Can you relate?
These seeded buns have been developed to be soft and fluffy (not dense and heavy) but still strong enough to hold two smash burger patties, salad and liberal amounts of toppings and burger sauce. They taste amazing, there’s no xanthan gum and I’ve simplified the recipe as much as I can to be streamlined and take under 90 minutes (with 30 of those being proving time).
And why stop at burgers? This recipe makes eight buns so with a family of six we have two buns left over so I’ve been making my buns in the morning then enjoying the extra stuffed with ham and cheese, fresh out of the oven, for my lunch. The other six waiting patiently for burgers at family dinner.
Gluten-Free Burger Buns have also been a highly requested recipe from our gluten-free community so I hope you enjoy them as much as our family has been.
Why You’ll Love These Gluten-Free Burger Buns
- Soft, light and fluffy, slightly sweet sesame seed hamburger buns.
- Sturdy rolls (not heavy) which don’t crumble.
- Unique blend of three gluten-free flours – so not brand dependent.
- 90 minutes from start to finish.
- Delicious with beef burgers, chicken burgers, veggie burgers or any filling of your choosing.
- Makes eight and easy to freeze any extra buns you don’t eat.
- No xanthan gum needed.
- No specialist equipment needed.
Watch the Video
Sometimes it helps to see a visual of what I'm talking about. So watch the video to see what it looks like to make your gluten-free burger buns.
Bake Gluten-Free Bread with Confidence
Discover easy, reliable recipes for soft, wholesome gluten-free breads. No complicated techniques, just great results every time. Tips, techniques, comprehensive ingredients and equipment info.
Ingredients Needed
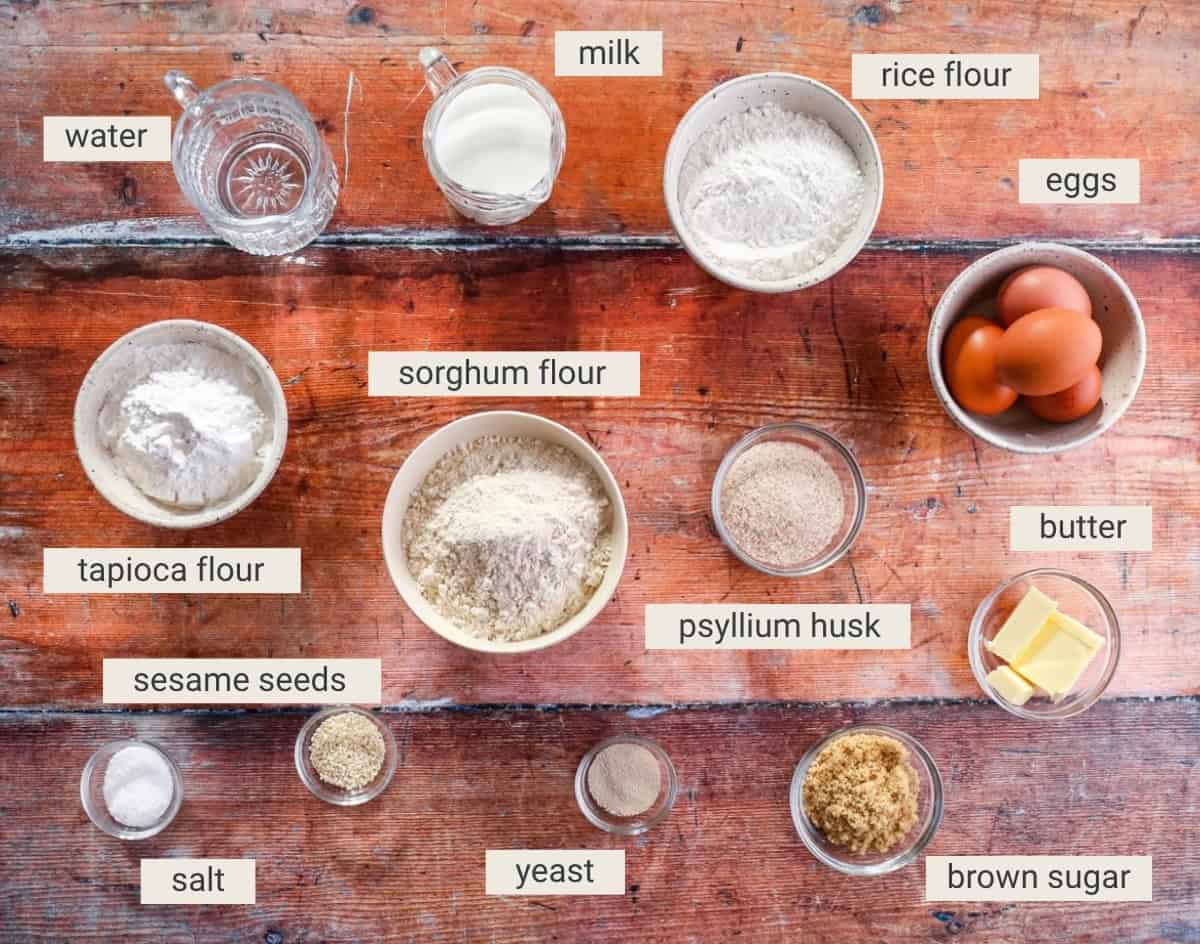
Dry active yeast. This recipe uses a quick dry active yeast. I recommend Doves Farm Quick Yeast which is gluten-free. Make sure to always check your labelling, it’s surprising how many brands are not gluten-free. Also, check the expiry date. The yeast should be from a freshly opened packet (or at least one that hasn’t been hanging around for a couple of months in your cupboard).
Milk. We mix our dry yeast initially with warm milk (and sugar). Milk helps to soften the crumb of the bread. It should be at the right temperature to activate the yeast (between 100-115 F / 38-46C). Too cold and the yeast won’t wake up and too warm and it will kill it. I recommend using a digital thermometer if you have one.
Brown sugar. Sugar is mixed with the dry yeast to feed and activate it when you are initially adding it to the milk. We are also adding some to the flour mix to sweeten the dough, achieve a golden brown and keep the finished rolls soft.
Sorghum Flour. If you are familiar with my bread recipes then you’ll know that sorghum is my favourite wholegrain for bread dough as it gives a neutral buttery flavour. Once you team it with a second wholegrain (see below) then the finished bread won’t have any of that ‘gluten-free’ flavour that some gluten-free recipes are accused of. We like to keep things neutral so the burgers and are toppings are the stars of the show. You can swap the sorghum flour for buckwheat flour or gluten-free oat flour.
Rice flour. So we combine it with an even more neutral tasting flour. White rice flour. By itself, rice flour can be dry, gritty and attribute to the worst aspects of gluten-free baking. Married to sorghum flour (and a starch – see below) it sits happily in the blend, just adding a great base for the other flours to build upon. If you want a rice-free blend then you can substitute with buckwheat flour or gluten-free oat flour.
Tapioca flour (aka tapioca starch). Here’s our starchy flour. We use a starchy flour in our three-flour blend for its incredible binding power. It helps to mimic the elastic bonds of gluten and is a really light powdery flour so alleviates any worry of density. Light and fluffy is the name of the game. However, it can’t provide all our binding which is why we need something more to help hold our burgers together – see psyllium husk below. You can swap the tapioca flour for potato starch (not potato flour which is different).
Psyllium husk. This is an ingredient which you might not be as familiar with but it’s hugely popular in gluten-free baking as it creates a strong elastic gel when mixed with water which will give softness and bounce to your bread. It is incredibly simple to use, easy to source and is an invaluable ingredient in this bread. Using psyllium husk plus our perfectly balanced three-flour blend negates any need to use xanthan gum.
Water. You need the water for hydrating the psyllium husk which creates a gel – this is what will give your burger buns a great bounce.
Butter. We’re using butter in our bread dough to make it soft and buttery.
Eggs. This dough gives a little nod to the enriched doughs by using whole eggs which helps with binding the bread together, helping it to rise and give it a brioche like flavour. Although don’t get too excited – it’s a nod not a brioche replica.
Sesame seeds. To give it that typical burger bun look and because I love a seeded bun. You can obviously leave them off if you wish.
Salt. Essential to keep our buns from being bland.
How To Make Gluten-Free Burger Buns
For full recipe instructions go to the recipe card at the end of this post.
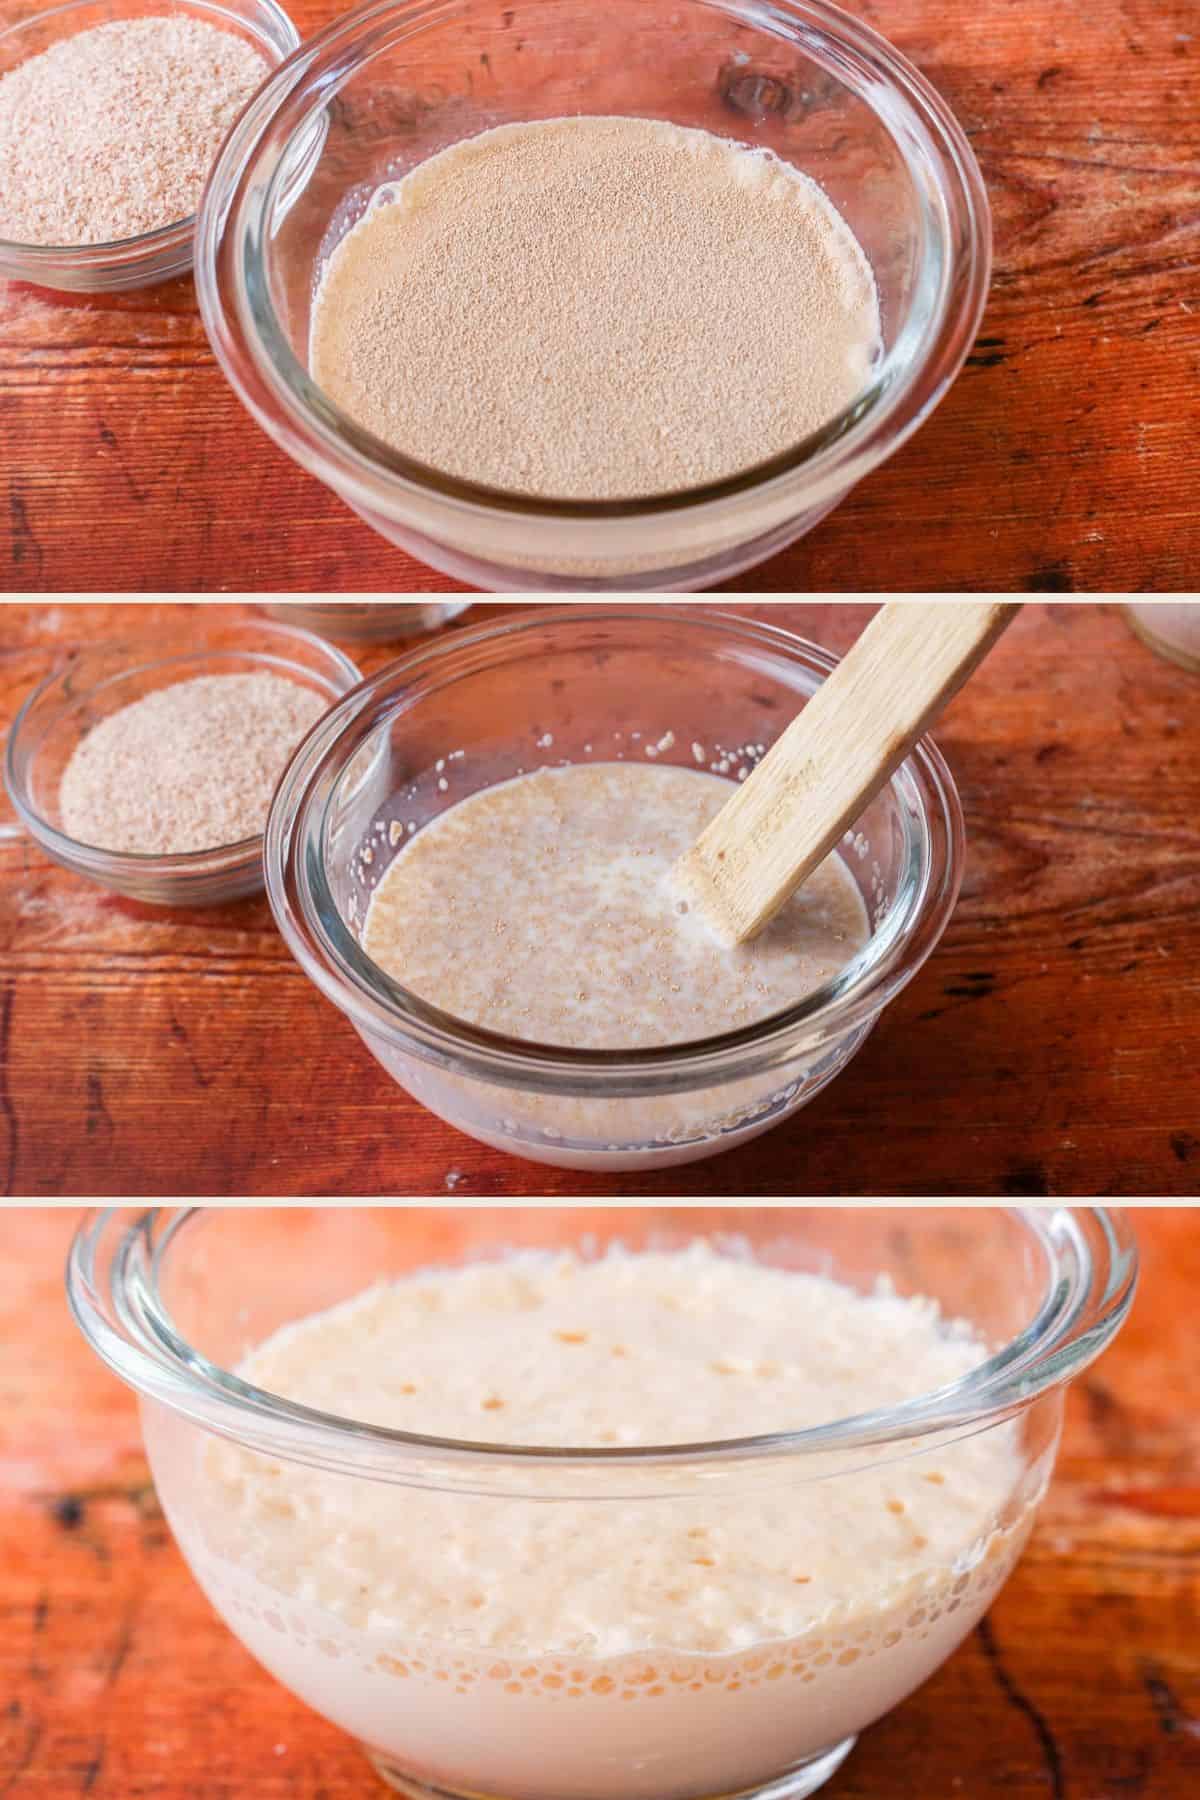
Pour warm milk into a medium sized glass bowl and stir in the yeast and brown sugar. Rest for at least 15 minutes until the surface is looking thick and bubbly.
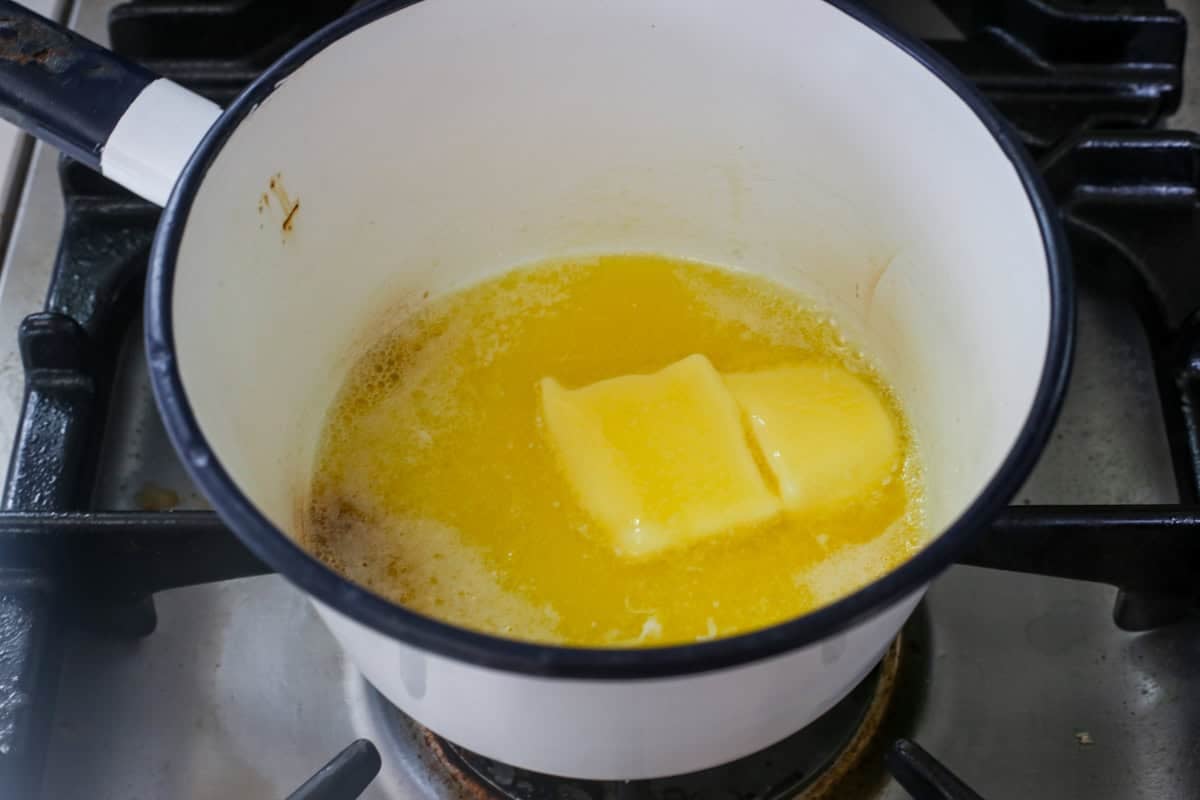
Melt the butter in a small saucepan, then set aside to cool slightly.
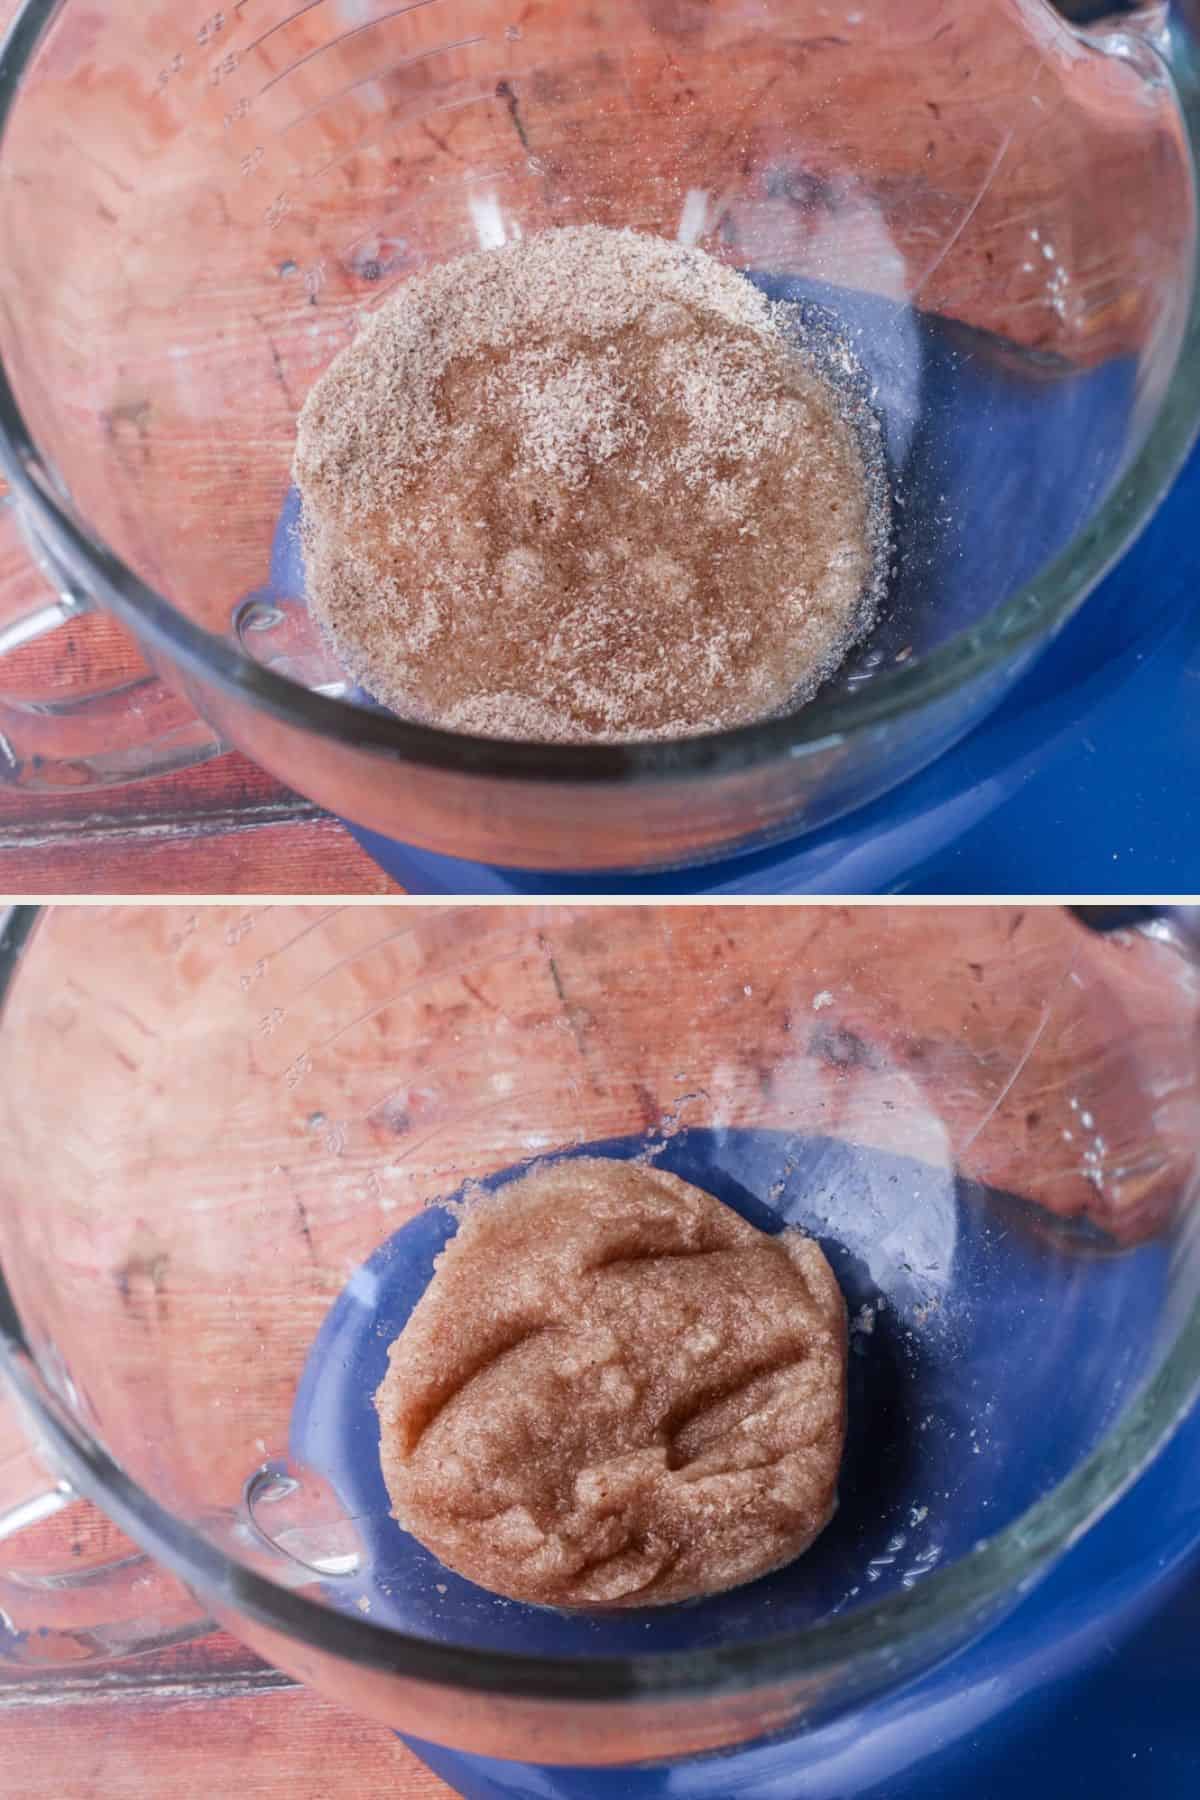
Stir the water and psyllium husk together and allow to stand for about 5 minutes until it forms a gel.
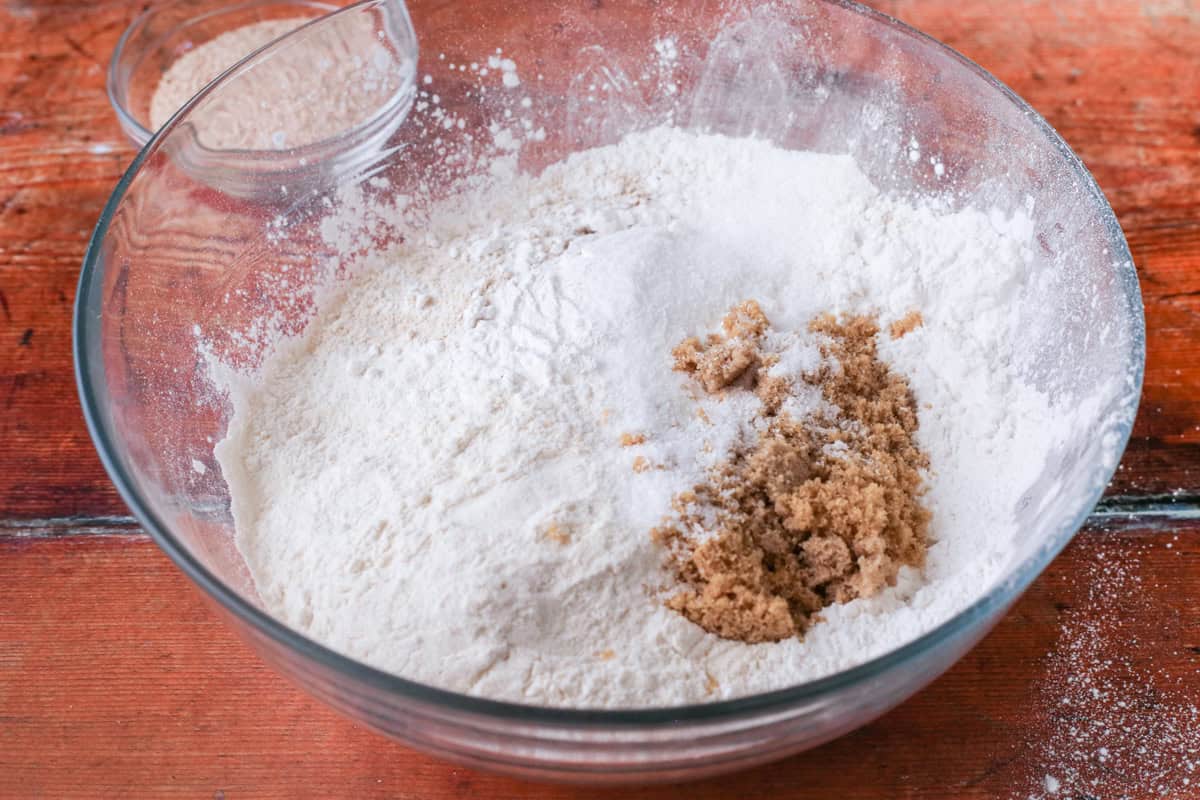
Whisk the sorghum flour together with the rice flour, tapioca flour, brown sugar and salt.
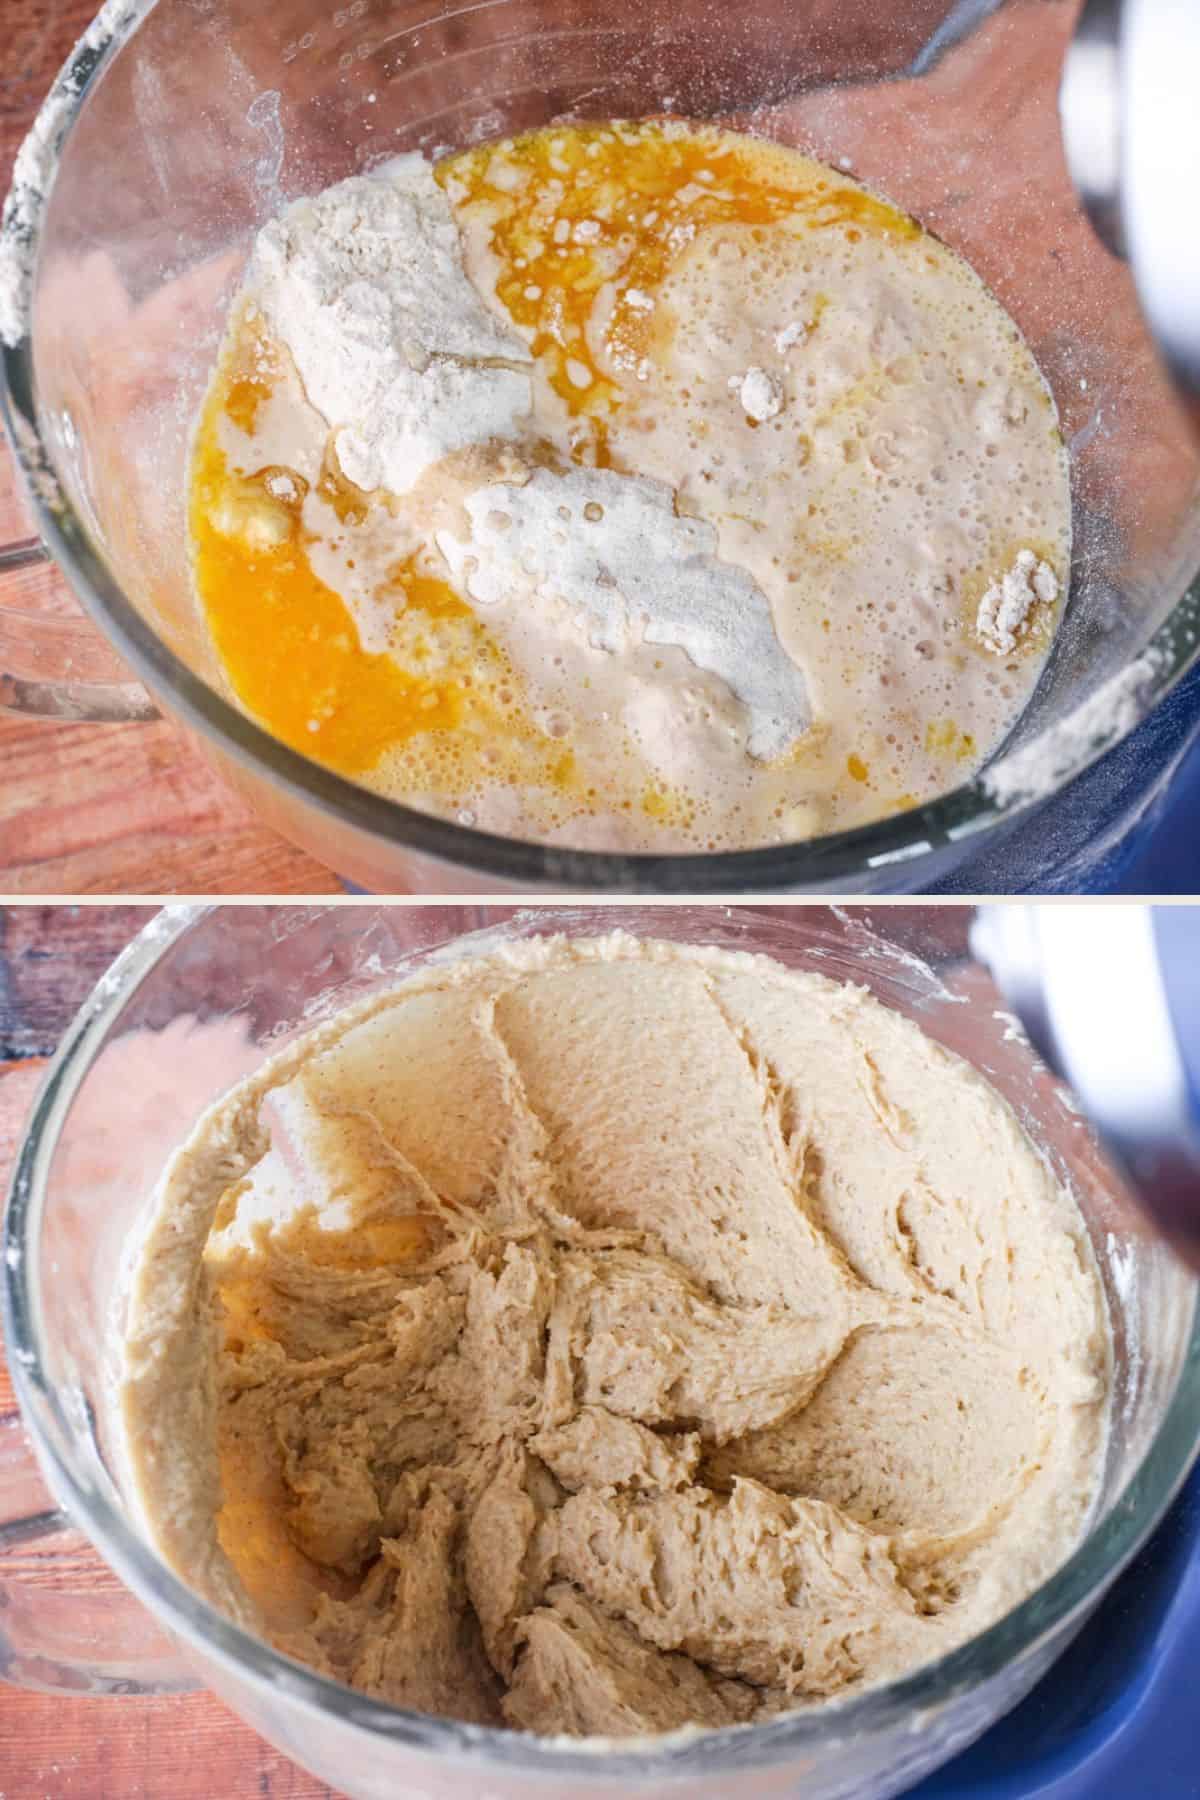
Combine the yeast and milk mixture, psyllium gel, melted butter, flour mixture and the whisked eggs. Mix for at least 5 minutes in a stand mixer to form a sticky dough.
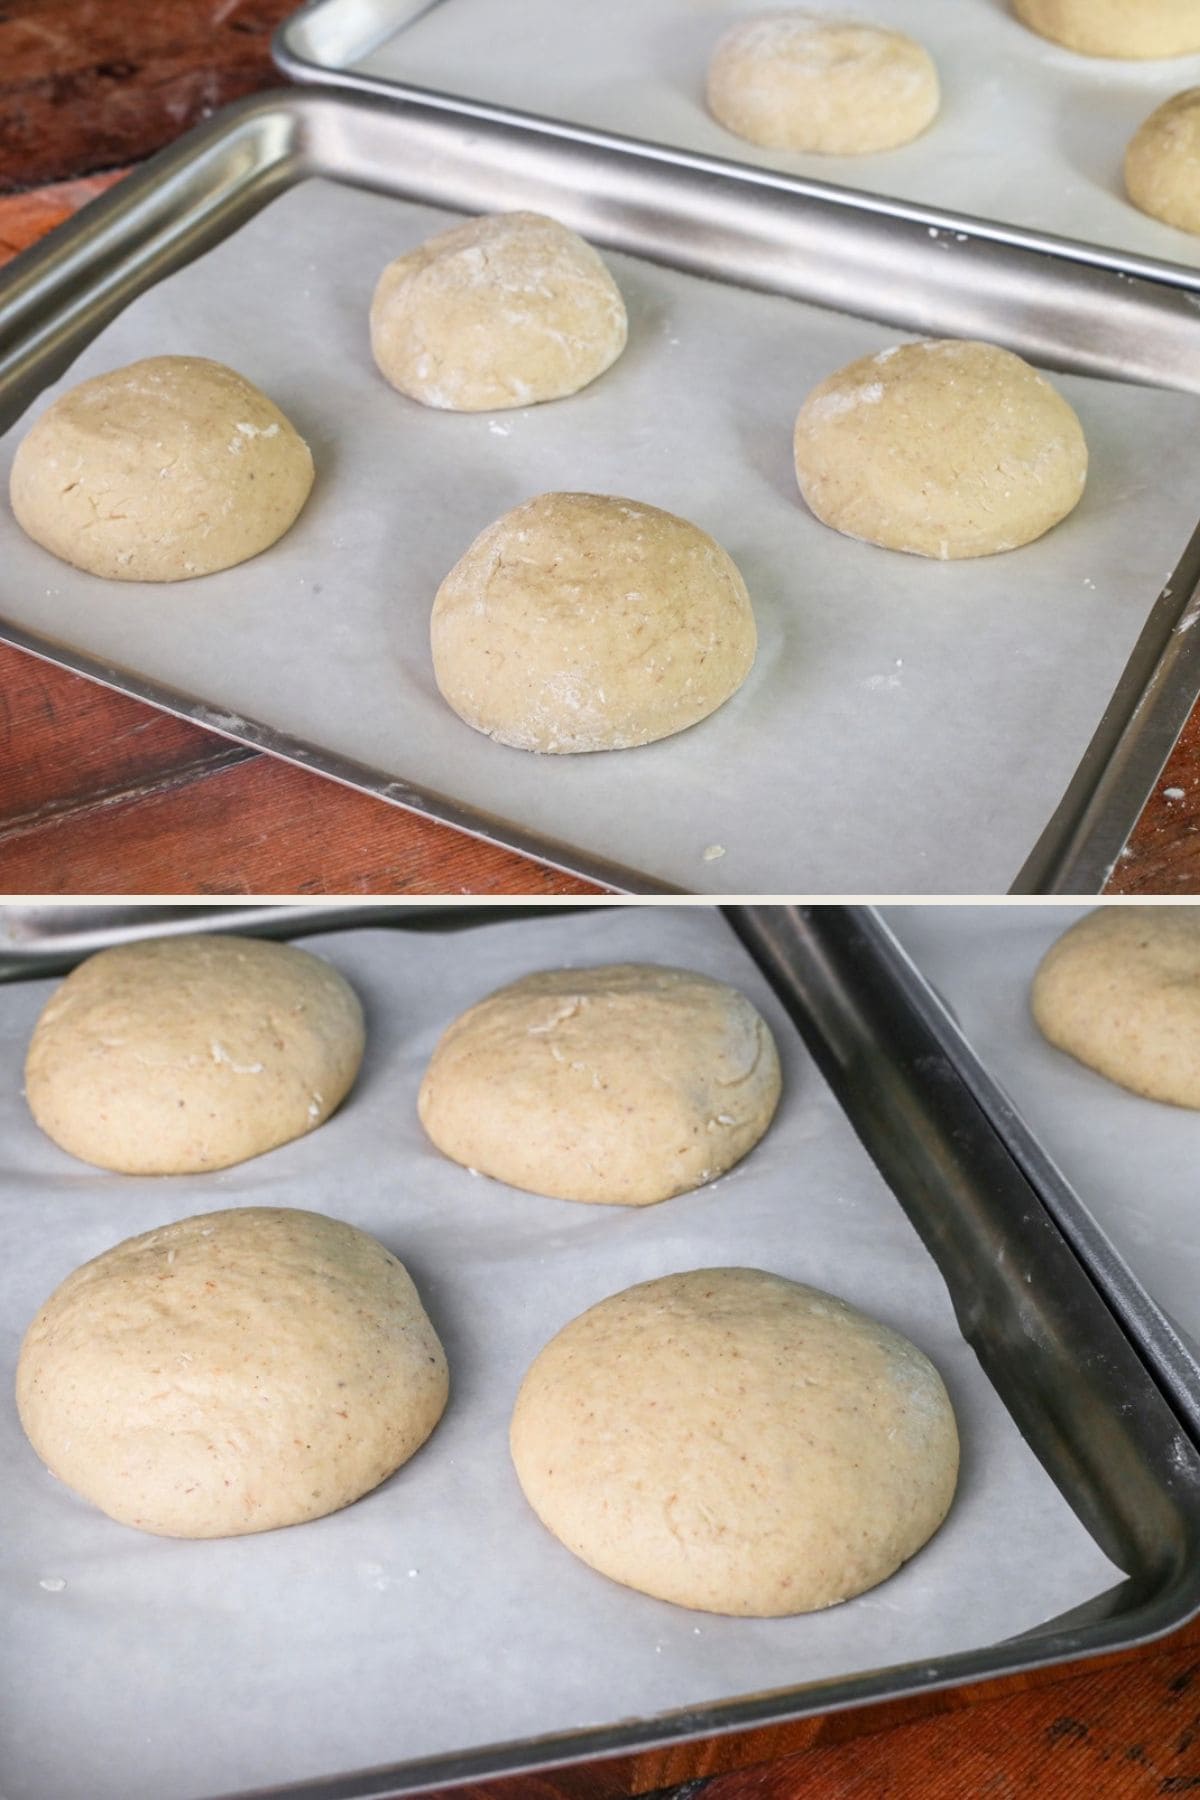
Dust hands with extra tapioca starch and scrape 115g dough out of the mixer. Roll into a smooth dough ball using dusted hands and a dusted work surface.
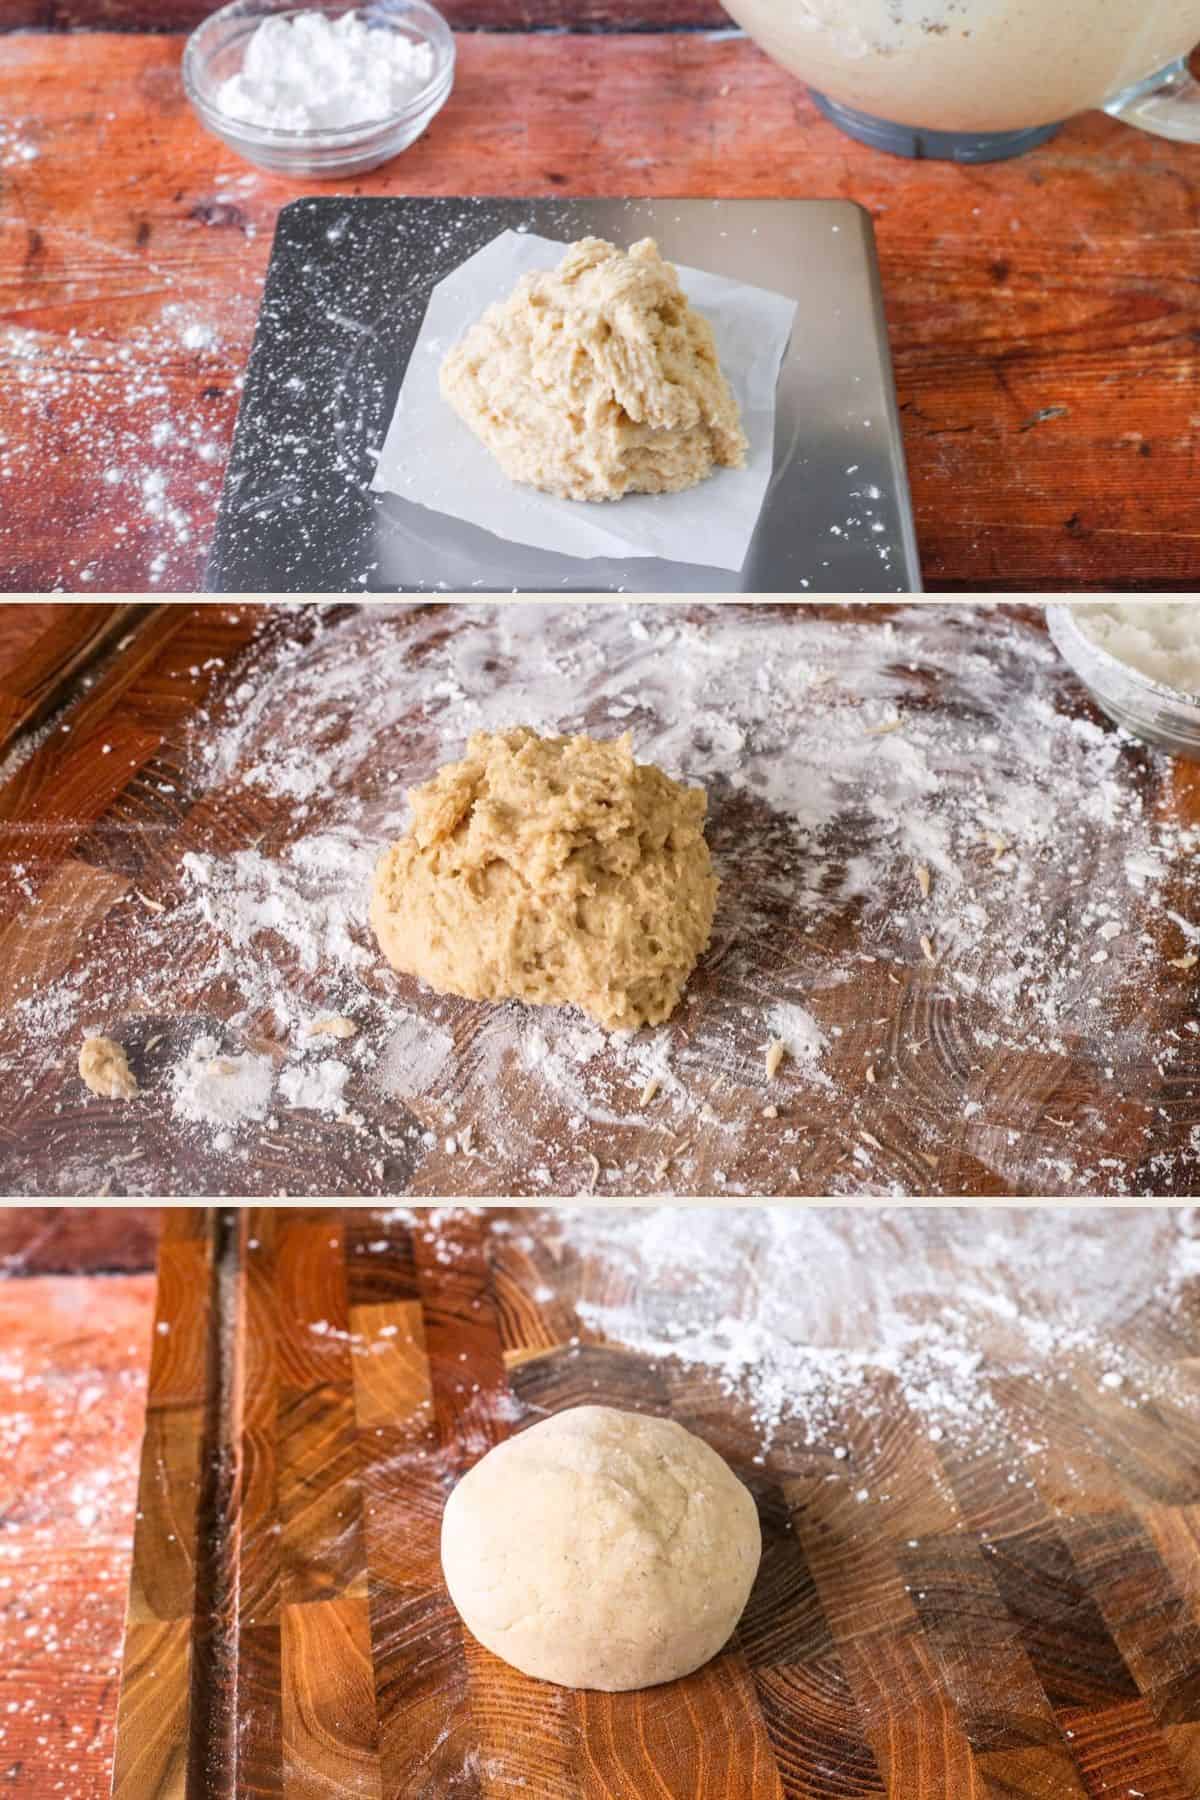
Repeat with the rest of the dough to form 8 dough balls. Place them 2-3 inches apart across 2 lined baking trays. Prove for 30 minutes.
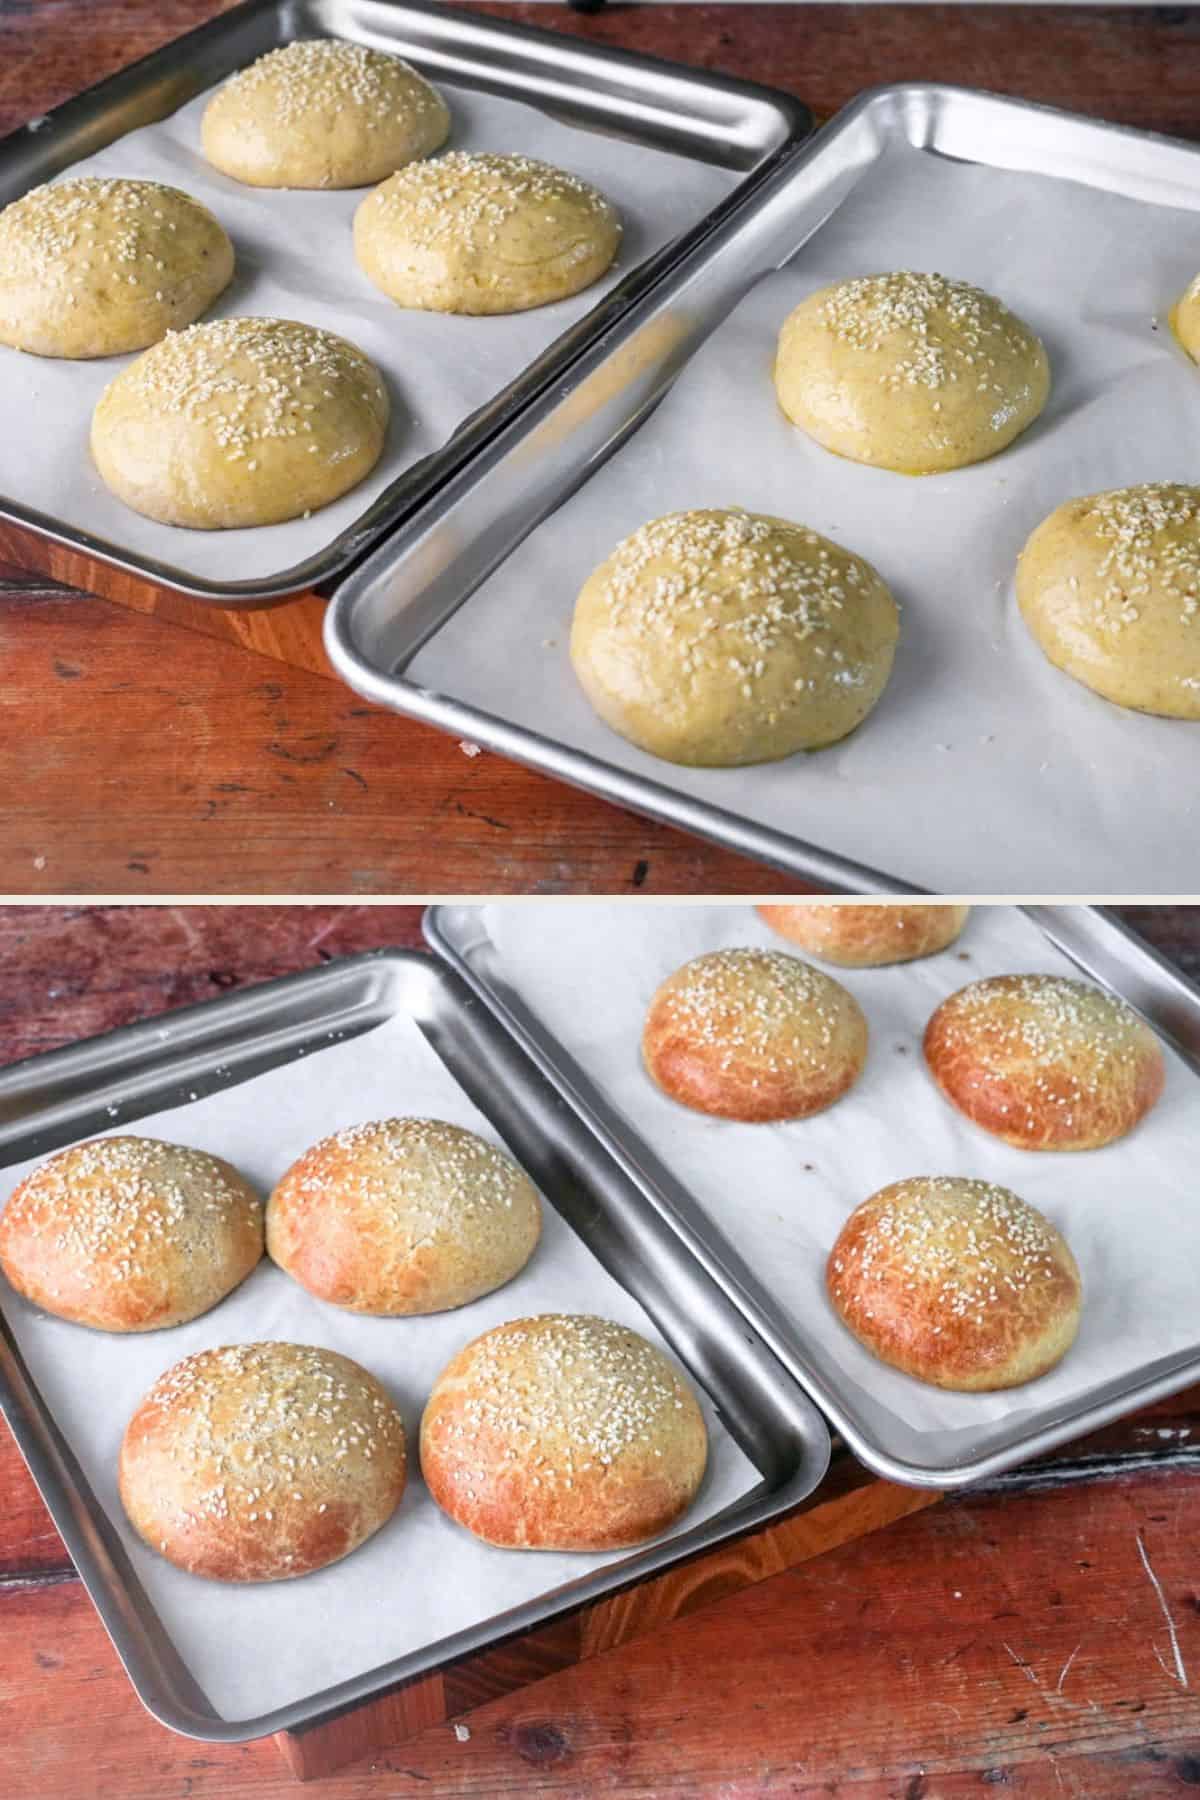
Brush each bun with an egg and butter wash. Scatter the sesame seeds over each bun. Bake for 15 minutes.
How To Prove Your Buns
Finding the best place in your kitchen / house for proving bread dough will become a game changer for your bread baking. I have experimented in all different places around my house.
However, the best universal tip I have for your proving your buns is to put them (on their lined baking trays) in the centre of a turned off oven with a tray of just boiled water sitting on the floor of the oven. Shut the door and leave the rolls for 30 minutes to prove. This will give a lovely warm and damp environment for the buns to rise properly.
I am lucky that I have a double oven so when one oven is used for proving the buns the other is switched on for baking them. If you only have one oven then you might like to choose somewhere else to prove your buns so you are not waiting for your oven to get up to temperature after the prove.
Other Proving Places:
- Bread proving drawer in specialist oven (this is obviously ideal!)
- Utility or laundry room
- Boiler cupboard
- Warm kitchen counter on a summer’s day (this does not work in the UK in cooler months)
- Amp up the conditions by placing the buns under an upturned container or near a warm appliance or covered with oiled cling film (plastic wrap).
Perfect Prove. You know the buns have finished proving when they are noticeably bigger and have smoothed and plumped out. They’ll look lighter in density rather than tight little balls.
I don’t recommend the finger-poke test which is common in regular bread baking as the gluten-free dough is a little more fragile and sticky.
Overproving. Watch out for overproving which can happen if your environment is too warm. The buns will look very puffy and will soon start to sink when you remove them from their warm position. The surface may start to crinkle rather than be lovely and smooth.
Often you might not know until the actual bake when the rolls will collapse or when you open up your baked and cooled buns and they have large open crumb or a flying crust.
Tips & Troubleshooting
Do check the expiration date of your yeast. You know your yeast is working properly when it becomes very light and frothy with a big bubbly surface. It shouldn’t take any longer than 15-20 minutes to activate. If it doesn’t look like this then don’t add it to the rest of the ingredients. Either try again or use a different packet of yeast.
The dough is still very sticky when it’s finished mixing. I’ve experimented with adding more flour directly into the mix to make the buns easier to roll, but it made the finished buns a little heavier than I wanted. Instead, we use just enough tapioca flour (starch) to make the dough manageable. Simply coat your hands with it and lightly dust the work surface, allowing the dough to pick up as little extra starch as possible – just enough to shape it into smooth round buns.
I allow about 10g of extra tapioca flour for this coating / rolling process. You may not need all of it – or you may need a little more, but try to use as little as possible.
These rolls are best eaten on the day they are baked. If you are not going to eat all of them then I advise you to freeze any extras as soon as they are completely cooled. They stale quickly.
FAQs
All the rising is really done in the proof. After the buns have been proved then they won’t really grow much more in the bake. So if your buns have not increased significantly in size then it could be an issue with expired yeast, overproved, underproved or you are not proving in a suitably warm and damp environment.
Store the baked buns in a bread store overnight, but they will be considerably staler the next day. You can breathe a bit more life in them by warming them in the oven. However, I will usually freeze any leftover buns on the day of baking to avoid them getting stale.
I recommend freezing the burger buns as soon as they have cooled to avoid any staling. Store in the freezer in airtight containers (they will keep for about 2 months). Thaw for a couple of hours on the countertop and then you can use them as soon as they have reached room temperature.
On this occasion I have not tested this recipe without dairy or eggs. Take a look at my Gluten-Free Yeast-Free Bread Rolls which is also an egg-free and dairy-free recipe.
This recipe needs yeast to work but take a look at my at my Gluten-Free Bread Rolls for an alternative bun recipe which doesn’t use yeast.
Serving Suggestions
These rolls are sturdy enough to support these incredibly juice Meatloaf Burgers or even two Smash Burgers with all the trimmings.
This Chicken Schnitzel tastes great stuffed into this bun with a generous helping of sauerkraut.
You can also fill your burger bun with a veggie burger or favourite plant-based burger.
Then load your burger up with cheese, or Courgette Relish, Bread & Butter Pickles, this Buffalo Burger Sauce or some quick and easy Quick BBQ Sauce.
More Gluten-Free Bread Recipes You’ll Love
This Gluten-Free Flatbread recipe is incredibly versatile and is so quick and easy to make. The bread is soft and fluffy and perfect for wraps, dipping, as a pizza base, making quesadillas.
Well this Gluten-Free White Sandwich Bread is the answer to all your bread cravings. It’s an incredibly easy bread made with instant yeast, no xanthan gum, it’s rice-free, there is no kneading and only requires one prove.
Finally you can celebrate pizza night again with this fantastic Gluten-Free Pizza Dough. It will deliver you an absolutely delicious pizza with a light, slightly crisp, slightly chewy thin crust.
Enter your email below to get this recipe sent to your inbox plus get new recipes, baking tips, and updates.
Gluten-Free Burger Buns
Ingredients
- 5 g active dried yeast - gluten-free certified
- 160 g whole milk
- 30 g light soft brown sugar - divided
- 20 g psyllium husk - not ground
- 160 g water
- 160 g sorghum flour
- 140 g tapioca starch - (tapioca flour)+ 10g extra for dusting
- 120 g rice flour
- 2 teaspoons kosher salt
- 60 g unsalted butter
- 3 eggs - whisked
- 1 egg - for egg wash
- 2 teaspoons sesame seeds
Instructions
- Line two large baking sheets with baking parchment paper.
- Heat the milk to between 38-46°C (100-115°F) in a small saucepan. Then pour into a medium sized glass bowl and stir in the yeast and 2 teaspoons of the brown sugar. Rest for at least 15 minutes until the surface is looking thick and bubbly.
- Melt the butter in a small saucepan, then set aside to cool slightly, transferring 2 teaspoons into a small bowl for the egg wash later.
- Stir the water and psyllium husk together in a large sized mixing bowl until combined. Allow to stand for about 5 minutes until it forms a gel.
- Whisk the sorghum flour together with the rice flour, tapioca flour, rest of the brown sugar and salt in a large mixing bowl.
- Combine the yeast and milk mixture, melted butter, psyllium husk gel, flour mixture and the whisked eggs in a large mixing bowl or bowl of a stand mixer.
- Beat these ingredients together for 5 minutes until the dough is well combined. It will still be very sticky to the touch.
- Dust hands with a little of the extra tapioca flour and pinch some of the dough out of the mixer.
- Weigh the dough – it needs to be about 115g.
- Place the dough on a work surface, dusted with a little of the extra tapioca flour. The dough will pick up some of the tapioca flour and then roll it out between your hands until smooth, you can also use a clean work surface to get a very smooth surface to your dough ball. Place it immediately onto one of the lined baking trays.
- Divide the rest of the dough and roll in the same way. You should end up with 8 balls of dough of 115g each.
- Place them 2-3 inches apart divided across the two lined baking tray, four buns to each tray.
- Place the trays somewhere damp and warm to prove for 30 minutes (see notes on proving) until the dough balls have increased significantly in sized.
- Whilst the dough is proving pre-heat the oven to 190°C / 170°C fan assisted / gas mark 5 / 375°F.
- Once the rolls have finished proving then brush the surface of each of the rolls with the extra whisked egg mixed with the 2 teaspoons melted butter. Scatter the sesame seeds over each bun.
- Place in the middle of the oven to bake for 15 minutes. The buns are baked when just turning golden brown.
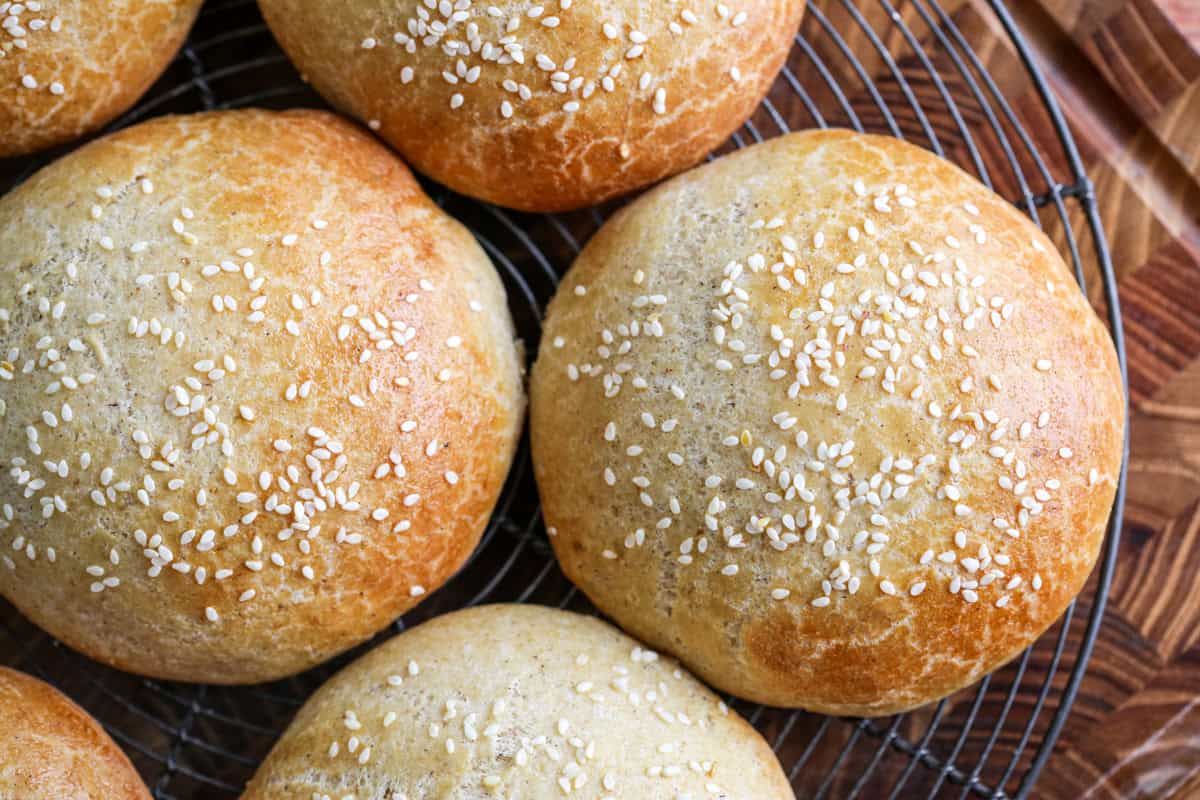
- Remove from the oven and cool the buns on a wire rack. Allow to cool completely before serving.