Gluten-Free Smash Burgers
This post contains affiliate links. Please read my disclosures.
This indulgent gluten-free burger hits all the cravings. You’ll fall head over heels for this crispy-edged double smash burger with melty cheese, homemade burger sauce, tangy pickles and caramelised onions stuffed inside a toasted homemade gluten-free bun.
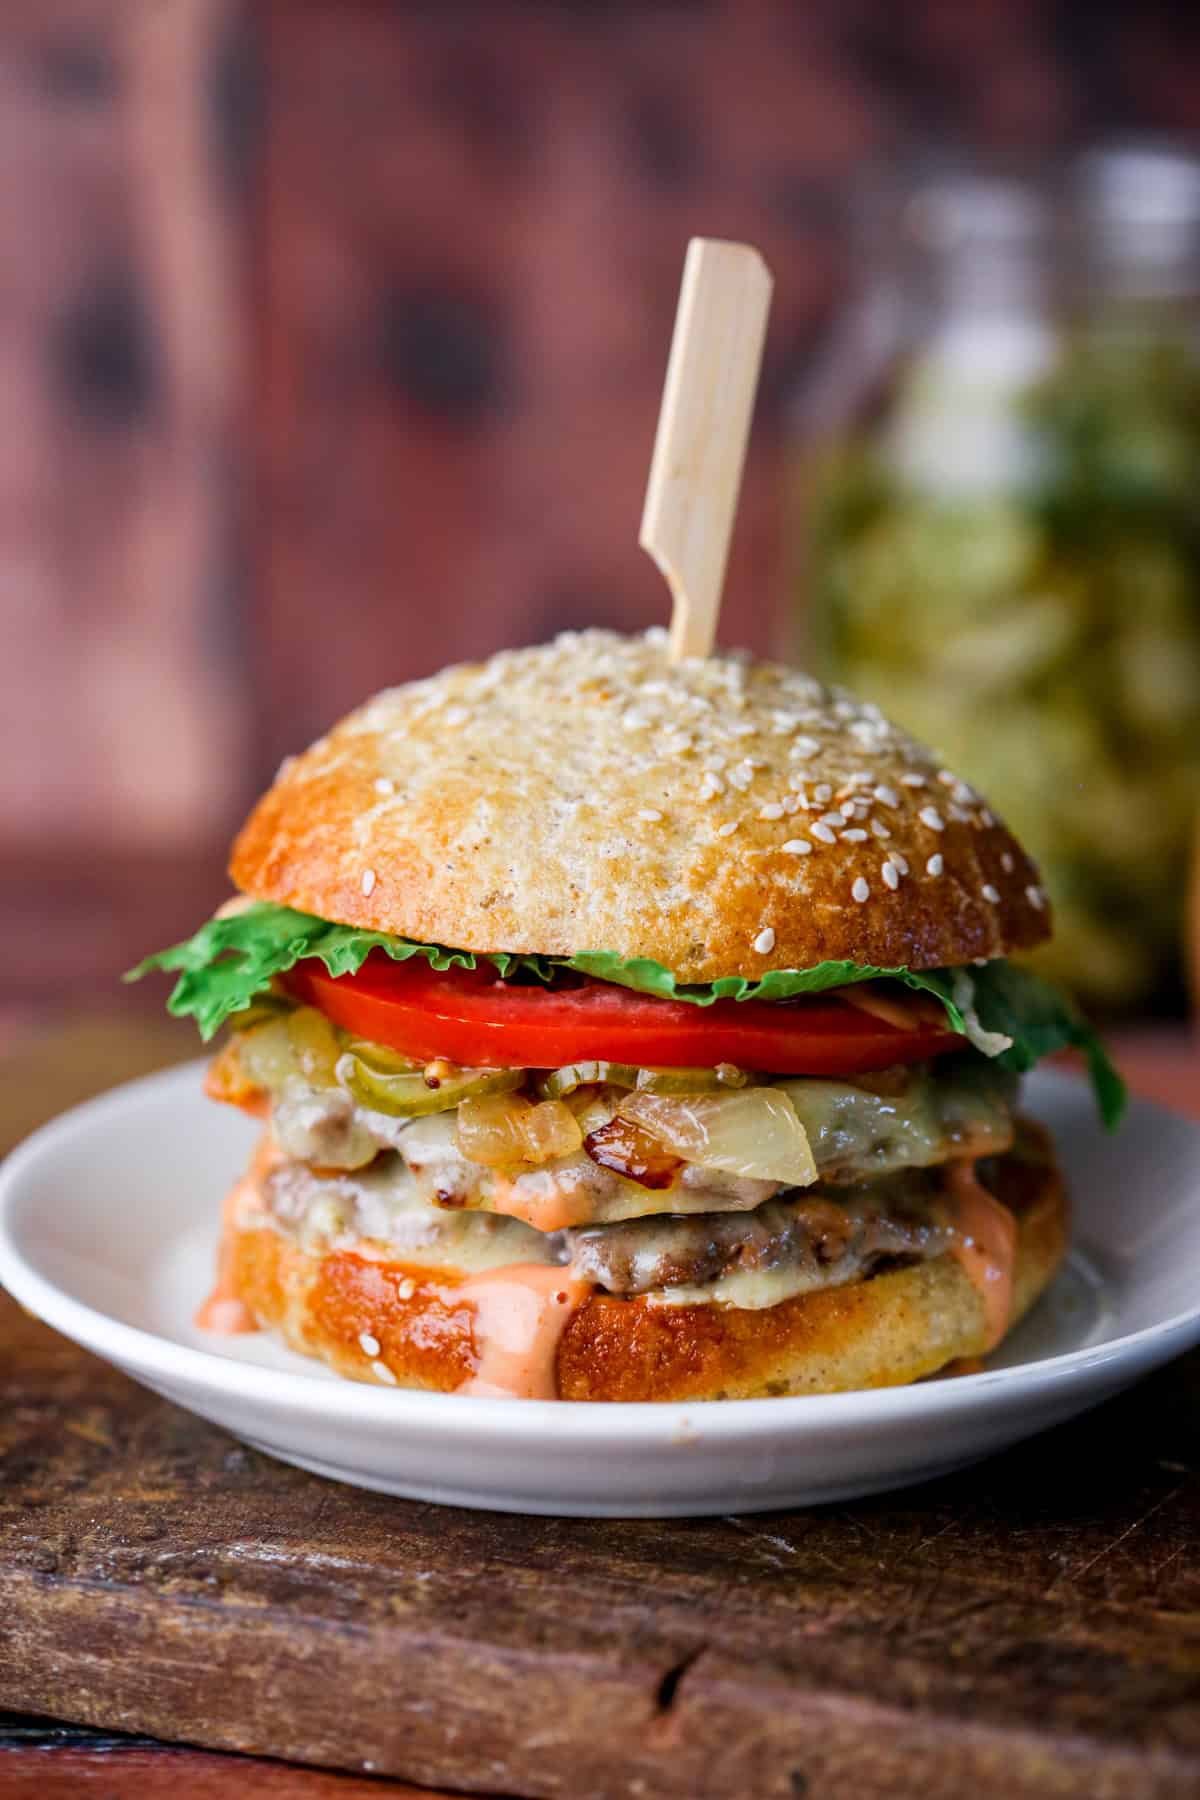
After months of perfecting my gluten-free burger bun my Ultimate Gluten-Free Smash Burger quest has been completed. It was the final piece of the puzzle. We now have perfectly seasoned crispy-edged juicy burger patties wrapped inside molten cheese, stacked with spiced and tangy burger sauce, caramelised onions, sweet and sharp pickles and fresh salad, all crammed inside a robust yet light and fluffy bun.
There’s a lot of filling to get inside our burger bun and gluten-free bread is not known for its sturdy structure. We’ve fixed that with my gluten-free burger bun which holds everything together – including the juicy double patties and toppings galore – without any sogginess or breakage.
There are a few components to make ahead like the burger sauce (which takes 5 minutes), the pickles (which you could buy in – I won’t tell) and the buns (they take under 2 hours but I get it they are a time investment). The actual meal, cooking the burgers and the assembly of them though is fast and easy.
I spent most of my childhood avoiding red meat for reasons that I’m sure were deep and meaningful at the time. But what it meant is that I have a very clear memory of my very first proper beef burger at 21 years old.
It was a big moment for me abandoning all my red meat principals. To say that I never looked back is underestimating just how seminal this burger was. Suffice to say, I have simply loved burgers ever since.
We never really made them at home though, they were a restaurant favourite – after all they were just not as nice at home – they never felt as indulgent. Or so I thought..
It turns out where I had been going wrong was
- an actually decent gluten-free burger bun
- well thought out toppings
- understanding how to cook the patties properly. (I confess I also bought in a couple of pieces of equipment especially for the purpose).
It’s all been worth it though to achieve a perfected smash cheeseburger experience at home. So, let’s go through every component, where you can cut corners and how you can customise your burger exactly to your liking. After all, we are a family of six and you are crazy if you think any of us like our burgers the same way. Get that production line going and you’ll be smashing out perfect burgers like there’s no tomorrow on your next burger night.
Why You’ll Love These Gluten-Free Smash Burgers
- Tastes as good as the restaurant (if not better as you’ll for sure be using better gluten-free buns).
- The best gluten-free burger buns – soft, fluffy and yet hold our patties and toppings galore with majesty.
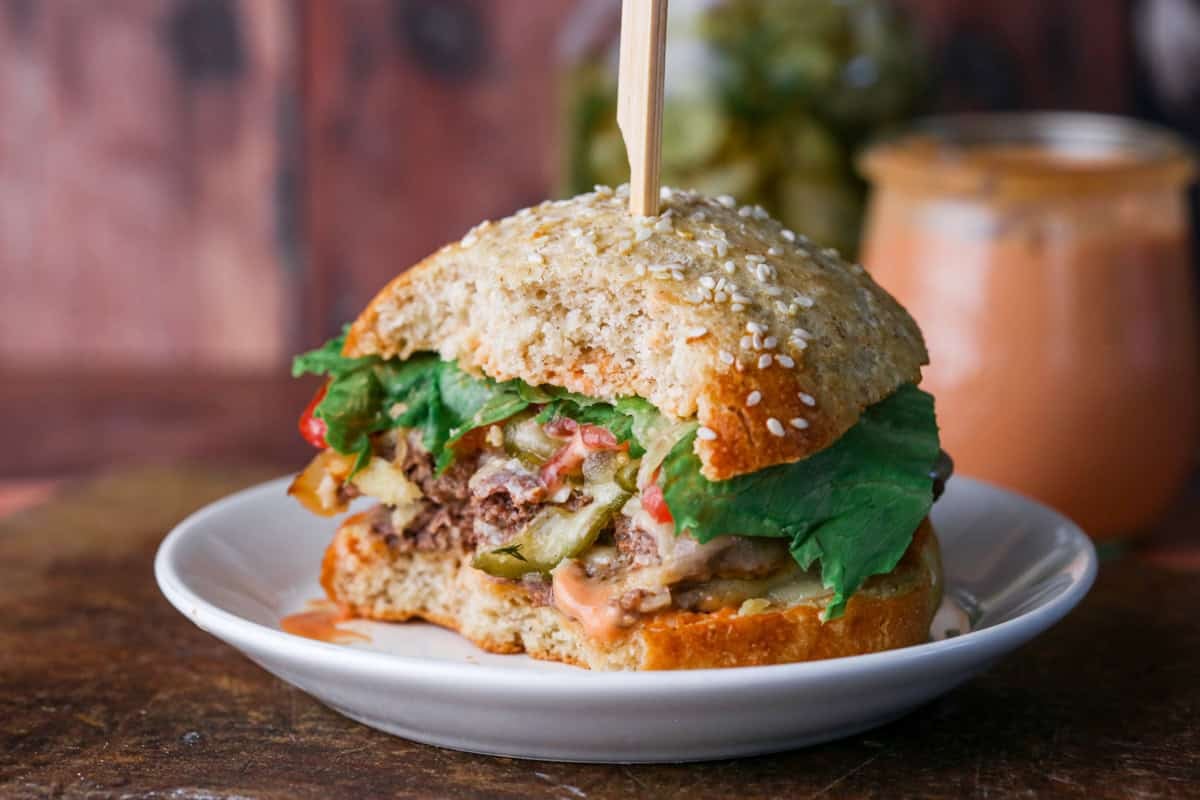
- Perfectly balanced components. Crisp juicy beef patties smothered richly in melted cheese and loaded with caramelised onions, cut through with a tangy burger sauce and sweet sharp pickles. Then finished with fresh salad.
- You will need to prep some of the components ahead (or buy in) but once you’ve done that the Smash Burgers cooking and assembly is quick and simple.
What Is A Smash Burger?
I’ve been throwing around the name Smash Burger as if you’ll instantly understand what I mean. If not, let me explain.
A smash burger is a thinner kind of beef burger (not fat and juicy). It looks flat and well… smashed.
For this recipe we smash out our patties directly onto the frying pan using a cast iron burger press. It makes the patty as thin as possible, pressing every inch of it against the heat source meaning the surface is crisp and browned all over.
Since we use less meat with this kind of thin burger, an adult smash burger might use two burger patties within one burger.
All the toppings are as you expect from your favourite burger.
Ingredients Needed
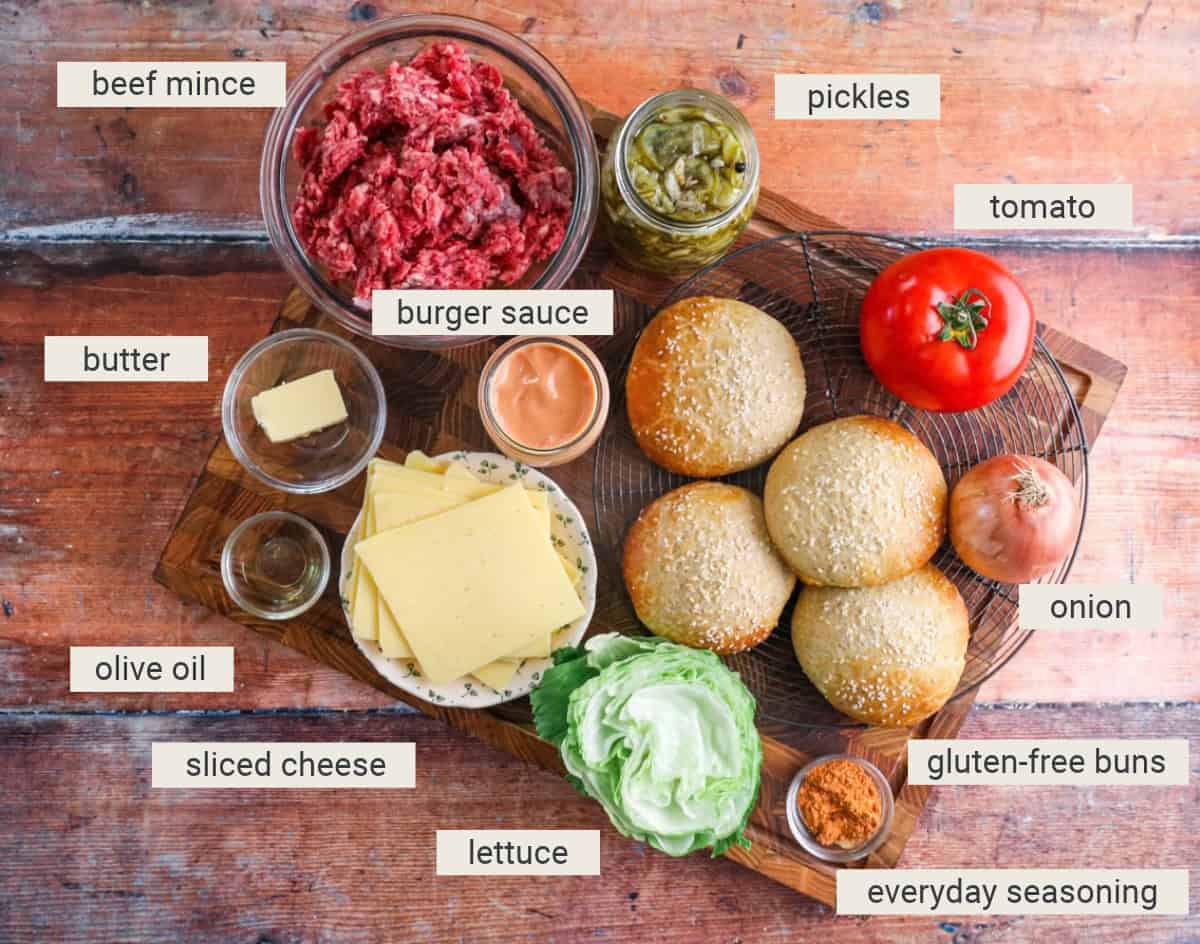
Beef mince. You want to buy beef mince which is at least 15-20% fat so that it holds together well, has good flavour and is lovely and juicy. You should be able to find it easily labelled at the supermarket but if not then the butcher is your best bet. I like to buy my meat from Field & Flower which is a UK based meat delivery company where all the beef is British, free-range and grass-fed (not sponsored).
Everyday seasoning. I always keep this seasoning in and love using it in my burgers as it saves time. It’s a mix of salt, pepper, paprika, coriander and mustard seeds. You can buy a ready-made BBQ seasoning or beef seasoning if you like. However, it’s cheaper to batch make my Everyday Seasoning and you can use it for everything.
Cheese slices. Pick your favourite cheese. I like the pre-sliced cheese as they always melt perfectly. We often provide a selection for our family – American cheese, cheddar cheese or blue cheese slices. The choice is yours.
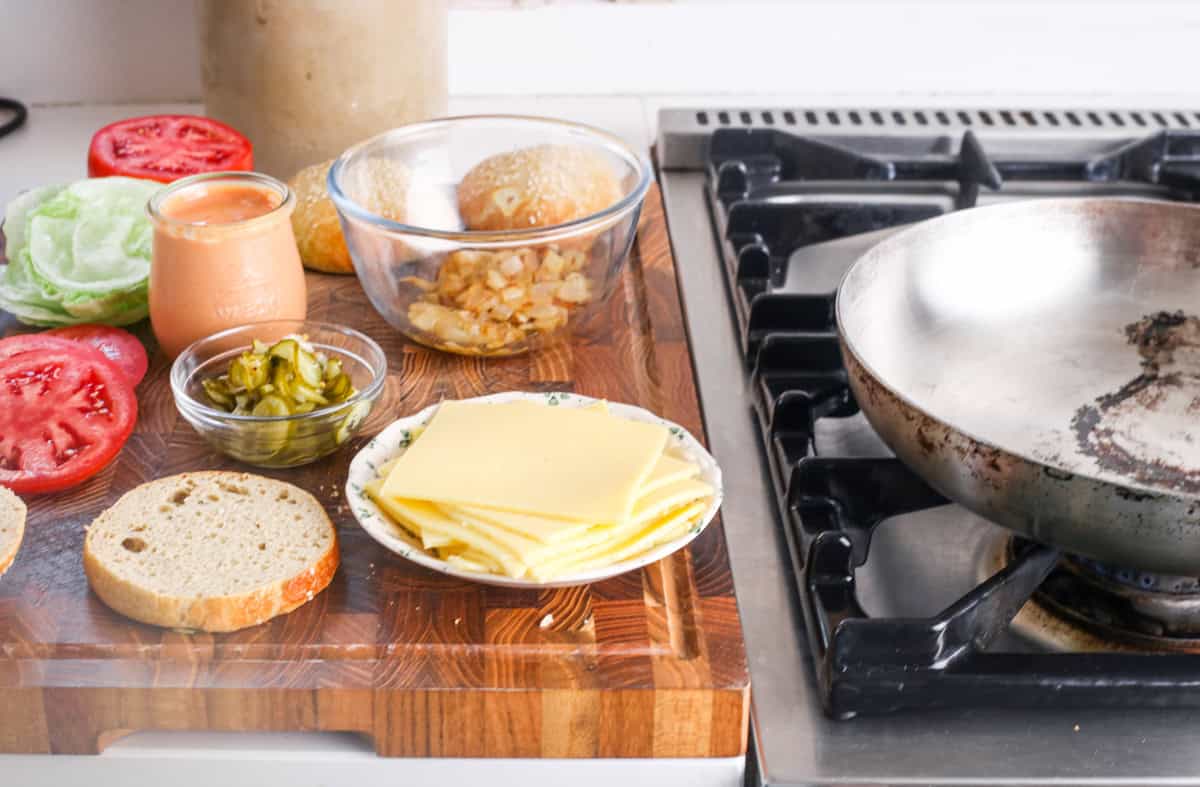
Onion. For the caramelised onions. This is the one component I will make at the time, along with the burger patty – everything else is made ahead of time. A large white onion is enough for 4 adults.
Olive oil and butter. You need this just for cooking your onions. I don’t use any fat in the pan when I’m cooking my burgers. If your pan is hot enough and you have beef with at least 15% fat then you don’t need to add extra.
Tomato. A thick slice of a beef tomato is essential in the best burger. Salt the surface when you add it to the burger stack.
Lettuce. I actually used iceberg for the photos, I don’t know why as usually we keep in romaine. Either work fine. Iceberg is a little crisper, romaine is a little more flavourful.
Gluten-free burger buns. Of course you can buy them in. But if you make your own burger buns then that will launch your smash burgers into the stratosphere. I would say that – I spent months perfecting the recipe and I truly believe they are better than anything shop bought.
Burger sauce. You can use ketchup or mayonnaise or a mix of them both. Or you can push the boat out and make this five-minute Buffalo burger sauce which is my homemade version and will make your burgers taste like those they serve in restaurants. It’s all about that sauce – and I didn’t realise how much of a difference a good burger sauce made until I started making it especially for my burgers.
Pickles. More commonly called gherkins in the UK. You know the type you would always pick out of your McDonalds burger when you were a kid (was that just me?). You can now buy really good tubs of fresh cucumber dill pickles from most major supermarkets which you can find in the chilled section. Or you can use the jars of sliced gherkins from the condiment section. Or (can you guess what I’m going to say next?) you can make your own. Do it!! You’ll love these homemade bread and butter pickles which you can simply pile high on your burgers and there will not be any regrets.
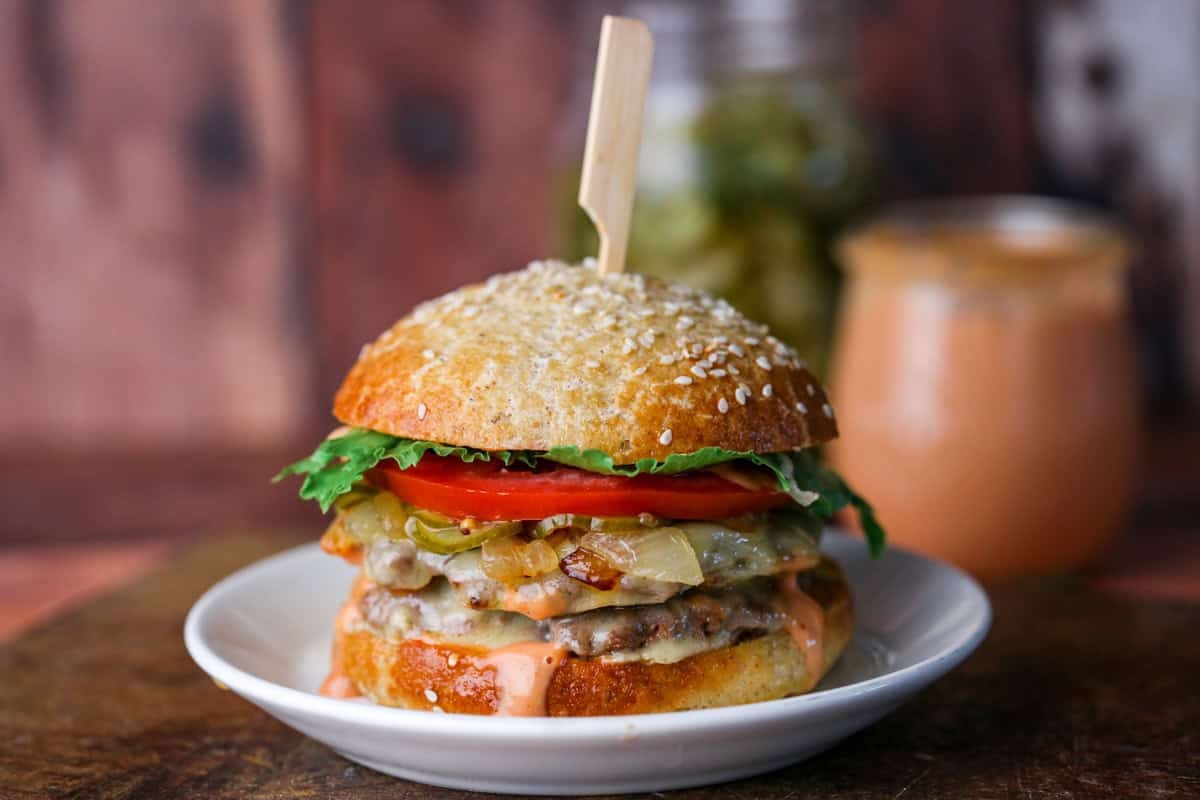
Equipment Needed
Okay, this is where the game changed for my homemade burgers. I properly spent time on how to perfect the cooking of the burger patty and bought these:
Stainless Steel Melting Dome. I can’t lie, so far in my kitchen I have only used this piece of equipment for making cheese burgers but it was under £10 and worth this one-use.
Stainless Steel Grill Spatula. But this spatula we have been using throughout BBQ season and any time we need to flip something relatively large in our pan. It’s become a very useful kitchen implement.
Cast Iron Burger Press. I thought this would be one-use kitchen utensil but now, we have re-discovered our toastie (grilled cheese) game for quick dinners and I use this press several times in the week for weighting down our toasties in the pan. That’s the least of it – a very useful and relatively cheap kitchen utensil.
Stainless Steel Pan (or cast iron pan). It should be at least 26cm so you can fit the melting dome on top. I bought a stainless steel pan as I was informed it was the best pan for creating the maillard reaction on your burgers. This is the chemical reaction between acids and sugars when cooking meat at a high heat – i.e. what produces the rich savoury brown crisp on your meat. My lovely husband, whom I actually bought it for, promptly ruined it – so we are still getting to grips with how to cook with it properly. To be honest I was just as happy using our cast iron pan which is easier to clean so this is just fine to use. You can use a non-stick pan if that’s all you have but you might not achieve quite the same deliciously savoury crust.
Optional: Meat chopper – this is not necessary but I do love it for mixing the mince with the seasoning.
How To Make Gluten-Free Smash Burgers
For the full recipe go to the recipe card at the bottom.
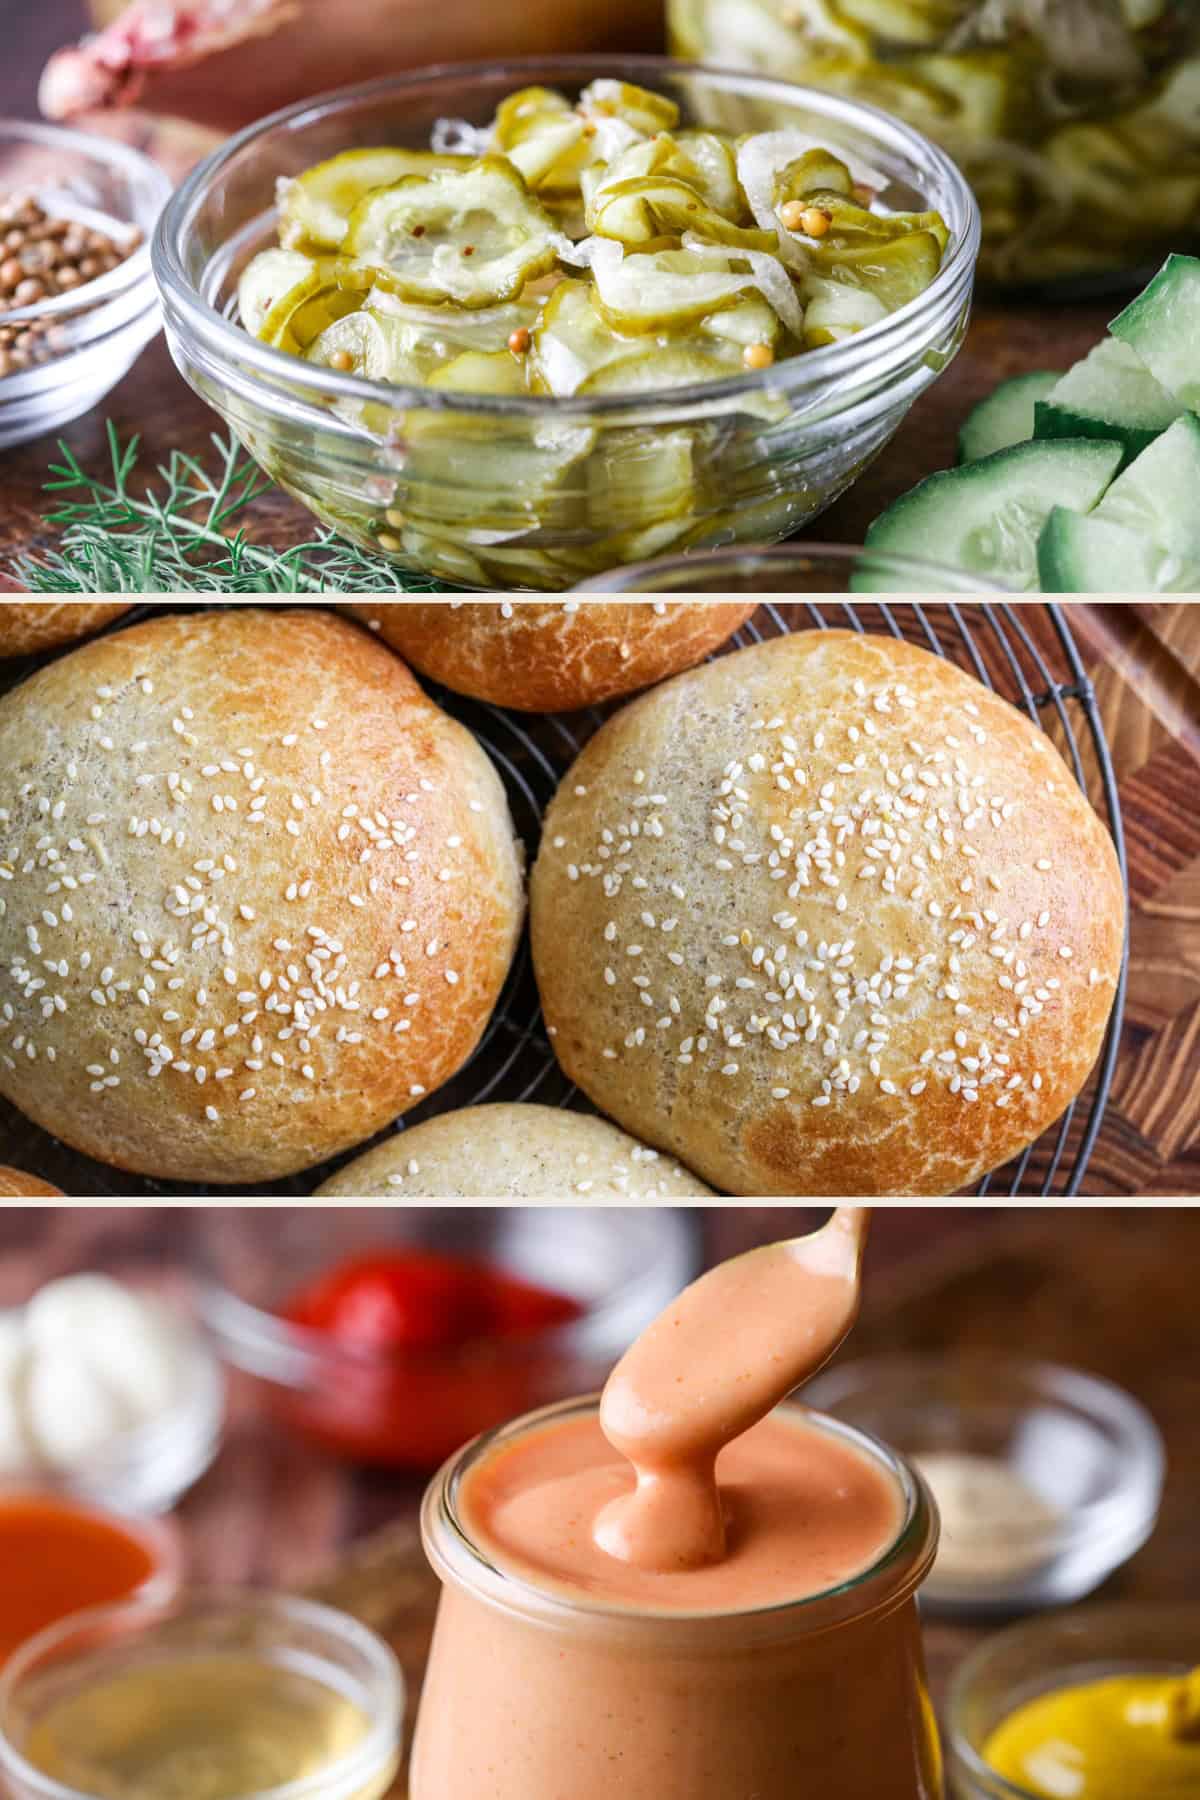
Prepare the homemade gluten-free burger buns (if using), Buffalo Burger Sauce and Bread and Butter Pickles in advance using their linked recipes.
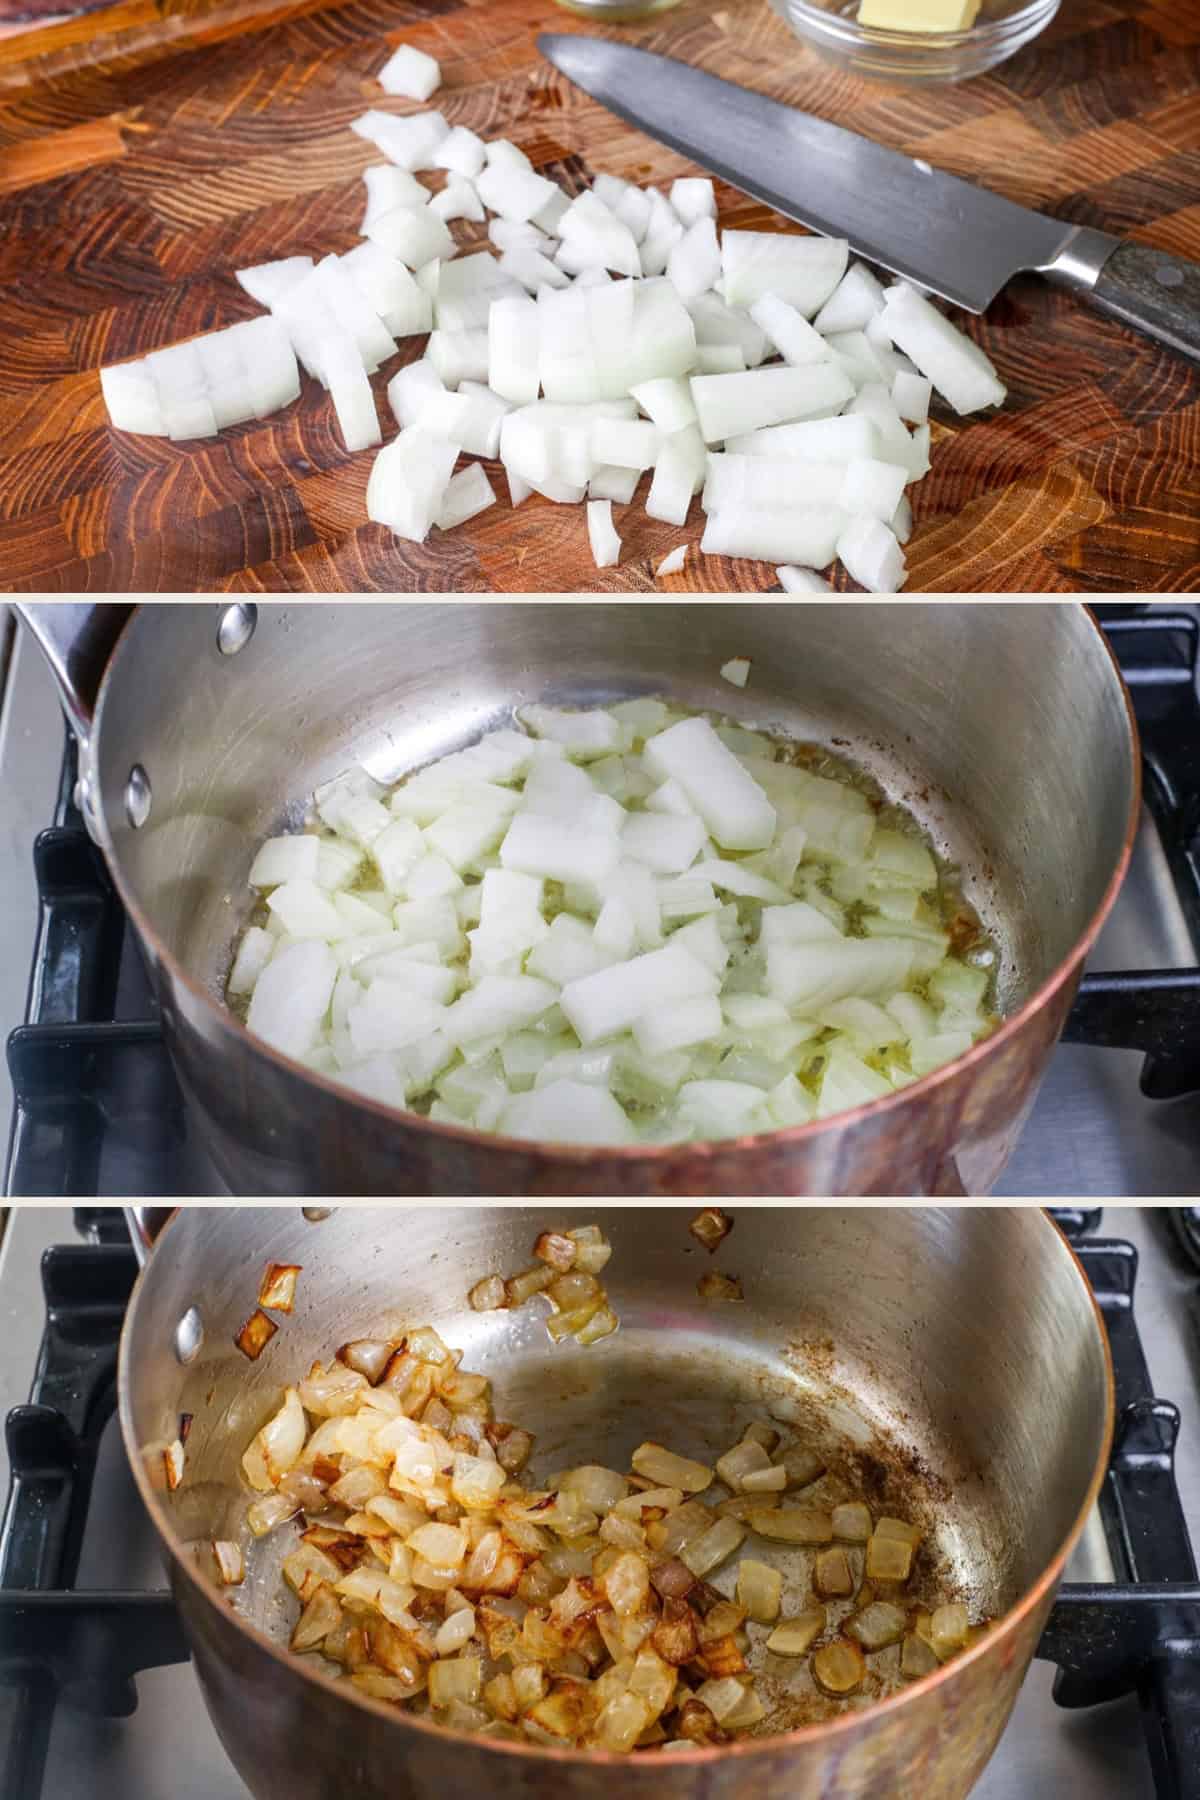
Make the caramelised onions by sizzling diced onions over a medium heat with butter and oil for 12-15 minutes.
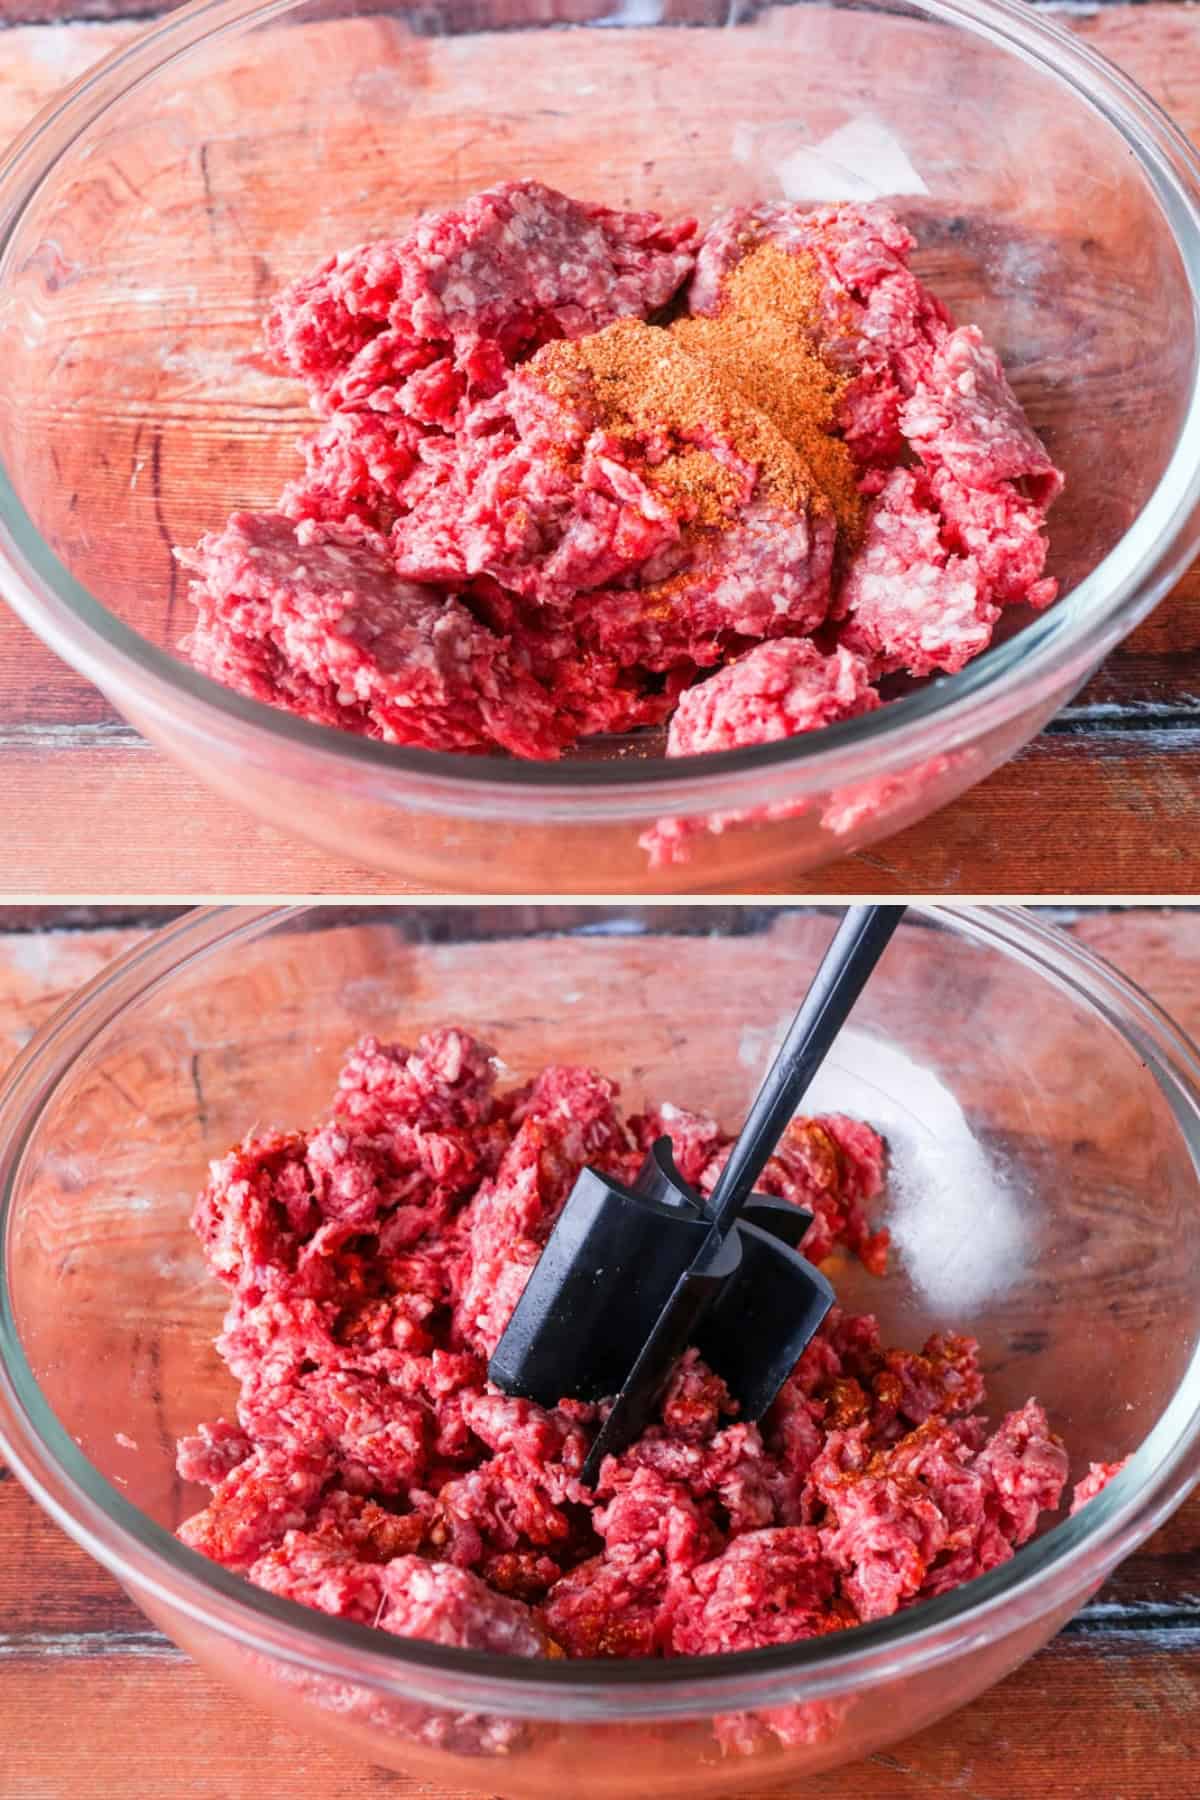
Make the beef burger patties by mixing together the beef mince and everyday seasoning in a large mixing bowl.
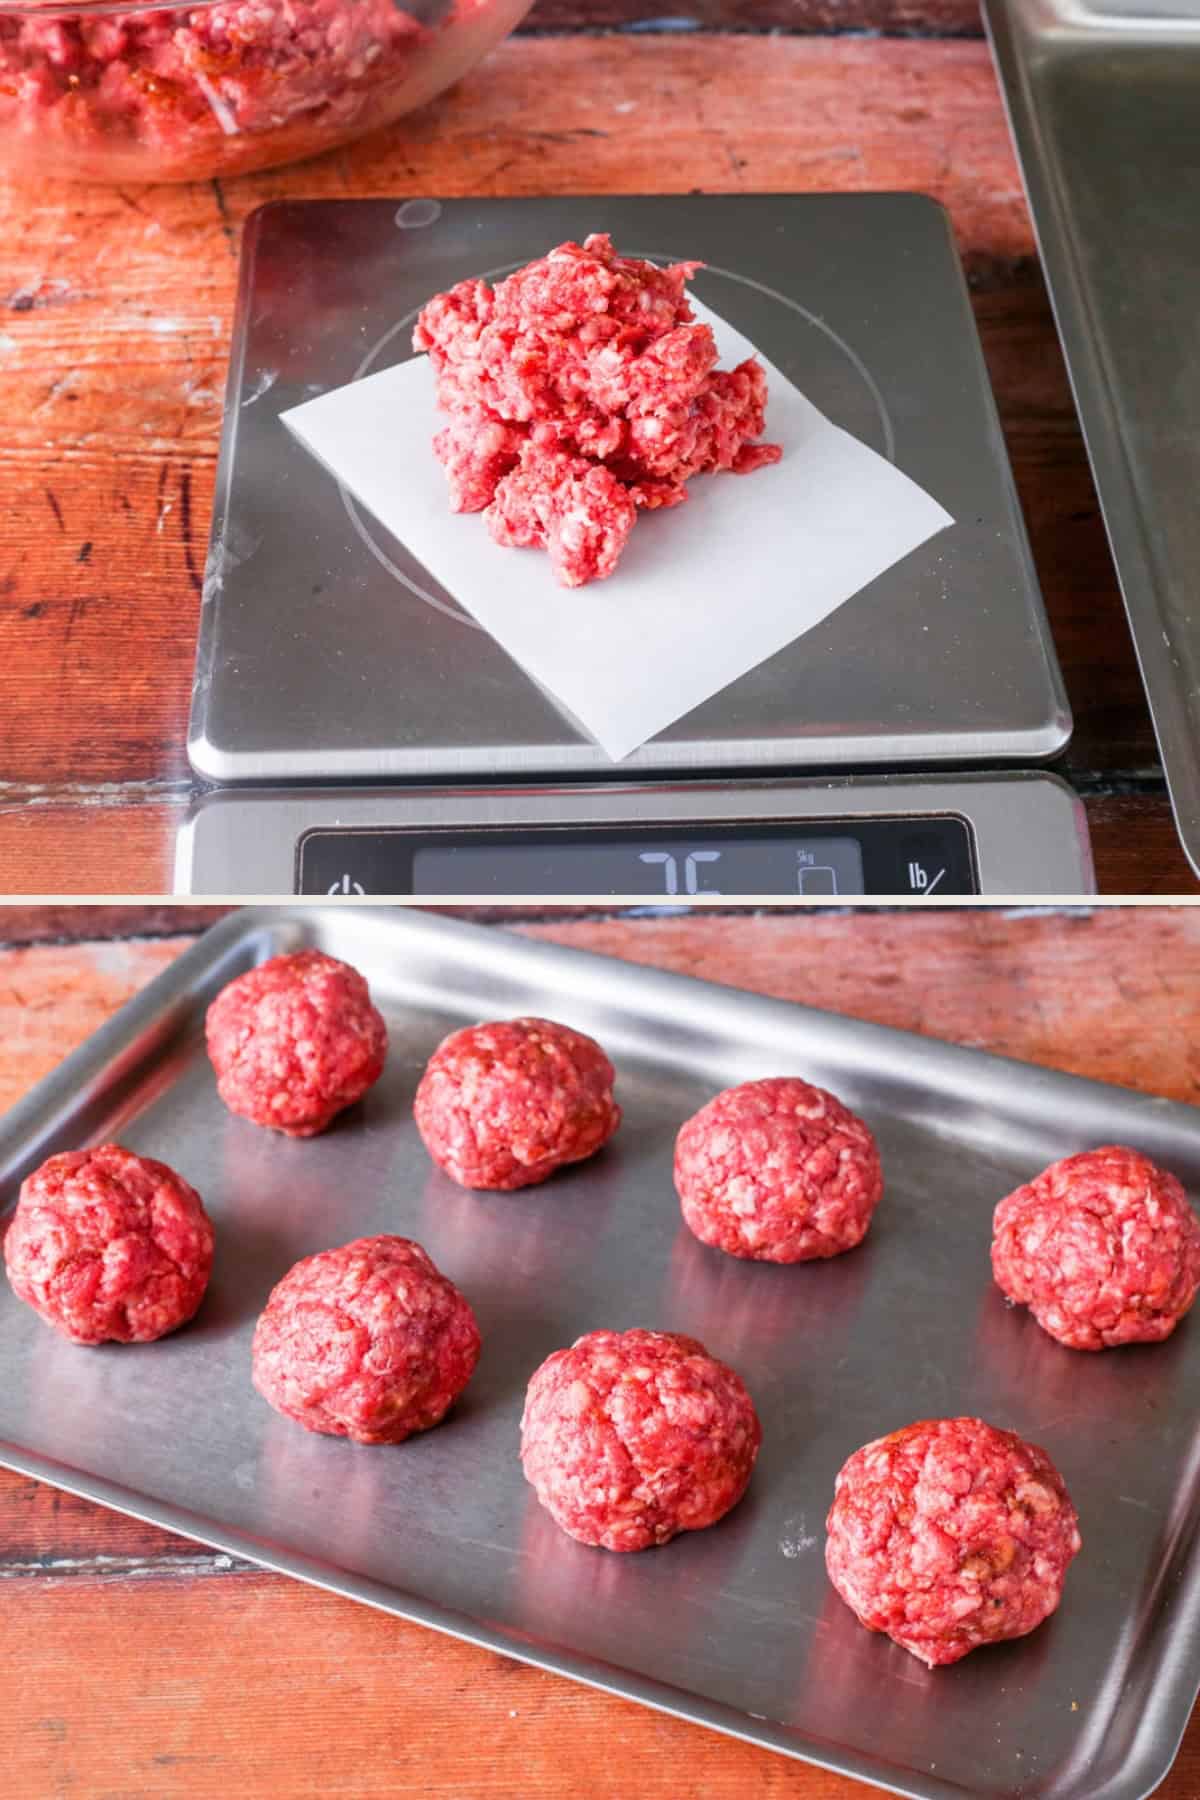
Roll out 8 x 75g balls of mince.
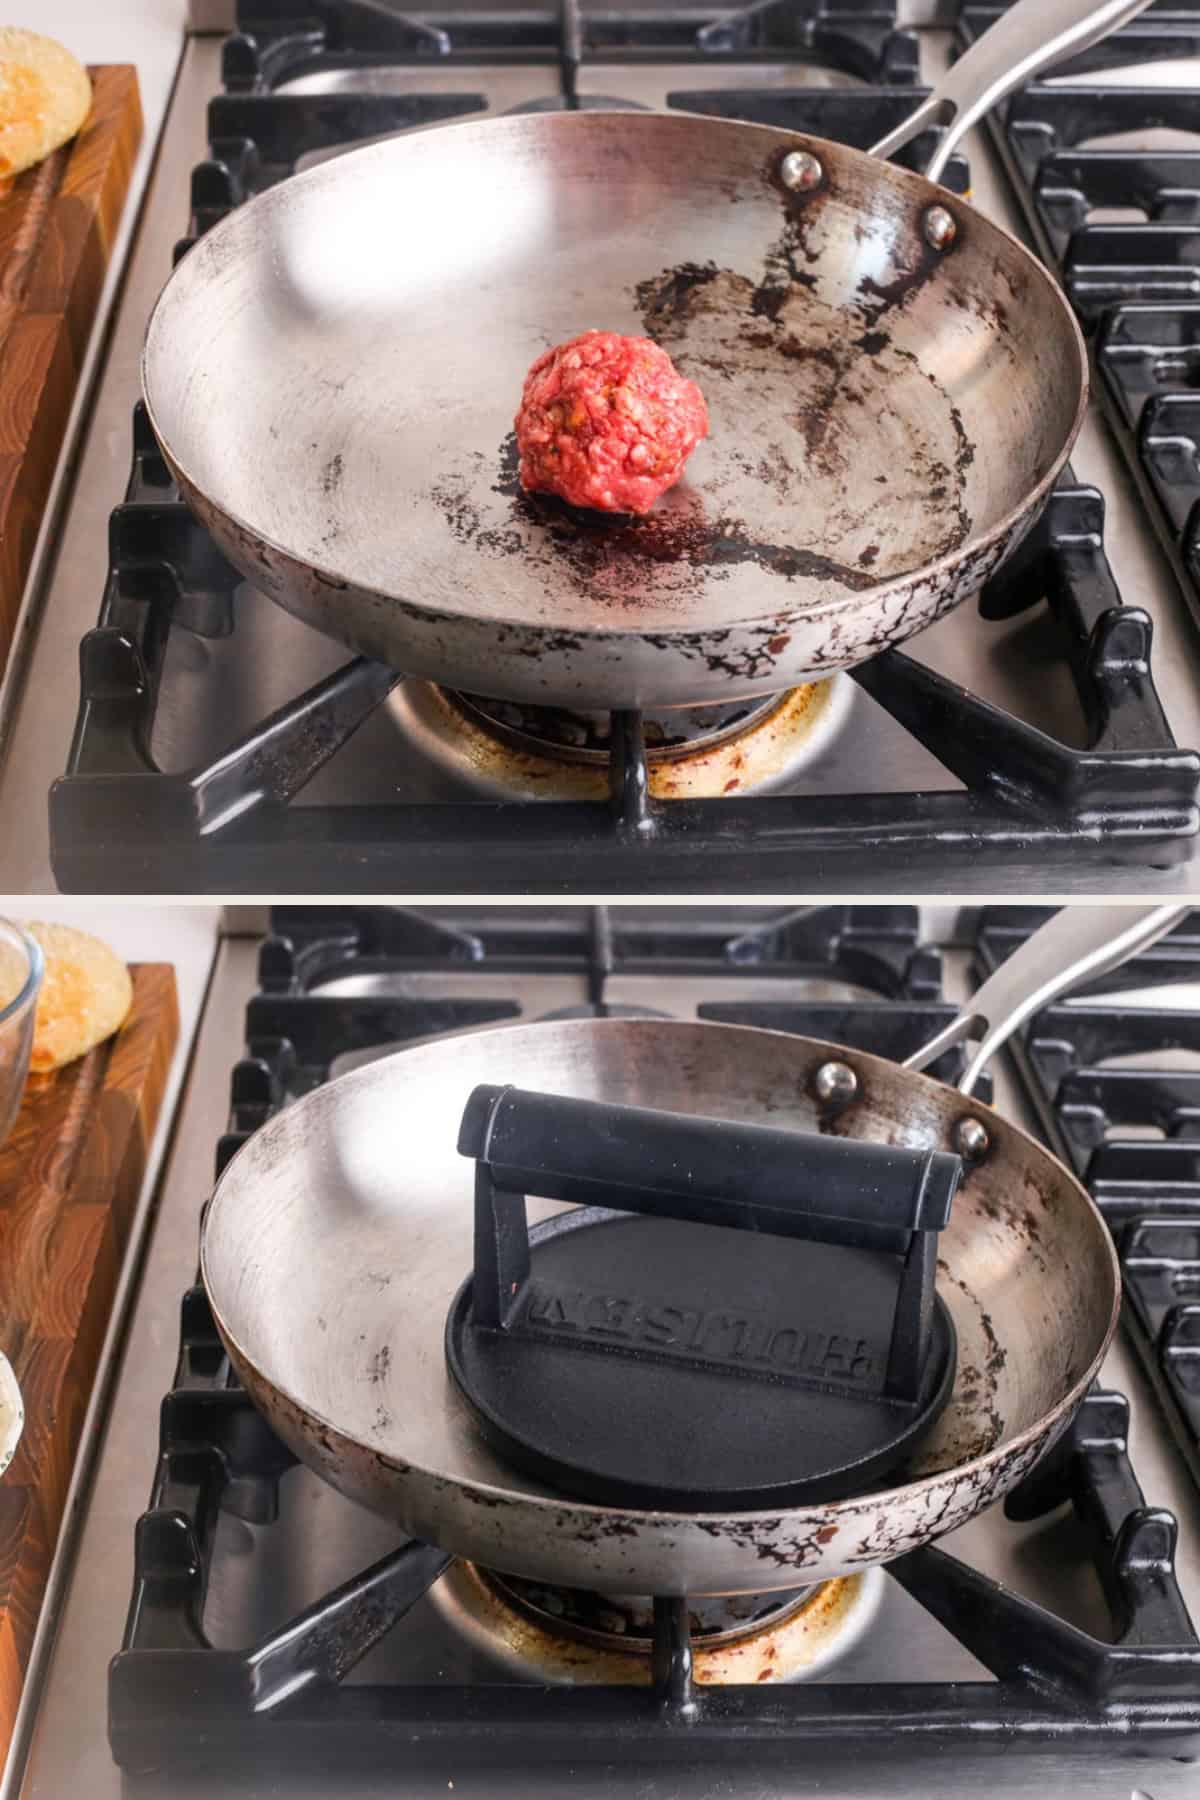
Place one of the beef balls on the hot surface of a frying pan and smash down with a burger press.
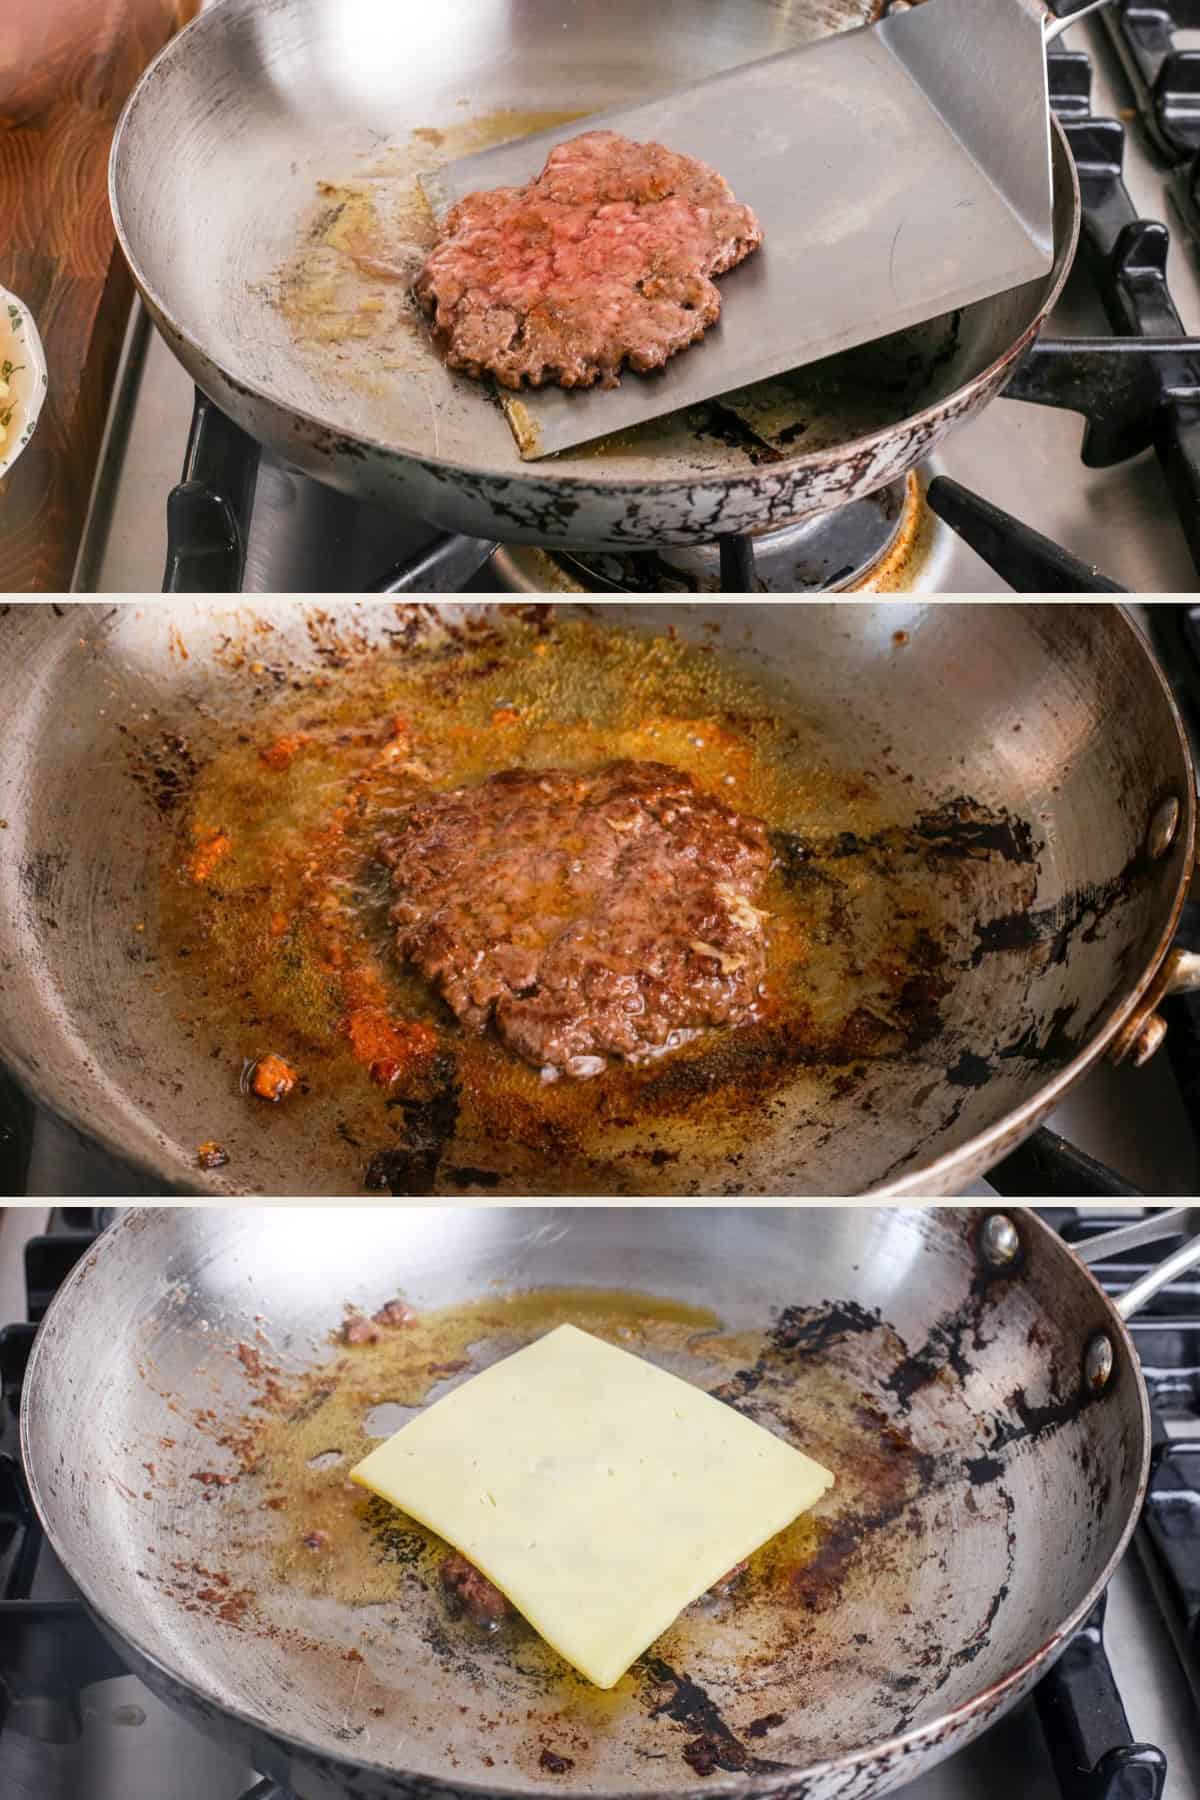
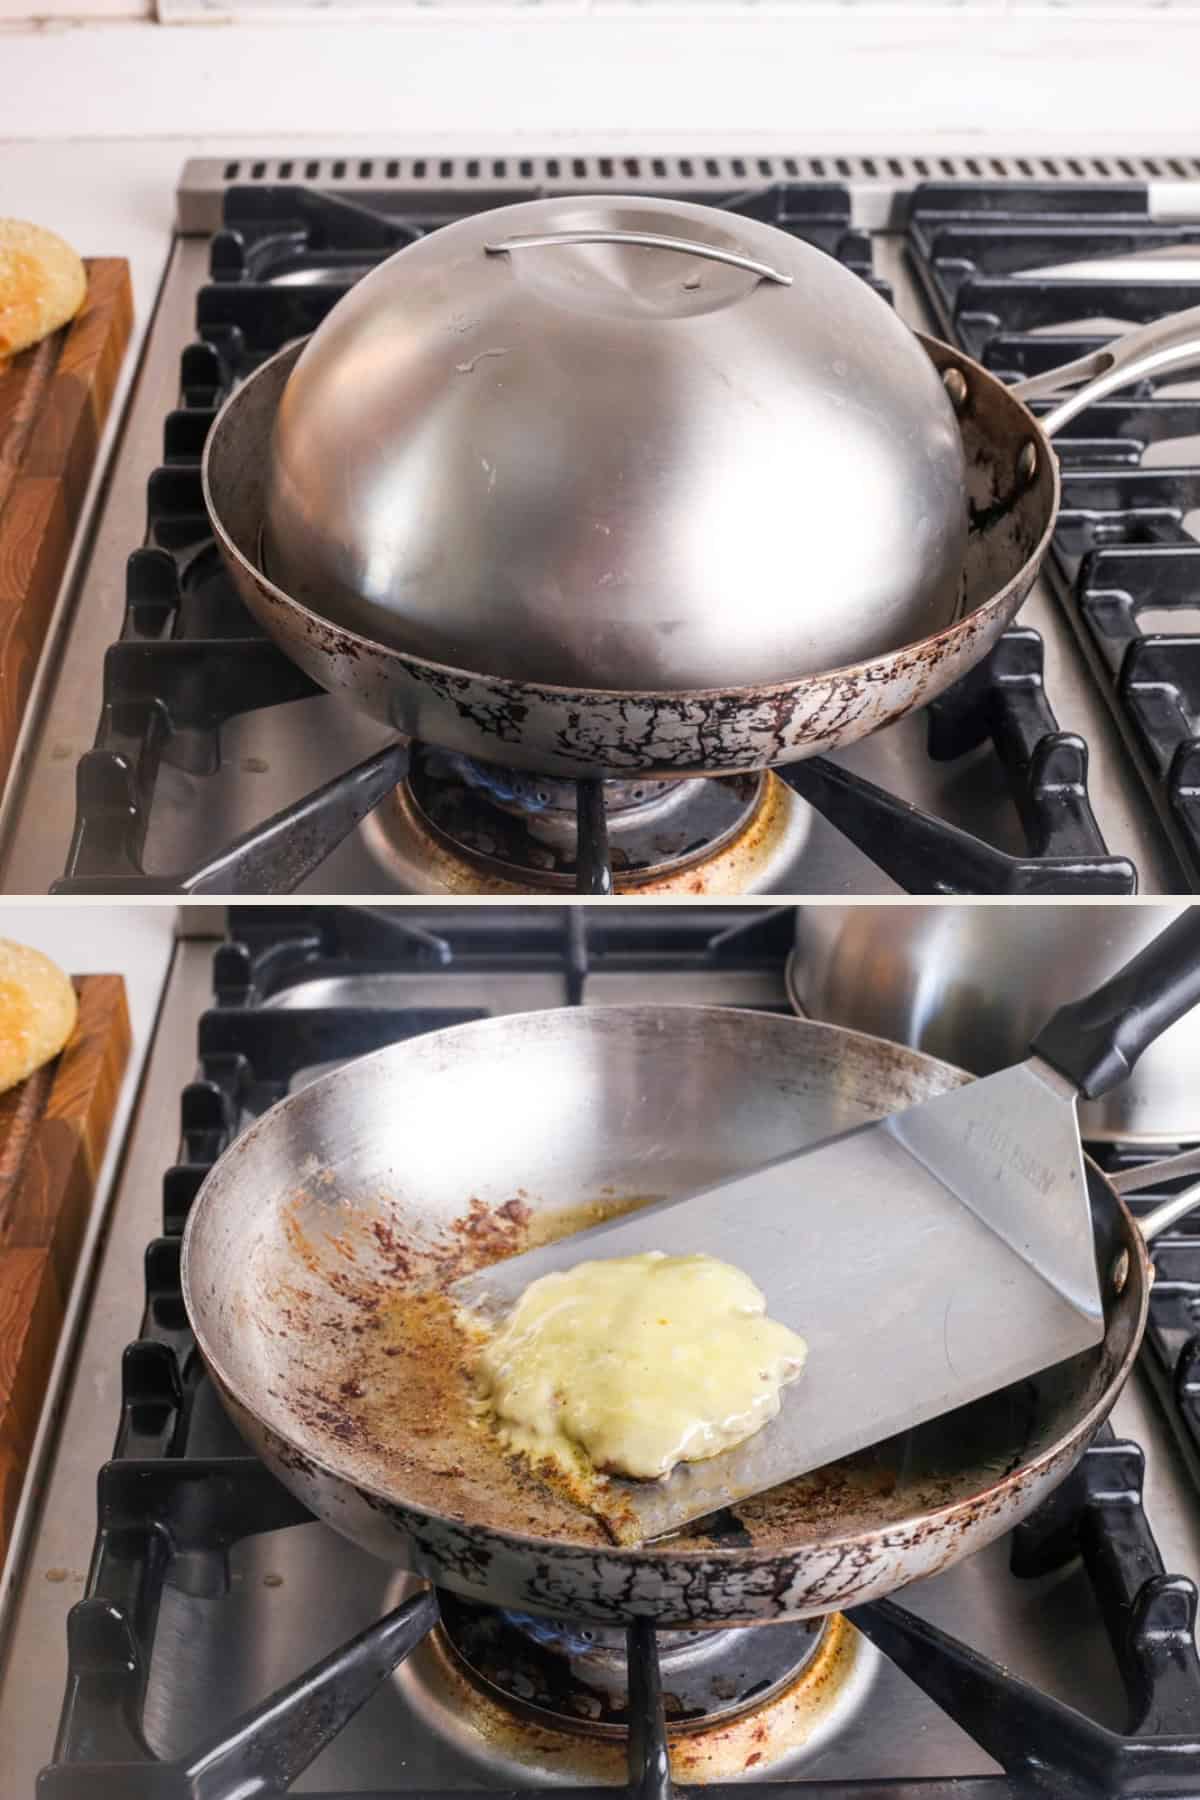
Remove the press and cook the patty for 2-3 minutes until it has achieved a crispy brown underneath and loosens easily from the pan. Turn the patty over, place the cheese slice on top and place the melting dome on top. Cook until the cheese has melted (1-2 minutes).
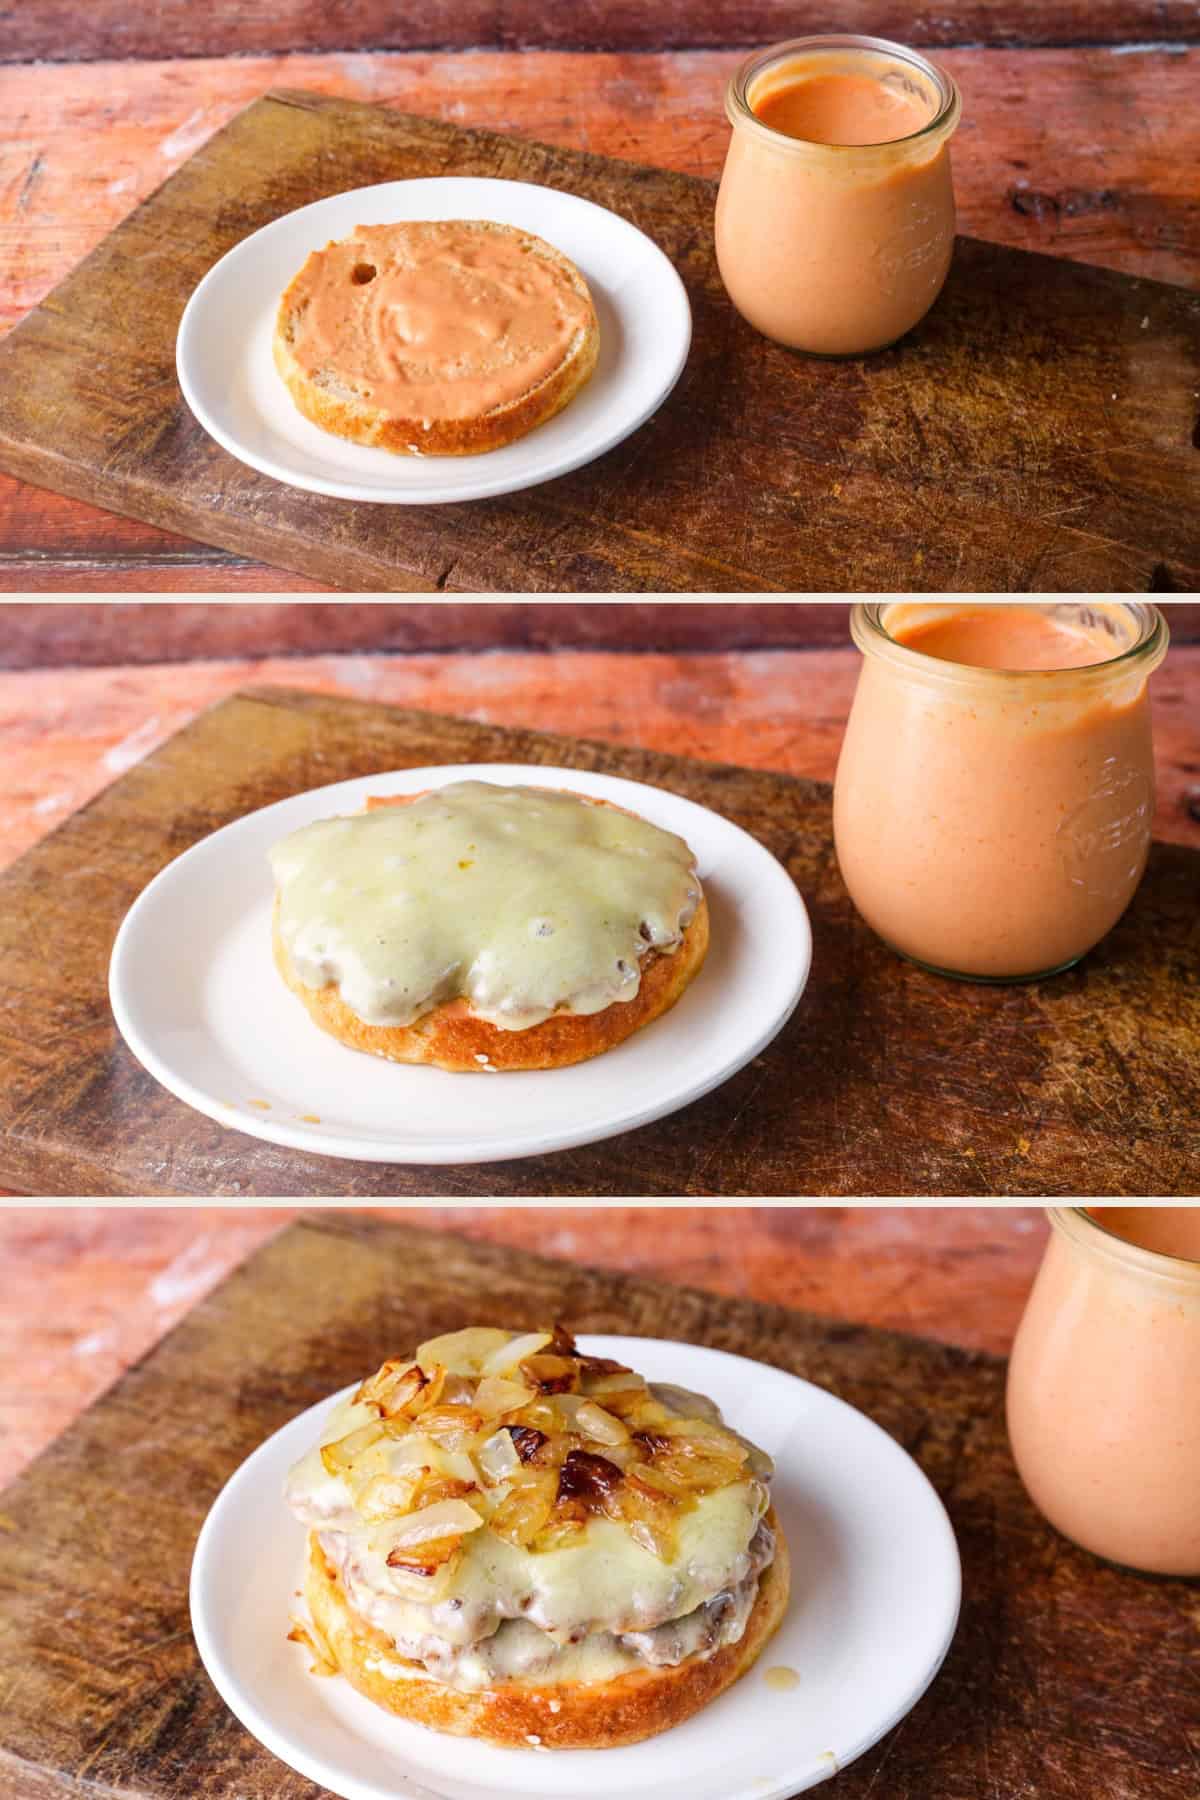
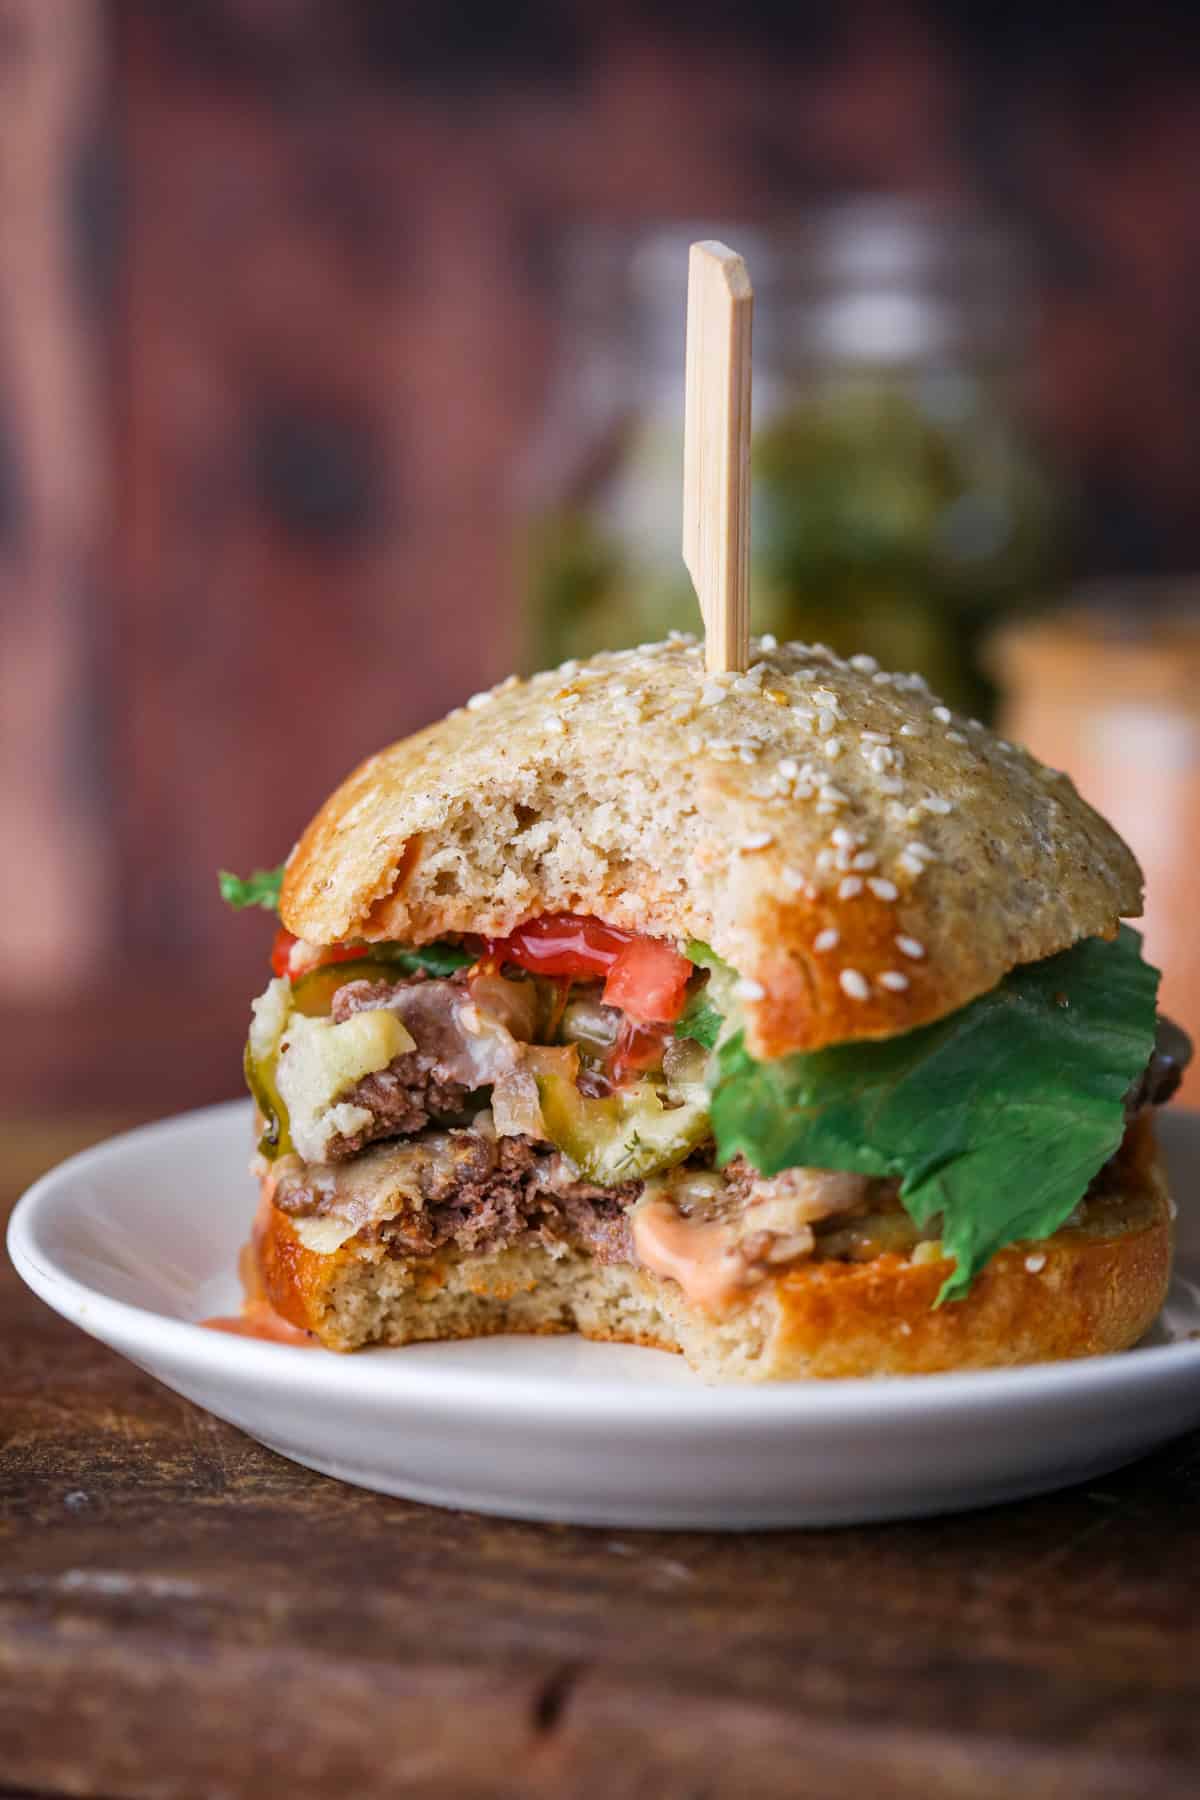
Repeat with a second burger patty then place the burger patties upon the toasted half of a gluten-free bun spread with burger sauce. Pile some caramelised onion on top.
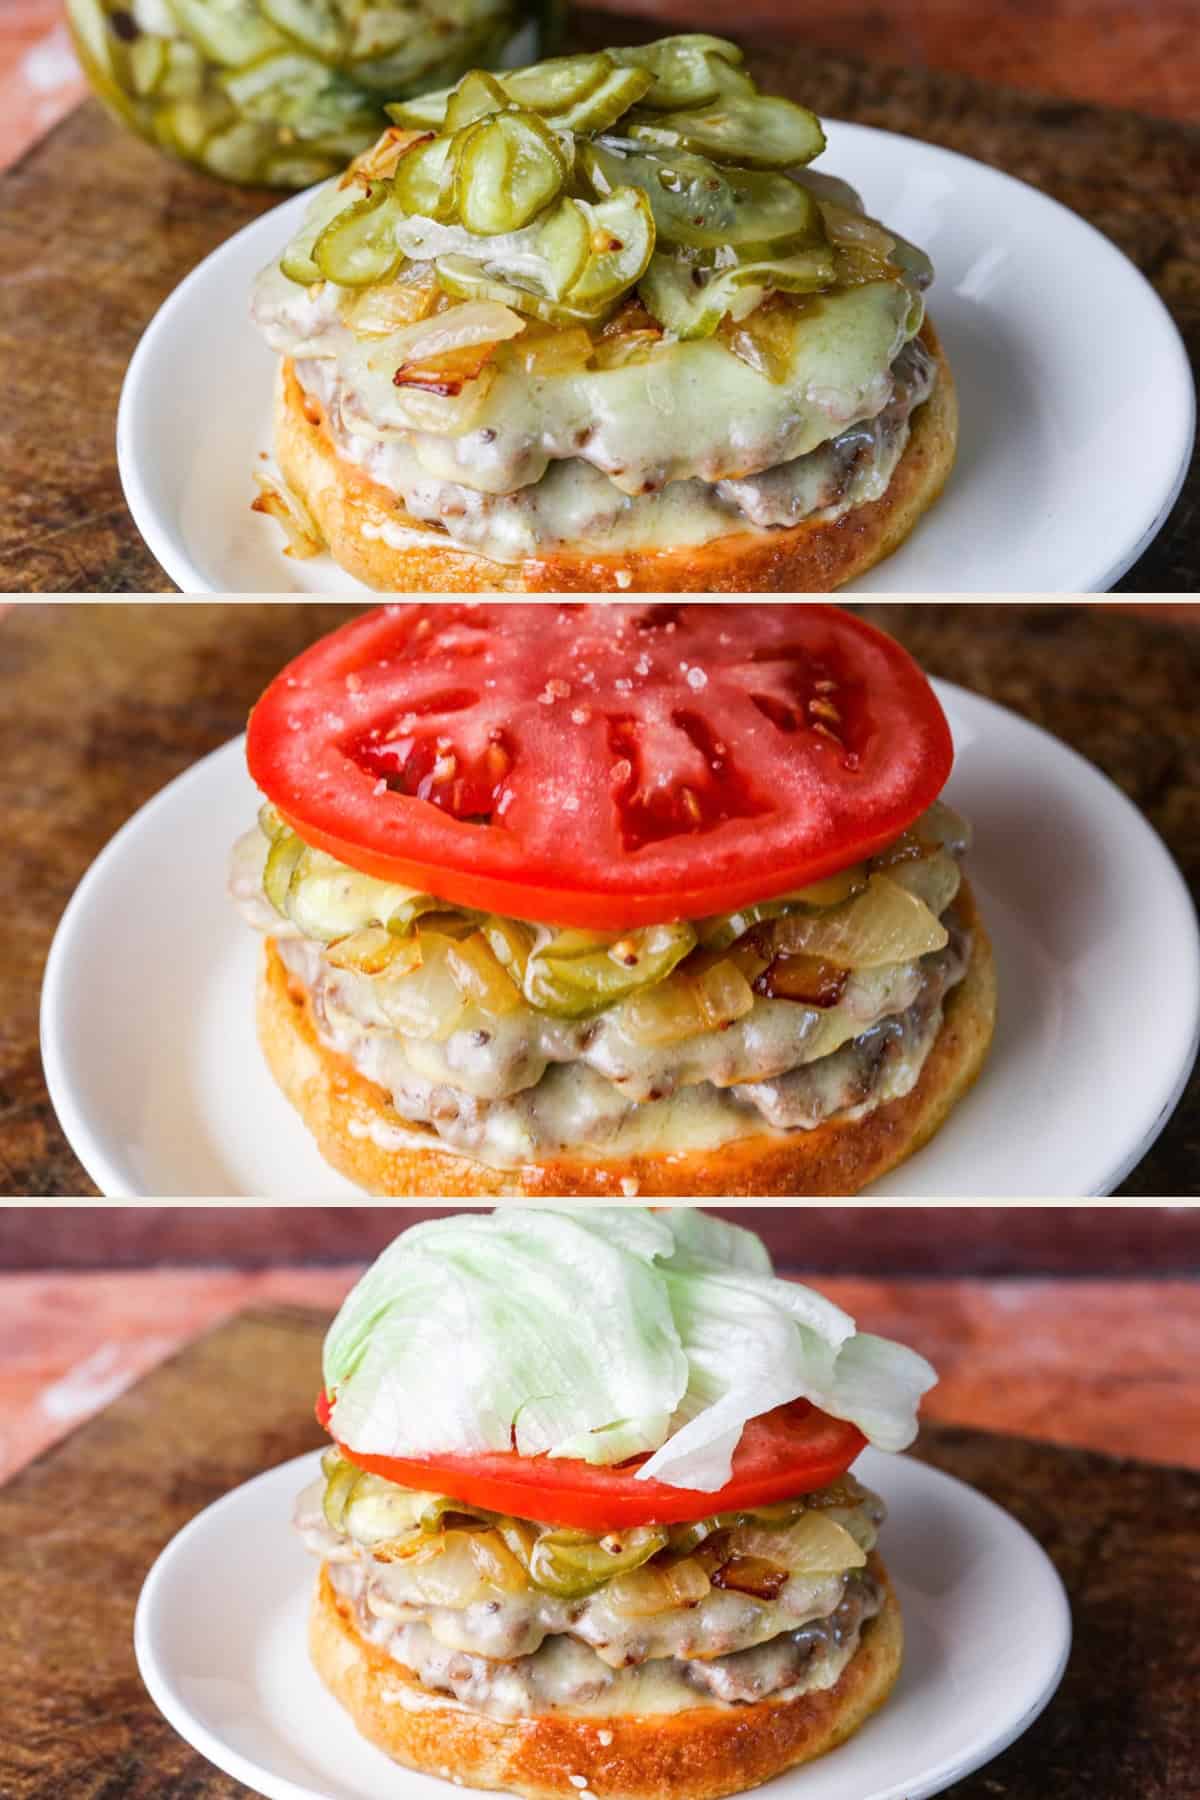
Top with pickles, a salted slice of beef tomato and a handful of lettuce.
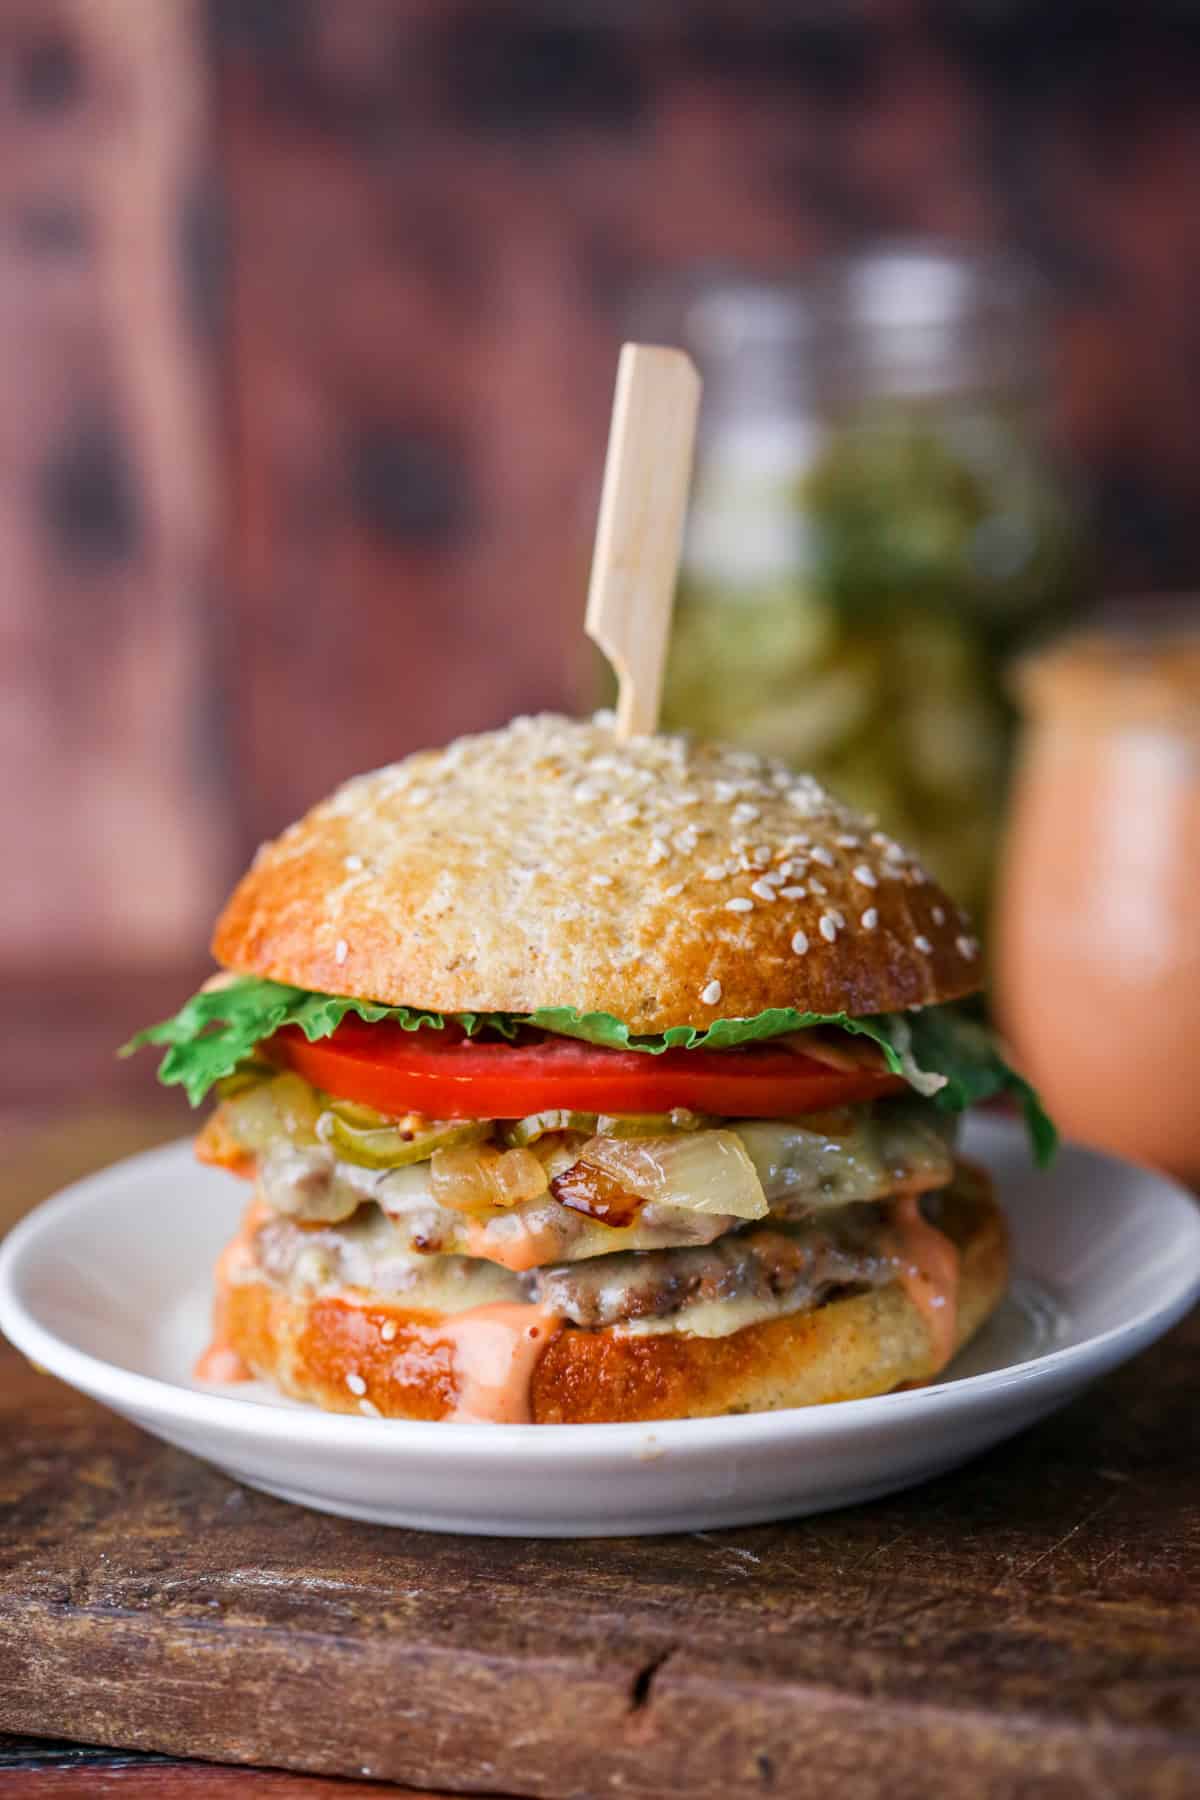
Close with the toasted top half of the bun smeared with more burger sauce. Spear with a wooden skewer to hold the whole burger together then serve immediately. Repeat with the other burgers.
Tips & Troubleshooting
I use 2 burger patties in each bun for the adults and 1 burger patty for the younger children. Since this recipe makes 8 burger patties, this recipe is enough to serve 4 adults or 2 adults and 4 children.
When you are shaping your beef balls you don’t want them to be too compact but rather just shape into a loose ball, as otherwise this can lead to tough burgers.
I recommend toasting all your burger buns first which helps to reduce any sogginess by giving the surface of the bun a bit of a barrier.
Pre-heat your pan on a medium-high heat for a couple of minutes before you begin cooking your burger patties. It needs to be hot enough to successfully establish the Maillard reaction. This is the chemical reaction between the amino acids and reducing sugars when the burger patty is exposed to a high heat. This is what will create your rich brown crust and caramelised edges and gives you meat its signature flavour.
To ascertain whether your pan is at the right temperature you should flick some water over the surface of the pan. If it is hot enough the water will roll and bead and immediately evaporate.
Place your burger patty into the centre of the pan (no oil should be needed if your pan is hot enough and your beef has enough fat) then squish down with the burger press. Leave the burger press on the meat for at least the first minute when cooking the first side so all its surface is always pressed against the pan. Remove it after the first minute so you are not pressing away vital juices.
If you are finding it hard to loosen the burger patty from the pan after you have cooked the first side then either the pan has not been hot enough or the burger has not cooked for long enough. Turn the heat up and cook the burger a fraction longer until it can be loosened from the pan.
I recommend serving your burgers as soon as each one is ready if you don’t mind a slightly staggered serving. This works for a casual family dinner and means each burger is served as fresh and hot as possible from coming out of the pan.
If you would like to serve all the burgers at the same time then that’s fine too – but I recommend assembling the burgers and adding the toppings once all the burger patties have been cooked so the salad toppings stay fresh and the bun doesn’t start getting soggy.
Prepare all your toppings ahead of time and organise a mini-production line so you can top your burgers very quickly after the second patty has been taken out of the pan.
Classic Side Options
The burger is in itself can be a complete meal. However, that doesn’t mean that we can’t live a little with a few extra sides.
- Crispy potato wedges or homemade oven chips.
- Light and bright coleslaw – this one isn’t too mayo heavy.
- Crunchy Chopped Salad or Corn on the Cob.
- Gluten-Free Onion Rings.
Alternative Topping Ideas
Bacon Cheeseburger. Add a couple of slices of extra crispy smoked streaky bacon.
BBQ Burger. Add in a good dollop of this quick and easy BBQ sauce into your burger (either instead of the burger sauce or replace on one of the halves).
Blue Cheese. I mentioned above about using a blue cheese slice anyway but if you add some peppery rocket into the burger as well it balances out the richness of the cheese (rather than regular lettuce).
Relish Burger. Switch out the pickles for this courgette relish which is incredible in burgers.
Avocado. Smear on some smashed avocado to the top of the burger bun. Gosh I love this!
Breakfast Burger. Add a fried egg, crispy bacon and a good dollop of brown sauce for a full-english inspired burger.
FAQs
The most obvious component in a regular smash burger which isn’t gluten-free is the bun. This recipe uses my homemade gluten-free buns. However, be cautious of the other ingredients as well. Check labels if you are using pre-made burger patties and shop bought condiments may have hidden gluten.
Gluten-free flours can be more fragile than wheat flour as it doesn’t have those strong gluten bonds. So gluten-free bread can be dryer, more crumbly and not strong enough to hold the burgers and all the toppings. This recipe uses my sturdy (but not dense) gluten-free buns which are perfect for holding double cheeseburgers and all the fillings you want without any breakage.
More Gluten-Free Family Meals You’ll Love
Finally you can celebrate pizza night again with this fantastic Gluten-Free Pizza Dough. It will deliver you an absolutely delicious pizza with a light, slightly crisp, slightly chewy thin crust. Made with cassava flour and your favourite gluten-free flour blend
This Gluten-Free Macaroni Cheese is creamy, comforting and easy to make for weeknight dinners.
This Gluten-Free Meatloaf is a great economical alternative to a joint of meat for your Sunday roast dinner and happily serves a huge crowd. This juicy gluten-free meatloaf is moist and incredibly flavourful whilst being packed with vegetables. It slices like a dream without crumbling.
Enter your email below to get this recipe sent to your inbox plus get new recipes, baking tips, and updates.
Gluten-Free Smash Burgers
Ingredients
For the beef
- 600 g beef mince
- 2 teaspoons everyday seasoning
- 8 cheese slices - American cheese, cheddar cheese or blue cheese slices
For assembly
- 1 large onion - peeled and diced
- 20 g unsalted butter
- 1 teaspoon olive oil
- 4 gluten-free burger buns - homemade burger bun recipe
- 1 batch burger sauce - Buffalo burger sauce
- ½ batch sliced pickles - homemade bread and butter pickles
- 1 large beef tomato
- ½ head fresh lettuce - iceberg or romaine is fine
Instructions
- Prepare the homemade gluten-free burger buns (if using), Buffalo Burger Sauce and Bread and Butter Pickles in advance using their linked recipes.
Caramelised Onions
- Heat butter and olive oil in pan over a medium heat until the butter has melted.
- Add the diced onions. Cook on a medium – low heat for 12-15 minutes, stirring every so often. The onions are ready when they are translucent and turning golden brown and caramelised at the edges.
- Set aside whilst you prepare the beef burgers.
Making and Assembling the Burgers
- Place the beef mince and everyday seasoning in a large mixing bowl and mix together using clean hands until completely combined.
- Tear off some of the beef and weigh to 75g. Roll the beef between the palms of your hands until you have formed a ball. Repeat with the rest of the beef mince until you have 8 balls.
- Set aside whilst you heat the pan and prepare the buns.
- Heat a large heavy based frying pan until medium-hot. To test the heat of the pan flick some water over the surface which should roll and bead together immediately evaporating.
- Cut the burger buns in half horizontally and toast the cut sides of the buns. Allow to cool and set aside.
- Cook the burger patties one at a time. Place one of the beef balls on the hot surface of the frying pan. Immediately place a cast iron burger press on top of the beef ball to smash it down. Remove the burger press after the first minute. Allow the patty to cook for 2-3 minutes then try flipping the burger patty over. The beef patty should be easy to loosen from the pan and have developed a crispy brown crust underneath.
- Flip the burger over to cook the other side. Immediately add a cheese slice to the top of the burger and place the melting dome over the top of the burger. Cook for 1-2 minutes until the cheese has completely melted over the burger and is forming crispy cobwebs at the base of the burger patty.
- Remove the burger patty from the pan.
- Spread some burger sauce over the surface of each halves of the toasted bun. Place the cooked cheeseburger patty directly onto the bun base.
- Scrape the loose bits of burger and cheese from the pan, give a wipe with a clean kitchen paper and cook the second burger patty, using the same process as the first. Stack the second cheeseburger on top of the first.
- Add a serving of caramelised onions, pickles, slice of tomato (please salt the tomato) and some lettuce leaves before closing with the top of the bun. You can spear the burger with a skewer to hold it together which makes it easier to serve. Then serve to your first lucky recipient.
- Repeat with the rest of the burgers.