Easy Homemade Bread and Butter Pickles
This post contains affiliate links. Please read my disclosures.

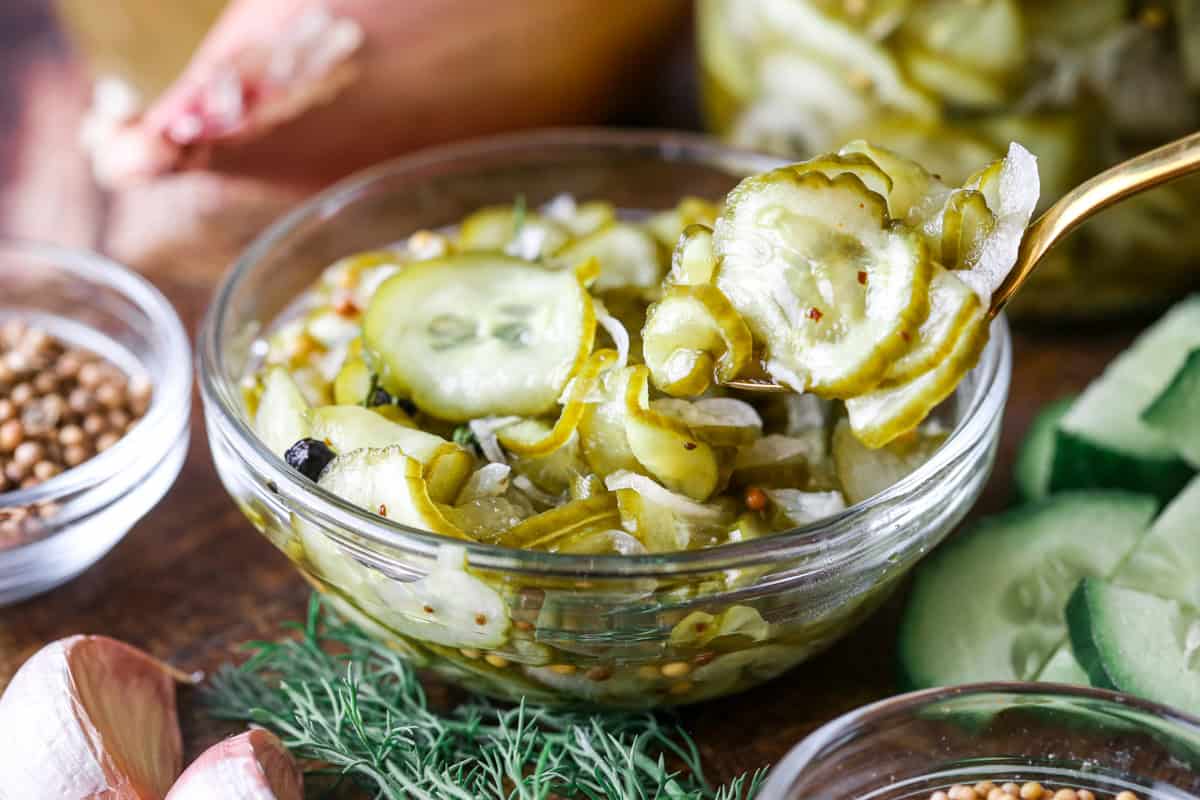
These homemade bread and butter pickles are easy to make with cucumber, shallots, mustard seeds and fresh dill. Perfect with sandwiches, burgers or serving at a BBQ or with a cheeseboard.
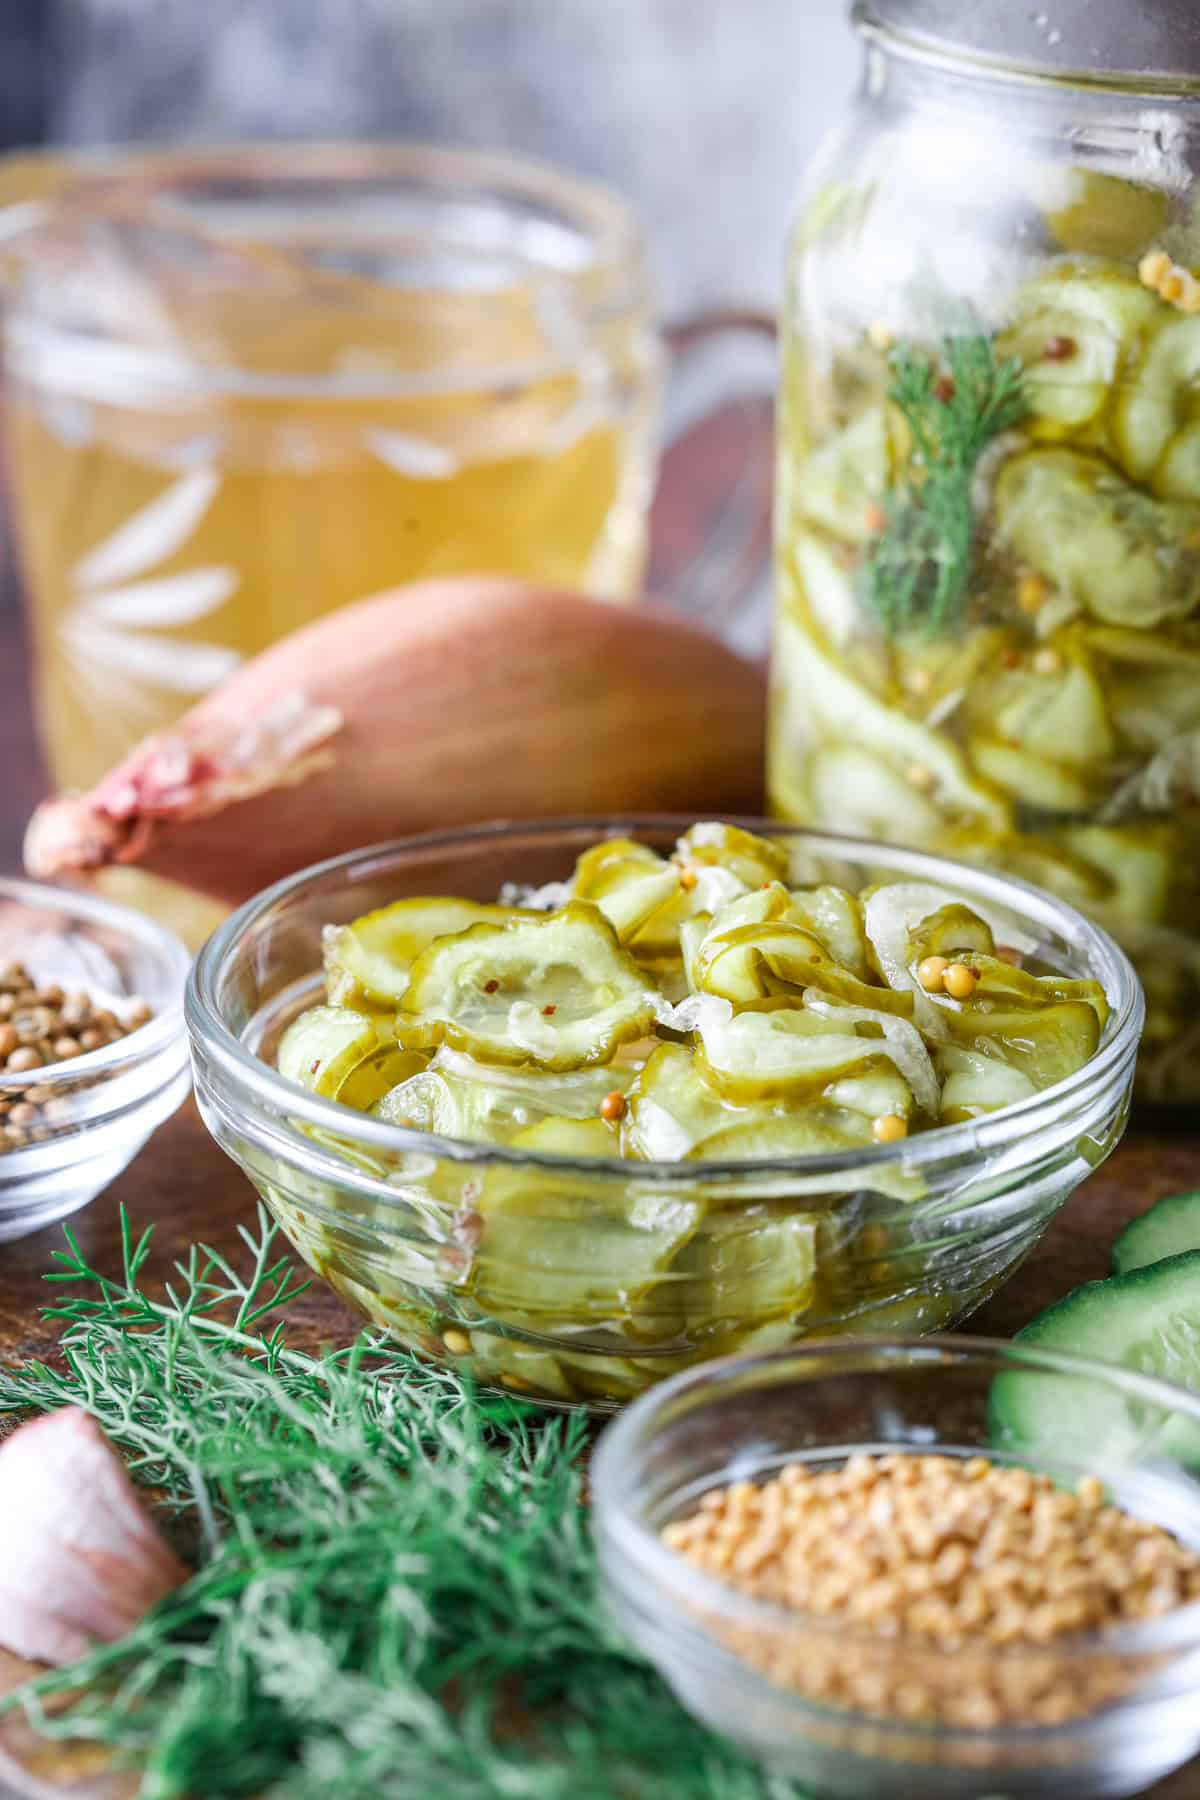
There is something about opening your fridge and seeing glorious jars stuffed with seasonal vegetables to improve any and all your meals so incredibly inviting.
These Bread and Butter Pickles, which are essentially, sliced cucumber and onion blanched in vinegar liberally sweetened and spiced and dashed through with fresh dill.
Recipes for these kind of sweet and sour cucumber pickles go back to early 20th century America. Many sources claim they are named as such either because they are were traditionally served in bread and butter sandwiches. Or that jars of these pickles were traded during the depression between families for everyday groceries, like bread and butter.
They are known for their sweetness, sharp tang and gentle spicing. They are not as astringent as dill pickles and as such they are incredibly moreish and do not last long in our fridge. It’s just as well they are so simple to make then.
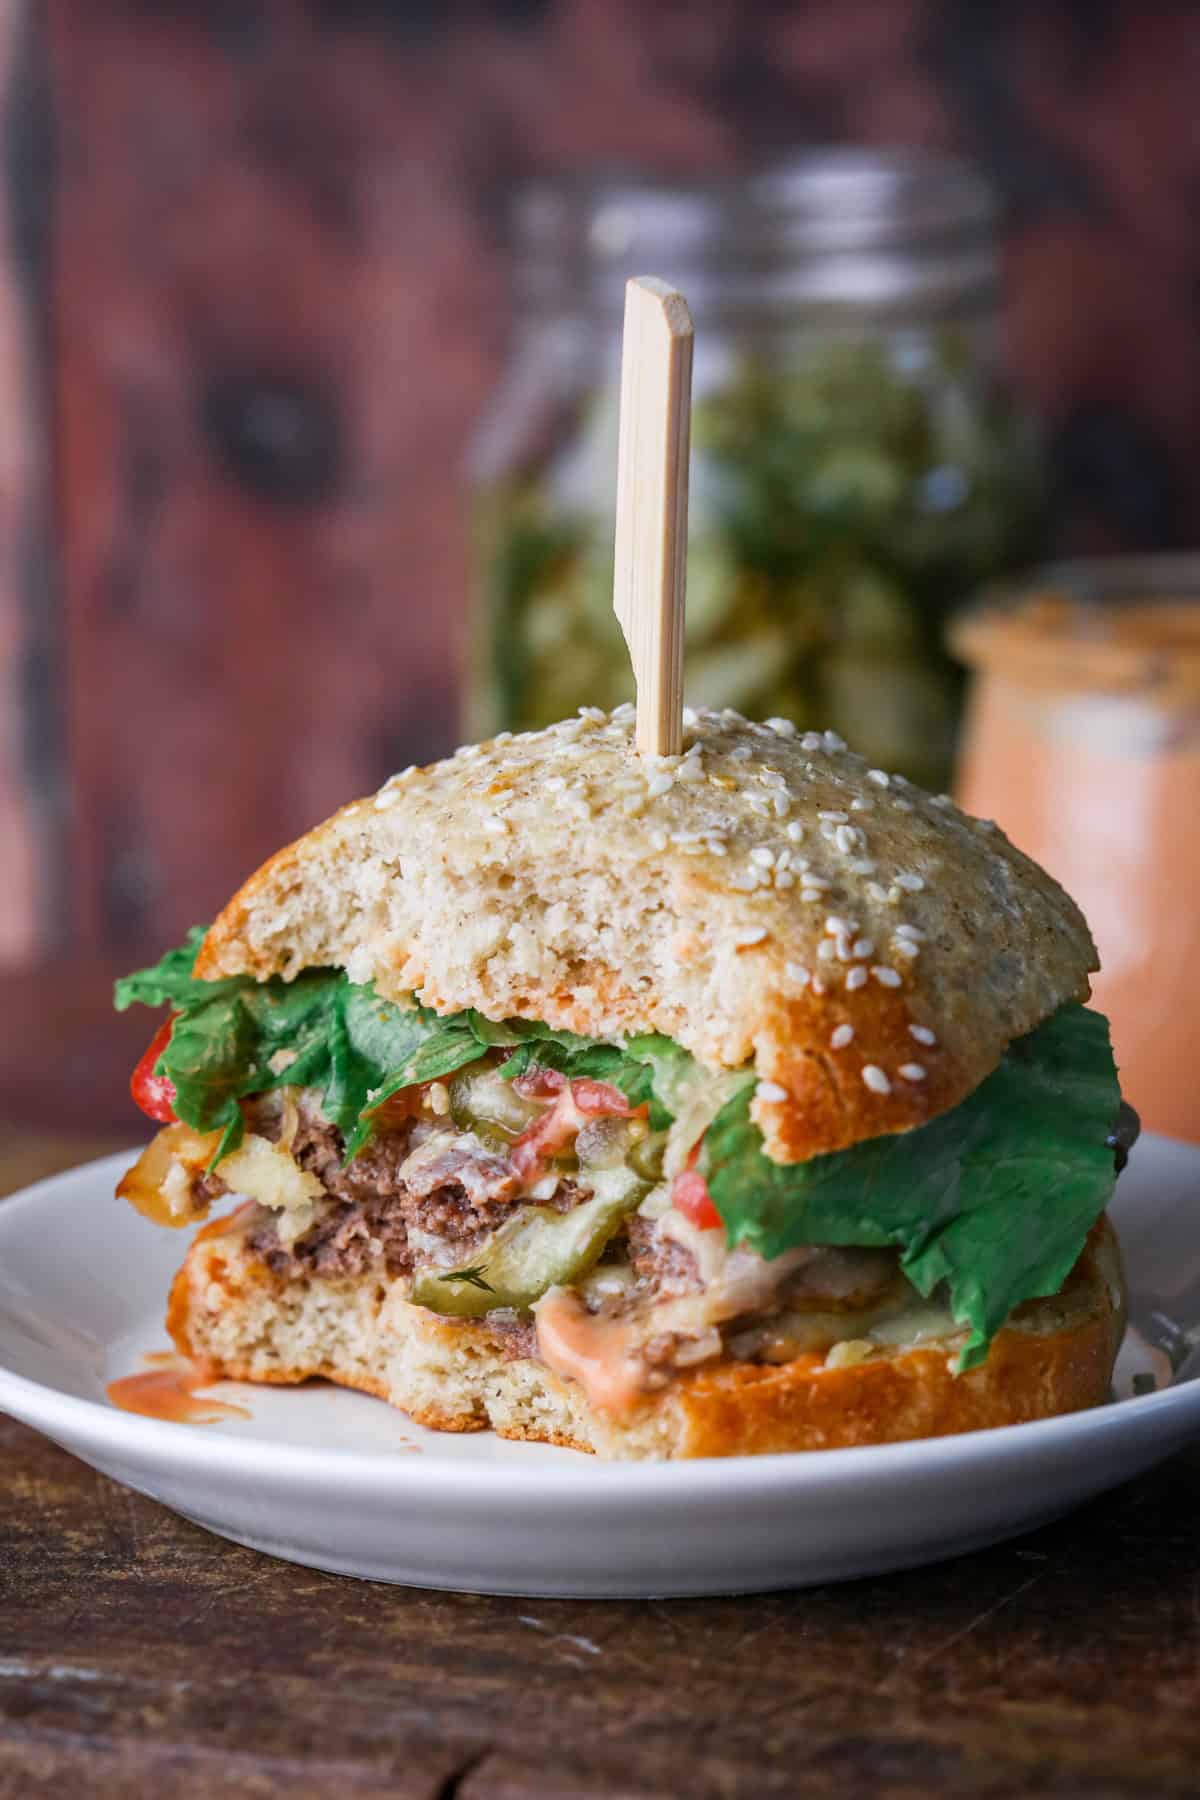
When we have a jar in our fridge we use them in any way we can. They are really appreciated in our homemade burgers, cheese and ham toasties. But also excellent with fish cakes, homemade quiche, pork pies, sausage rolls or with a cheeseboard or BBQ buffet.
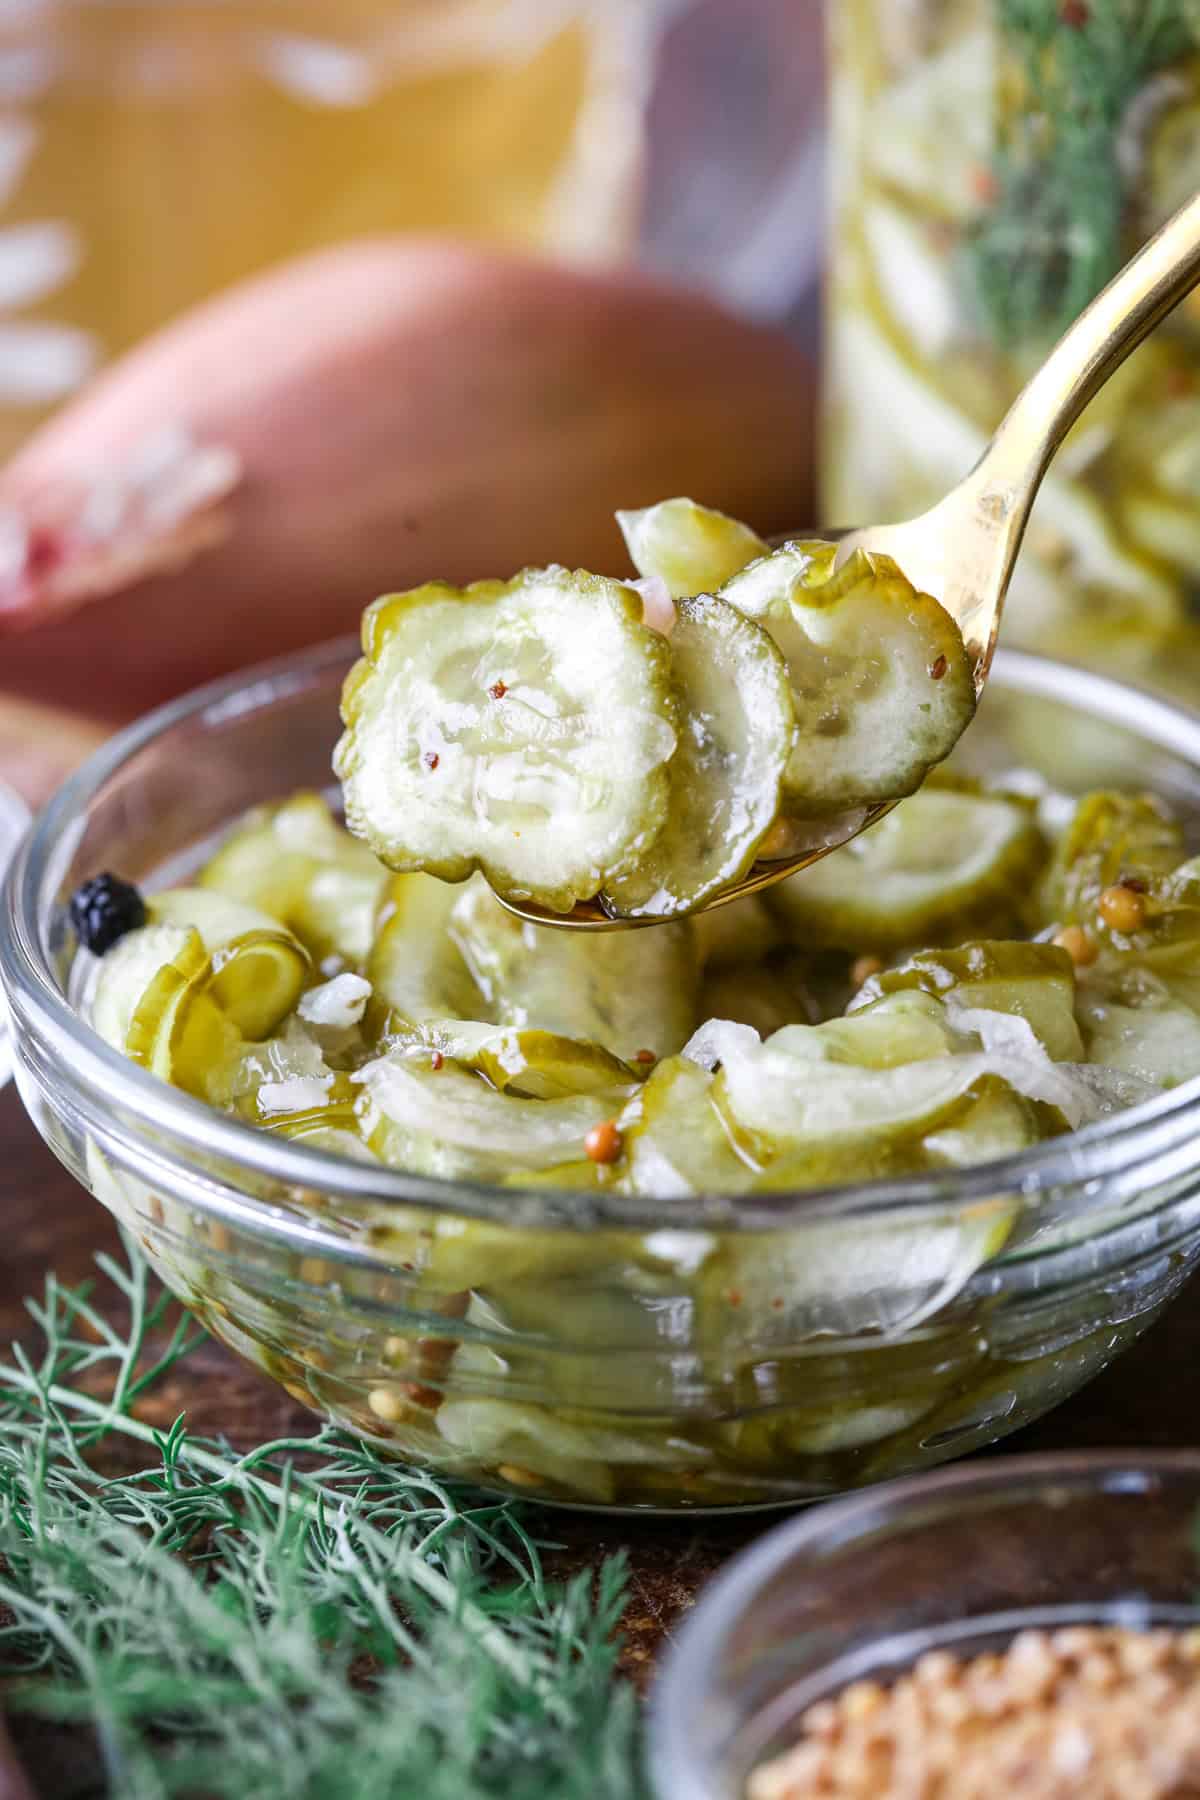
Why You’ll Love These Bread and Butter Pickles
- Sweet, tangy, slightly spiced flavour with gentle heat.
- Perfect for seasonal English cucumbers.
- Quick and easy to make (although there is a 2 hour salting period).
- Versatile to stuff into your favourite sandwiches, burgers or serving at a BBQ or with a cheeseboard.
Ingredients Needed
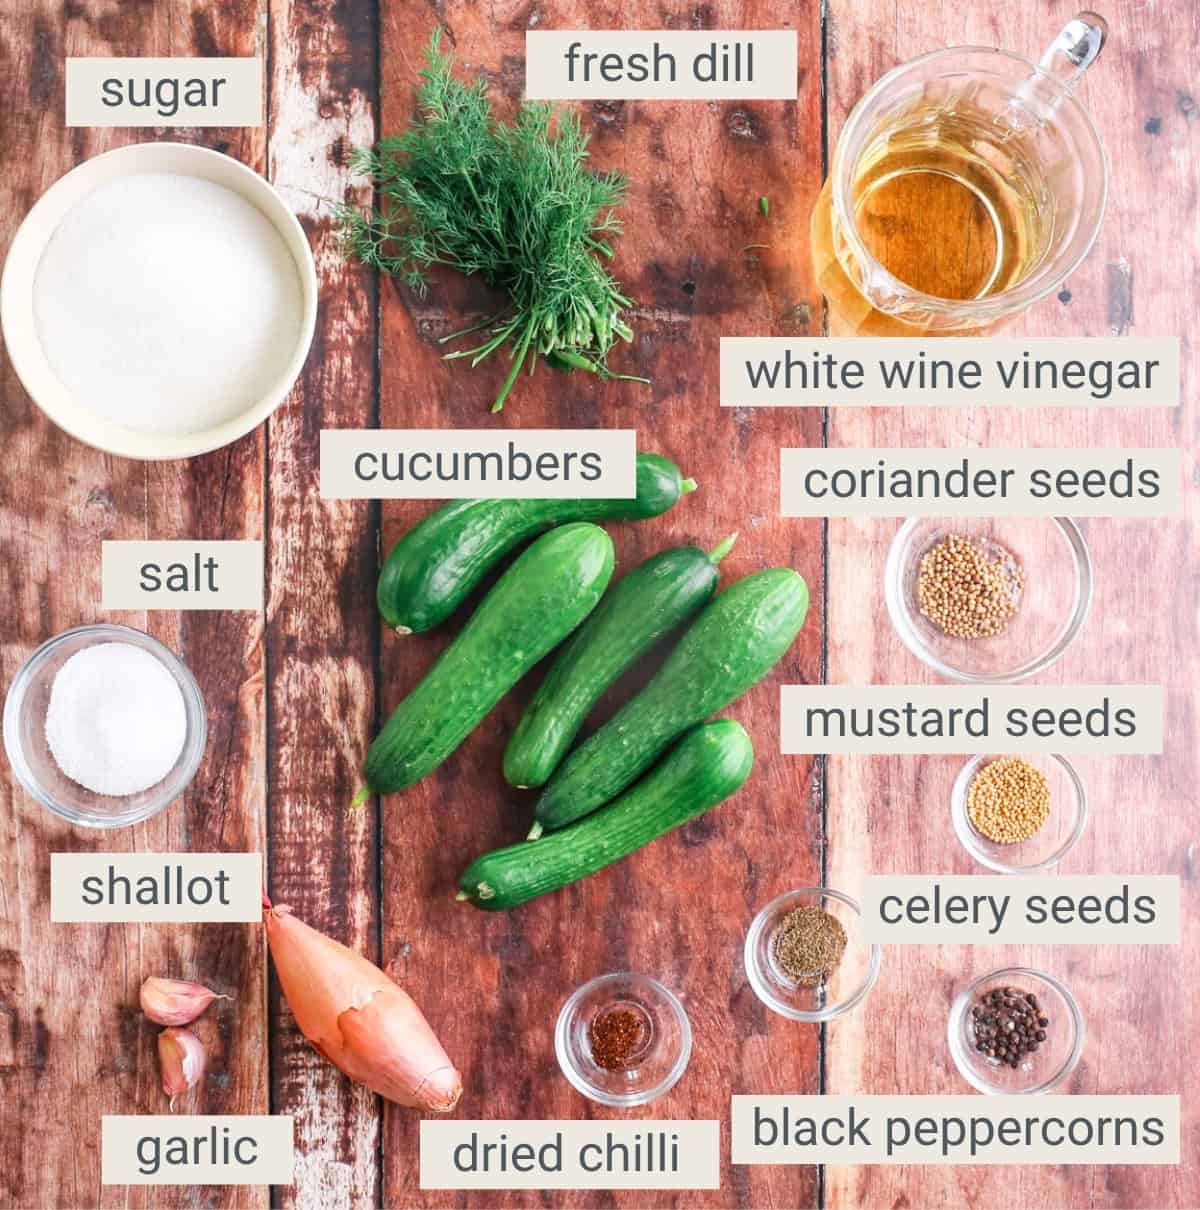
Cucumbers. You want small firm cucumbers. These are best in the summer season if you are using UK cucumbers and you’ll most likely find them at farmers’ markets or in your local greengrocer. However, you can use imported cucumbers throughout the other months. You can use regular supermarket cucumbers but they tend to be more watery and so you may like to salt them overnight (instead of the suggested 2 hours)
Shallots. I usually choose echalion shallots, sometimes called banana shallots, as they are larger and easier to peel and slice than the small round shallots. You could also use a small white onion.
Salt. I use kosher salt in my kitchen for brining the vegetables.
White wine vinegar. You could use apple cider vinegar instead of if you prefer. Avoid malt vinegar or red wine vinegar which are not right for this recipe.
Sugar. Use white granulated sugar as it’s the most economical choice plus has a more neutral flavour than the molasses based brown sugars.
Garlic. You just need two fresh cloves, peeled and crushed to add flavour to the pickling liquid.
Spices. We are using a mix of coriander seeds, mustard seeds, celery seeds and black peppercorns to add warmth to our pickling vinegar. I also add in a small pinch of red chilli flakes but these are totally optional.
Fresh dill. Finally I love using fresh herbs and dill is a traditional addition to cucumber pickles. The flavour is superb.
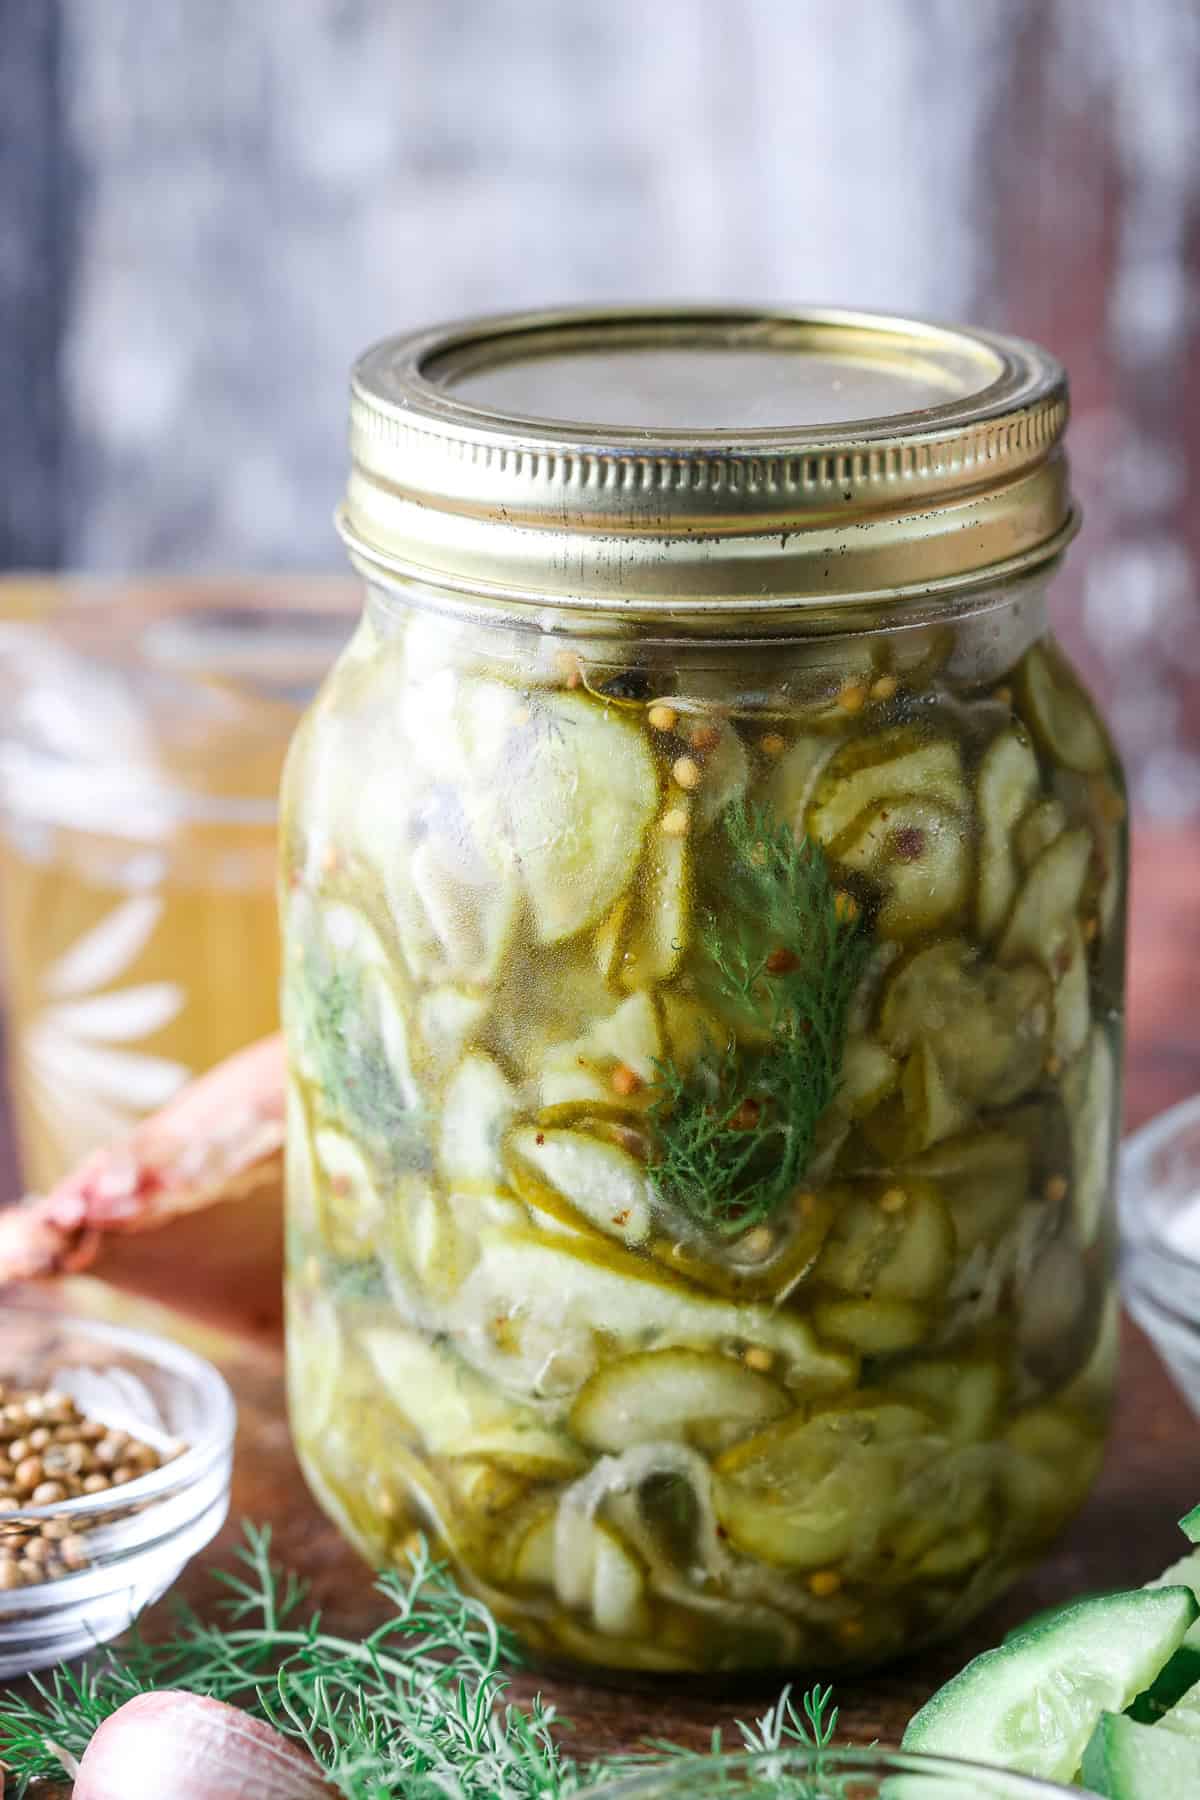
How To Make Easy Bread and Butter Pickles
See the recipe card at the bottom of this page for the full instructions.
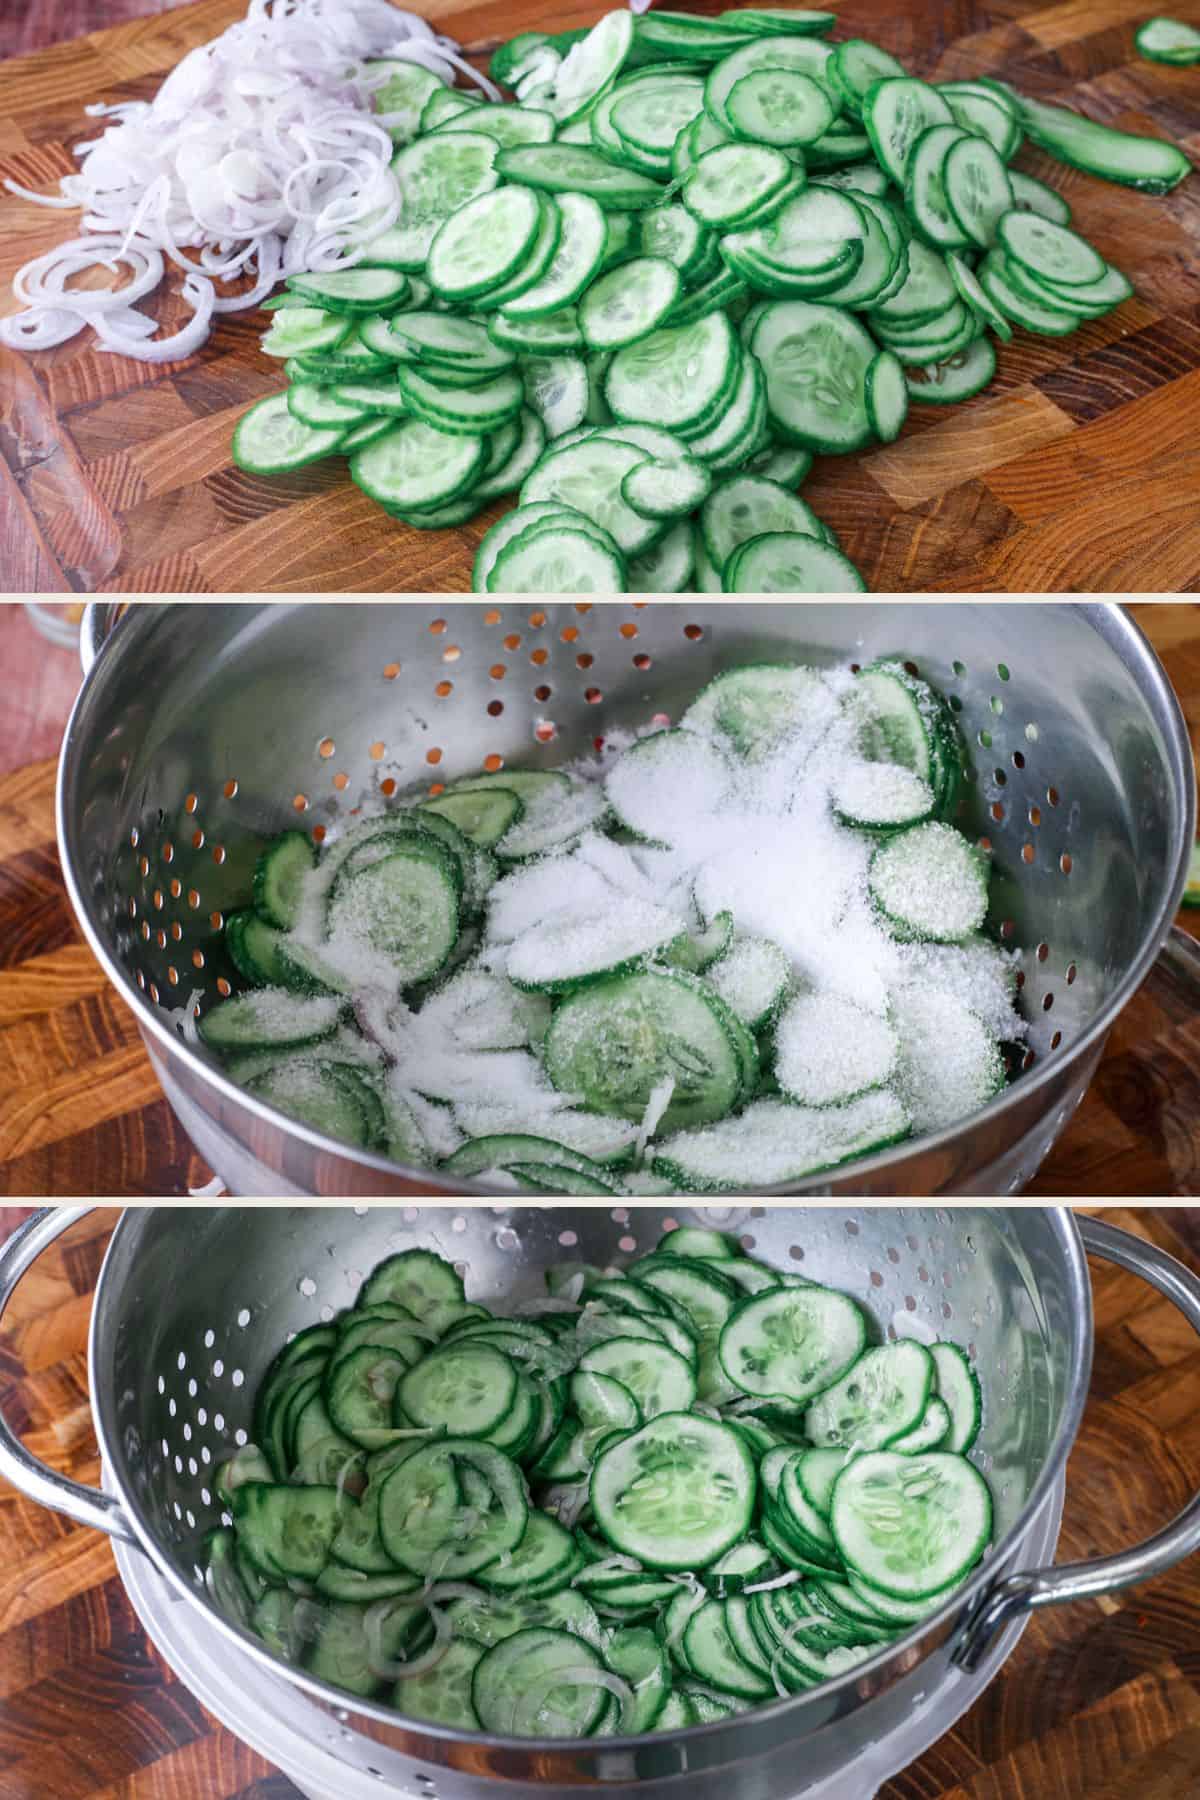
Slice the cucumbers and shallots thinly and evenly, using a sharp knife or mandoline. Place in a colander, toss with salt. Fit the colander on top of a large bowl.
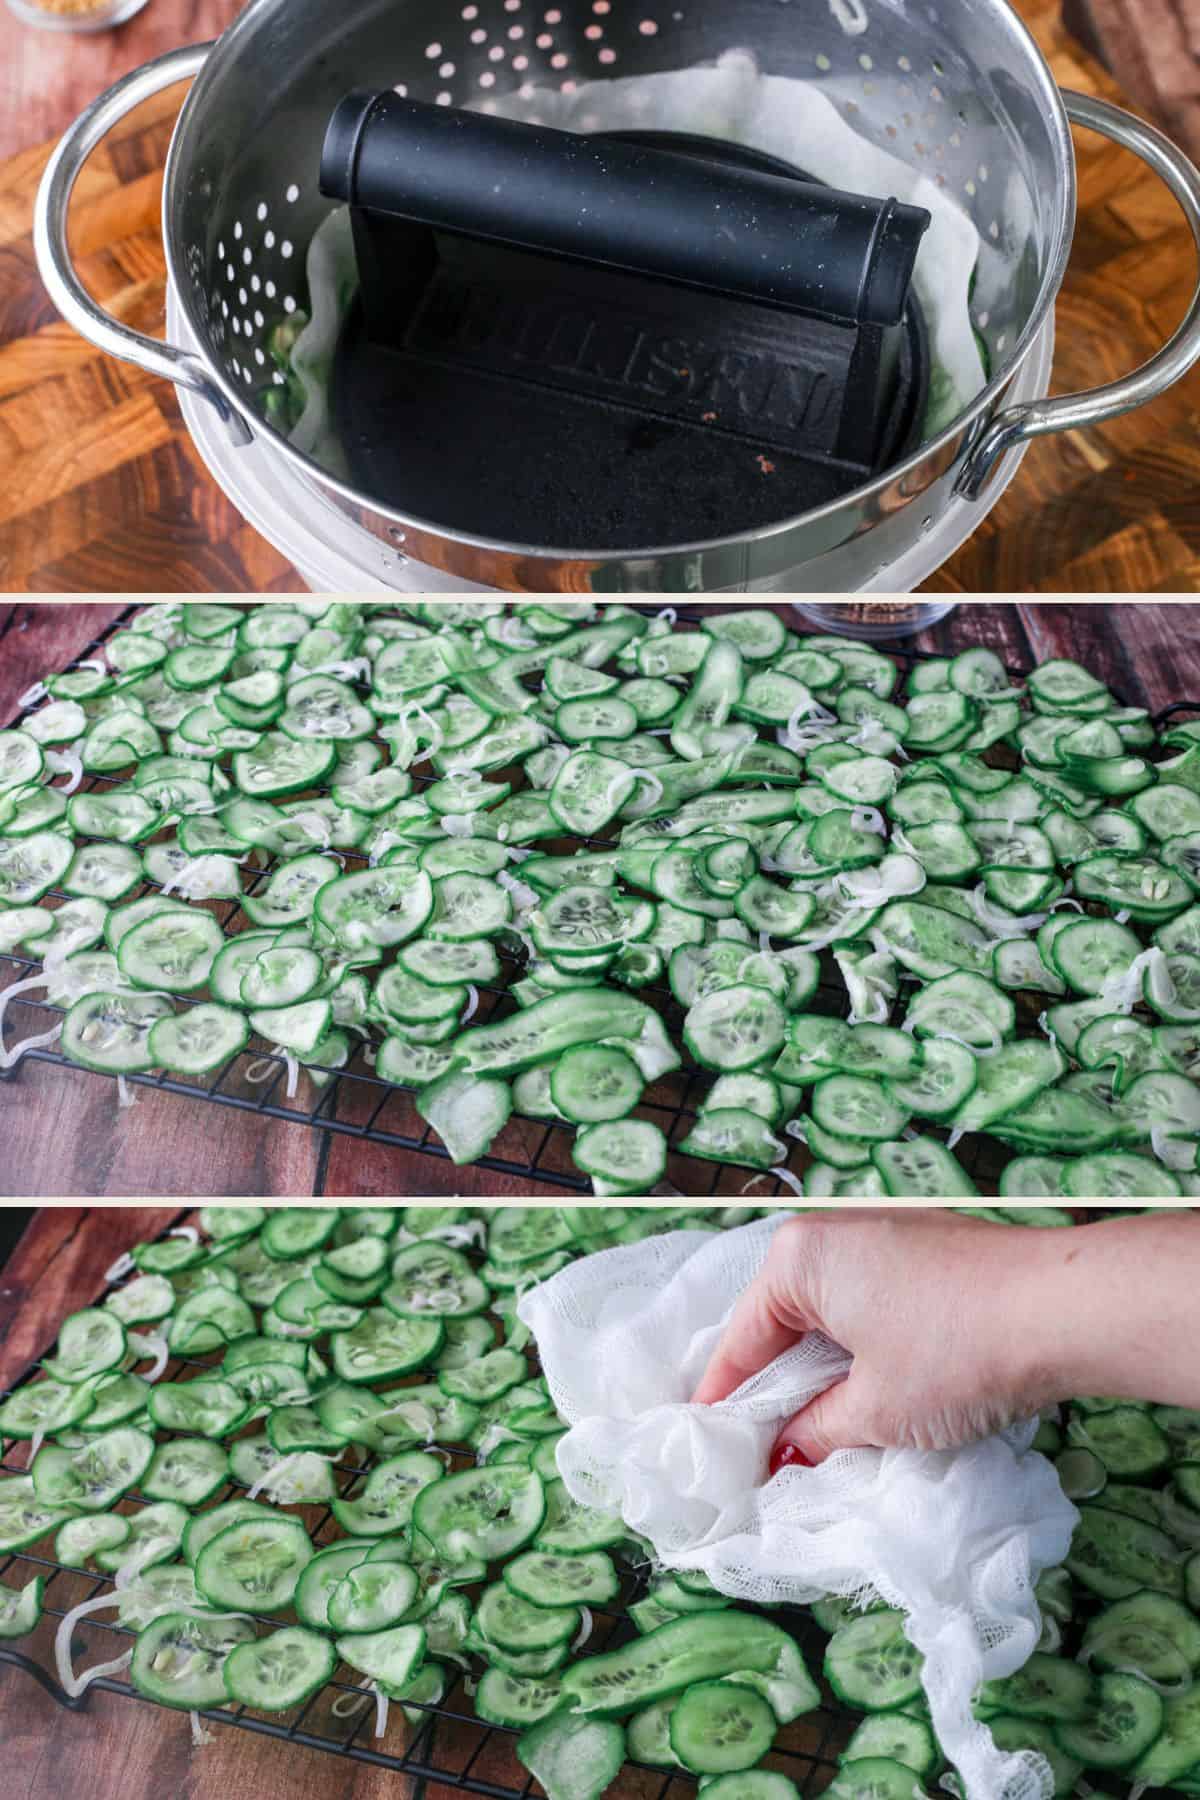
Cover the surface of the vegetables with a piece of baking parchment, then place a heavy weight on to help draw out excess moisture. Chill for at least 2 hours. Spread out on wire rack and pat dry.
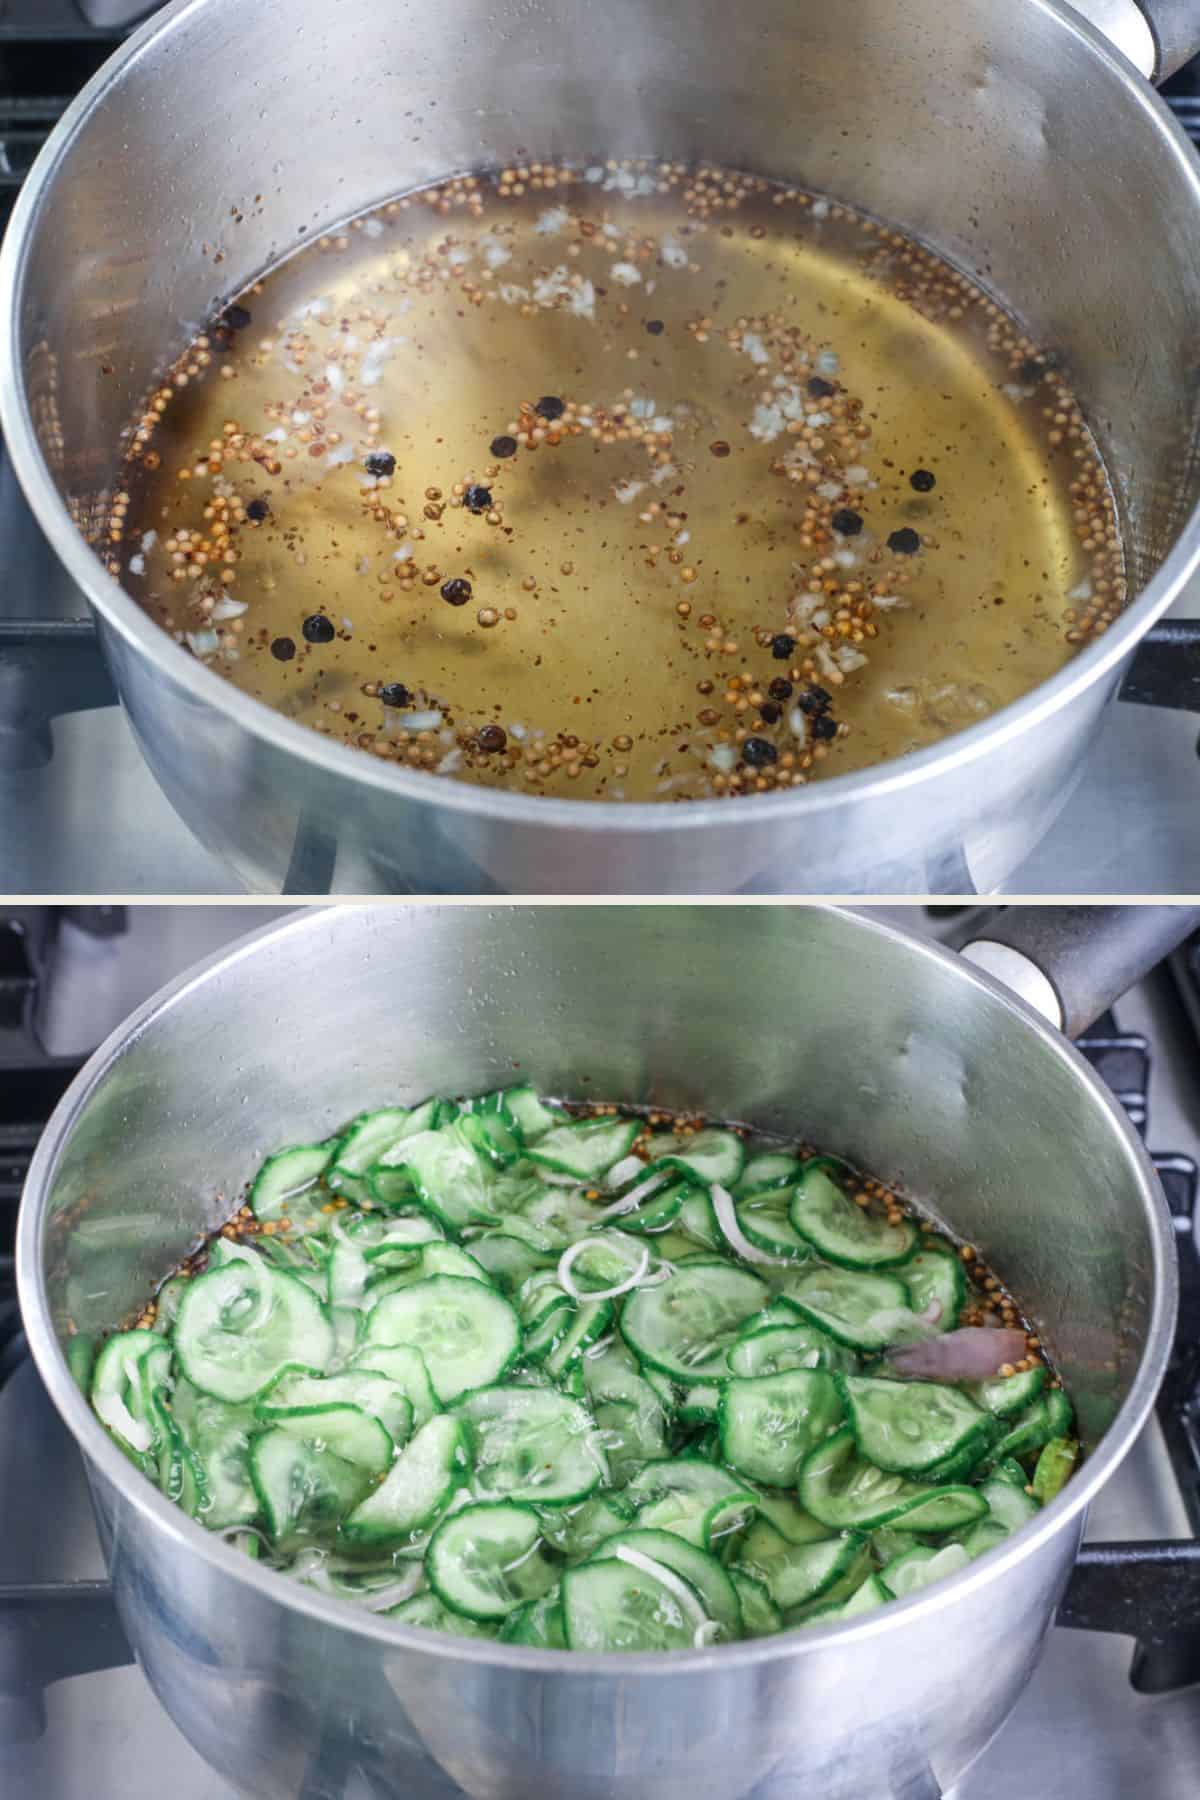
Place the rest of the ingredients (except for the dill) in a non-reactive pan. Bring to a gentle boil and simmer for 5 minutes. Place the cucumber and onion into the pan and bring up to the boil again and turn off the heat.
Stir in the fresh dill. Remove the pickles from the pan using tongs to pack into hot sterilised jars.
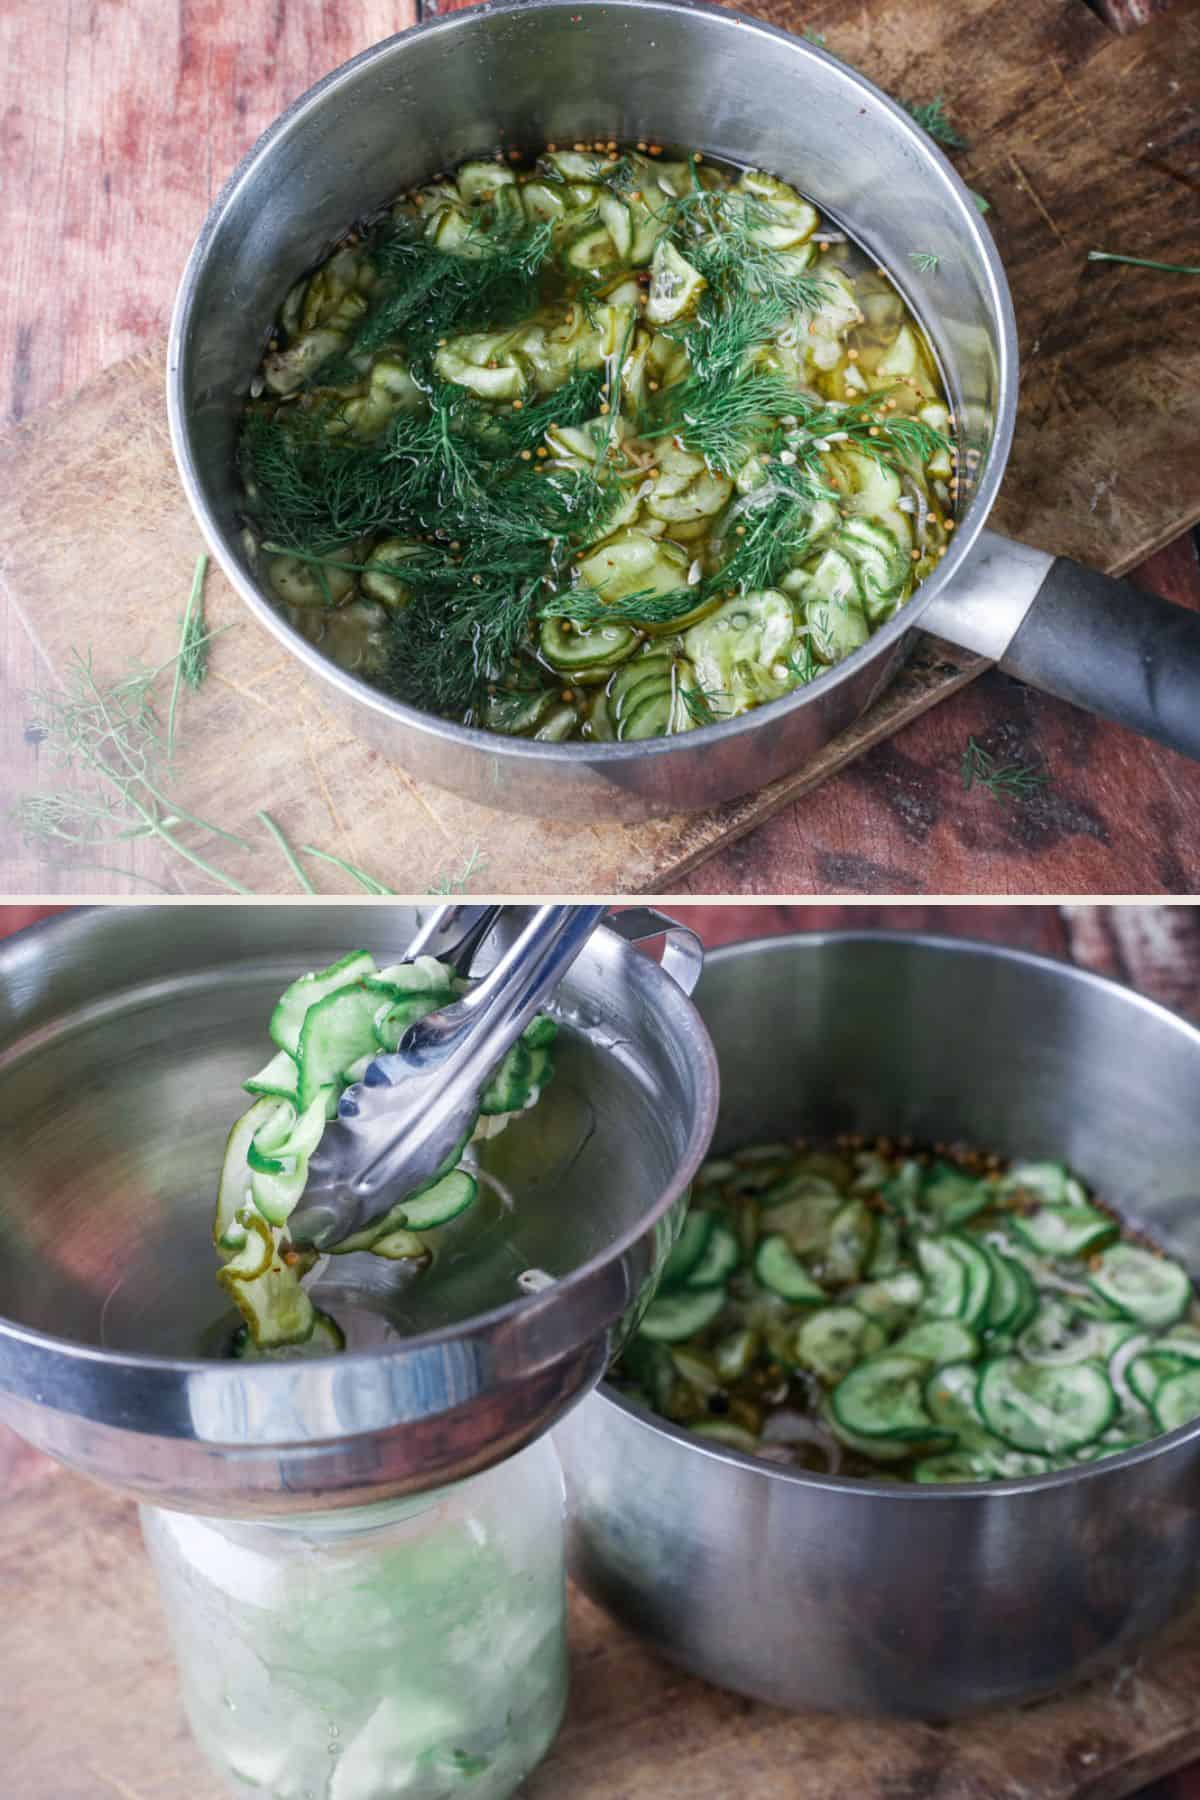
Pour over the pickling vinegar to cover, leaving half an inch to the top of the jar. Seal the jar/s. Wait for 24 hours before eating. Store in the fridge for up to 2 weeks.
Equipment Needed
No specialist equipment is needed for making these Bread and Butter Pickles. However, there are some pieces you may find useful for a streamlined process.
Mandolin. It’s more about slicing your cucumbers and shallots in a uniform manner – which means the texture will be consistent throughout your pickles. It’s easier to manage this with a mandolin or the slicing attachment of your food processor (which is what I use).
Heavy weight. I used this cast iron burger press to weigh down the vegetables to press out the excess moisture. It's a worthwhile investment as this weight has so many uses in my kitchen.
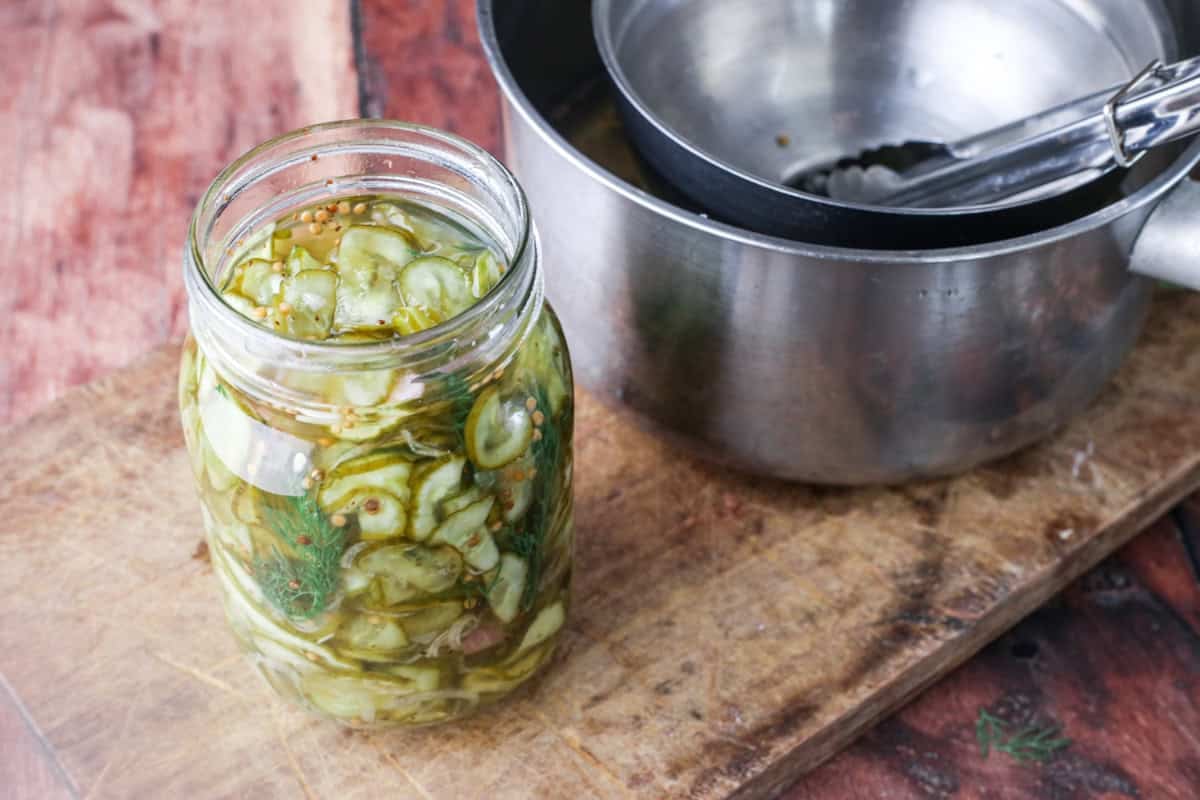
Stainless steel saucepan. This isn’t a huge batch recipe as it makes enough for about 500g pickles so it’s not really worth investing in a maslin pan for this recipe. Just use a large stainless steel saucepan. The stainless steel aspect is important so the pan material does not react to the pickling vinegar.
Wide funnel. Once you have a wide mouthed jam funnel in your kitchen you will never look back in your preserving process. It’s wide enough to fit a good tongful of vegetables through without getting any sticky mess onto the jar.
Tongs. So much easier to use than spooning your vegetables from your pan into your jars. I use stainless steel ones so that they can be sterilised.
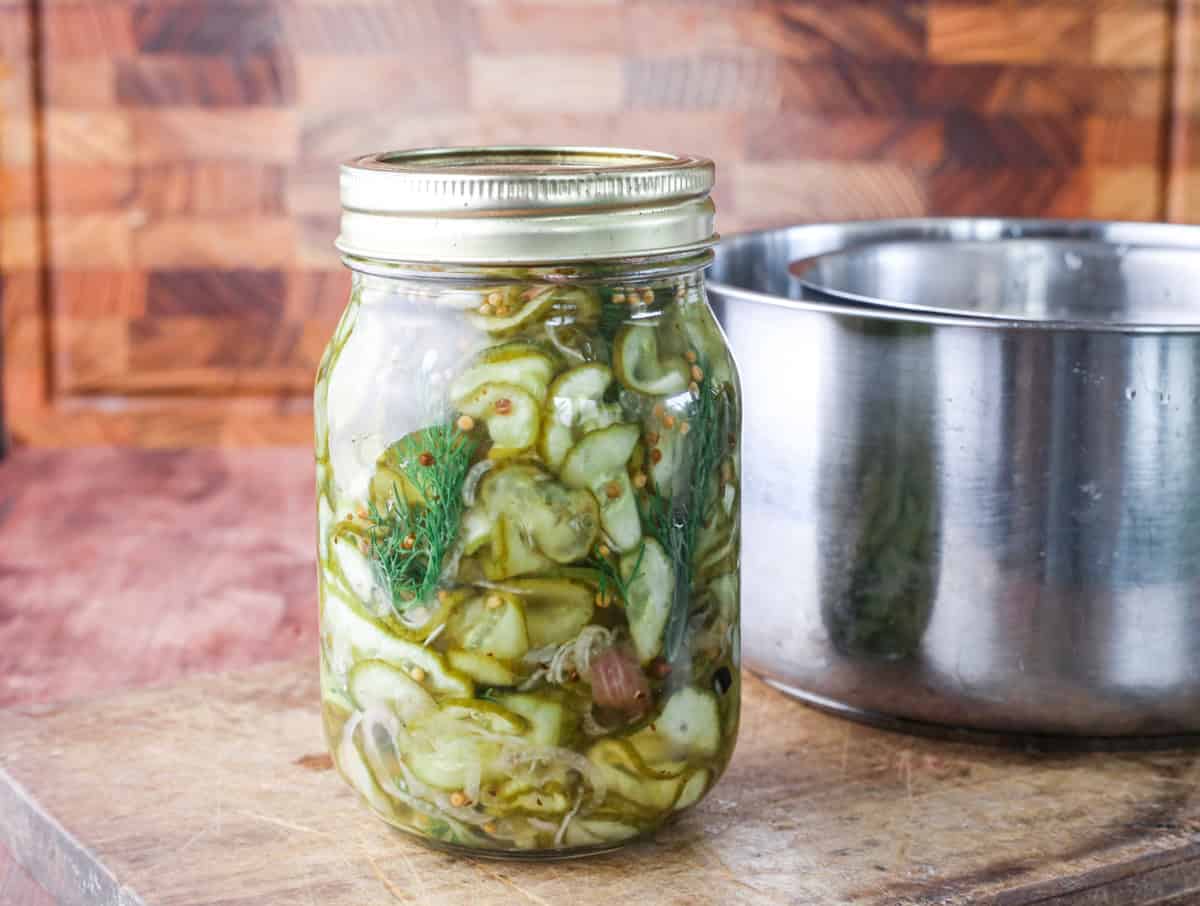
Jars. You need either 2 x 250ml jars or 1 x 500ml jar for this recipe. I like the Kilner jars with the screw top banded lids.
Tips & Troubleshooting
Use a very sharp knife, mandolin or the slicing function on a food mixer. Even slices will help the cucumber and onion to pickle with a consistent texture.
Salting the cucumber and onions will help to draw out the excess moisture from the vegetables meaning they have a better texture once pickled and won’t be watery.
Try and remove as much water as possible from the surface of the vegetables once they’re lying on the wire rack. This will help avoid the pickling vinegar becoming diluted with the excess vegetable water.
Try to avoid the cucumber and onion boiling for any length of time in the pickling liquid as they will start to soften and break up very quickly. As soon as the pickling liquid is boiling then the pan should be taken off the heat immediately.
Top with cold vinegar if there isn’t enough to cover the pickles in the jars. This is unlikely, usually I have a fair amount of pickle juice left over. Don’t discard this! You can use for making more / different pickles or for just storing in the fridge and adding to salad dressings like in this Herby Turkey Salad or added to sauces for piquancy like in this Burger Sauce.
If your pickles are too sweet then reduce the sugar for your next batch.
If your pickles are too sharp then add more sugar in your next batch.
You can even drain the pickles from their juice, re-heat the pickling liquid and adjust the sugar/vinegar to your liking then pour back over the pickles. Leave for 24 hours for the flavours to settle.
Storage
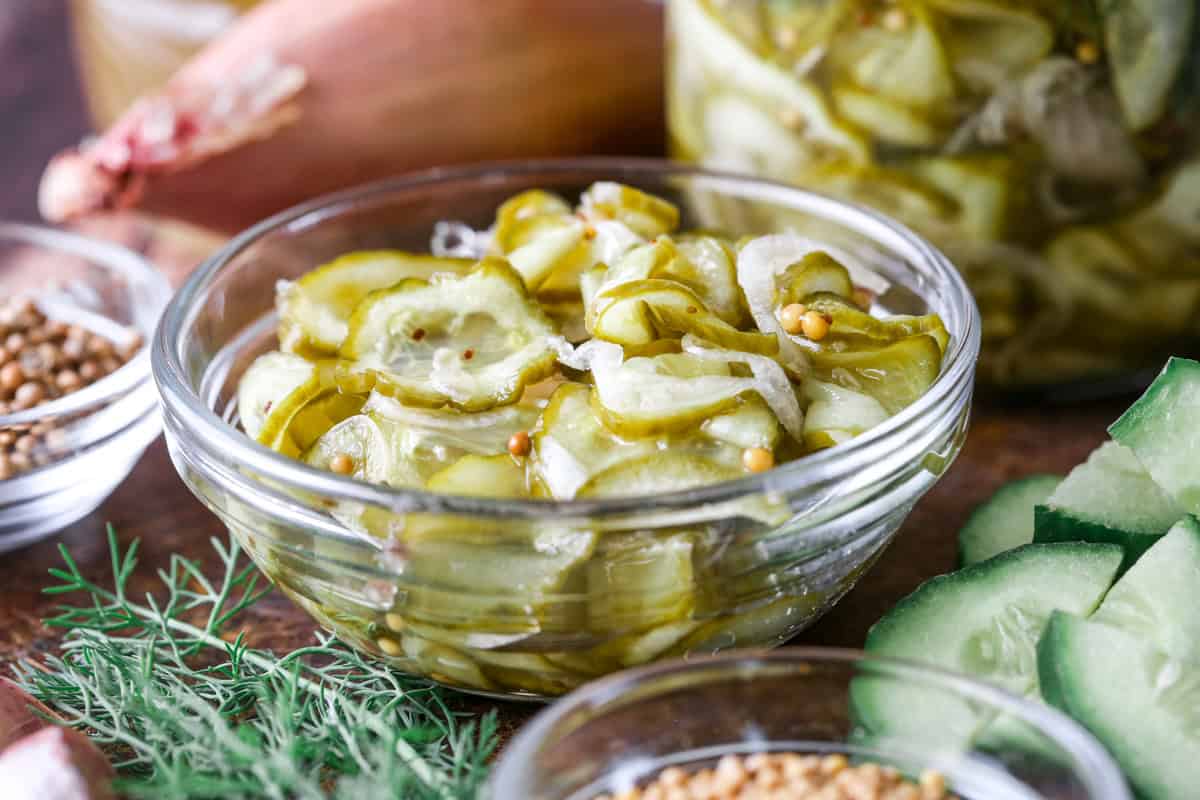
These are refrigerator pickles which need to be kept chilled. As such you may want to think about the jars you are storing them in if they are going to be taking space in your fridge for a couple of weeks. They should be used within two weeks of making.
I don’t recommend using this recipe to process in a water-bath to be used for long-term storage.
You will still need to be using sterilised jars to ensure the pickles are free from contamination. Use clean utensils to remove your pickles from the jar. If you notice any mould forming or off-putting smell when you open the jar then discard the pickles.
Label your pickle jar with the date it was made / use-by date to help you with your fridge organisation.
How To Serve Bread & Butter Pickles
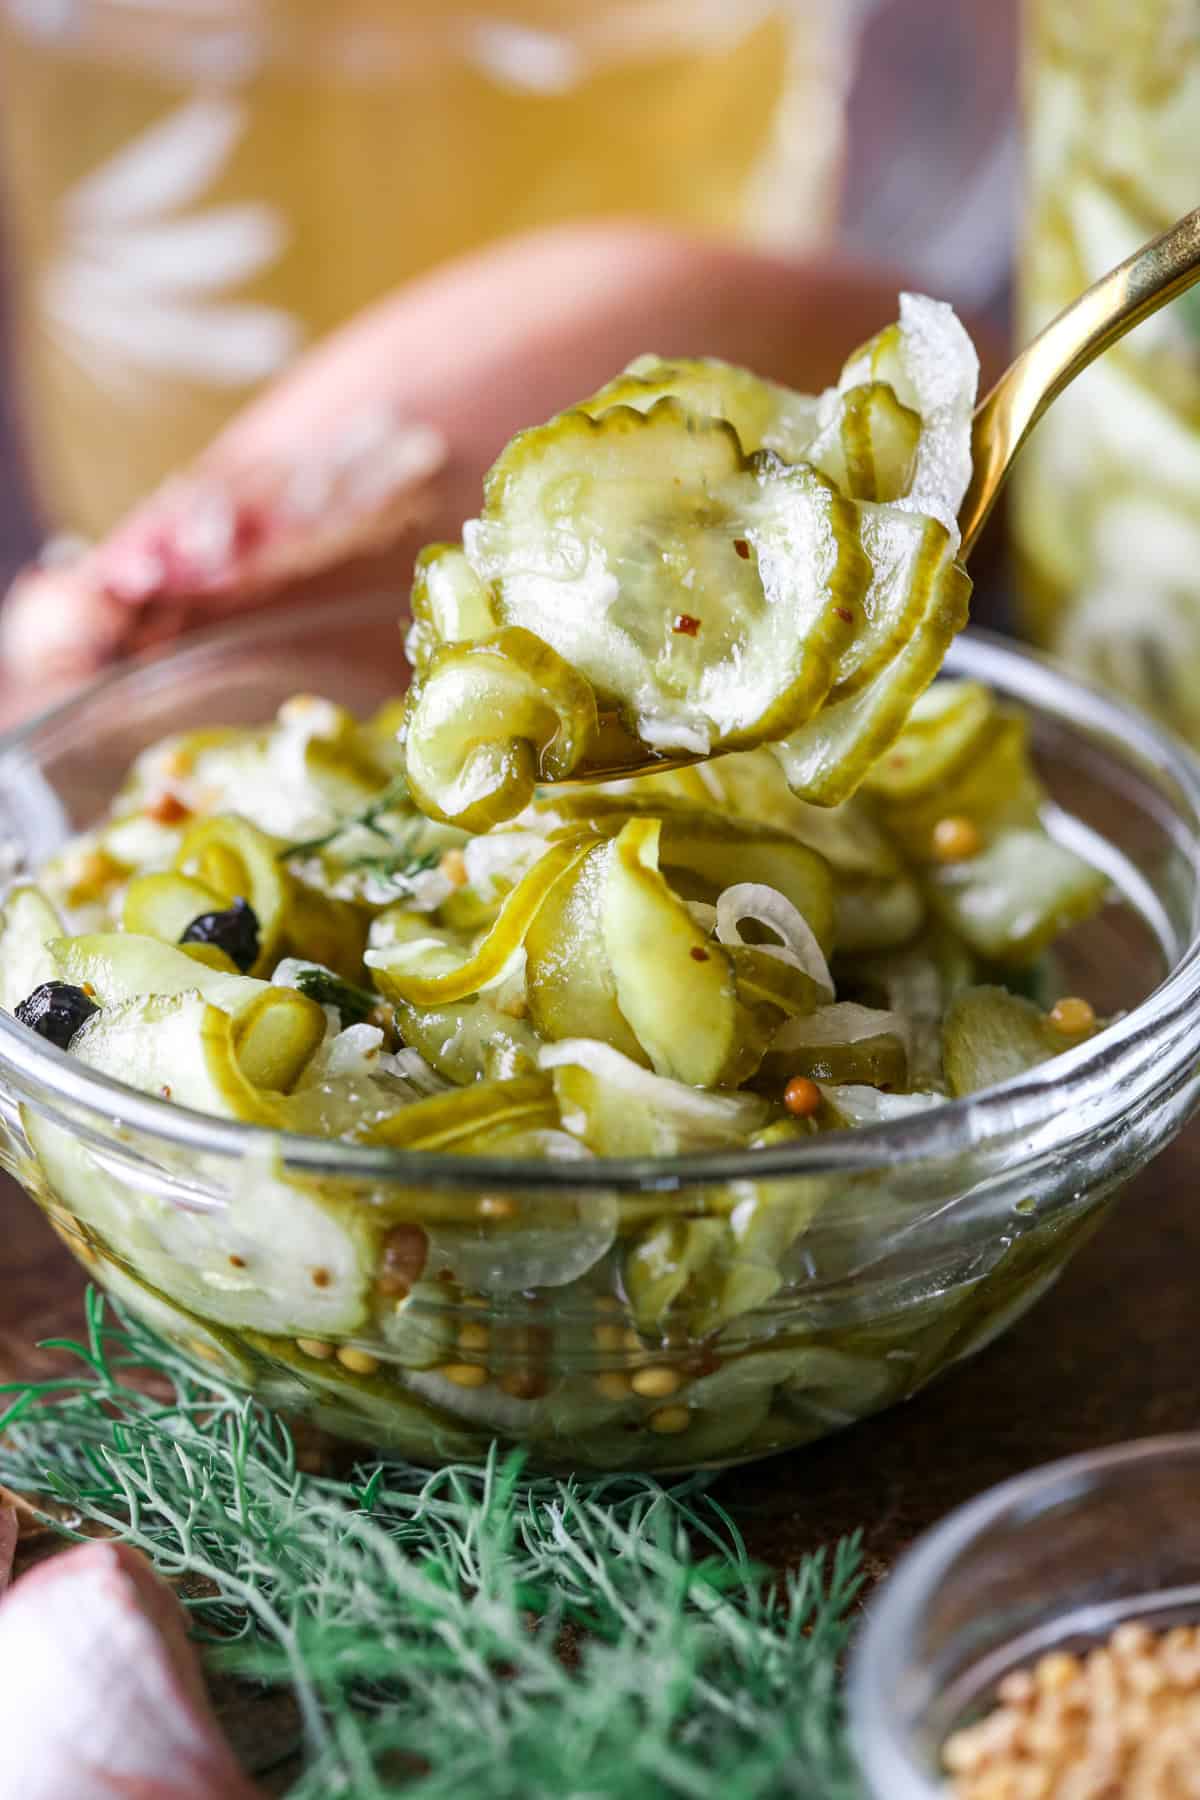
These Bread and Butter Pickles are delicious served in the following ways:
- Topping a delicious homemade burger or hot dog.
- Stuffed into a salt beef sandwich.
- Enjoying inside a ham and cheese sandwich/toastie or a tuna melt.
- Bolstering up a cheese or charcuterie board during the holidays or at summer BBQ gatherings.
- Perfect with a Ploughman’s lunch.
- Diced into salads like this Turkey Salad or my Garbage Salad.
- Accompany them with sausage rolls, pork pies or a homemade quiche.
- They are lovely with fish too. Try them with salmon fishcakes or alongside these salmon nuggets.
FAQs
I recommend smaller firmer cucumbers for this recipe but you can use a regular supermarket cucumber if that's all you can get. These tend to be more watery though so will be softer and definitely have larger seeds.
If you want crunchier pickles then you can slice your cucumber up thicker. I choose very thin slices as I like to pile them into sandwiches. Make sure not to overcook them in the pickling liquid as well if you prefer things on the crunchy side.
You certainly can reduce the sugar if you prefer things to be less sweet. These are refrigerator pickles so the sugar amount has mainly been chosen for flavour and not for storage requirements.
More Pickle Recipes You’ll Love
This Pickled Golden Beetroot is crisp and vinegary with a hint of sweetness from honey. An essential addition to your cheese or charcuterie board.
These Pickled Mirabelle Plums are an excellent way to make use of Summer’s bounty. A deliciously sweet and tangy preserve.
This Courgette Relish is the perfect way to get the most out of a bumper courgette crop. It is an easy relish to knock together and has endless uses from burger or hot dog toppings, barbecue accompaniments or the grace within a cheese sandwich.
Enter your email below to get this recipe sent to your inbox plus get new recipes, baking tips, and updates.
Easy Homemade Bread and Butter Pickles
Ingredients
- 500 g cucumbers - small, firm
- 100 g shallots
- 2 tablespoons kosher salt
- 300 g white wine vinegar
- 200 g white granulated sugar
- 2 garlic cloves - peeled and whole
- 1 teaspoon whole coriander seeds
- ½ teaspoon yellow mustard seeds
- ½ teaspoon whole black peppercorns
- ⅛ teaspoon celery seeds
- ⅛ teaspoon red chilli flakes - optional
- 10 g fresh dill
Instructions
- Wash the cucumbers thoroughly and slice them thinly and evenly, using a sharp knife or mandoline. Peel the onions and slice them very finely.
- Place the cucumber and onion into a colander and toss with the salt, making sure the vegetables are evenly coated. Fit the colander into a large bowl to catch the excess liquid.
- Cover the surface of the vegetables with a piece of baking parchment, then place a heavy weight on to help draw out the excess liquid.
- Transfer to the fridge and chill for at least 2 hours or overnight if you prefer.
- Drain away the liquid released by the cucumber and onion and spread them out on a wire rack in an even layer. Pat them dry using a paper towel, a clean kitchen towel or some clean muslin. Allow them to rest and dry a little further whilst you prepare the pickling vinegar.
- Place the rest of the ingredients (except for the fresh dill) in a non-reactive saucepan (stainless steel is ideal as it won’t react with the vinegar). Set the pan over a medium heat and bring the mixture to a gentle boil, stirring occasionally to help the sugar to dissolve. Reduce the heat and simmer for 5 minutes until the sugar has completely dissolved and the spices are releasing their flavour.
- Carefully tip the drained cucumber and onion into the hot pickling liquid and bring it up to the boil. As soon as it reaches boiling point then remove from the heat.
- Add the fresh dill into the pan and stir to distribute it throughout the ingredients.
- Use clean tongs and remove the vegetables the pan to pack into hot sterilised jars, distributing evenly with the dill. Leave approximately 1-1.5cm (½ inch) headspace towards the top of the jar/s.
- Pour over the pickling vinegar and spices to cover the vegetables in the jars. Tap on the jars to release any trapped air bubbles. Wipe the rims of the jar/s with a clean cloth then seal with sterilised lids.
- All the jar/s to cool completely then transfer to the refrigerator to keep chilled. Allow the bread and butter pickles to rest for at least 24 hours to allow the flavours to settle then enjoy.
- Store the pickles in the fridge and use them within 2 weeks.
Notes
- There is enough pickles to fill 2 x 250ml jars or 1 x 500ml jar.
- See my guide for full instructions on how to sterilise your jars for preserving.
- These are refrigerator pickles and should be kept chilled in the fridge and used within 2 weeks. They are not suitable for long term storage or storing at room temperature and the recipe has not been developed to be processed in a water bath.
- View my Equipment Guide for Preserving for checking out some suggestions on what you might use to streamline your preserving process.