
Homemade Vegan Vanilla Ice Cream (nut free, dairy free)
This post contains affiliate links. Please read my disclosures.

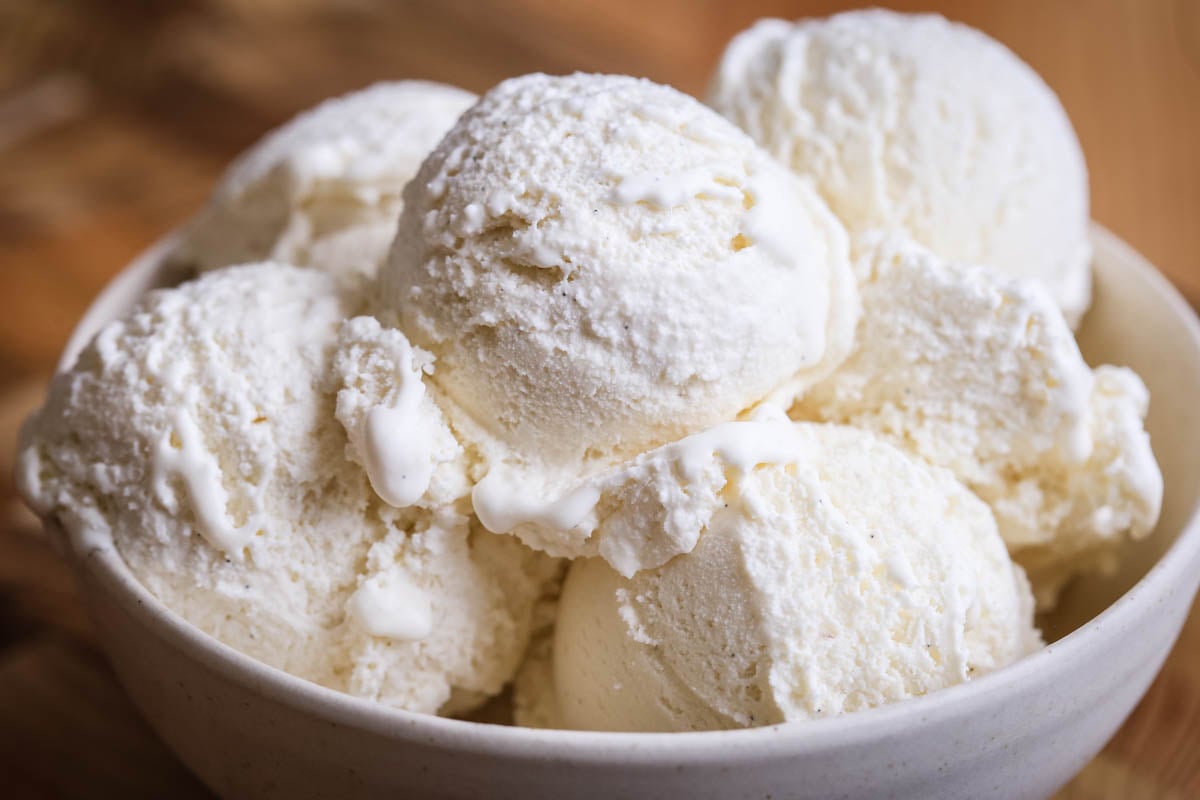
This Homemade Vegan Vanilla Ice Cream is made with just four ingredients, no coconut milk and no nuts. It’s incredibly smooth, light and creamy with a rich vanilla flavour and is easy to use as a base for so many of your favourite ice cream flavours.
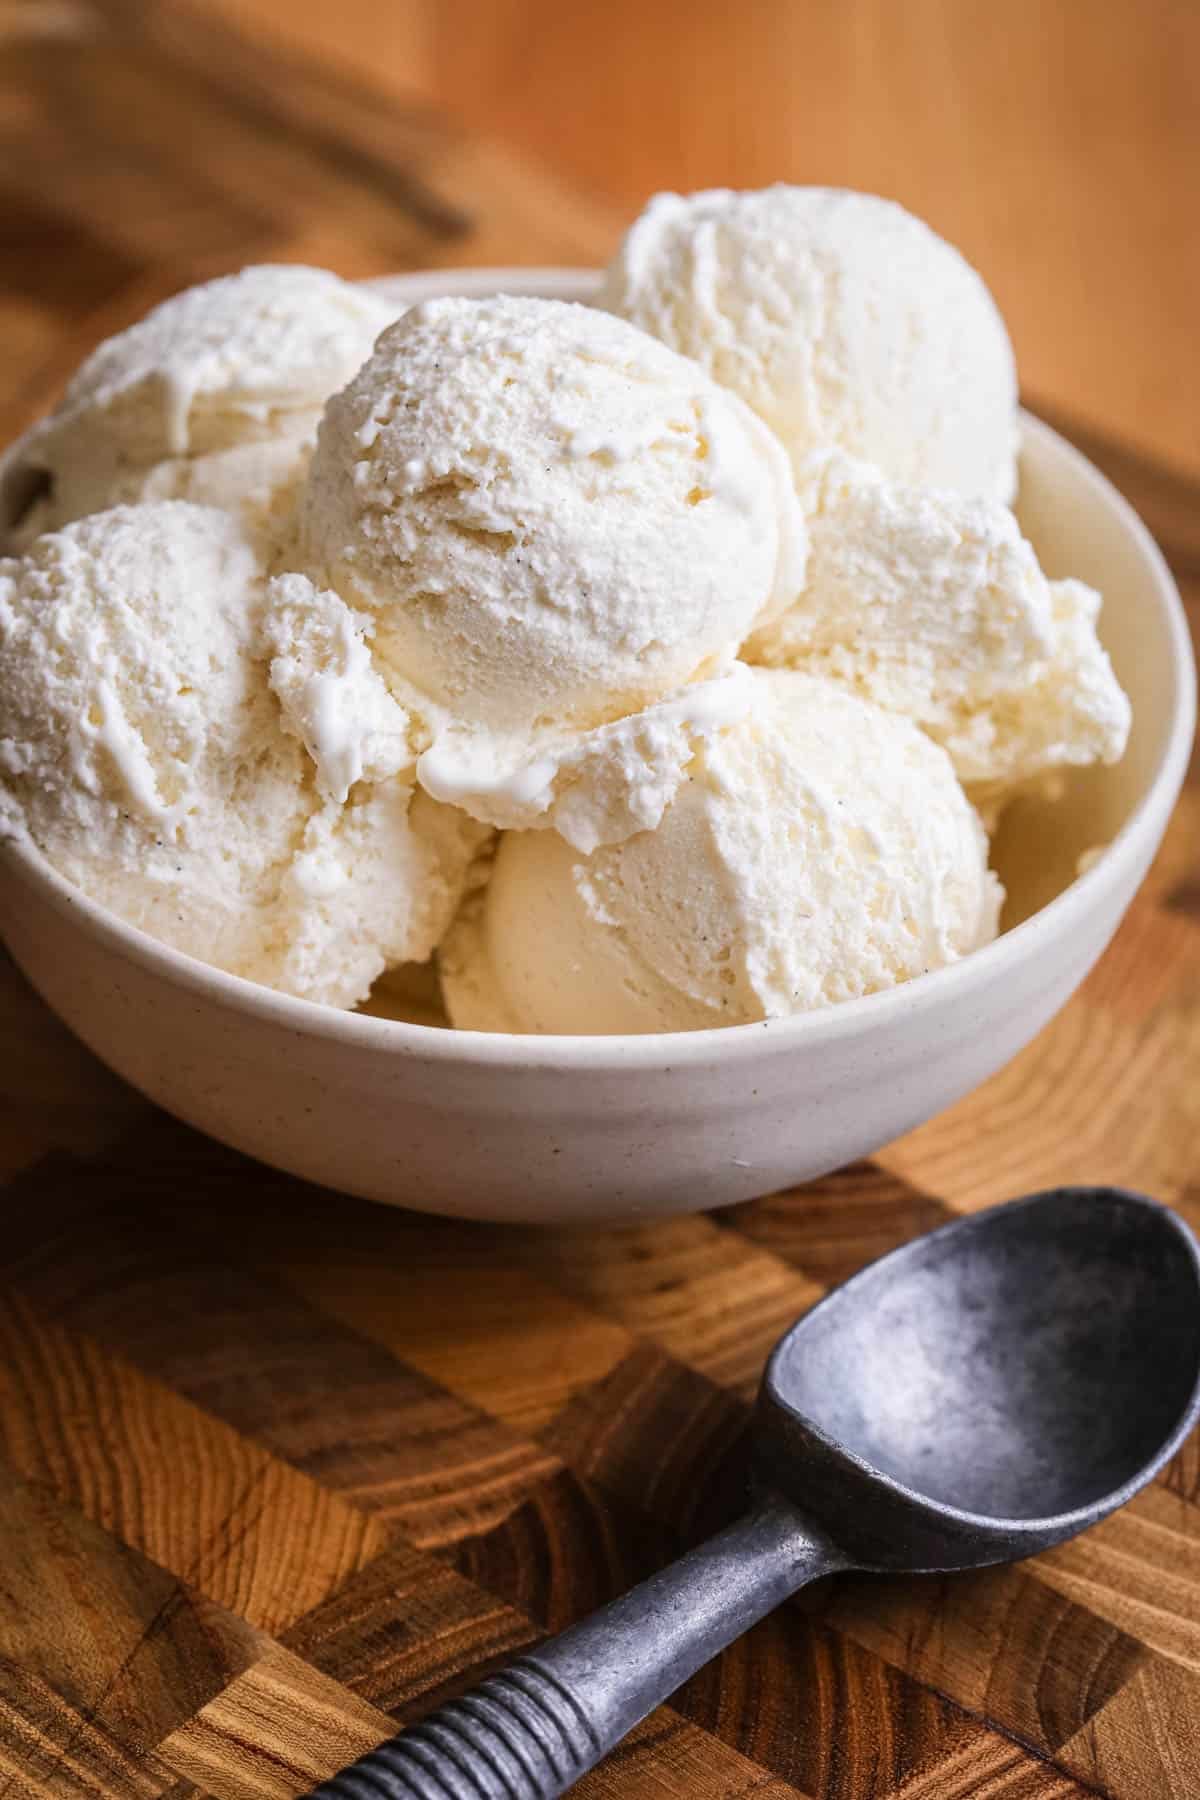
Being an ice cream obsessive, this creamy vegan vanilla ice cream is one of my favourite creations. It relies on just four ingredients:
- Vanilla beans
- Aquafaba
- Plant-based double cream
- Sugar
It has the best smooth texture and because we use sugar syrup as the base it freezes with no worry of any iciness. It’s also creamily light, since there isn’t the richness of eggs, almost like gelato. There’s no hint of coconut flavour or nuts and is very allergy friendly. I have tried making it with the two kinds of easily available plant-based double cream which is available in the UK: the Coconut Collab’s Double Cre&m and Elmlea’s Plant Based Double Cream and both work well.
If you opt for the Coconut Collab’s Double Cre&m I don’t find there isn’t really any hint of coconut flavour so both variations give lovely neutral flavour palette’s for the vanilla bean to really shine.
This ice cream is very easy to make but you do need a little bit of equipment:
- Digital sugar thermometer. As the temperature of the sugar really matters here.
- Electric beaters or a stand mixer. You need to whip up both the aquafaba and the cream until stiff so if you’re doing it by hand it’s very hard work.
- Ice cream machine. This is for the best texture and I haven’t tested this recipe without a proper machine. However you can use either a cheaper freeze-first machine or a slightly more expensive self-freezing machine. We’ll discuss these options below.
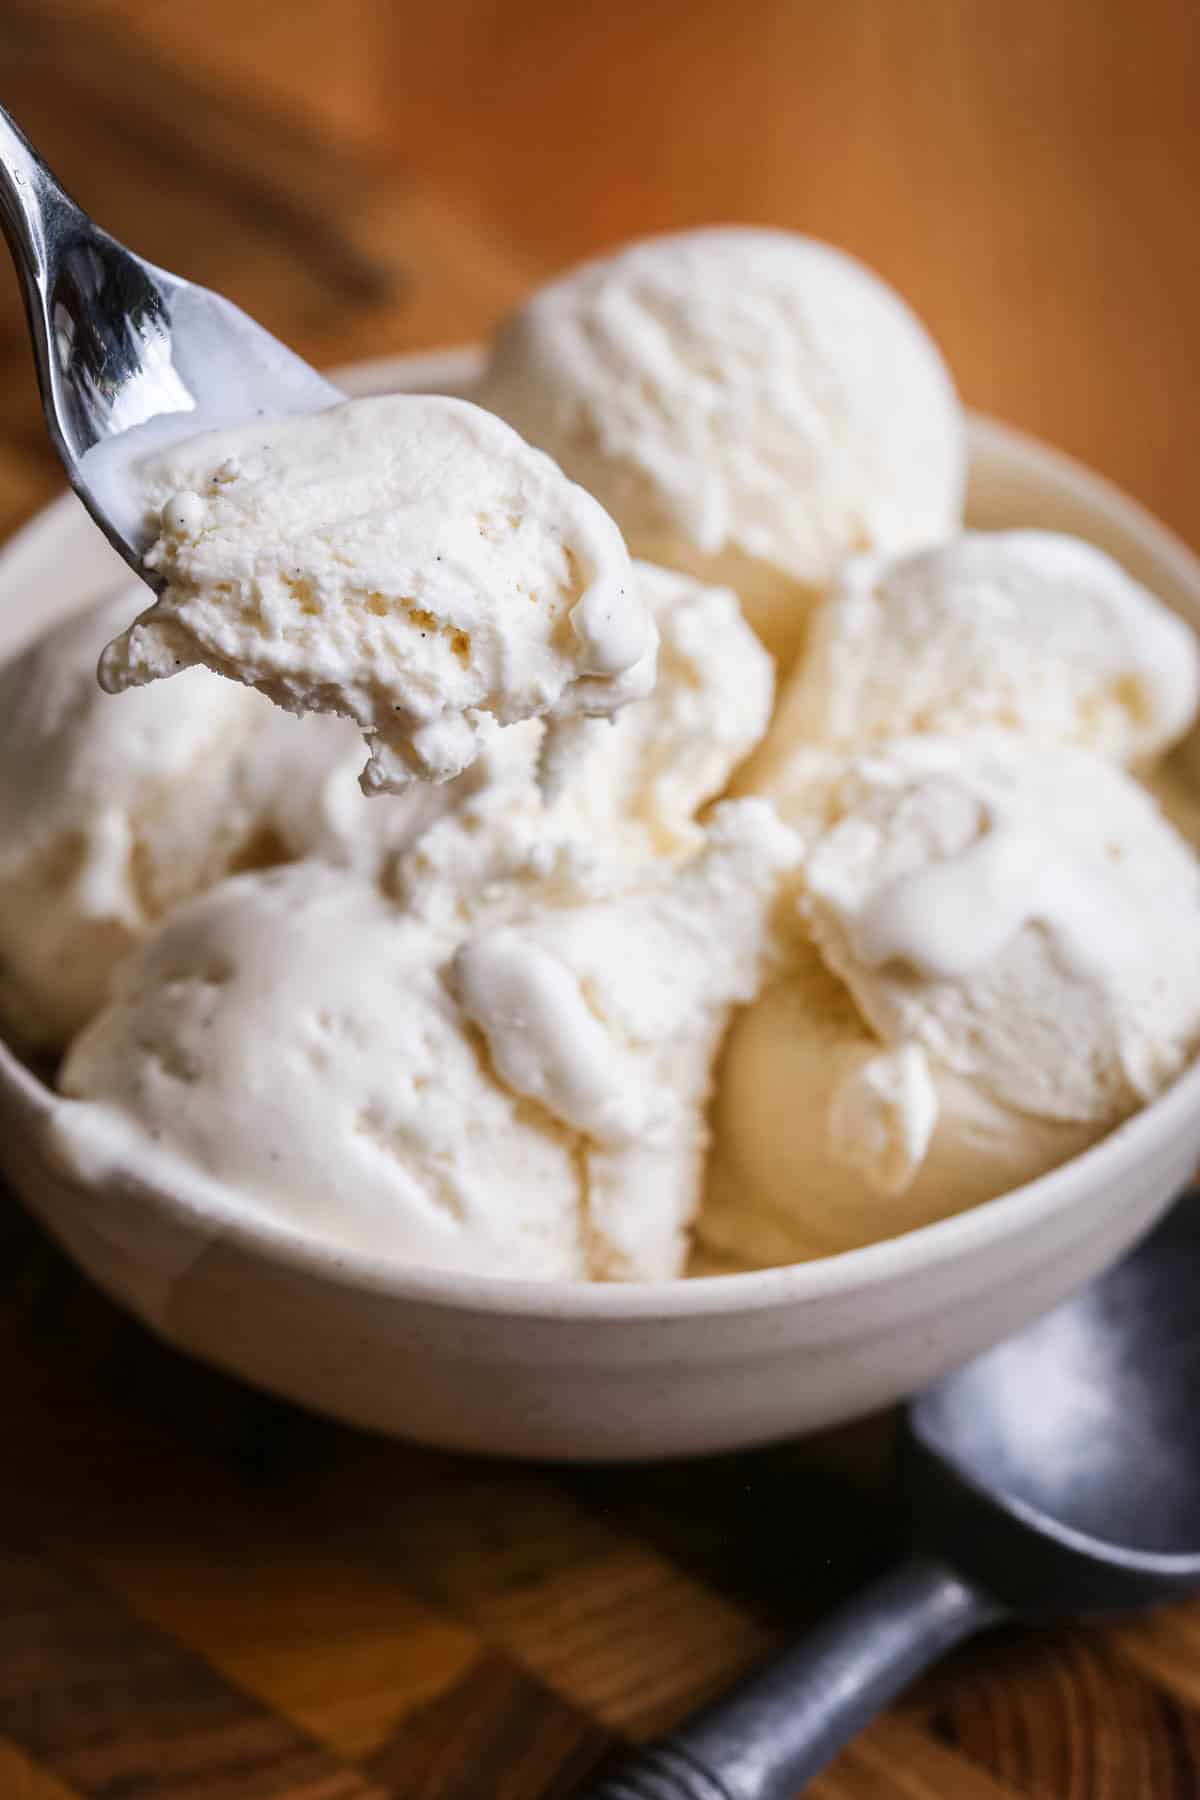
I guarantee you will adore this ice cream, whether you are vegan or not, it’s got such an incredible texture and flavour and you’ll love how easy it is to make. The fact that it passes my very picky children’s palette test is a testament that you would never guess this is a dairy-free and egg-free ice cream.
Why You’ll Love This Vegan Vanilla Ice Cream
- Well it tastes incredible for a start!
- Just four ingredients needed.
- Vegan, dairy-free, gluten-free, nut-free.
- No cashews or full-fat coconut milk so no underlying taste.
- Clean and neutral flavour which allows the vanilla to be the star of the show.
- You can buy all the ingredients in a regular UK supermarket.
- Churned in an ice-cream maker for the best texture.
Ingredients Needed
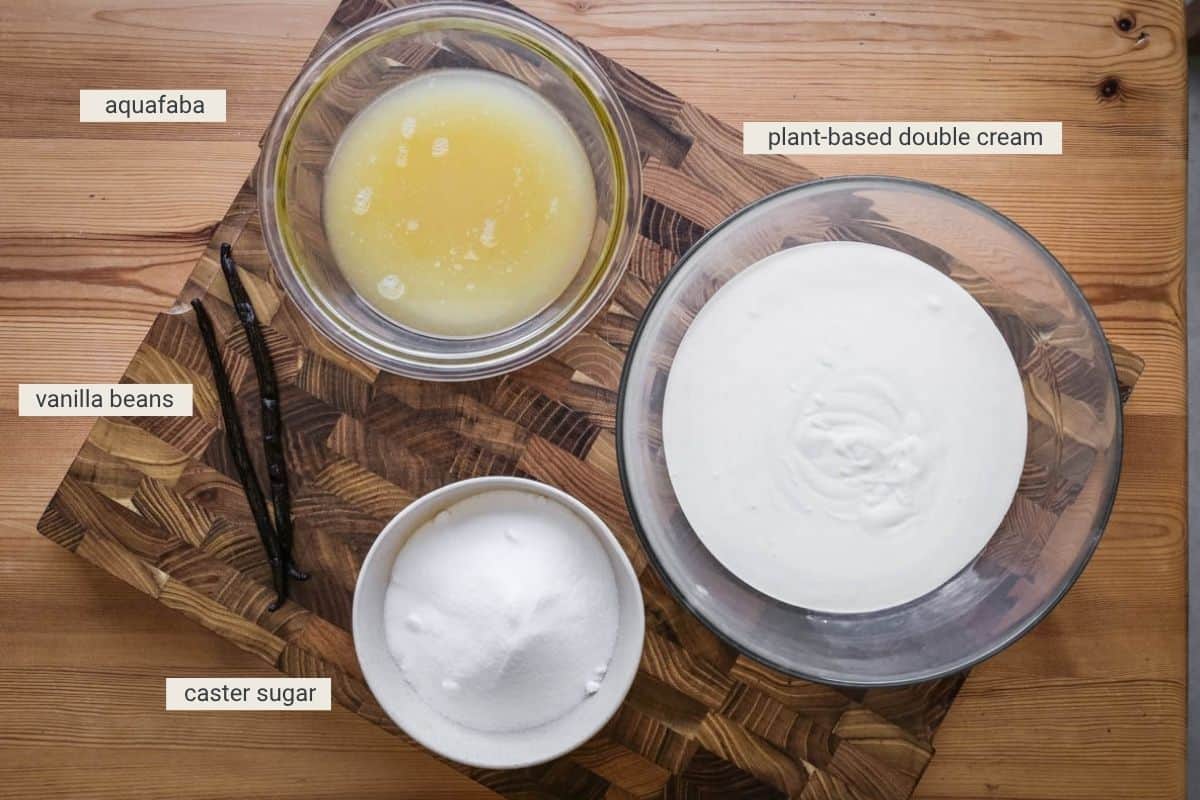
Vanilla beans. Use fresh vanilla beans, you will need to use the whole bean. Scrape out the seeds to infuse into the sugar syrup as it’s cooking and then add the pod as well to make sure we wring every iota of vanilla flavour out of them.
Caster sugar. You can use white granulated sugar if you prefer. We heat the sugar with equal weight of water to make a sugar syrup which is gently simmered until it reaches a thick syrupy mixture which can take up to 20 minutes so a little patience is required here.
Aquafaba. Just in case you’re a vegan newbie, aquafaba is the thick liquid from a tin or jar of cooked chickpeas. It’s used frequently in vegan baking because, through some mysterious alchemy, when it’s whipped up it can mimic the properties of egg whites. You just need to drain the tin of chickpeas (use the chickpeas for another use – discussed below) and pour the aquafaba into a mixing bowl or stand mixer and whip until white and stiffened. It’s incredible stuff. It needs the aquafaba from 2-3 tins and I have found the amount you can achieve from each tin can vary - you need 300g in total.
Plant based double cream. I have tried this recipe with both Elmlea 100% Plant Based Double Cream Alternative, and the Coconut Collab Double Cre&m. I have also used a mixture of the two brands as that’s what I had in my fridge and that also worked out well. I use both of these products for all manner of recipes in my kitchen and neither of them have a particularly discernible taste. I don’t think anything other than a creamy vanilla flavour shines through in the eventual end result. If you are not in the UK you can probably access other brands as well and I can’t speak for the flavour of those. You just need a product which mimics the properties of double cream so it can be whipped until soft/stiff peaks form.
Ice Cream Machines
There are two main types of ice cream maker to choose from:
Freeze-first machines have a removable bowl that needs to be frozen for around 24 hours before you can churn your ice cream. They’re generally the more affordable option, with prices typically ranging from £40 to £100.
Self-freezing machines have a built in compressor, so there’s not need to freeze the bowl in advance. Once your ice cream base has been thoroughly chilled, simply pour it into the machine and let it churn and freeze at the same time. These models usually start at around £100, with premium machines costing considerably more.
I have both but I rarely have room in the freezer to fit the freeze-first bowl which does take up a bit of unwieldy room so the self-freezing machine is easier. I have the Cuisinart Ice Cream & Gelato Professional ICE100BCU and for me it’s been a really worthwhile investment.
This recipe works well in either type of ice cream maker. The churning process is similar, but it’s always worth checking your manufacturer’s instructions, as timings and operating methods can vary between models.
How Make Vegan Vanilla Ice Cream
For full recipe instructions go to the recipe card at the end of this post.
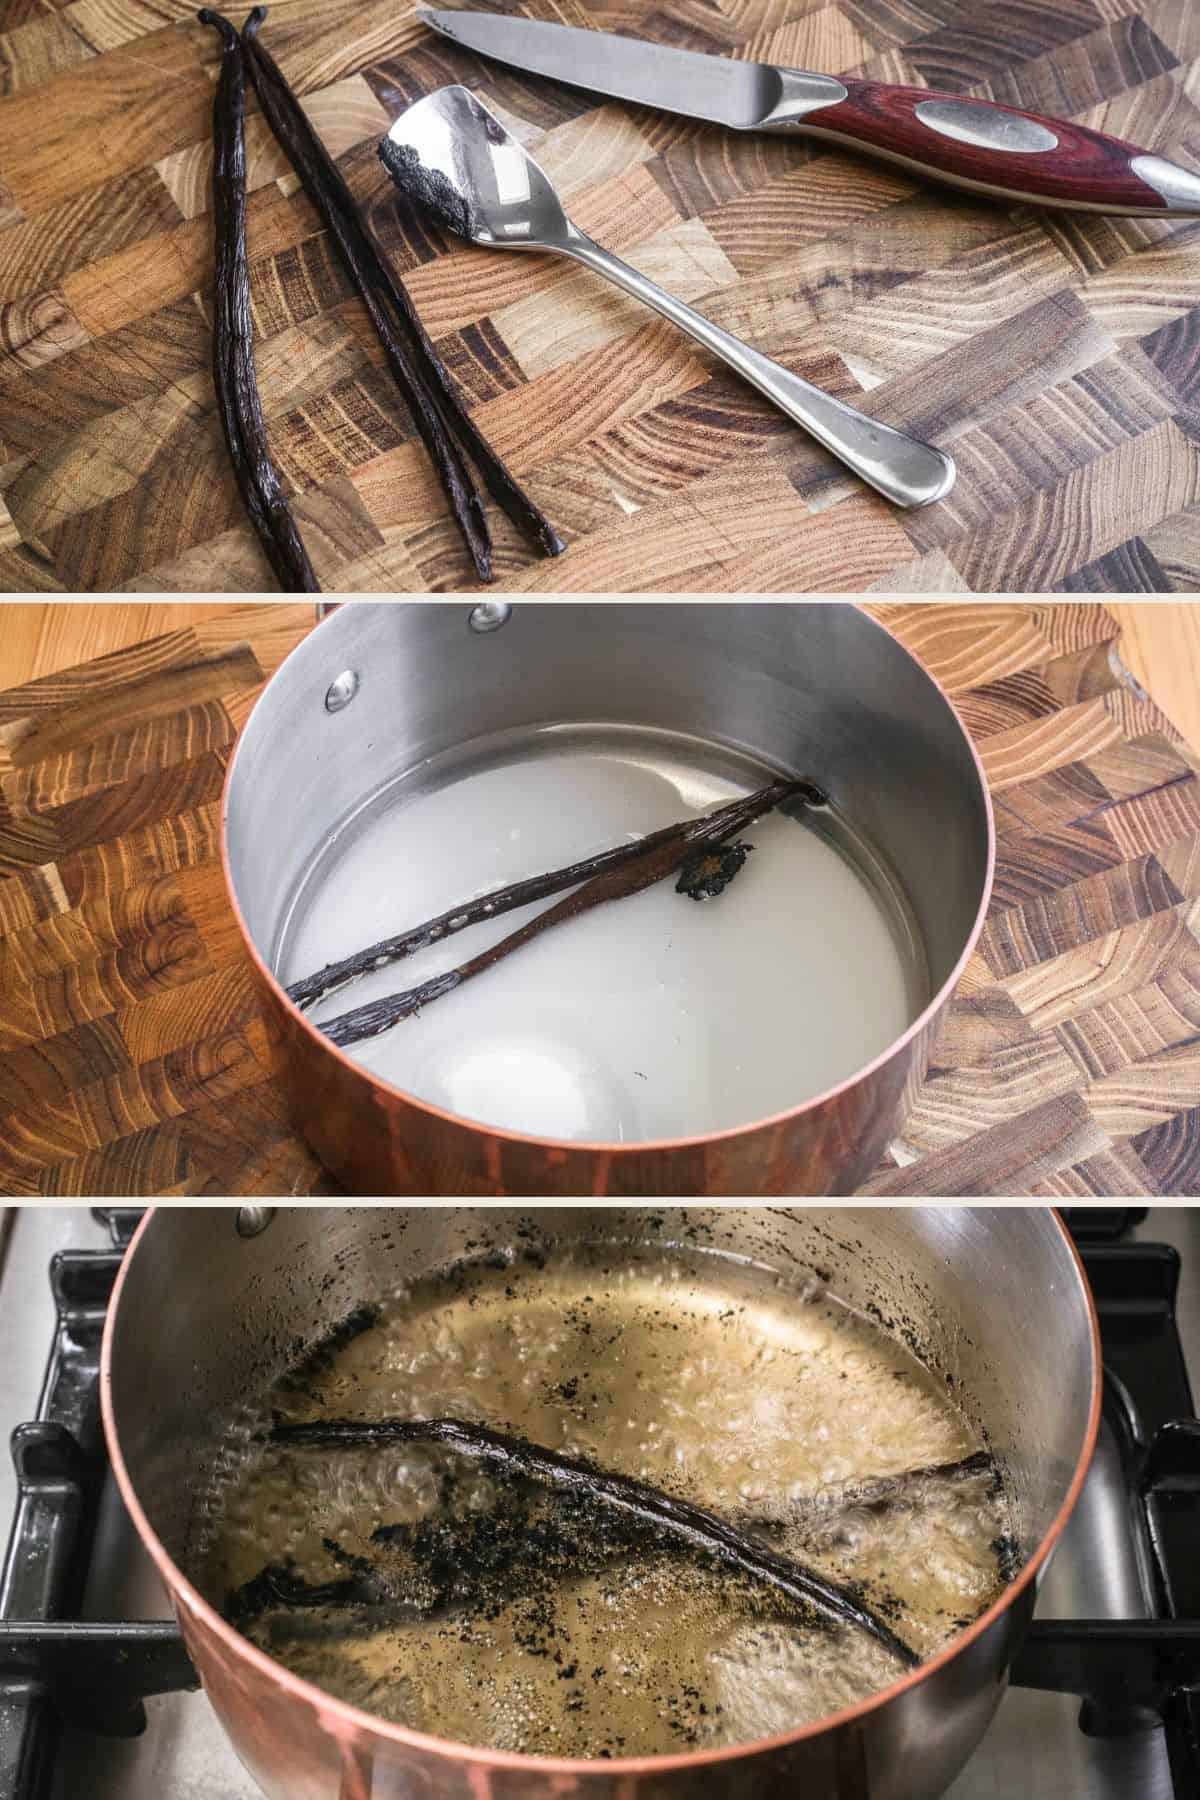
Place vanilla seeds, along with their pods, caster sugar and 200g (about ¾ cup) water into a medium-sized saucepan. Bring to the boil and continue gently boiling on a medium heat for around 15 minutes until it reaches between 110°C- 114°C (230°F-237°F) on a sugar thermometer and forms a syrupy consistency.
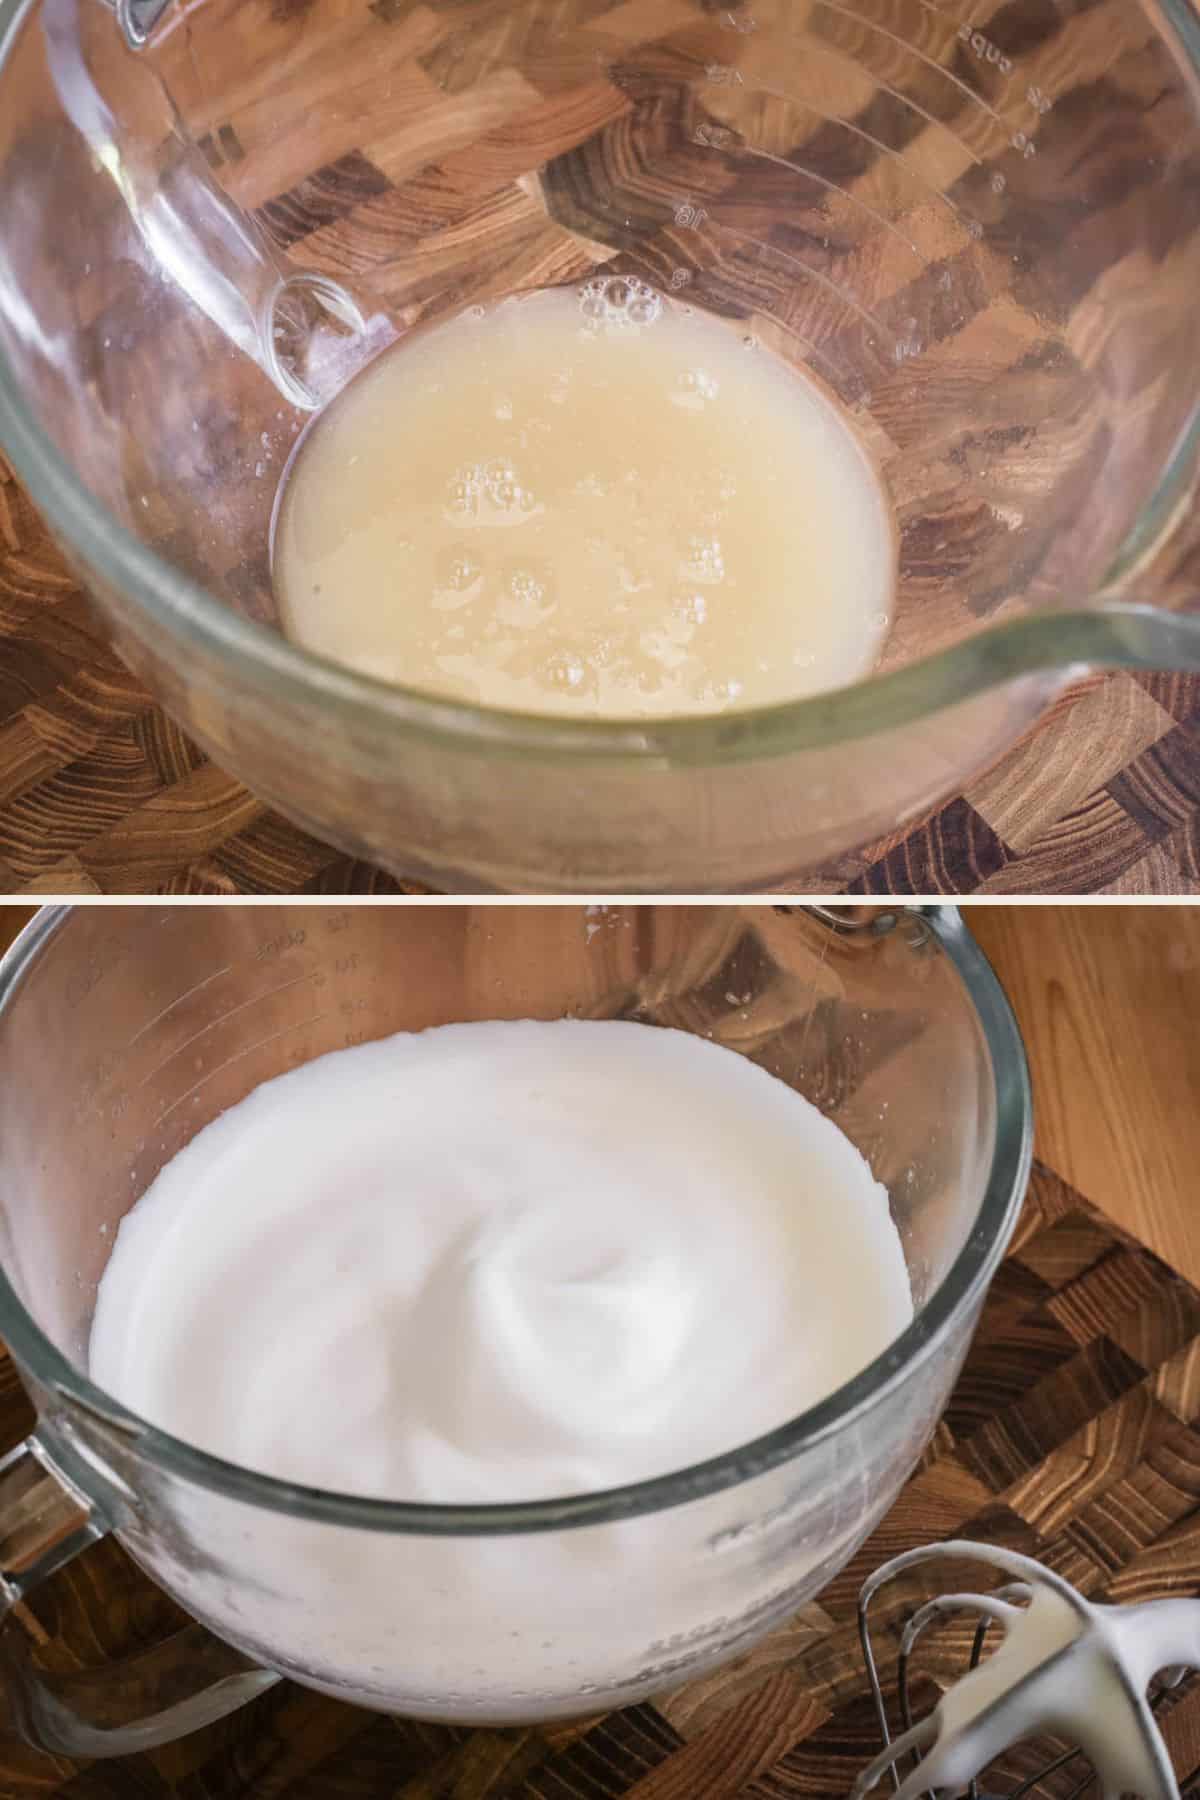
Whisk aquafaba in a large mixing bowl until it forms stiff peaks.
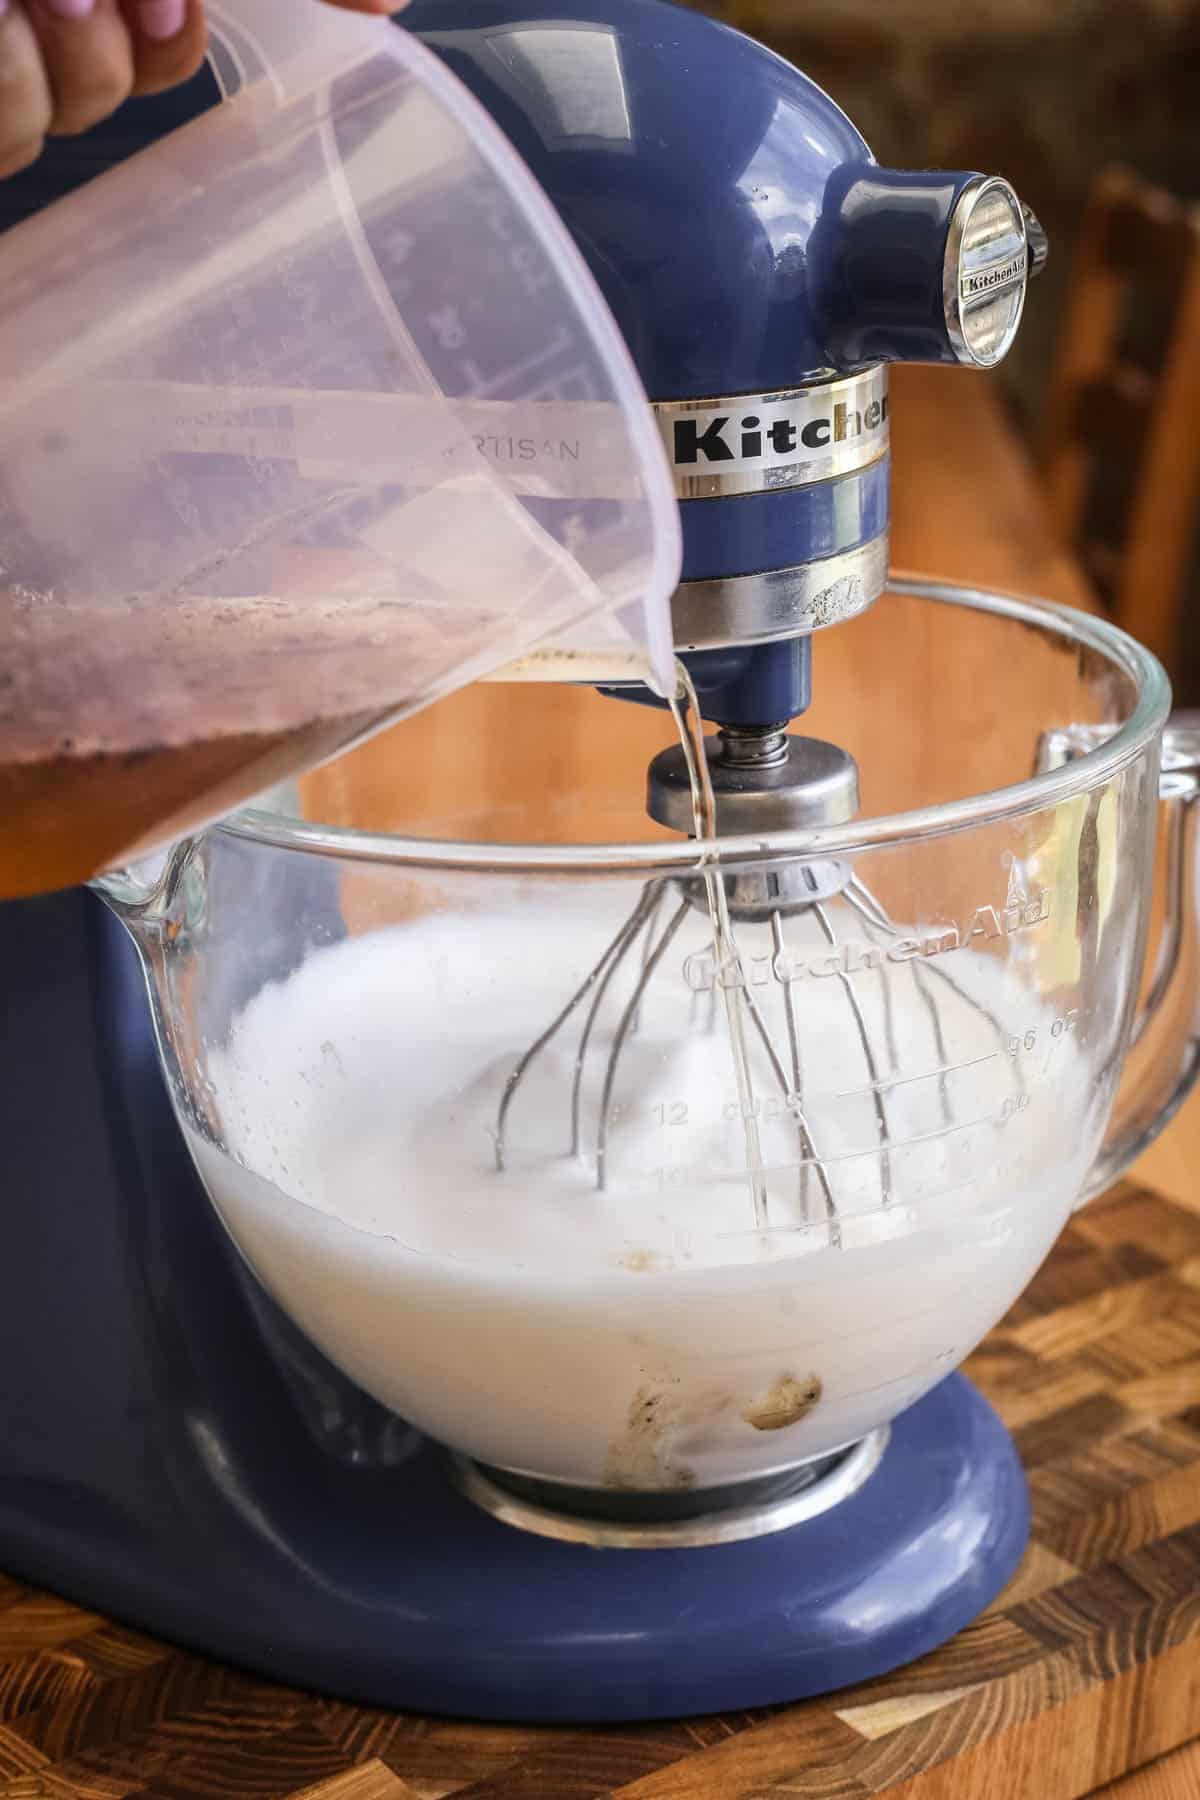
Pour the sugar syrup into the whipped aquafaba in a thin, steady steam.
Whip plant-based double cream until it thickens into firm peaks.
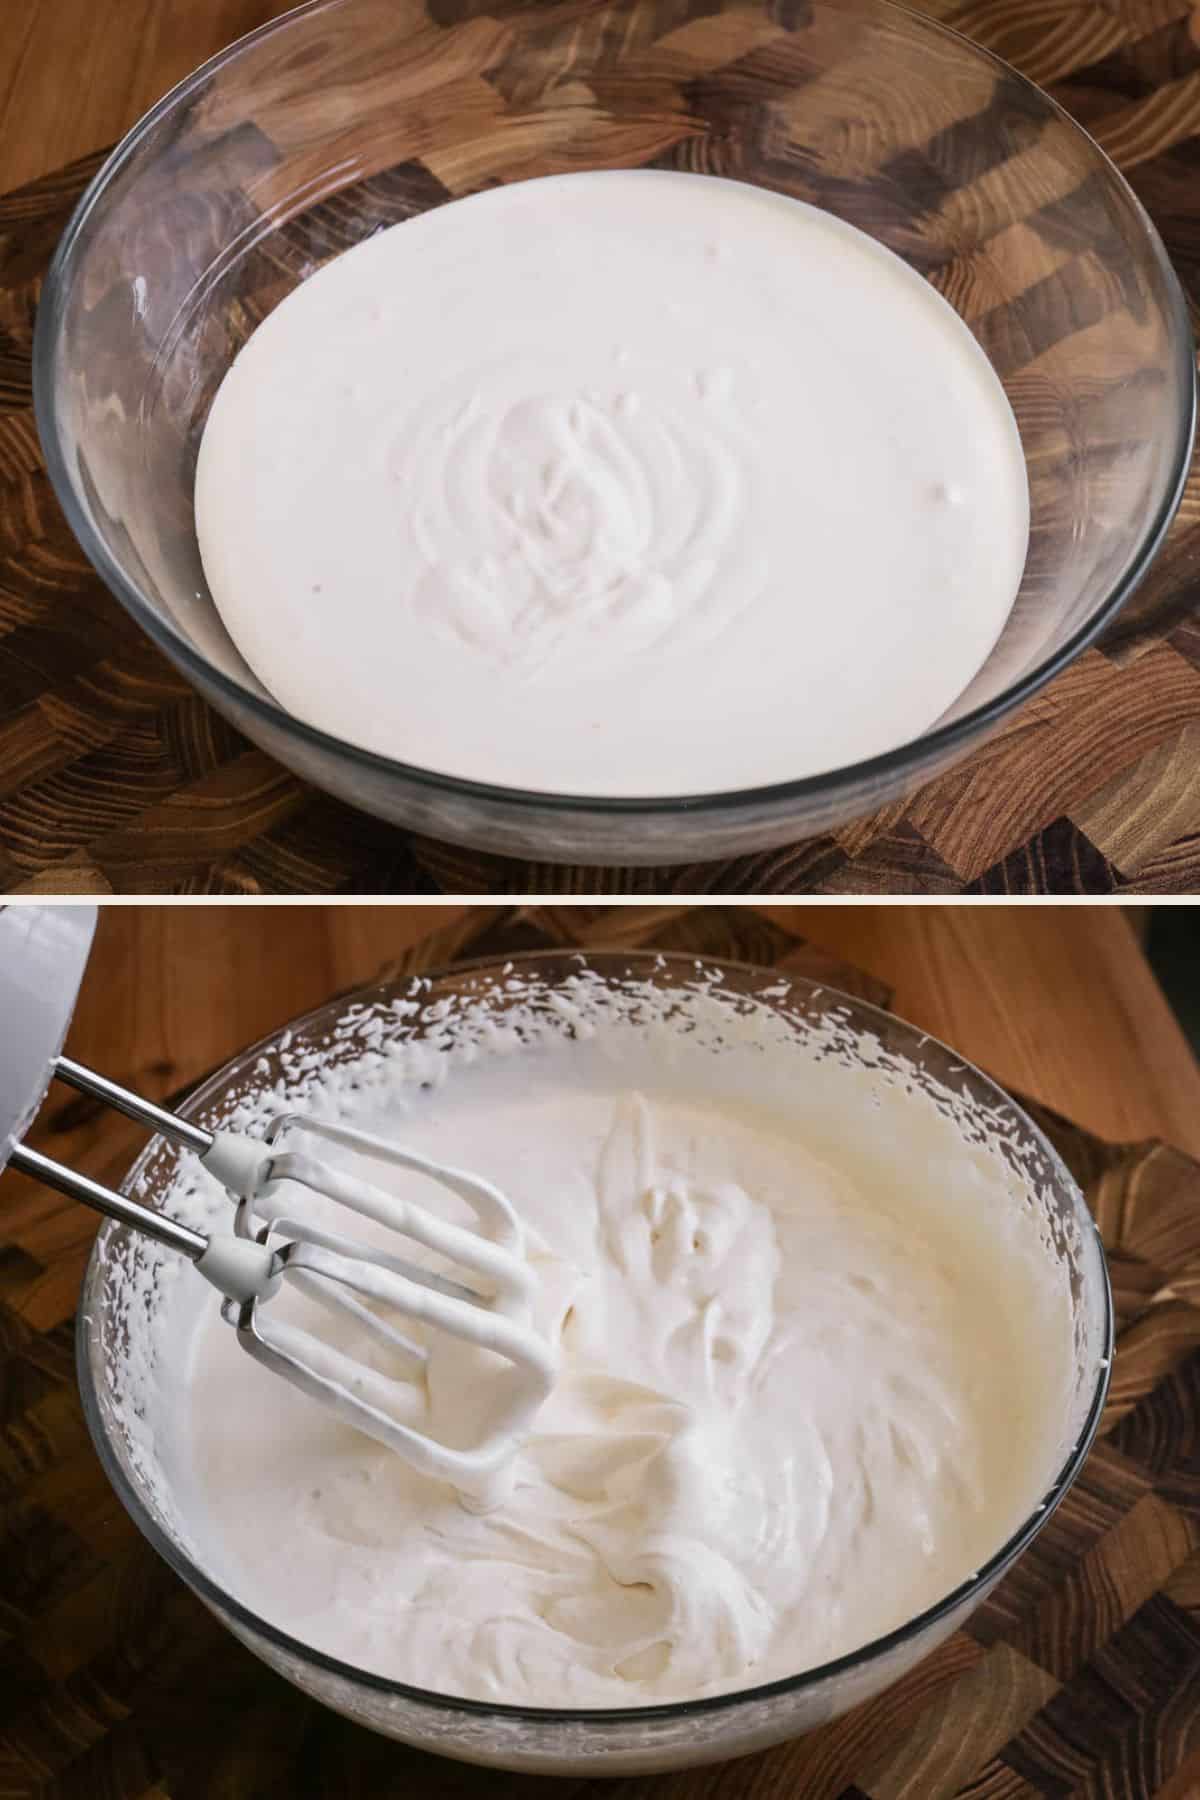
Add the cream into the rest of the ingredients.
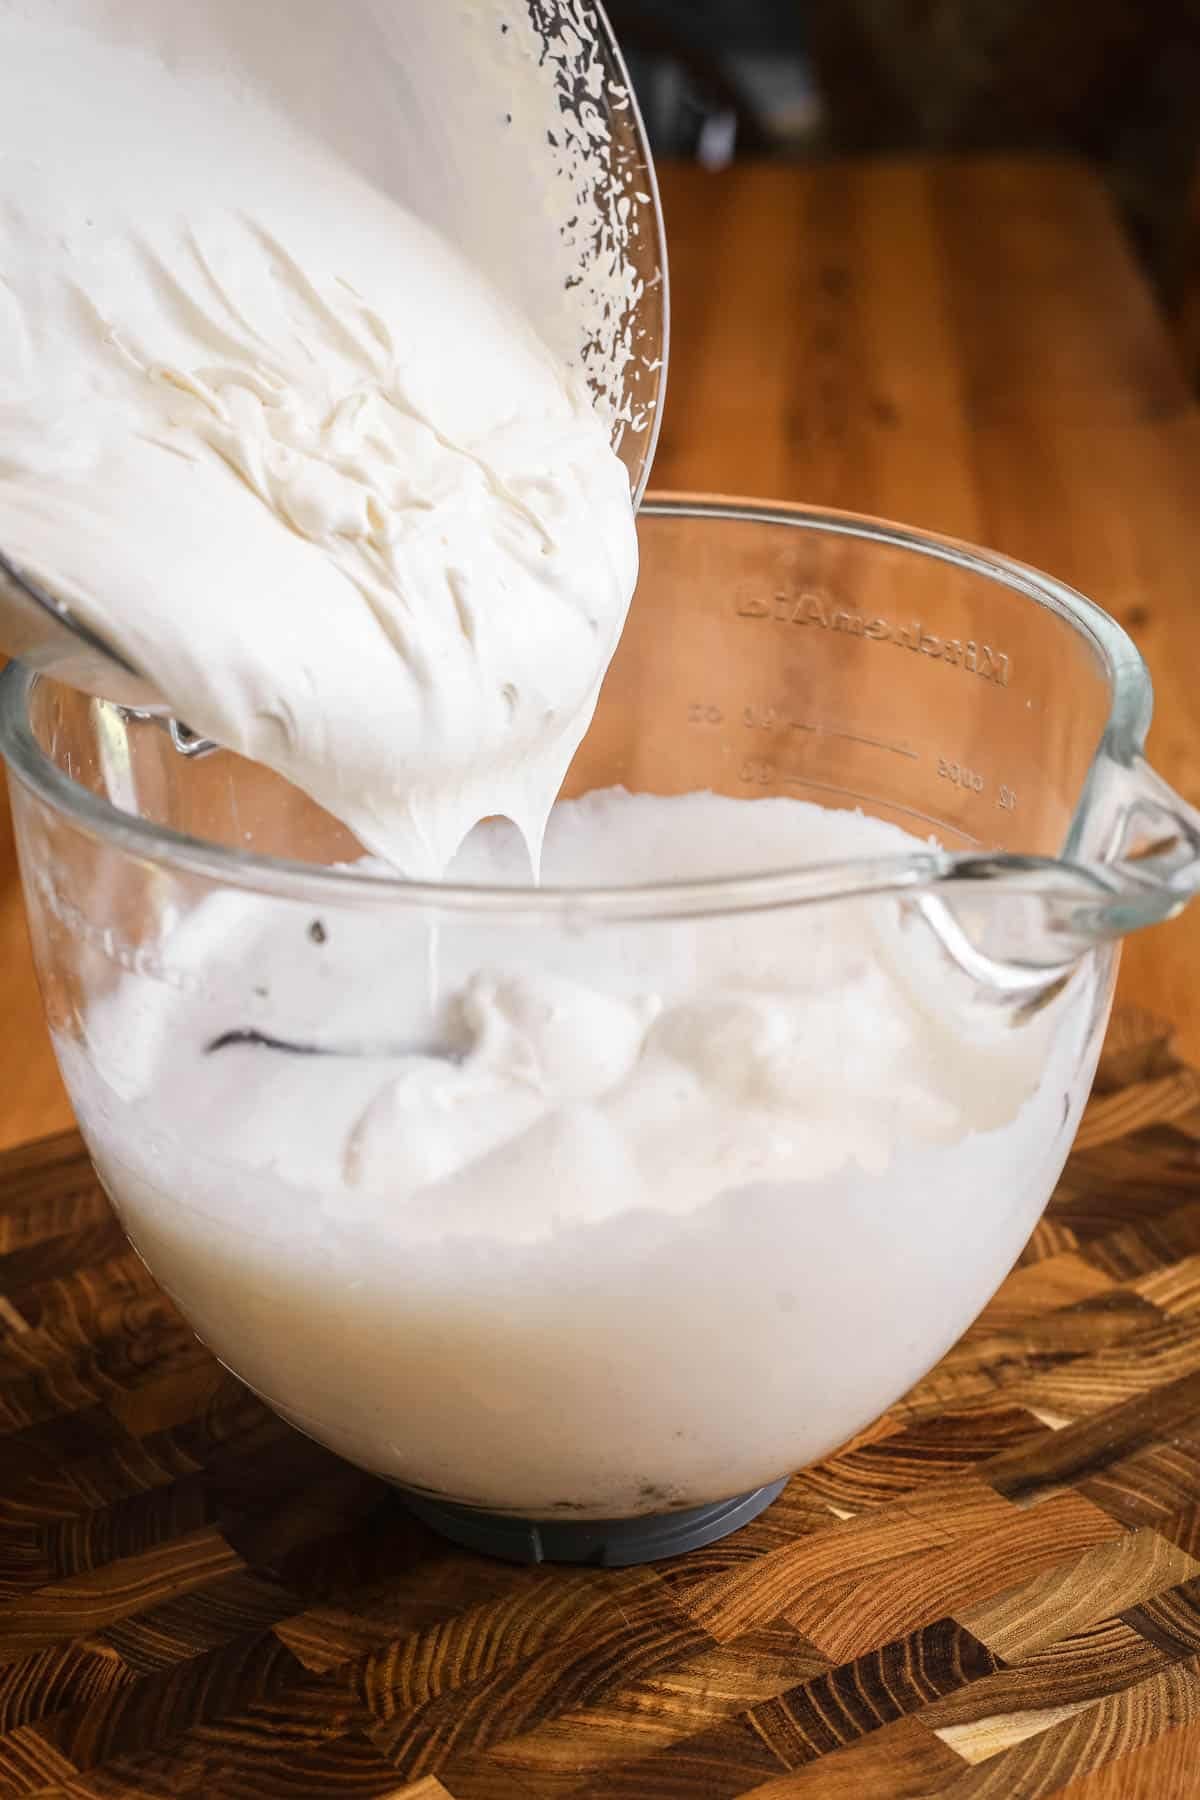
Gently fold the cream in then cover the bowl and refrigerate overnight to allow the mixture to chill completely.
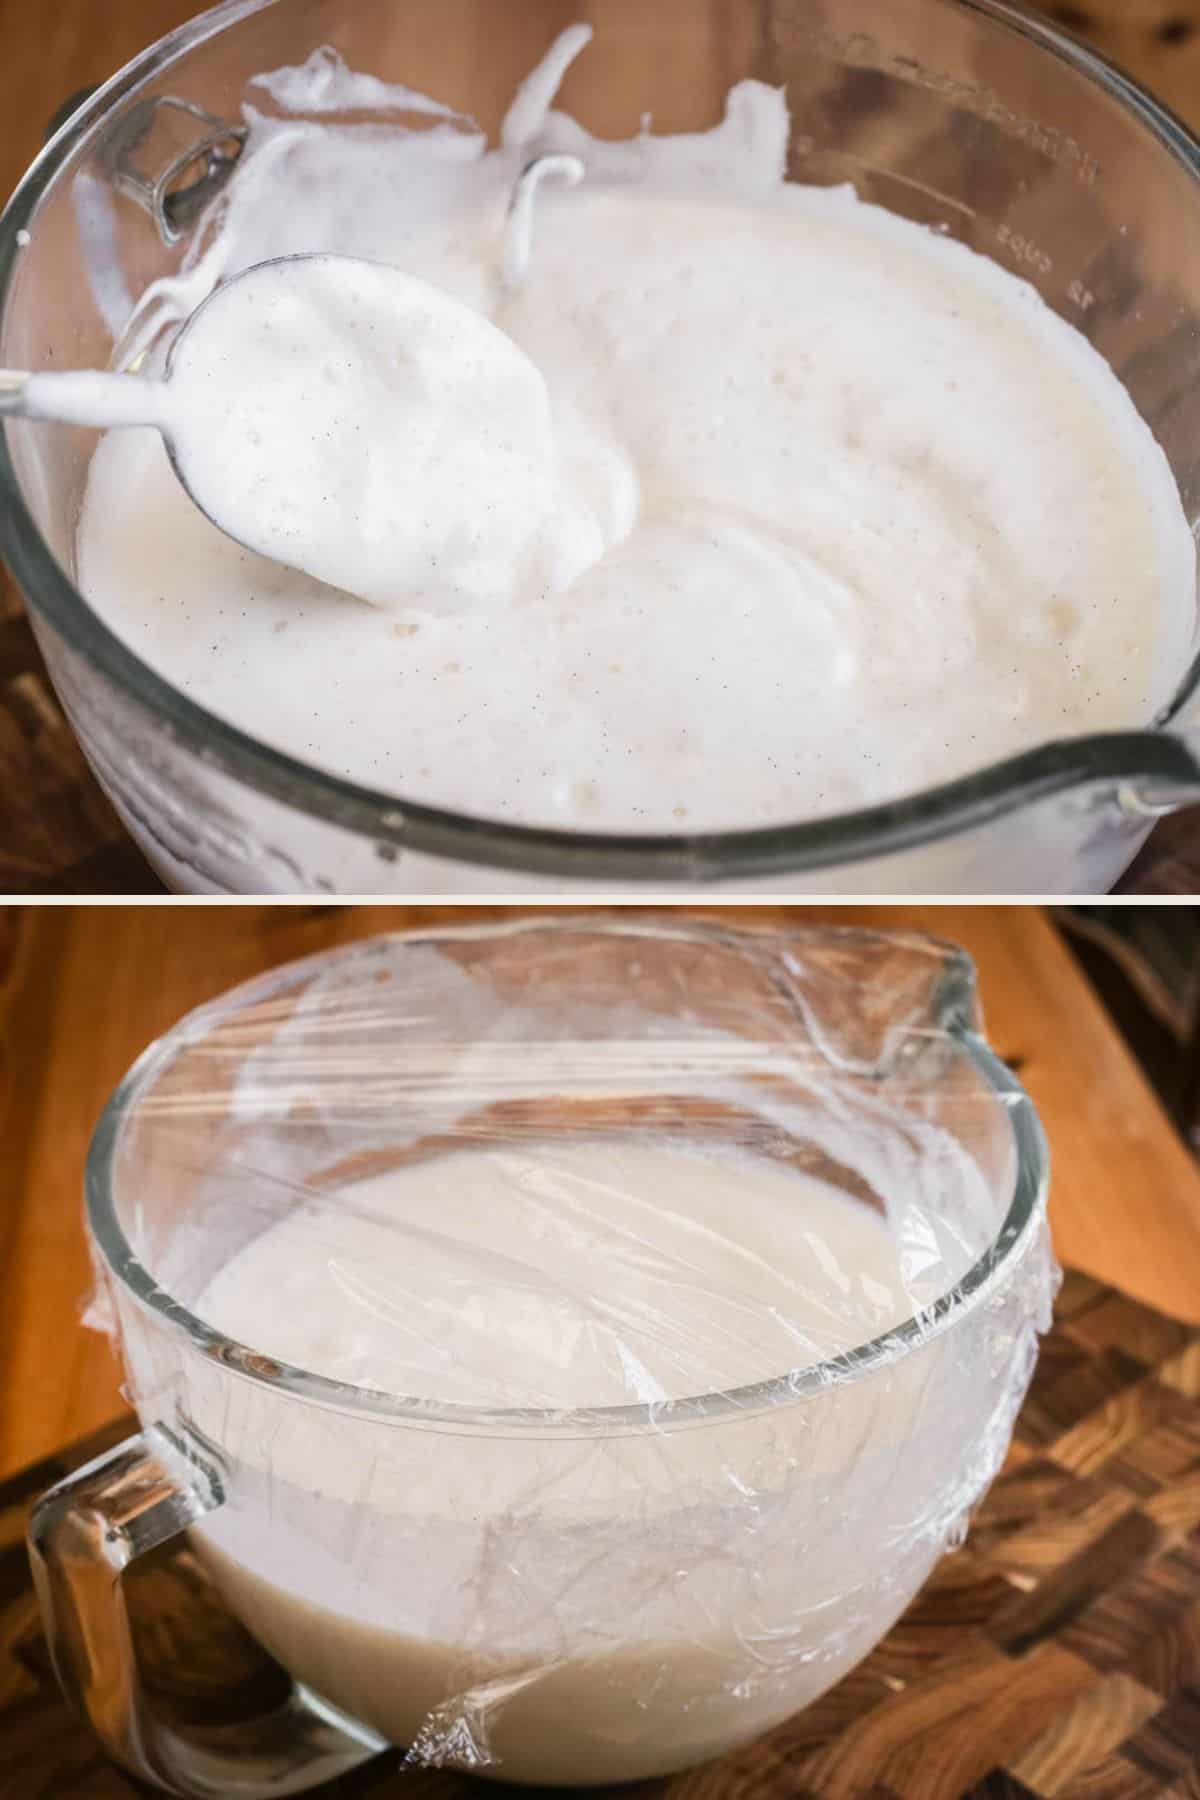
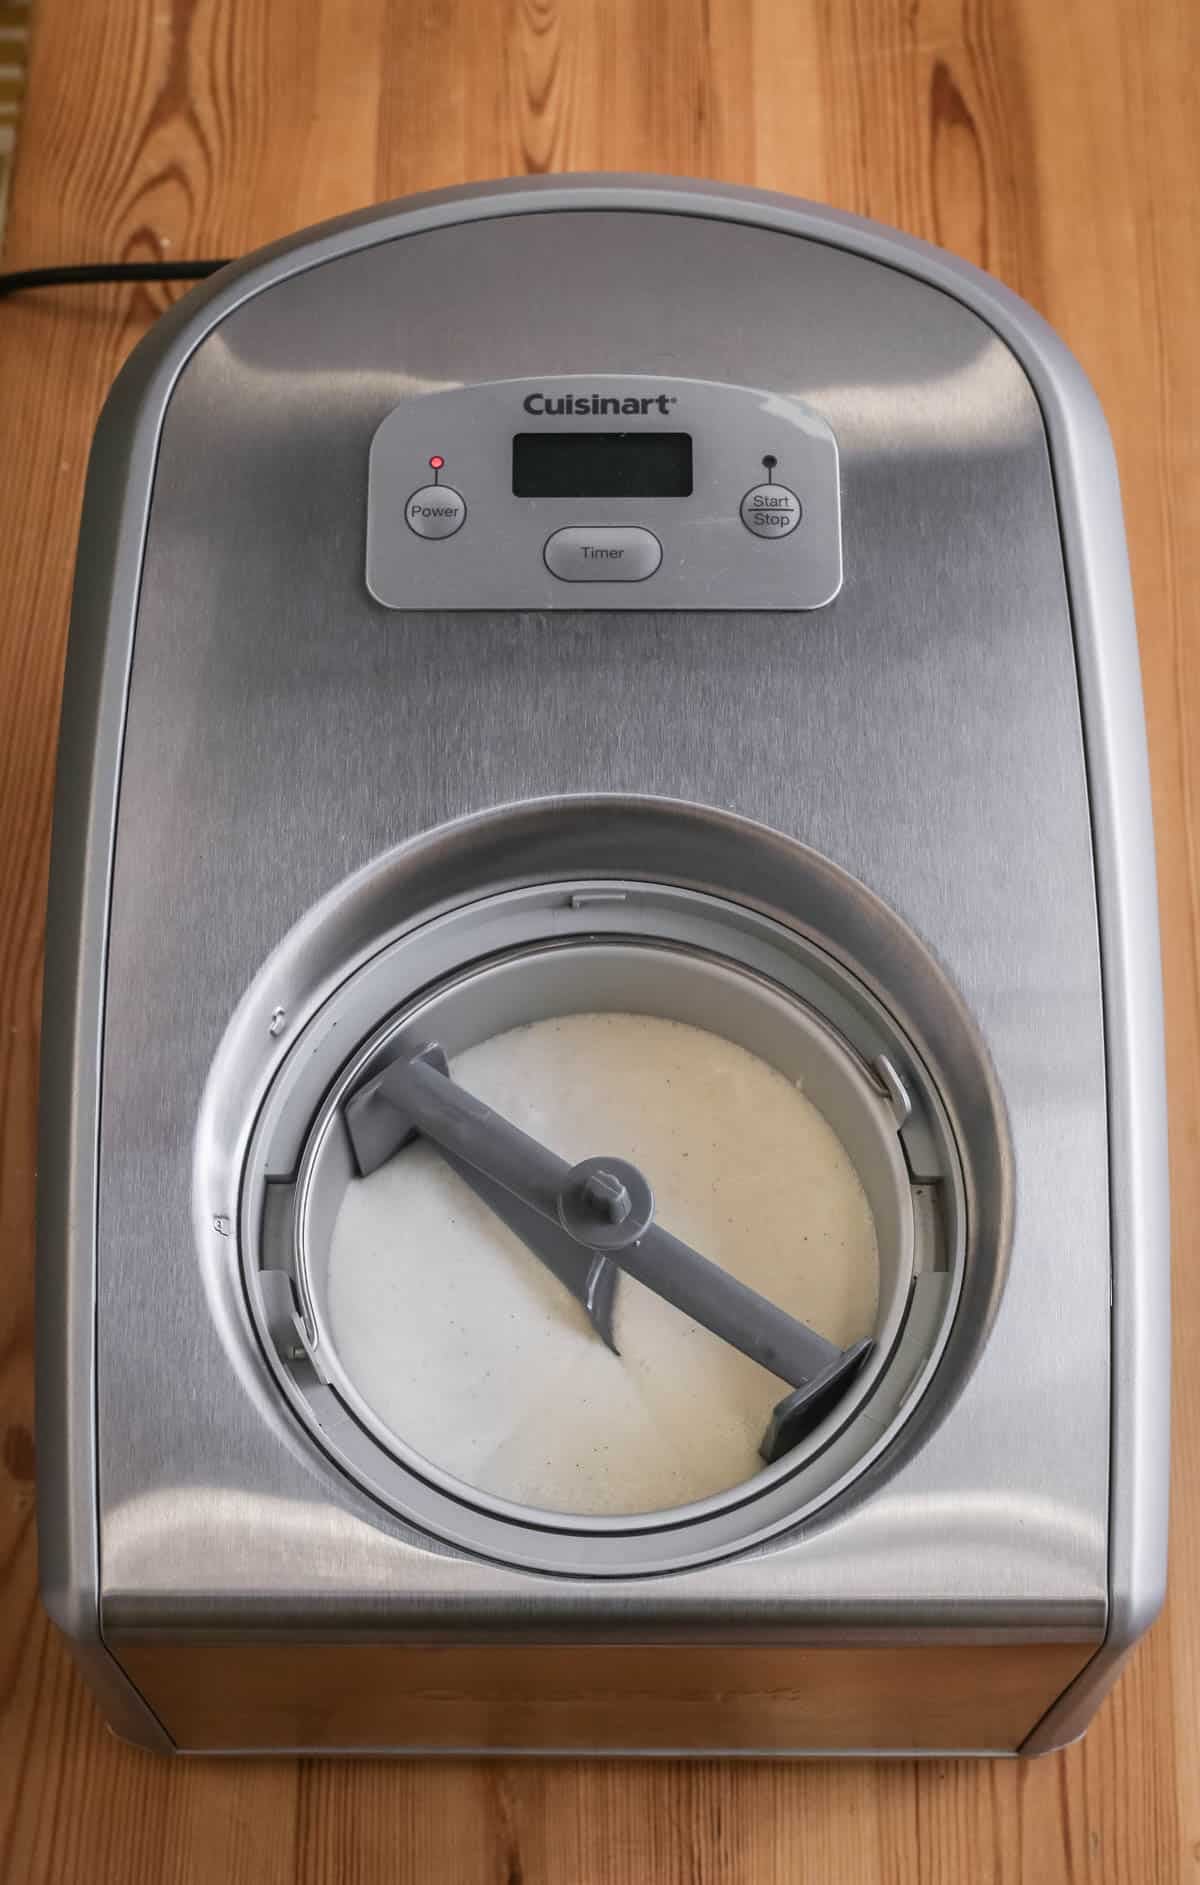
The following day, remove and discard the vanilla pod. As this recipe makes a large amount you may need to churn the ice cream in two batches (follow the instructions of the ice cream machine manufacturer).
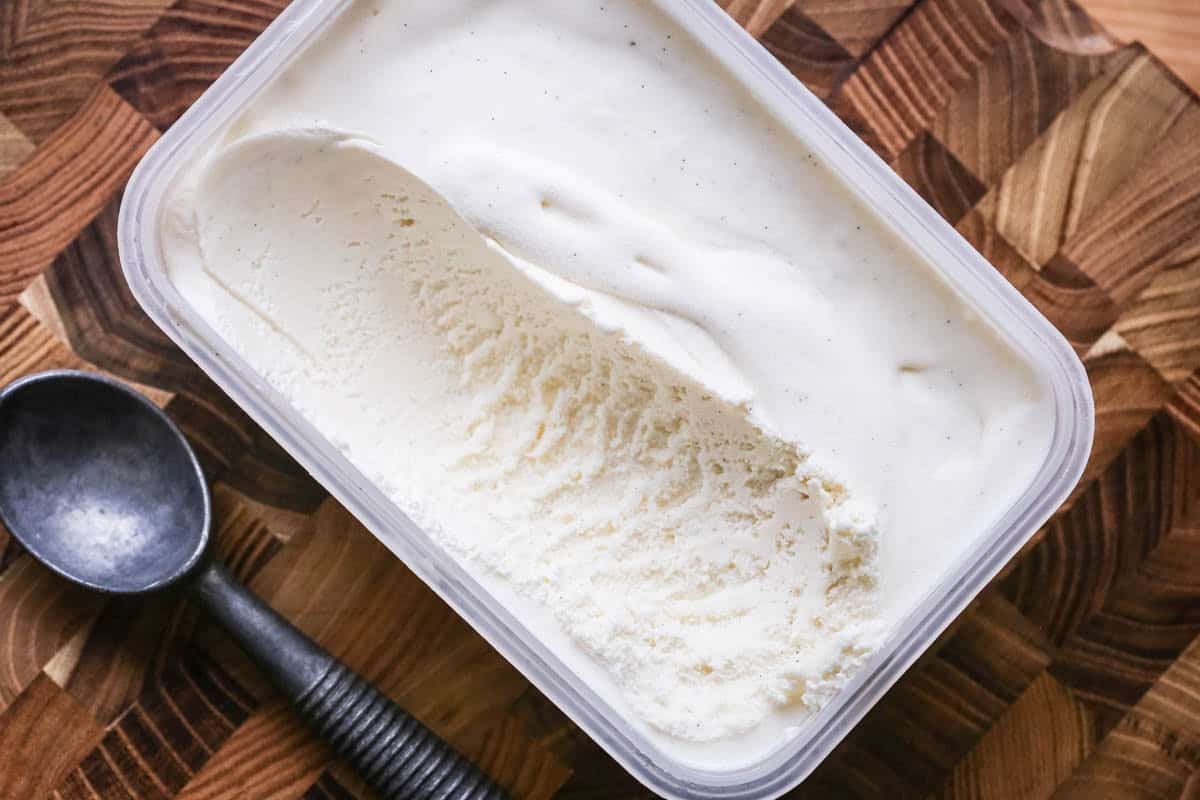
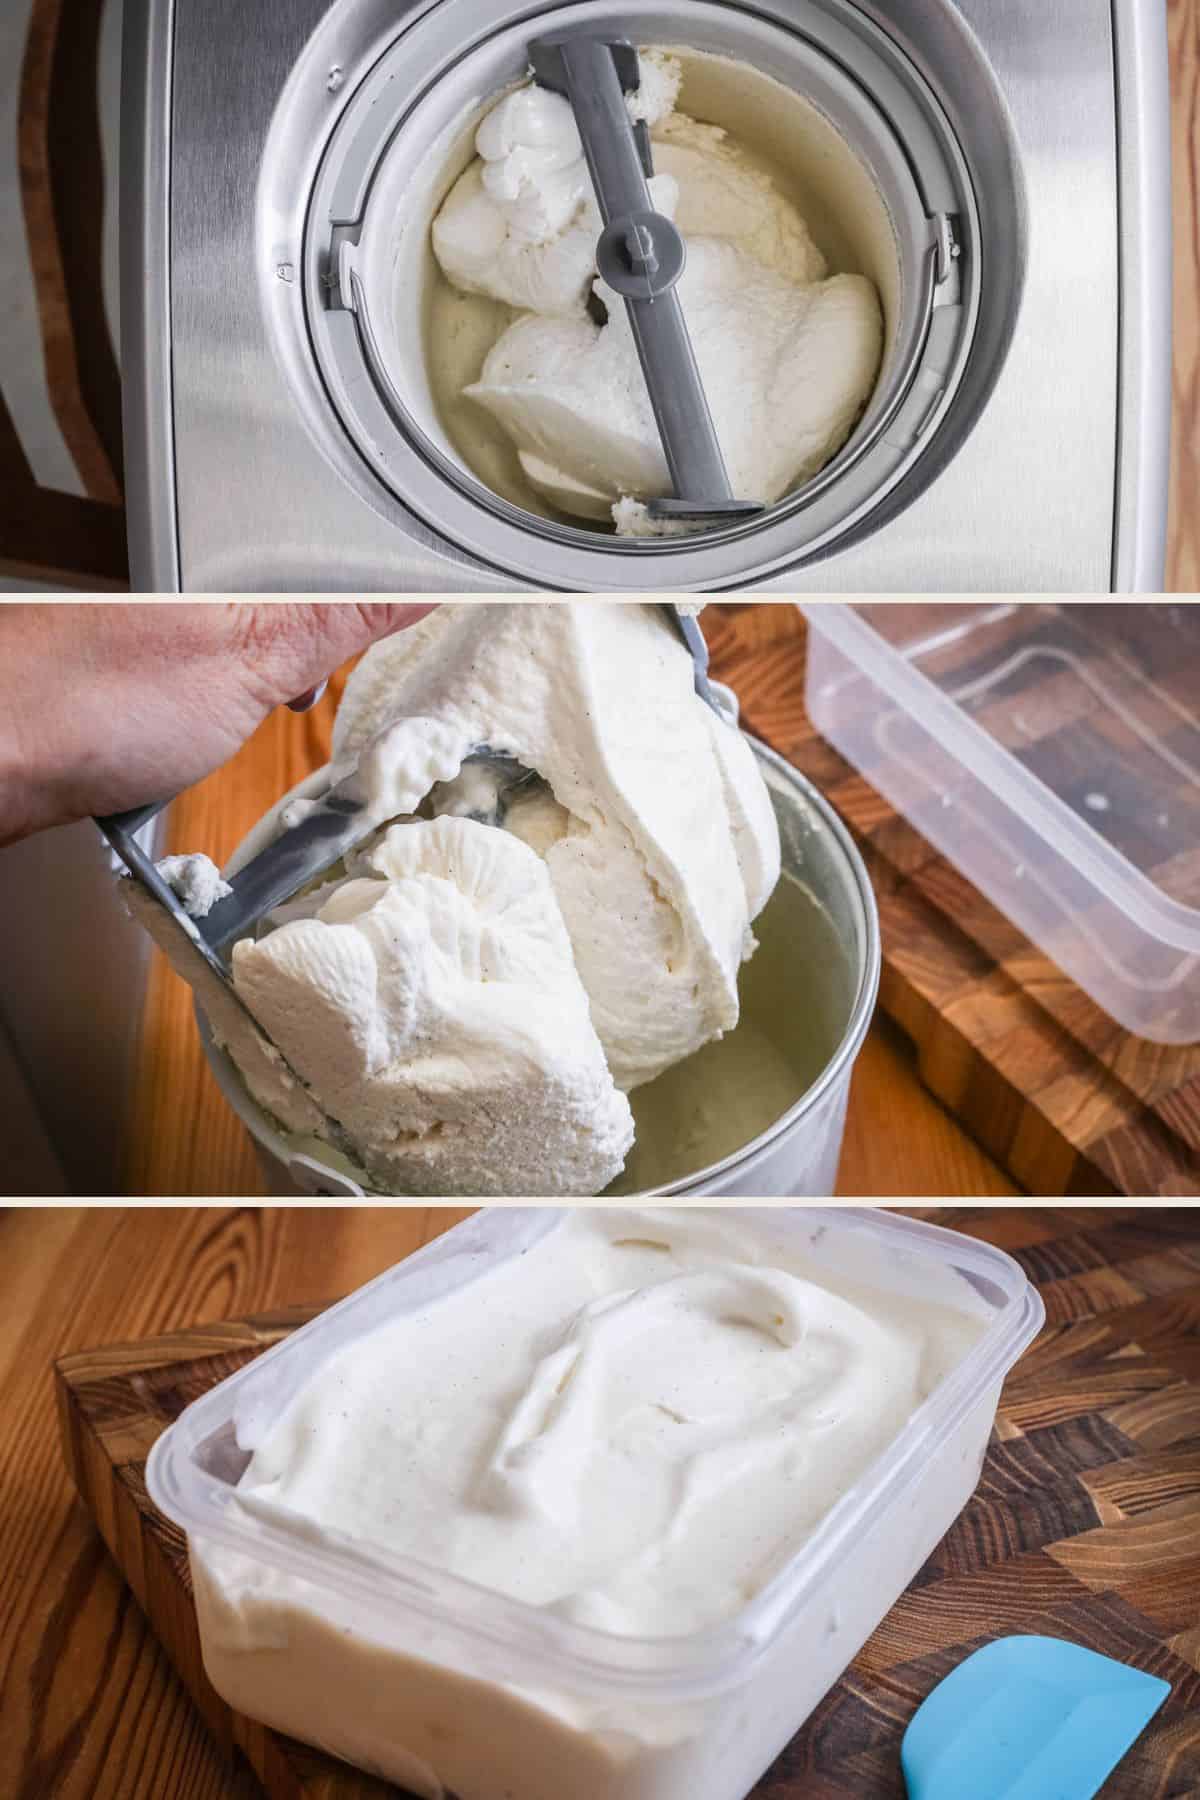
The ice cream is ready until it reaches the consistency of soft-serve ice cream. Transfer the churned ice cream to a freezer-safe airtight container and finish freezing for at least 8 hours, or preferably overnight, until firm enough to scoop and serve.
Tips & Troubleshooting
We need to make sure the sugar syrup reaches around between 110°C- 114°C (230°F-237°F) by which time it will have become a beautifully thick syrup and ensures enough water has evaporated. Less free water means fewer and smaller ice crystals are created as your ice cream freezes which results in a smoother creamier scoopable result.
You want to keep a careful eye on your sugar syrup so it doesn’t go over this ideal temperature as then the sugar starts to stiffen and caramelise which won’t give you the right texture for your ice cream. If this does happen then you need to start again.
The aquafaba takes about 10 minutes to whip up into the right softly firm texture. If you’ve ever whipped egg whites for meringue before then you are looking for this kind of structure and look to it.
I usually start whipping the aquafaba at the same time as the sugar syrup is cooking – it might have to hang around for five minutes or so but this is better than the sugar syrup hanging around. You need to pour the sugar syrup into the whipped aquafaba as soon as it has reached the correct temperature.
This time between whipping your aquafaba and waiting for your sugar syrup to finish is exactly the right amount of time to whip up your plant-based cream. So everything is ready to come together at the same time.
Pour the sugar syrup into the aquafaba as your stand mixer is slowly mixing it in. However, fold the whipped cream in using a spoon to avoid deflating too much of the air, but make sure it’s fully incorporated.
Cover the bowl and chill overnight in the refrigerator.
Keep the vanilla bean pod in the ice cream base whilst the ice cream base is chilling so the flavour infuses even more, then just pluck it out before you transfer to the ice cream maker to churn.
This recipe makes a double batch of ice cream, depending on the size of your ice cream maker. You will want to churn about half the ice cream mixture at a time. So, I will churn one batch of ice cream and make vanilla as per this recipe and then place the rest of the ice cream base back in the fridge. You can churn the second batch of ice cream directly after the first if you are using a self-freezing machine (once you’ve washed it out) or you can wait up to 24 hours and churn the second batch then. This second batch I often decide to include some add-ins to make a secondary flavour – and there are several ideas below.
Freeze your ice cream container before adding your churned ice cream – it means it doesn’t immediately melt as it hits the container. The shallower the container the better so it freezers more quickly.
If you place a sheet of baking parchment pressed to the ice cream (once completely frozen) then it should delay the long term formation of ice crystals.
Flavour Variations
Stracciatella. Peel 60-75g dairy-free chocolate into chocolate curls then chill in the freezer for 15-30 minutes. Churn your ice cream as per the recipe below then 5 minutes before the end of the churning time add your chocolate curls. Finish churning the ice cream and continue the recipe as per the recipe card.
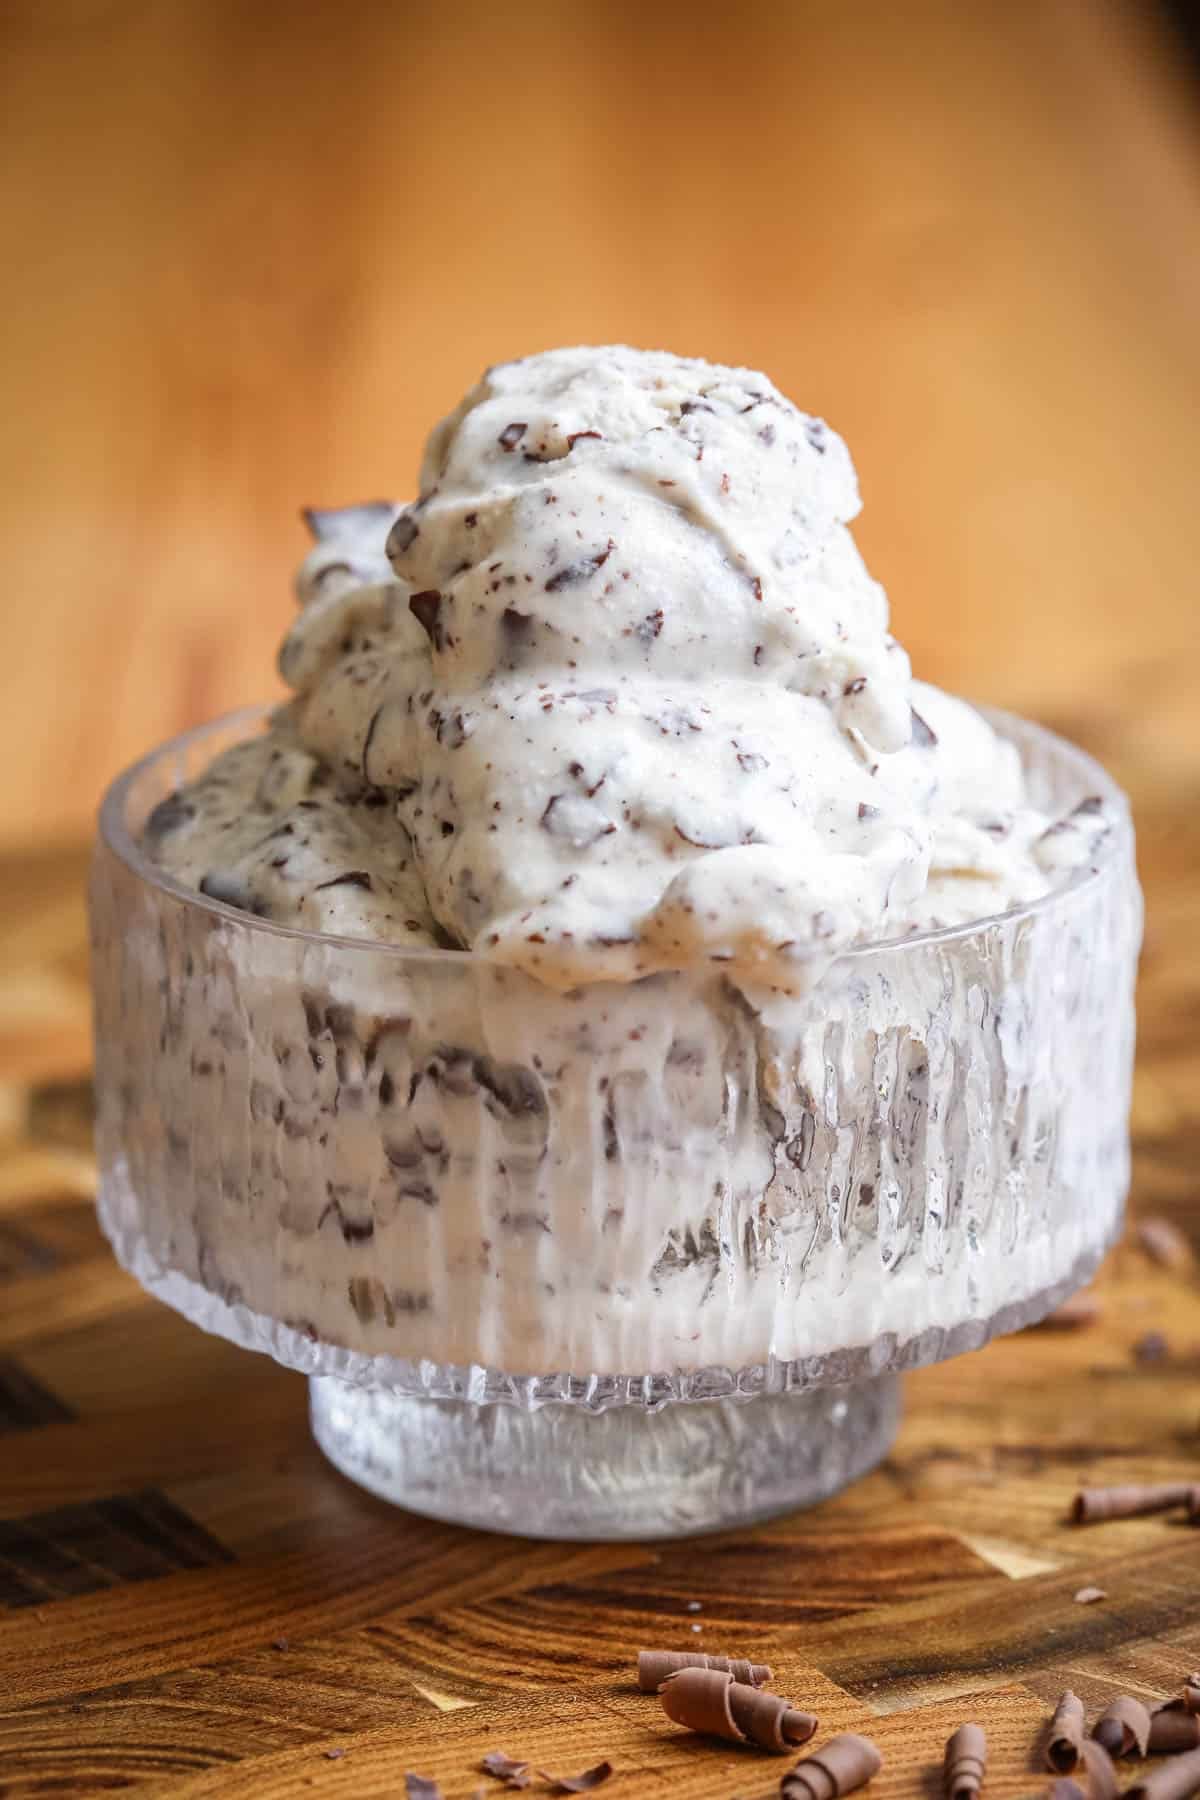
Mint Choc Chip. Add ½ teaspoon mint extract before churning and then add the chocolate chips as above.
Easy Strawberry Ice Cream. Grind 25g freeze-dried strawberries in a food processor until powdered. Add the strawberry powder to the ice cream base just before churning.
Banana Bread Ice Cream. Crumble 100-125g banana bread into pieces then lay on a lined baking tray and toast in the oven for about 10 minutes at 200°C / 180°C fan assisted / gas mark 6 / 400°F. Freeze the toasted banana bread pieces for at least 30 minutes. Churn your ice cream as per the recipe card then stir in the banana bread, when it's finished, by hand. Decant the ice cream into a freezeable container and finish the freezing process as per the recipe card.
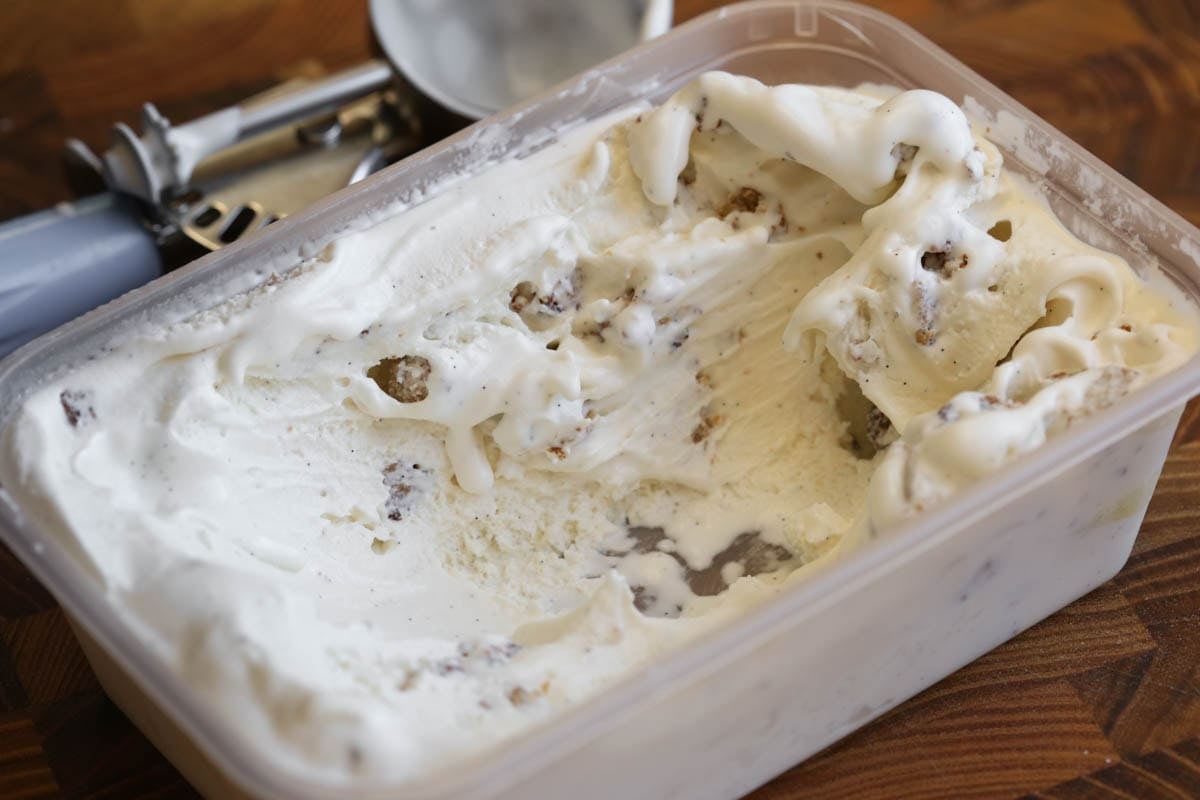
Stem Ginger Ice Cream. Churn your ice cream as per the recipe below then 5 minutes before the end of the churning time add 40g (2 balls) drained and diced stem ginger in syrup. Finish churning the ice cream and continue the recipe as per the recipe card.
Caramelised Nuts. This gorgeous Caramelised Nut recipe elevates this ice cream into an even better Häagen-Dazs’ Macadamia Nut Brittle. Churn your ice cream as per the recipe below then 5 minutes before the end of the churning time add 60g roughly chopped Caramelised Nuts. Finish churning the ice cream and continue the recipe as per the recipe card.
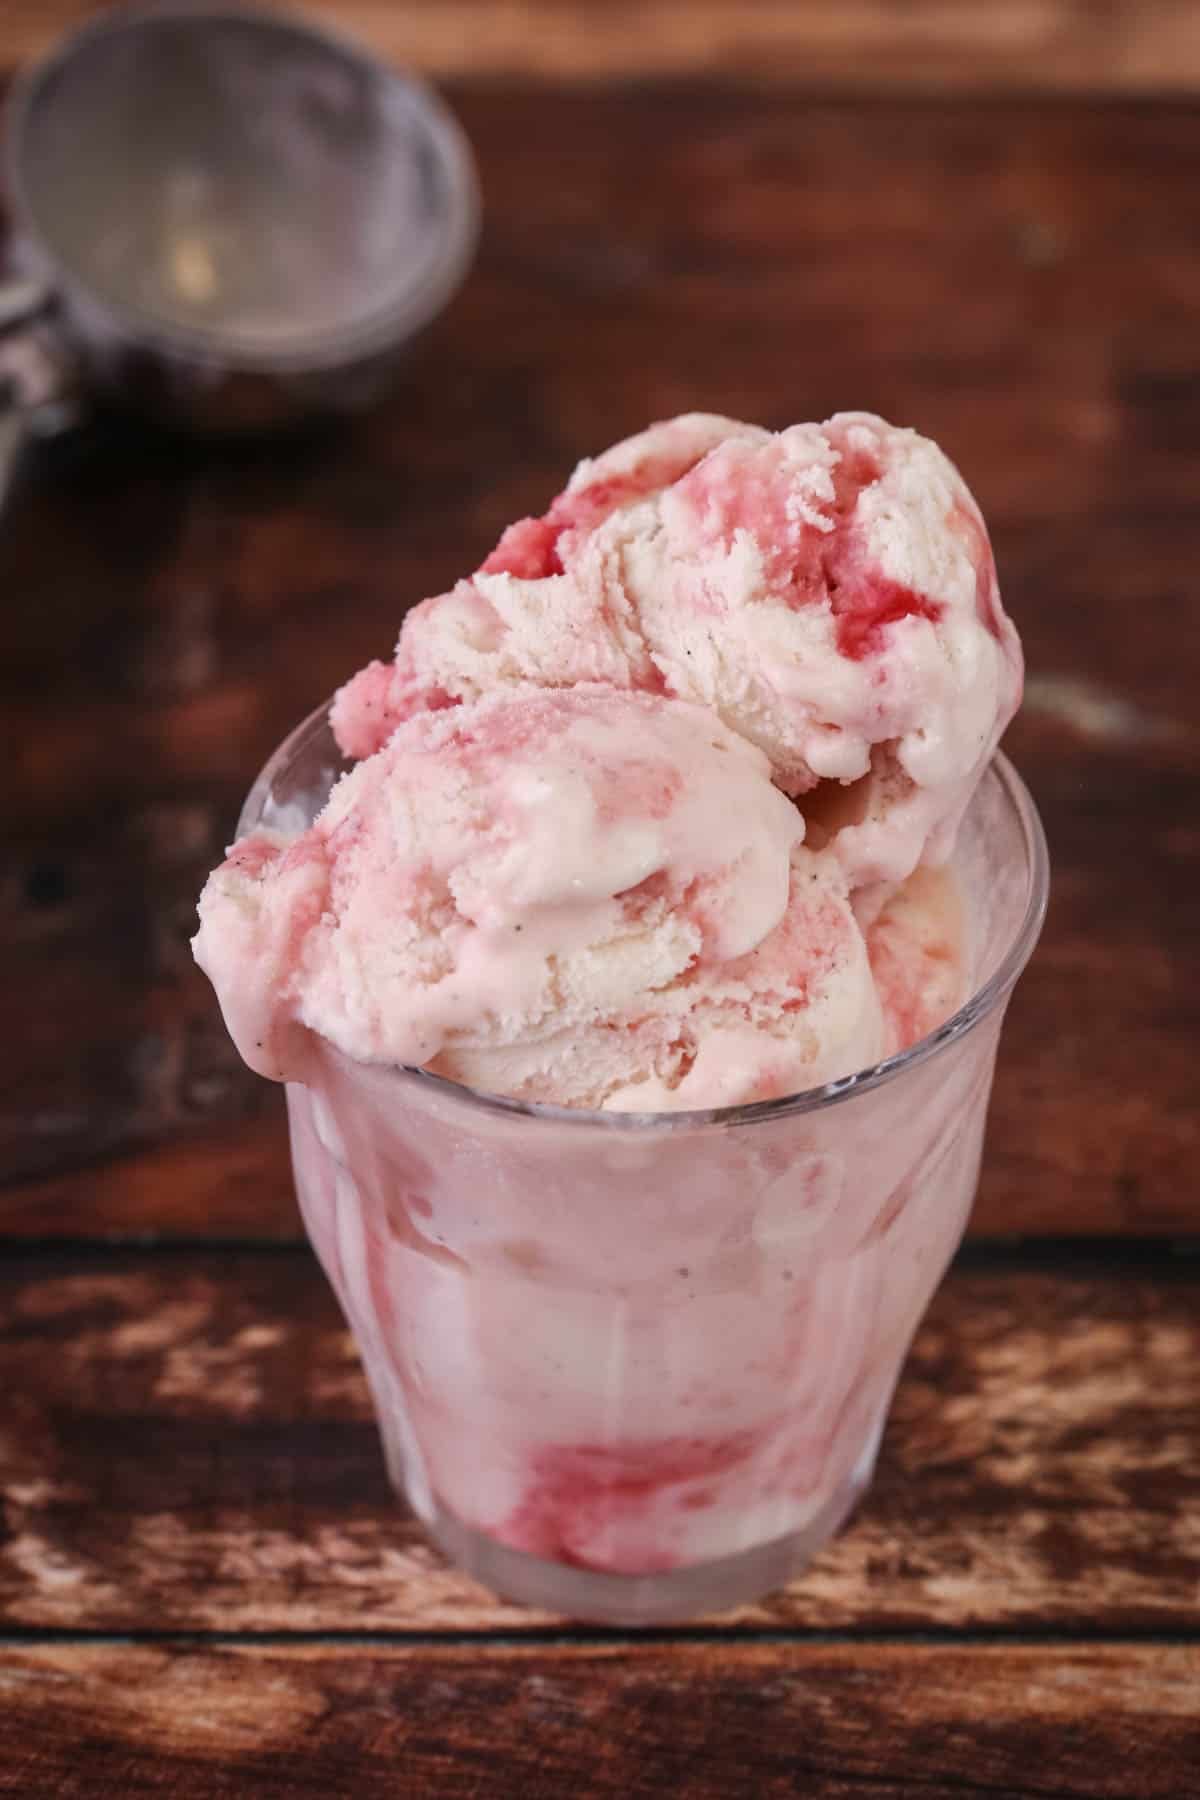
Easy Raspberry Ripple Ice Cream. Pour the churned ice cream out into a freezeable container. Dot in 60g raspberry jam and swirl in using a skewer. The jam must be cold from the fridge otherwise it warms up the ice cream which immediately melts. I particularly recommend seedless jam for this. You can also do this with other flavours of jam.
FAQs
Many homemade vegan ice creams rely on ingredients which contain more water than dairy ice creams (plant-based milks for example). This means that ice crystals form more readily and the ice cream sets harder. This recipe gives a much softer result as it’s based on sugar syrup which has been reduced so much of the water has evaporated and means there’s less water to freeze solid. Plus it uses plant-based cream which adds richness and fat for a smoother mouthfeel. However, all homemade ice creams benefit from sitting at room temperature for 5-10 minutes before serving.
This recipe doesn’t use coconut milk as the fat content but plant-based double cream instead (which does often contain coconut in some variety so this recipe isn't necessarily coconut-free). However, using cream makes the end result much richer and creamier than coconut milk without a strong coconut flavour.
Ice cream is best eaten within about four weeks of churning. It’s not that it isn’t going to be safe to eat after that (within reason) but the texture deteriorates with more tiny ice crystals forming gradually over time.
Ice cream is best stored in a shallow airtight container with a sheet of baking parchment pressed to the surface to help protect it.
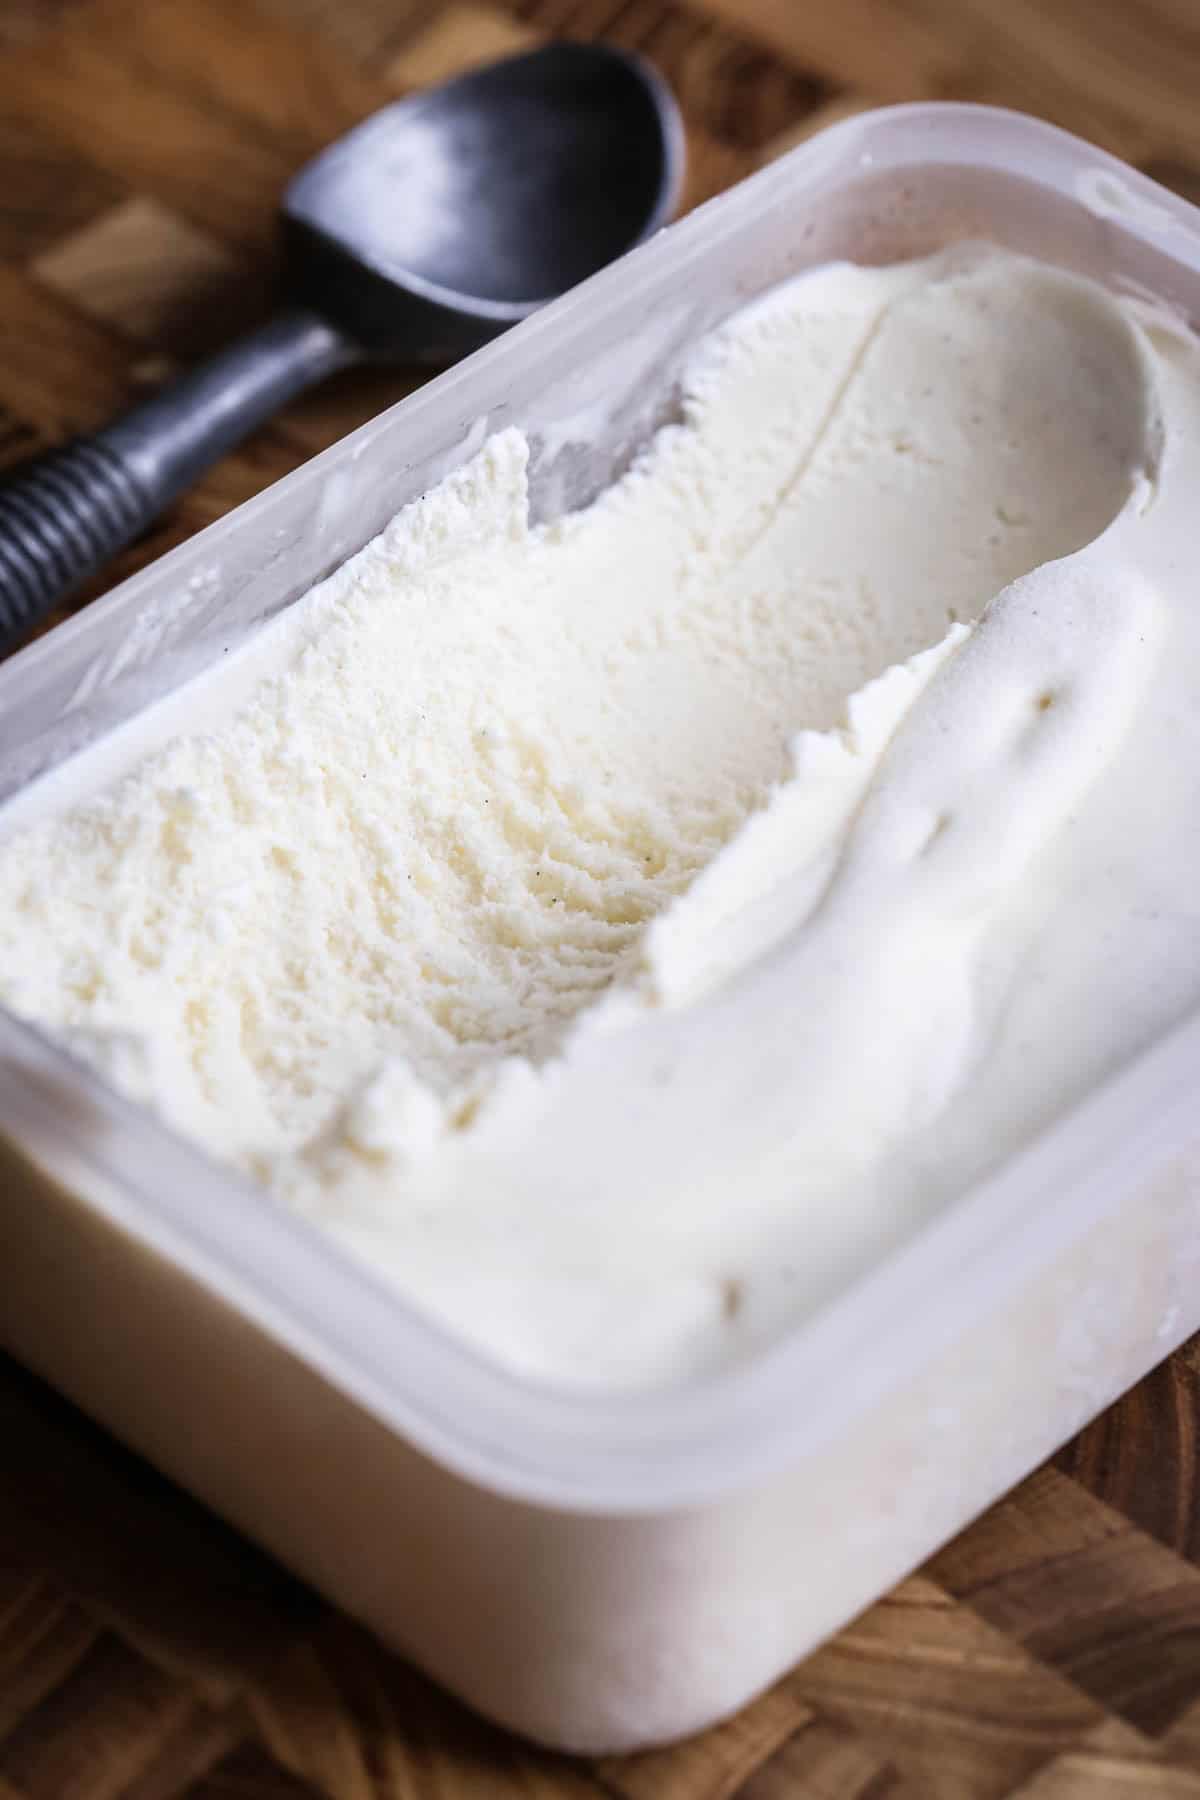
After churning this vanilla ice cream should be placed in the freezer to firm up to a more scoopable texture. Overnight is best.
This is a churned ice cream and you won’t achieve the best results if you are churning by hand. For that reason I do recommend using an ice cream machine. You can buy relatively cheap ones if you don’t want a major investment- discussed above.
Recipes for Leftover Chickpeas
We’re turning this on its head as usually it’s the chickpeas we are actually after in our tins. However, if you are only opening your tin for the aquafaba then you can make any of these recipes with your happy bonus ingredient.
Roasted Chickpeas. This is just what I usually use the chickpeas for since it’s a quick recipe and lasts a couple of weeks when all I really want is the ice cream. To serve over salads or to snack on whilst I’m making the ice cream.
Homemade Houmous. Then if I’m pushing the boat out a bit I’ll whip up a quick houmous. Why not? Making ice cream is hungry work and you’ll need a substantial snack.
Chickpea Brownies. Recipe to be published! These are so quick to make and can be made to serve alongside your ice cream – or you can make brownie studded vanilla ice cream. I’ve done it and it’s delicious!! See below for add-ins advice.
Then since your ice cream has to rest overnight you can treat yourself to a Chickpea Curry or Chickpea Grain Bowl for dinner.
What Can You Serve with Your Dairy-Free and Egg-Free Ice Cream?
This ice cream is absolutely delicious on its own but it’s also perfect if you need a creamy accompaniment to your favourite desserts.
Topping dessert. Try it with a warm crumble – this Vegan Coconut Blueberry Crisp is one of my favourites.
Accompanying chocolate cake. Warm up one of these Vegan Chocolate Courgette Muffins in the microwave or a slice of this Vegan Chocolate Banana Bread and serve alongside your vanilla ice cream for the ultimate summer dessert.
Add toppings. Add some toppings to your ice cream to make it a little bit fancier. Crumble some of these granola bars over the top of a generous scoop of ice cream. Or top with fresh berries
Chocolate Sauce. This chocolate sauce recipe isn’t written as vegan but all you need to do is switch out the dairy double cream for the same plant-based double cream you’re using in this recipe, make sure you’re using dairy-free chocolate and switch out the honey for maple syrup.
More Frozen Vegan Treats You’ll Love
These Almond Butter Fudgsicles really hit the spot during lazy hazy summer days and they are so much more satisfying than your average ice lolly.
Make this super easy Vegan Mango Lime Frozen Yoghurt in the blender using only three ingredients.
Enter your email below to get this recipe sent to your inbox plus get new recipes, baking tips, and updates.
Homemade Vegan Vanilla Ice Cream (nut free, dairy free)
Ingredients
- 2 vanilla beans
- 200 g caster sugar
- 300 g aquafaba - from 2-3 cans chickpeas
- 600 g plant-based double cream
Instructions
- Split the vanilla pod lengthways with a sharp knife and scrape out the seeds.
- Place the caster sugar, 200g (¾ cup) water, the vanilla pod and the scraped seeds into a medium-sized saucepan. Heat gently, stirring occasionally just to disperse the seeds, so the sugar slowly dissolves into the water.
- Bring to the boil and continue gently boiling on a medium heat until it reaches between 110°C- 114°C (230°F-237°F) on a sugar thermometer and forms a syrupy consistency. This usually takes between 15-20 minutes. Keep a close eye on the syrup and check the temperature frequently to avoid overcooking it.
- While the syrup is cooking, whisk the aquafaba in a large mixing bowl using an electric whisk (or stand mixer) until it forms stiff peaks.
- Once the sugar syrup reaches 110°C- 114°C (230°F-237°F), slowly pour it into the whipped aquafaba in a thin, steady steam, whisking continuously. The mixture will turn thick, glossy and increase in volume.
- In a separate bowl, whip the plant-based double cream until it thickens into firm peaks. You will probably find it doesn’t thicken as much as real cream but soft-firm is good enough.
- Gently fold the cream into the glossy aquafaba until fully combined.
- Cover the bowl and refrigerate overnight to allow the mixture to chill completely.
- The following day, remove and discard the vanilla pod.
- The recipe makes approximately 1kg of ice cream, so you may find it easier to churn in two batches, depending on the capacity of your ice cream maker. Weigh out half the mixture and return the remaining half to the refrigerator until you’re ready to churn it. It can be kept chilled for a further 24 hours.
- Pour the chilled ice cream base into your ice cream machine and churn for 35-40 minutes, or according to the manufacturer’s instructions, until it reaches the consistency of soft-serve ice cream.
- Transfer the churned ice cream to a freezer-safe airtight container and smooth the surface. Freeze for at least 8 hours, or preferably overnight, until firm enough to scoop and serve.
Notes
- This ice cream is best eaten within about four weeks of churning for the smoothest texture.
- I don’t recommend making this recipe without an ice cream machine. I used the Cuisinart Ice Cream & Gelato Professional ICE100BCU and usually costs about £200. However, you can buy relatively cheap ones if you don’t want a major investment- discussed in the post above.

Thanks for all the amazing recipes!
Can we use another liquid sugar, like agave?
Yes you can use a liquid sugar but other kinds of sugar have different levels of sweetness. I don't use agave a lot so just bear in mind that the sweetness level might be different.