How to Sterilise Jars for Preserves
This post contains affiliate links. Please read my disclosures.
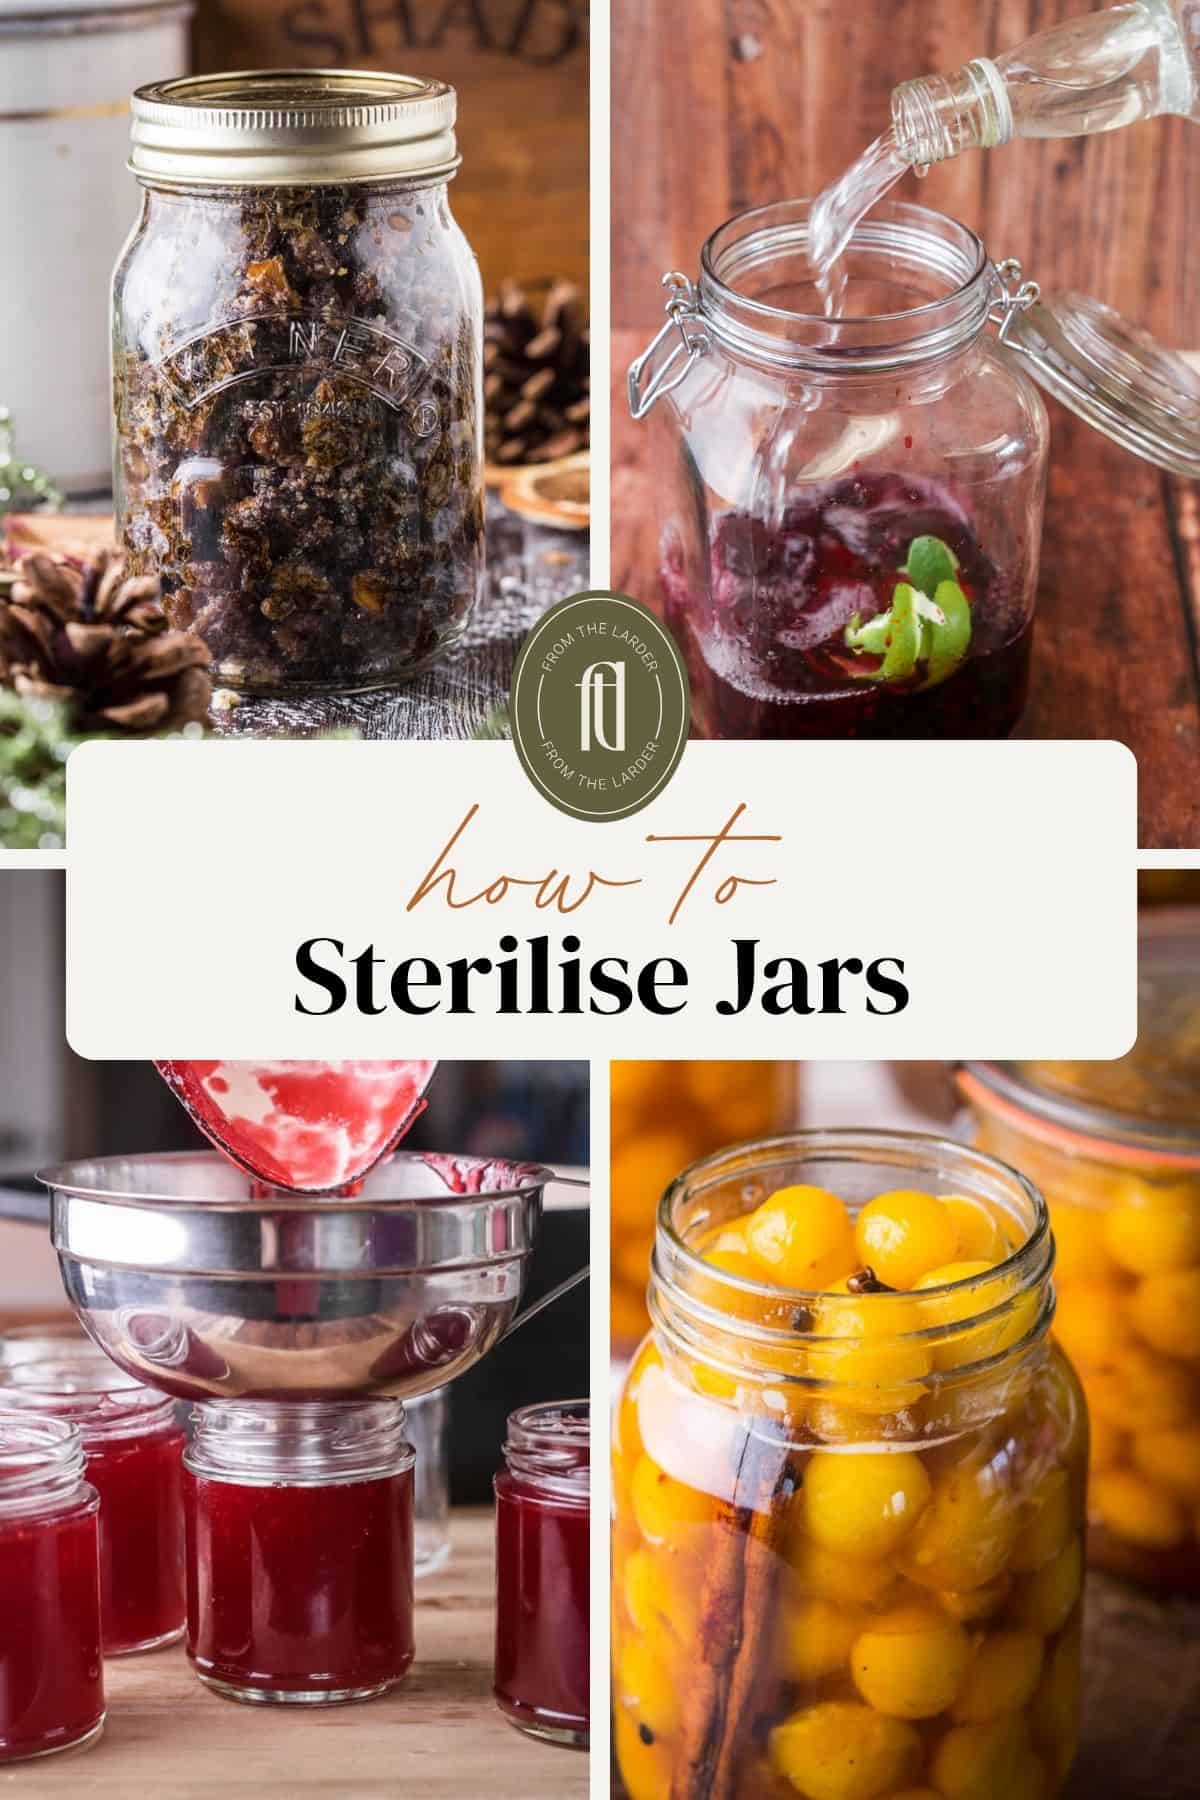
This easy guide on how to sterilise your jars and lids for jam and chutneys will help to streamline your preserve making process. Including oven and boiling-water methods, plus useful tips for safe, successful preserving.
Quick Summary: The Simple Way to Sterilise Your Jars
- Choose your jars and check they are undamaged.
- Wash jars, lids and equipment in hot soapy water.
- Heat-treat the jars using the oven or boiling-water method.
- Heat-treat lids, seals and other equipment using the boiling-water method.
- Keep prepared jars and closures protected from contamination until filling.
- Avoid thermal shock by making sure the jars and preserves are at similar temperatures when you are filling them.
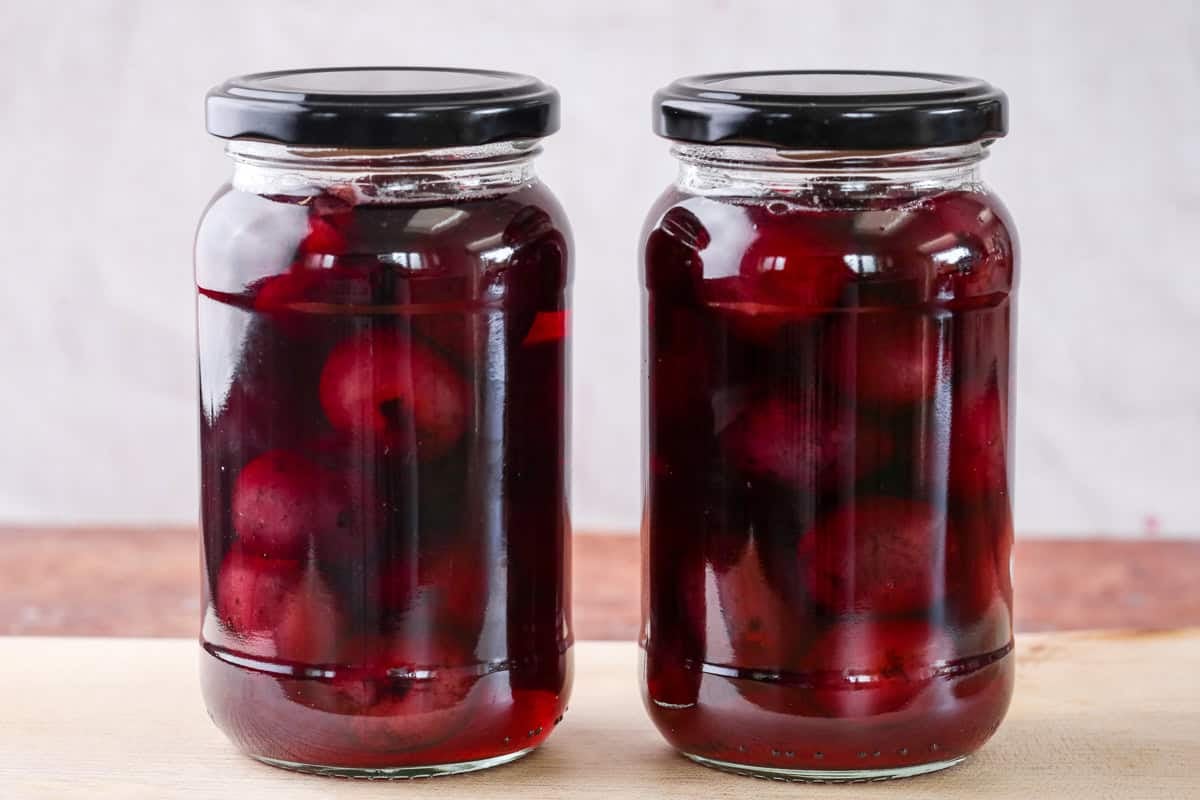
Have you ever got to the end of a jam recipe and your heart sinks as the last line of it tells you to pot your jam into sterilised jars?
Why were we not reminded of this at the beginning of the recipe?
After years of making preserves and running a small local business selling my own jams and chutneys, I’ve learned to build this step right into my preparation before I start cooking.
I’ve got some simple advice for you to follow so it’s easy for you to reach for your clean and sterilised jars and lids right as your jam has reached the correct setting point.
Why Do Jars Need To Be Sterilised?
It’s imperative for correct food safety guidelines to use sterilised jars and lids when you are making preserves.
To clarify, when we talk about ‘sterilising’ jars for home preserving, we’re referring to thoroughly cleaning and heat-treating them which reduces microorganisms that could contaminate your preserve.
There are several instances when it may be important to use sterilised jars and lids and I recommend it whether you are making short life refrigerator preserves or those intended for long time storage such as a few months in the larder or pantry.
You should also use sterilised jars and lids whether you are processing your preserves through the hot-fill jar method, sealing at room temperature, just making salts, spice mixes or if you will be processing your preserves in a water bath to finish the recipe. Hopefully the recipe you are using will indicate whether using sterilised jars is necessary.
Does Sterilising Jars Make Preserves Shelf Stable?
It’s important to note that using sterilised jars does not necessarily guarantee your preserve will be shelf stable. Food safety is dependent on the individual preserve recipe like the ratio of ingredients (acid, sugar, alcohol etc.), location of storage (i.e. away from direct sunlight) and how you pot your preserve (i.e. water bath or hot-fill method) among other factors. The sterilisation process just helps to prevent contamination.
When Should You Sterilise Your Jars?
It depends on the recipe, but my advice is to think about your jars and lids before you start cooking your preserve. There is nothing worse than your jam reaching setting point and realising you still need to sterilise your jars.
Choose the jars and lids you are going to use, wash them thoroughly and get them ready for sterilisation before you even start your recipe.
For quick-cooking jams, I want my jars ready to go as soon as they reach setting point. That might mean sterilising the jars before I begin cooking, as I do with a quick raspberry jam. Or I might start sterilising the jars whilst my chutney is cooking, for example, since I have a little longer to play with.
The important thing is that your jars are clean, sterilised and ready to fill when your preserve is ready. Build it into your recipe. If your recipe isn't explicit about the timings of sterilising your jars (argh, I've realised I may have fallen down on this on the odd occasion) then remember to factor it in. This is particularly useful with recipes where the cooking time is short. Even if it isn't you won't have much time to spare if you are trying to ascertain setting points or whether your chutney has sufficiently thickened.
Even if you have more time with a recipe you will benefit from working your timings backwards from when you think your preserve might be ready to fill into its pots.
What You Need to Sterilise Jars & Lids
I have a detailed post on the kinds of equipment you might need for any preserve making but let’s reduce that large list down to the specific equipment needed for the sterilisation process.
Glass Preserving Jars
For the sake of an organised kitchen, if you enjoy making your own preserves then I highly recommend a capsule jar store. This is where my own advice falls down, much to my husband’s chagrin, since I am a horrible jar fiend and have far more random jars than I could ever need.
The 190ml glass jars with metal screw tops are the ones I use the most often and you’ll find it in many of my jam and chutney recipes. Larger jars though are useful for bigger batches or different kinds of preserves.
The most important thing to take note of though is that the type of jar determines how you sterilise it. A glass jar with a metal screw-top lid, a clip-top jar with a rubber seal or a jar with a vacuum-seal disc will all have different components and the different materials require different treatment.
If you stick to the same kind of jar – e.g. the 190ml screw-top jar – then your sterilisation method will quickly become second nature. For ease, I recommend using jars with the same type of closure / lid in different sizes across your recipes, so you’re familiar with the method each time you make a batch of preserves.
Jar Lids & Rubber Seals
Which type or brand of jar you use will have different lids or closure systems. These are the most common types:
- Metal screw-top lids.
- Clip-top jars with metal closures, which use a rubber sealing ring.
- Vacuum-seal discs with metal screw bands holding them in place.
- Glass lids with metal clips, which also use a rubber sealing ring.
The most important thing is that all lids should not be sterilised in the same way. The material, sealing compound and closure system can affect how the lid should be sterilised, so always check the manufacturer’s instructions for your particular jar.
For example, Kilner, which is a very popular brand, has specific guidance on its website as to how their products should be sterilised.
Other Equipment for Sterilising
The following is not a complete list of equipment needed for your preserve making but rather just the equipment needed for the sterilisation process:
Large sturdy baking tray. This is used in the oven-method to hold your jam jars together to get them in and out of the oven.
Large stainless steel pan. This is used in the boiling-water method to hold the boiling water to sterilise your equipment into. If you are only sterilising lids then the pan can be much smaller.
Metal tongs. You can get tongs for helping you move your jars about or in and out your boiling water.
Jam funnel. This is useful for filling your jars safely without any mess.
Ladle. This is for spooning your preserves into their jars.
Spoons. Teaspoons or dessert spoons can be very helpful in getting the last scoop of preserve out of your pan or for skimming scum from your preserve.
Metal skewers. Use these for removing air bubbles from your filled jars.
Other equipment needed that doesn’t need to be sterilised but very clean is essential: Jar lifter (a niche bit of equipment which I love but is inessential if you have metal tongs), heatproof oven gloves.
Which Method Should You Use To Sterilise Jars?
There are two main methods I use in my kitchen for sterilising jars and lids:
- Oven Method
- Boiling-Water Method
And two more methods which I'll mention but don't personally use for reasons explained below:
- Dishwasher Method
- Microwave Method - not directly discussed below - check the FAQs section.
Oven Method
This is my preferred method for heat-treating glass jars (not the lids).
It involves placing clean glass jars in a pre-heated oven on a baking tray. I personally like to keep them in the oven for 20 minutes (other sources may claim 10 minutes is enough).
I like this method as it’s reliable and the correct temperature can be controlled easily. Plus you can keep the jars warm and dry and free from contamination by just keeping them in the turned off oven at the end of the process.
Some manufacturers though, e.g. Kilner, actually recommend the following boiling-water method which is suitable for most jar and lid closure types.
Boiling-Water Method
This is a great method for sterilising glass jars, metal jar lids, or vacuum-seal discs (like those from Kilner or Le Parfait) and metal lids with a sealing compound on the underside. If you were to sterilise these lids in the oven then that sealing compound can melt and ruin your lids. This is also the method to use when sterilising your rubber jar seals.
Using boiling water is also great for sterilising your potting implements like your funnels, spoons and ladles.
Dishwasher Method
This is not my favourite method of sterilisation but I do know that people swear by it and some UK local-authority guidance does recognise a hot dishwasher cycle as a suitable method.
It’s useful as the dishwasher acts as both a cleaning method for your jars and your heat-treatment process. Of course the dishwasher is excellent for making sure your jars and lids are thoroughly cleaned before heat treating. However, dishwasher temperatures and performances can really vary so for a proper temperature controlled method I prefer the oven-method.
Follow Manufacturers Instructions
When in doubt how to sterilise a particular type of jar then research the manufacturer’s specific instructions. For example Kilner have a number of different types of jars with different closures and they give specific sterilisation advice which they recommend for their products.
How to Sterilise Glass Jars in the Oven
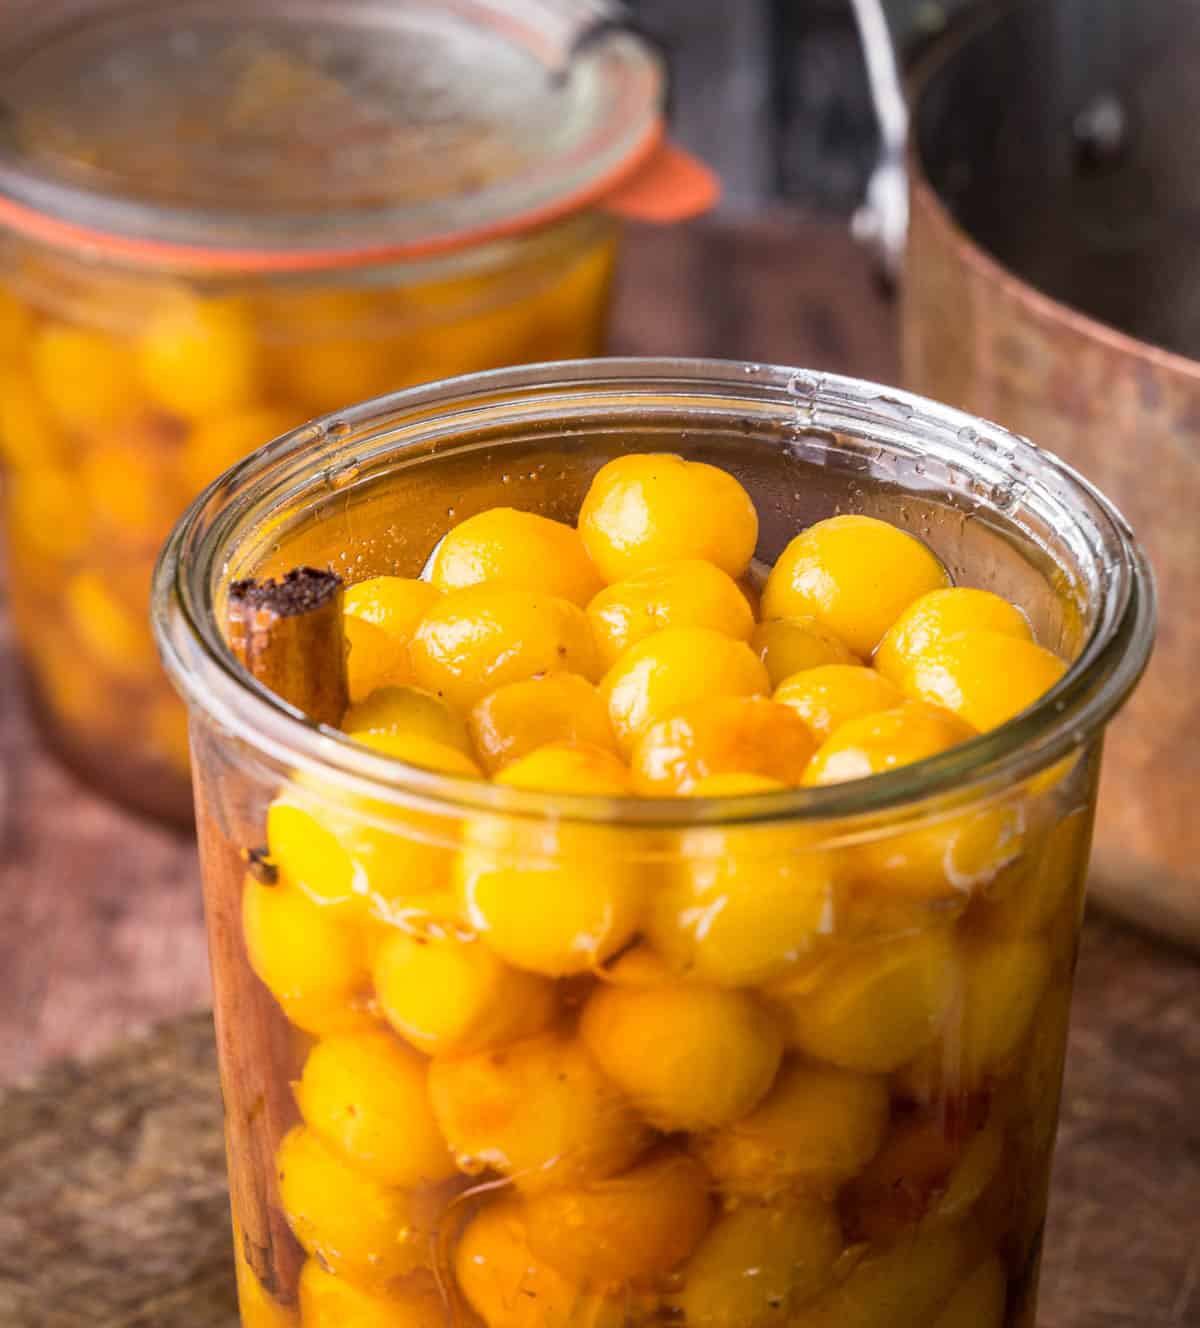
This my preferred method for heat-treating suitable glass jars. I do not subject the lids to this same heat-treatment though (see boiling-water method below) - just the empty glass jars. Although do check the jar manufacturer’s instructions, as some brands recommend the boiling-water method for both the jar and lids e.g. Kilner.
- Pre-heat oven to 160°C / 140°C fan assisted / gas mark 3 / 320°F.
- Clean jars with hot soapy water.
- Place jars on sturdy baking tray.
- Place the jars in the pre-heated oven for 20 minutes. They are now ready to use.
- Keep the jars warm until you’re ready to fill them. You can do this by turning the oven onto a low setting or off and keeping your jars in the oven until you are ready to use them.
- Remove jars from oven.
- Your preserve and jars should not have a large temperature difference, as sudden temperature changes can cause glass to crack.
How to Sterilise Jars in Boiling Water
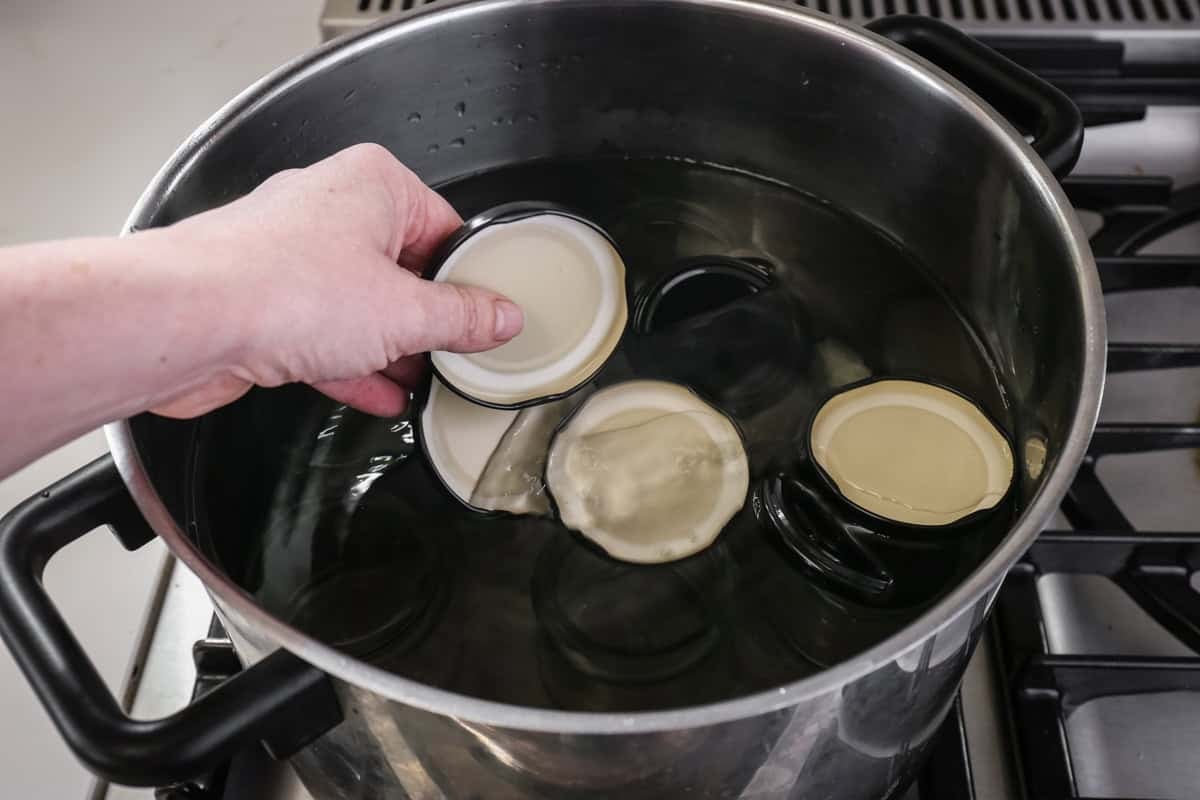
The following method is the one I use when heat-treating the jars themselves, lids, vacuum seal discs, rubber seals, glass lids and other equipment such as funnels, tongs, spoons, skewers or any plastic equipment.
However, always check manufacturer’s specific instructions, particularly where closures are concerned.
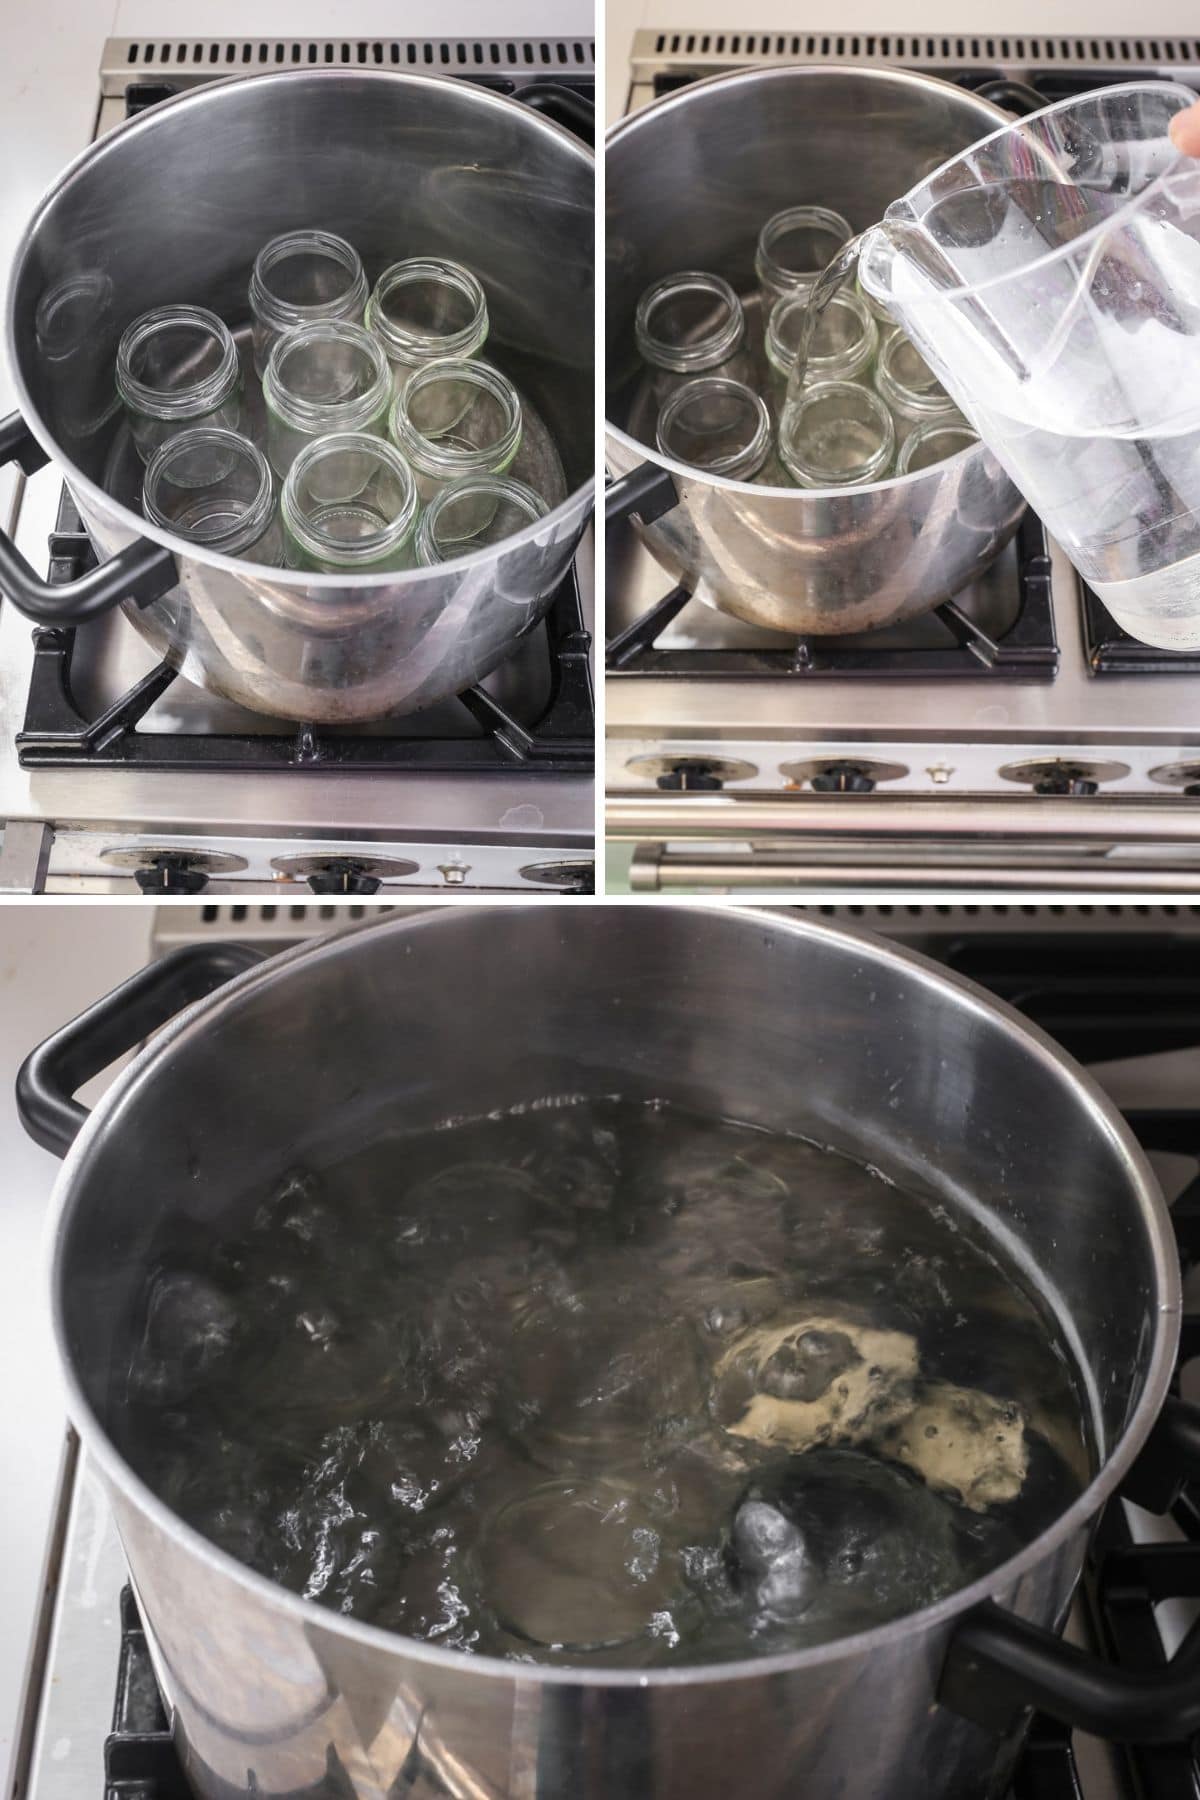
- Choose a large stainless steel pan.
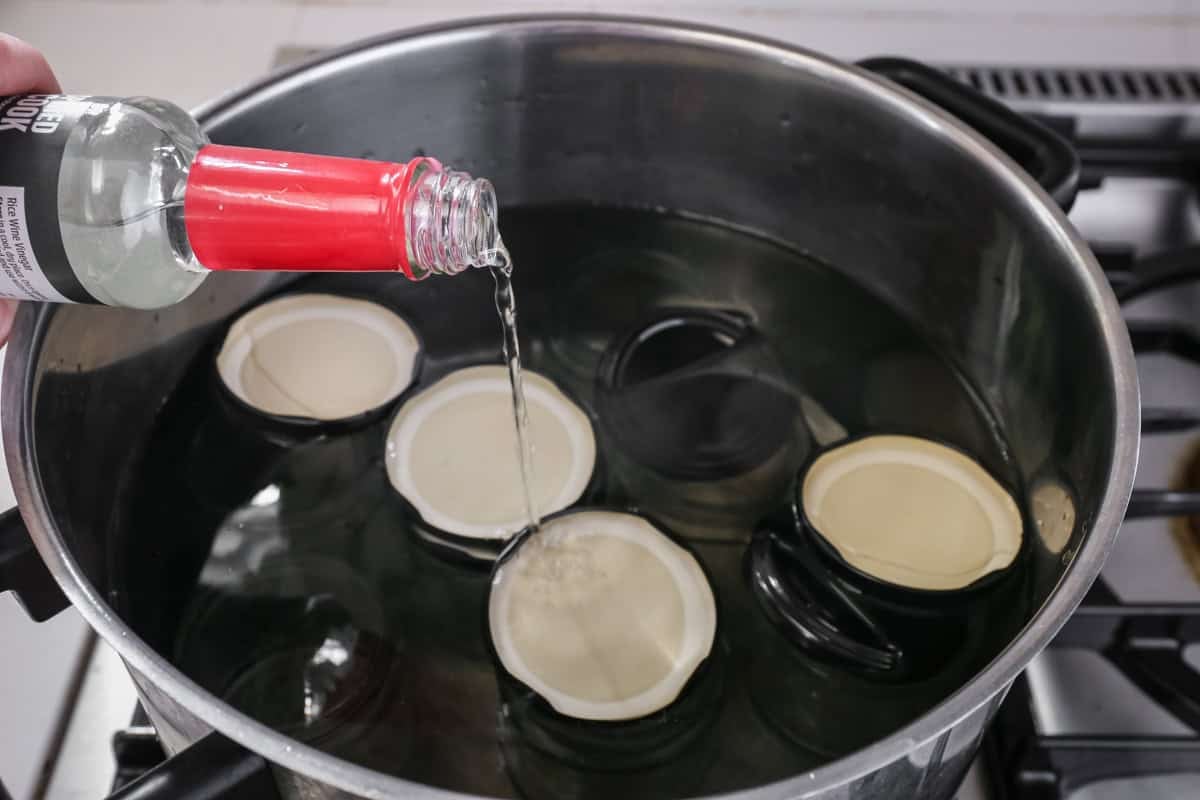
- Fill the pan with cold water (+ optional 1 teaspoon white vinegar) and bring to the boil.
- Once the water is boiling you can add your lids / equipment. Bring back to the boil and keep at a simmering boil for 10 minutes.
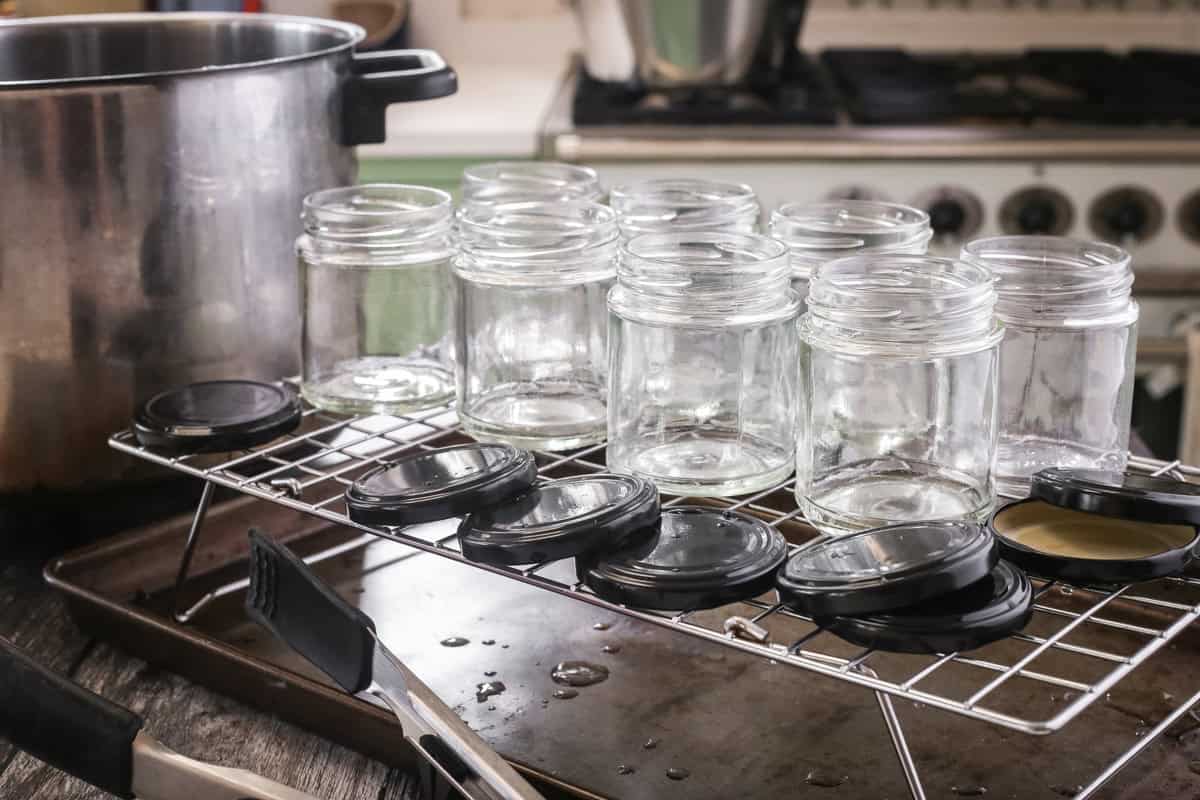
- Remove the equipment with tongs. Allow the jars to drain and dry on a wire rack shortly before filling with your preserves.
How to Sterilise Jar Lids and Rubber Seals
I recommend using only the boiling-water method (and not the oven method) for the following equipment:
- Metal jar lids
- Vacuum-seal discs
- Rubber seals
- Glass lids (clip-top jars not included)
- Plastic lids. I have plastic lids for my sauce / vinegar bottles which I sterilise in the boiling-water method. However, check manufacturer’s instructions.
Expert Tips
Avoid using damaged or chipped jars or lids.
Always clean your jars and lids with hot soapy water before heat-treating.
Rubber seals should be removed from your jars and sterilised in the boiling-water method.
Add your jars / glass lids to room temperature water before bringing up to boil to avoid thermal shock.
Avoid thermal shock when potting. The temperature of your sterilised jars and your freshly made preserve should be similar. Hot preserves should fill hot jars, room temperature preserves should fill room temperature jars.
Use clean jar tongs or other suitable utensils when handling sterilised jars and lids.
Avoid touching the inside surfaces of the jars and lids with your hands to avoid contamination.
FAQs
You can sterilise jam jars using the boiling-water method on the stove. At a pinch you could use the dishwasher or microwave too, although those two methods come with caveats (see below).
I don’t recommend always using the dishwasher as a reliable sterilisation method due to the differences between dishwasher brands and their procedures.
Avoid sterilising jars in microwaves as a rule. Some brands (e.g. Kilner) specifically advise against it. It’s also not as easy to control the temperature so it’s not a reliable method. Never put any metal lids or other metal components in a microwave.
Yes, you should clean and heat-treat all jars and lids which come into contact with your finished preserve.
You can use pre-used glass jars and glass lids as long as they are undamaged, thoroughly cleaned and heat-treated before use. For lids, vacuum seals and rubber rings check with manufacturer’s advice. However, the general rule of thumb is to replace anything that is damaged, misshapen, rusty, showing signs of wear or that won’t produce a good seal. Some manufacturer’s recommend replacing some of their equipment after a single use.
You can buy new lids and rubber seals separately from preserving stockists and Amazon.
You don’t need to use vinegar at all in the sterilisation process. I include a teaspoon of white vinegar in the boiling-water method as this prevents the lids/equipment getting a cloudy residue which can happen in hard water areas. So this is purely aesthetics.
You don’t want any excess water dripping into your preserves when you are sealing the jars with the lids. Remove the lids from the boiling water carefully with tongs then shake any excess water off before applying.
There is no definitive answer to this, other than make sure to use the jars as close to the end of your sterilisation process as possible. You can keep the jars in a warm oven for a limited amount of time before filling with your preserve.
More Useful Guides To Preserving
Essential Chutney & Jam Making Equipment. The right equipment for jam and chutney making does make all the difference. But don’t worry if you’re missing some items. We’ll go through the must-haves and the nice-to-haves, including how you can substitute with what you already own.
Guide To Perfect Jam Setting Point. This guide will help you achieve the perfect jam setting point so you can have soft but nicely set preserves that you can spread on toast, scones or use to fill cakes and tarts.