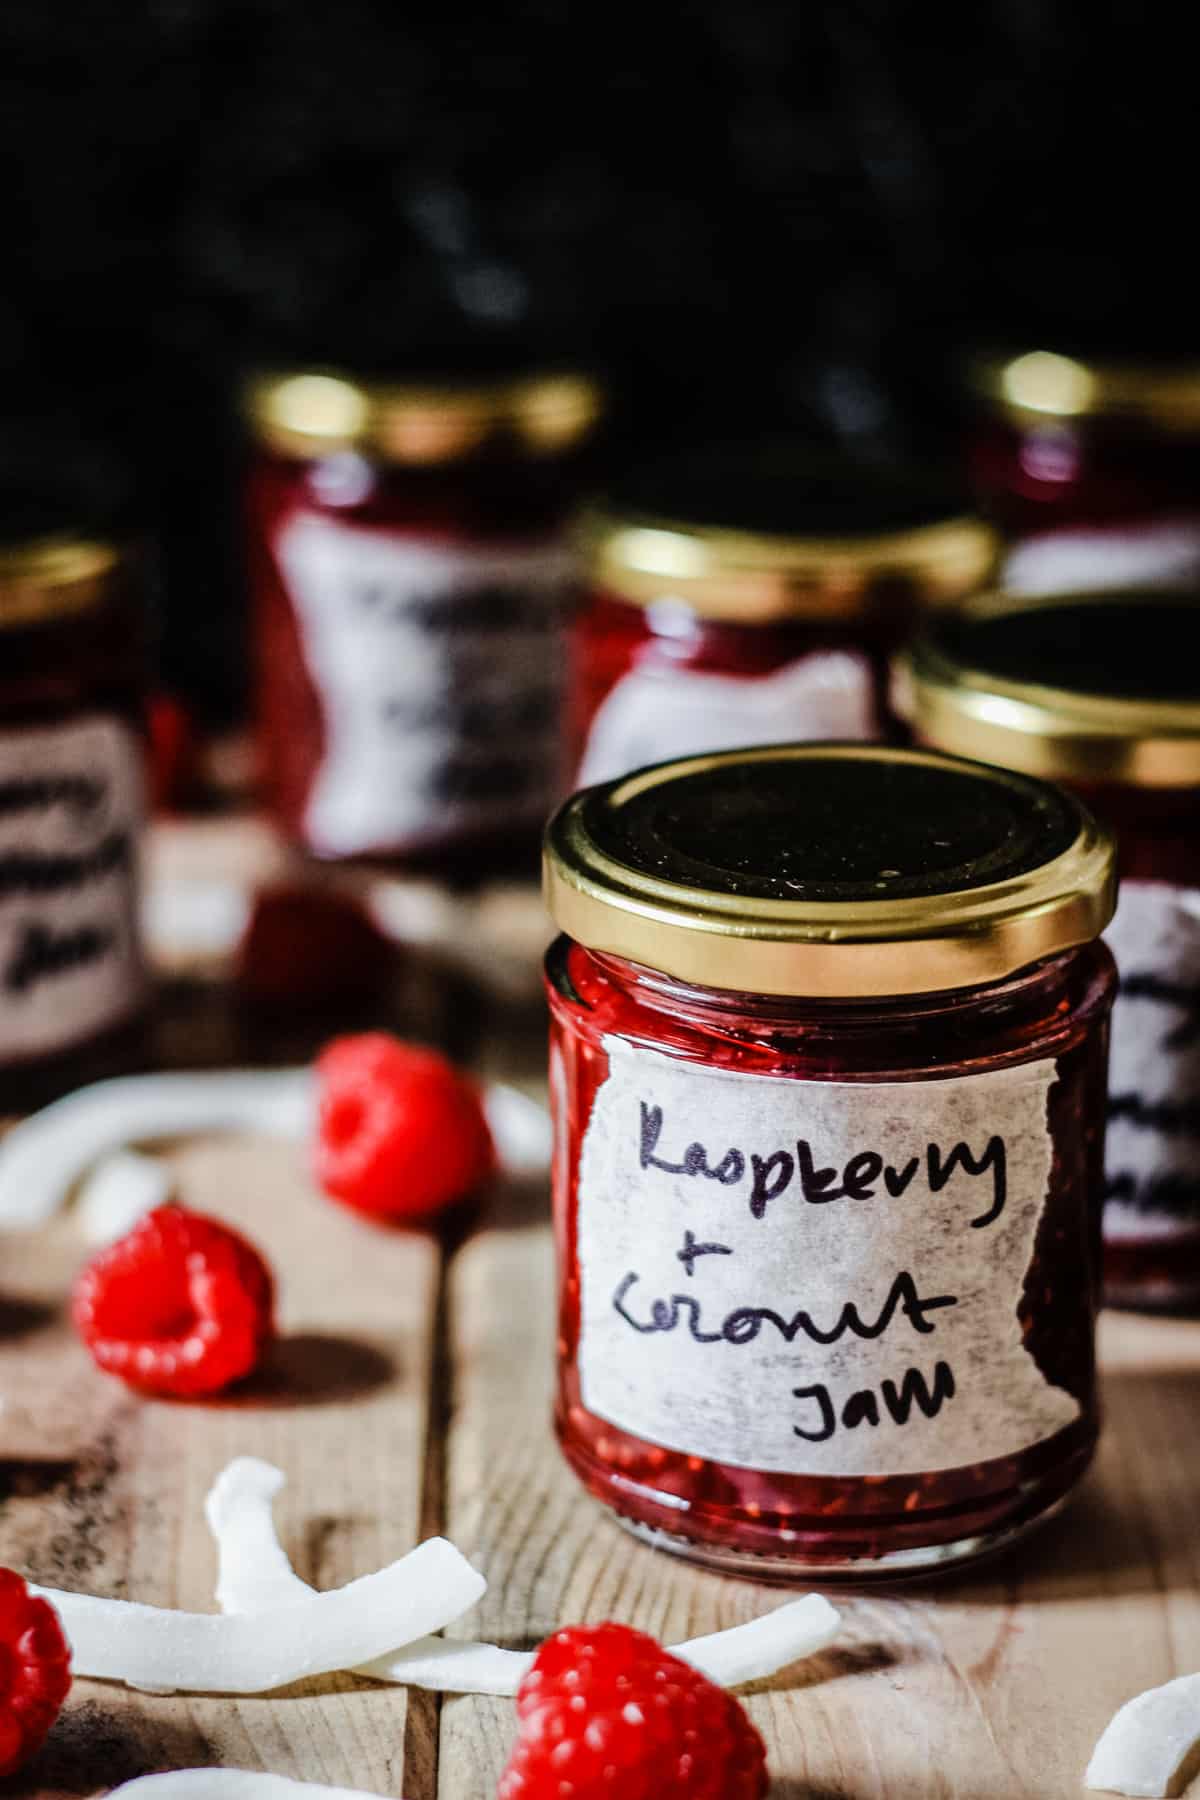
Raspberry Coconut Jam
This post contains affiliate links. Please read my disclosures.
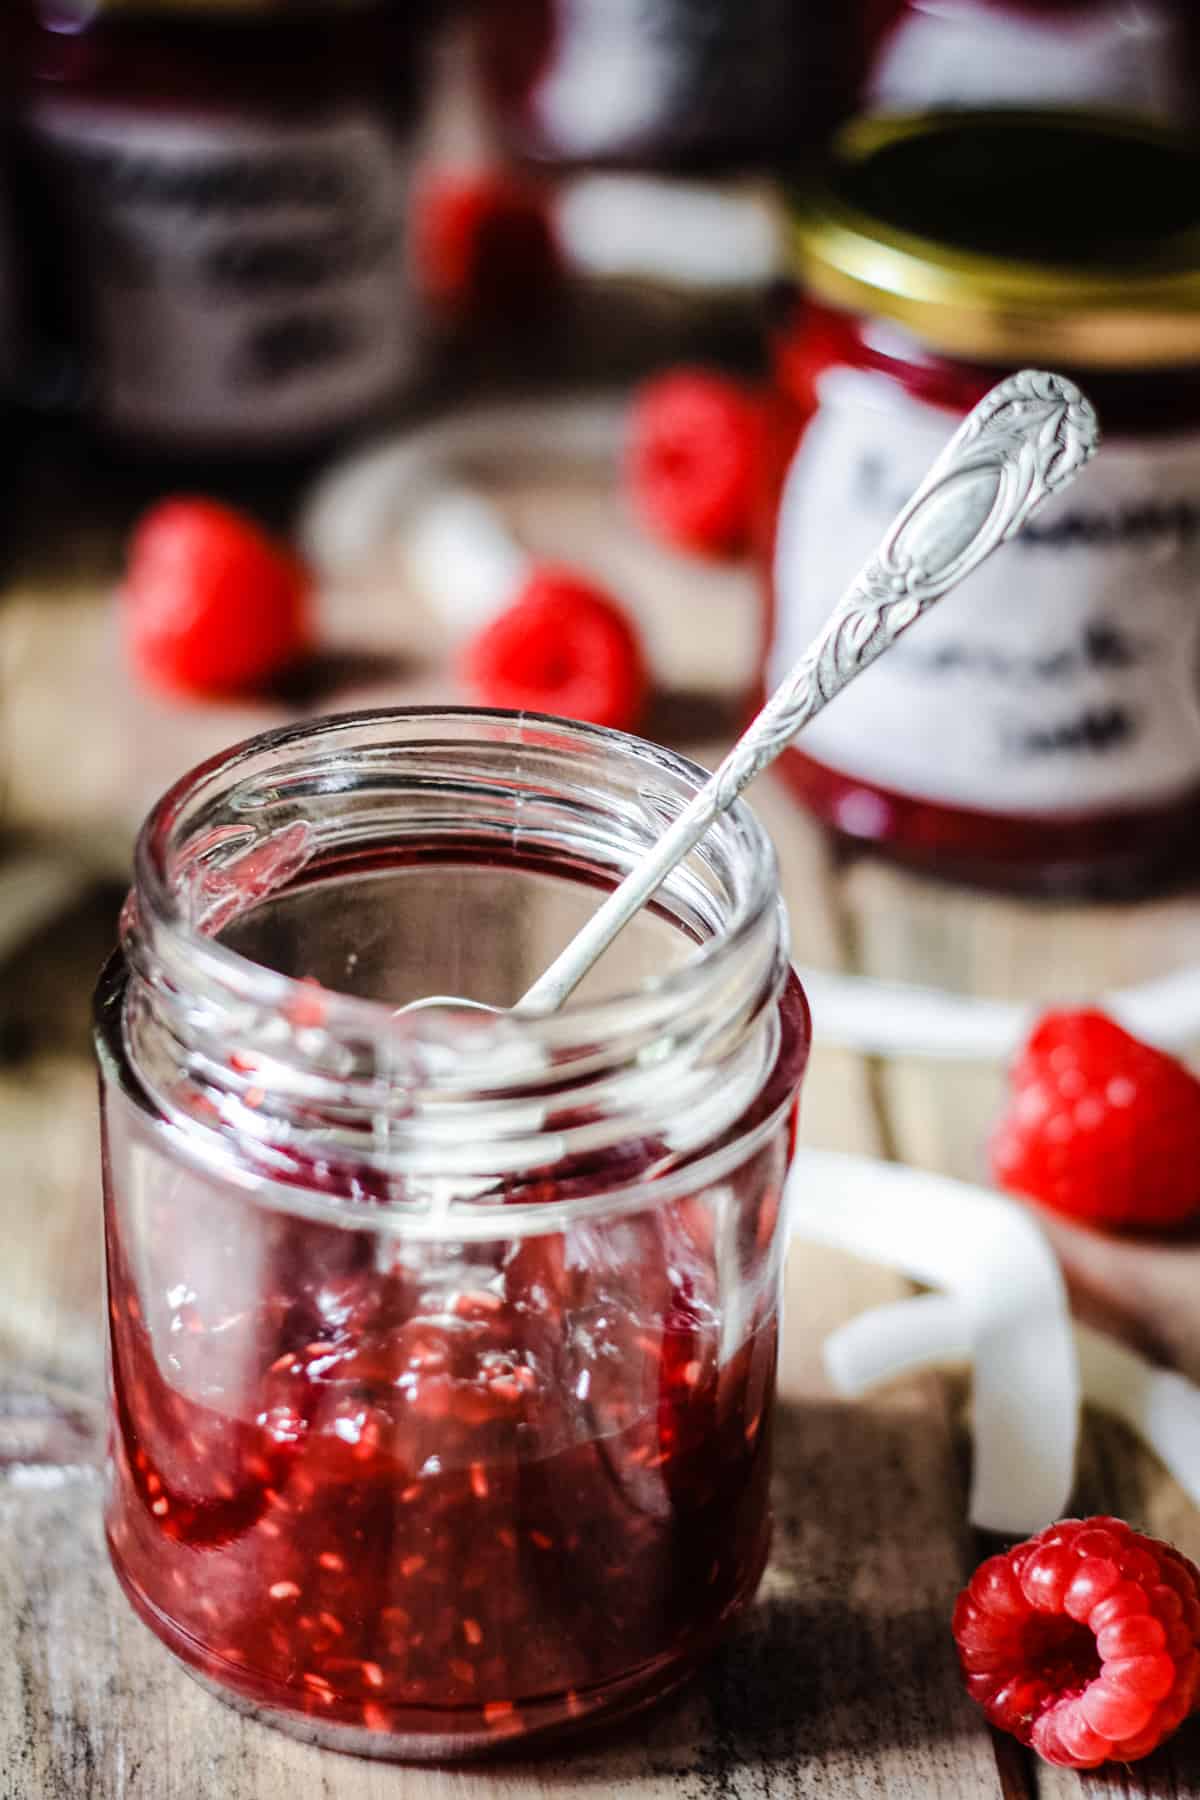
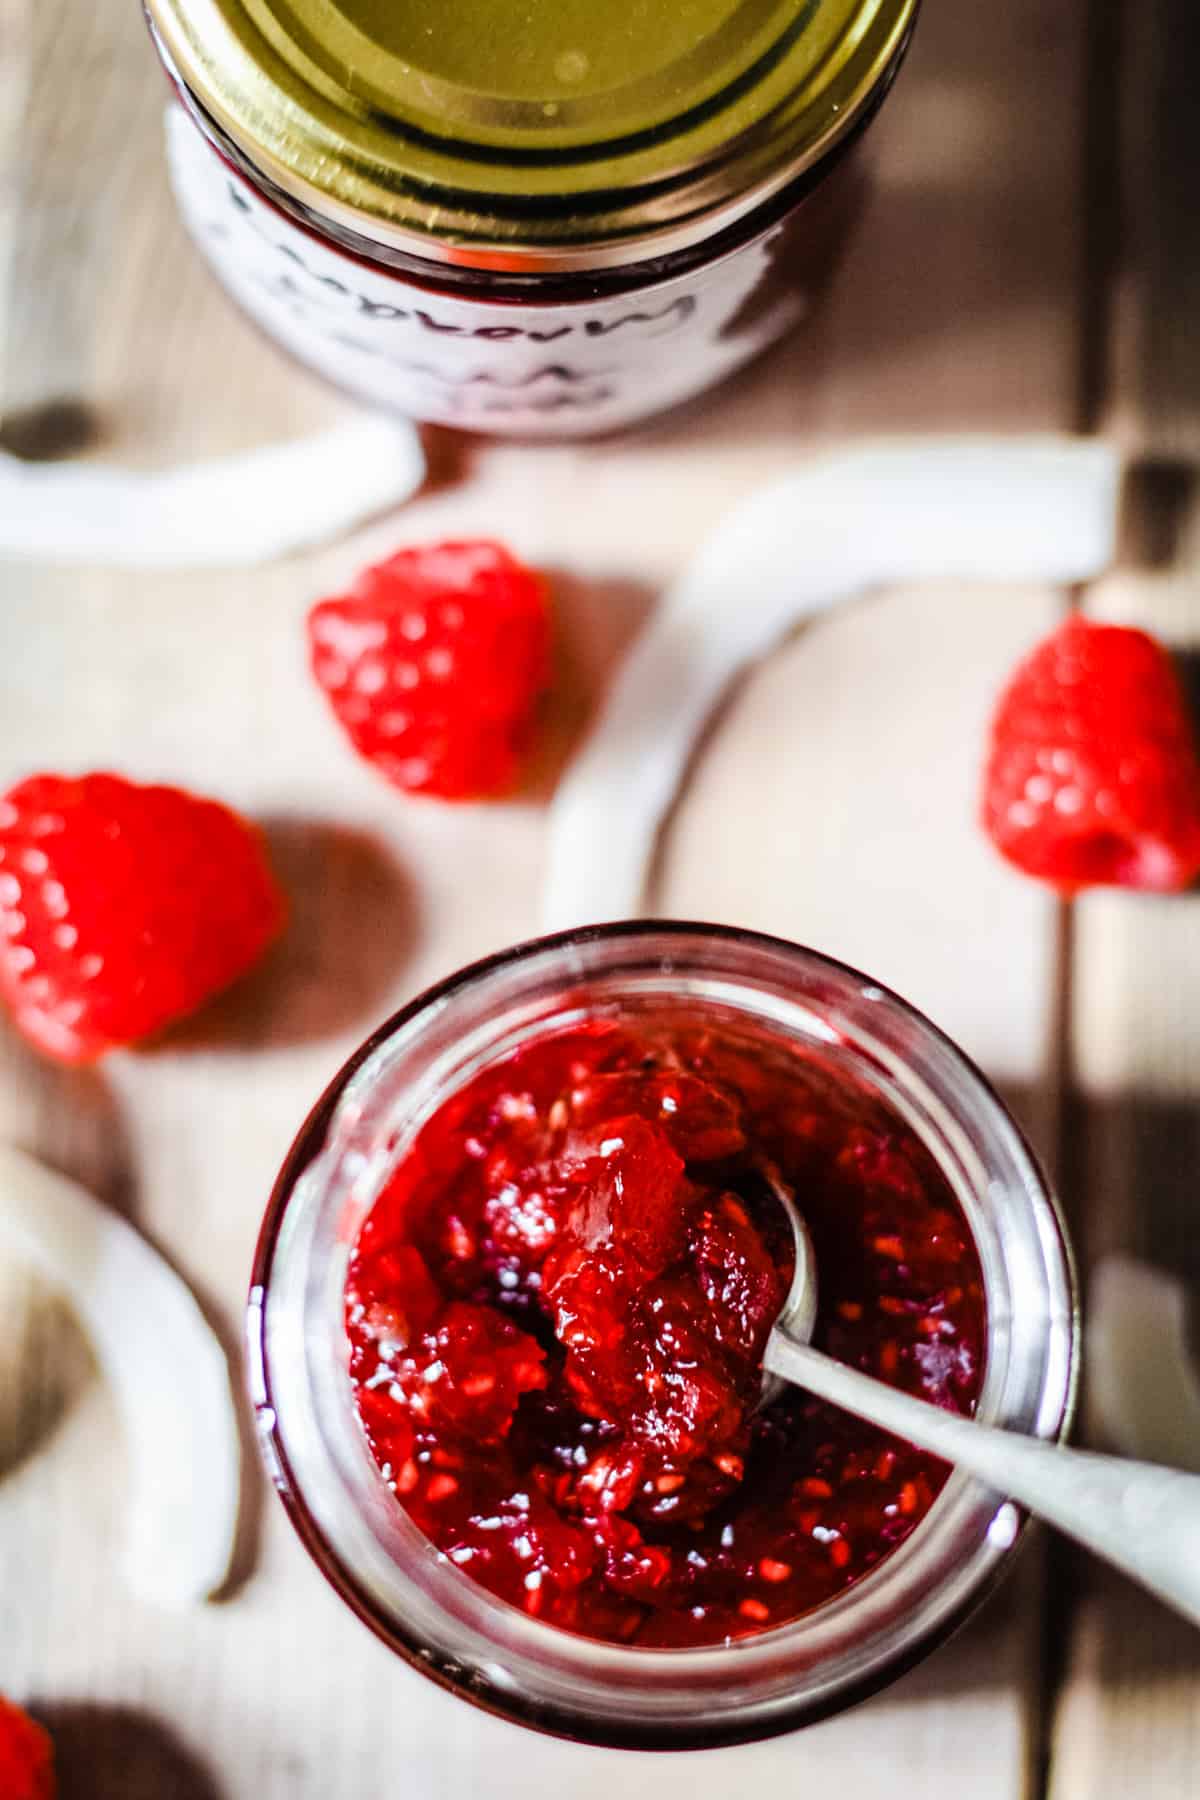
Raspberry Coconut Jam is a beautifully simple classic raspberry jam, made all the better with lashings of coconut.
Of all the jams surely raspberry jam is the most superior? Well it’s certainly the jam that the Women’s Institute deem the only appropriate jam for an approved WI Victoria Sponge so that certainly tells us something. Here I’ve amped up a very easy raspberry jam by marrying it with coconut, a love story for our times and it's no exaggeration to say that this Raspberry Coconut Jam is taking over my life at the moment.
Why You’ll Love This Raspberry Coconut Jam
- Fresh vibrant exciting flavour.
- Gorgeous pairing of raspberry and coconut.
- 5 ingredients.
- Super duper easy to make.
Ingredients needed
Raspberries: Fresh raspberries are definitely the order of the day but if you only have frozen (not the bagged supermarket kind - the kind you sourced yourself at the Pick-Your-Own or the farmer's market but froze as you had a surplus) then I won't tell.
Jam sugar: Raspberries don’t have much natural pectin, the special stuff present in most fruit which helps a jam achieve its setting point. You could pair the raspberries with another fruit like apples which are high in pectin, also a good method of making your raspberry jam go further, but if you are after a clean raspberry taste then jam sugar is your best friend as it has pectin built in.
Lemon: The juice of a lemon not only for more pectin to ensure an easy set but also to encourage the piquancy of our raspberry flavour.
Coconut Cream & Desiccated Coconut: My favourite way to incorporate a certain flavour into anything is to include two different dimensions of the same ingredient, so here I don’t just use coconut cream or desiccated coconut but a combination of both. The desiccated coconut is steeped in the heated coconut cream to soften it up and then this delicious coconut mixture is added at the beginning of the jam process. It couldn’t be easier.
How To Make Easy Raspberry Jam with Coconut
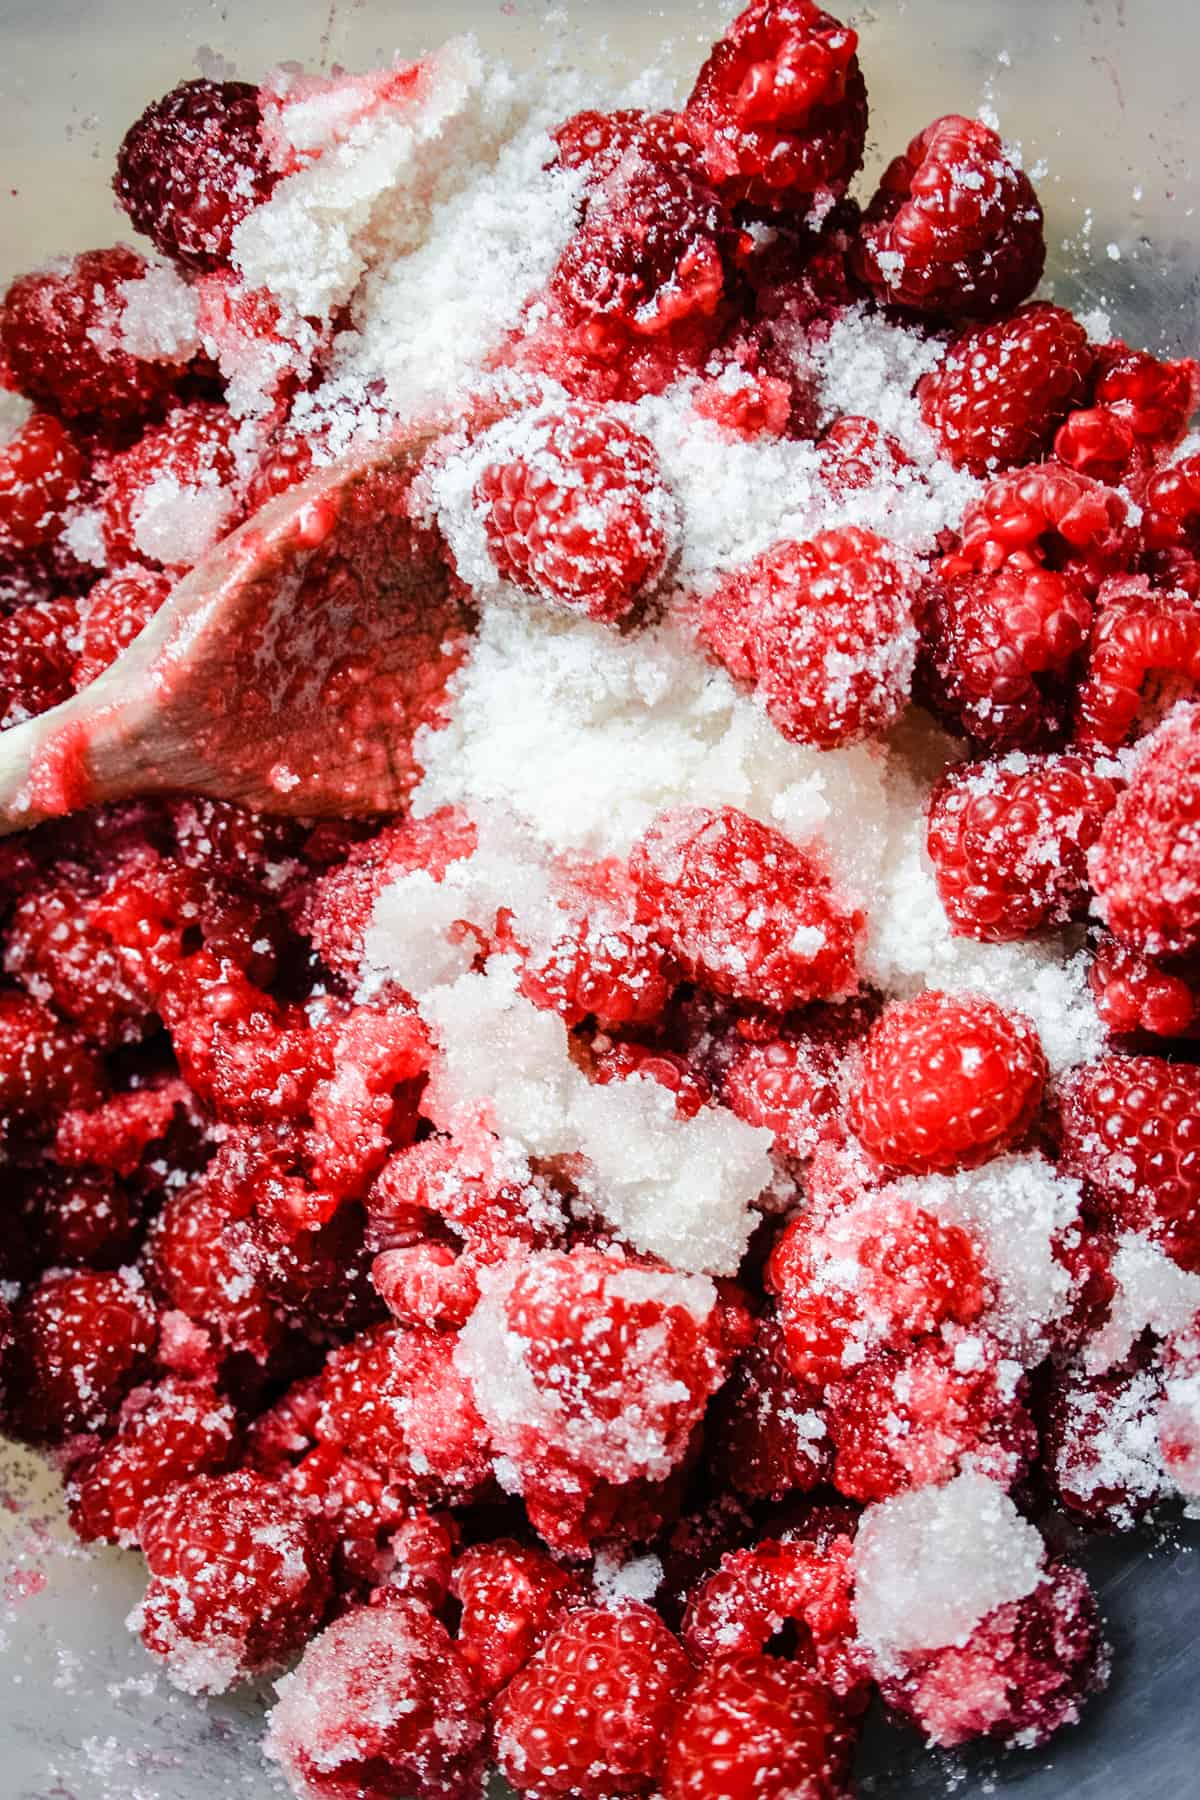
The secret to an easy raspberry jam is to use equal parts fruit and jam sugar. To be honest once you have that little bit of info in your back pocket you can pretty much make any jam.
For full recipe instructions go to the recipe card at the end of this post.
- Macerate raspberries, jam sugar and lemon juice in a large bowl for 2 hours.
- Heat the coconut cream with the desiccated coconut then let stand for 2 hours.
- Stir the raspberries, sugar, lemon juice and coconut mixture together in a large preserving pan then bring to a rolling boil.
- Boil the mixture hard for about 5 minutes or until the jam reaches setting point.
- Pour the jam into sterilised jars. Seal tightly and store in a cool dark place.
Expert Tips
If you can’t find coconut cream you can extract the cream from a tin of coconut milk. Place a 400g tin of coconut milk in the fridge for a day or so, whereupon the coconut cream will harden and separate itself from the coconut water. When you open the tin you should be able to just scoop out the cream leaving the water behind. There should be about 200g of cream in a 400g tin.
I often do steps 1 and 2 last thing in the evening and place both the macerating raspberries and the steeping coconut in the fridge (in separate containers) and then begin my jam first thing the next day.
The saucer wrinkle test basically requires you to put about 5 saucers in your freezer when you begin making your jam. Once you think the jam might be ready then you can double check by removing a saucer from the freezer, dropping a teaspoon of jam on it then placing the saucer in the fridge. After about 30 seconds remove the saucer and push the jam with your finger. If it wrinkles up it’s ready, if it just pools back into the space your finger has left then it needs more bubbling time. Boil it a bit longer, then test again with another saucer.
For all the juicy know-how on how to ensure perfectly set jam every time then visit my Jam Setting Guide.
To sterilise the jars place the very clean jars you would like to use in an oven pre-heated to 140°C for 20 minutes. Sterilise the lids by dropping them into a saucepan of boiling water for 10 minutes with a splash of vinegar. I don’t sterilise my lids in the oven as they tend to ruin.
This jam does not need to be processed in a water bath. It has enough sugar in the recipe to preserve it.
The jam can be stored in a cool dark place for about 12 months.
Recommended Equipment
Visit my Essential Equipment Guide for Jam Making for making sure you are using the right pan to giving you confidence to using equipment you will already have in your kitchen. The key pieces you'll need are:
More Jam Recipes You'll Love
Gooseberry Thyme Jam
Pumpkin Jam
Blackberry Lime Jam
Strawberry Redcurrant Jam
Pear and Cobnut Jam
Enter your email below to get this recipe sent to your inbox plus get new recipes, baking tips, and updates.
Raspberry Coconut Jam
Ingredients
- 1 kg raspberries
- 1 kg jam sugar
- Juice of 1 lemon
- 200 ml coconut cream
- 50 g desiccated coconut
Instructions
- Place your raspberries, jam sugar and lemon juice in a large bowl and stir well. Leave to macerate together for at least a couple of hours.
- Pour the coconut cream into a saucepan and stir in the desiccated coconut. Bring to the boil then turn off the heat and let stand for a couple of hours.
- Stir the raspberries, sugar, lemon juice and coconut mixture together in a large preserving pan then bring to a rolling boil.
- Boil the mixture hard for about 5 minutes. Once the jam reaches 104°C or passes the saucer wrinkle test (see note below) then decant into sterilised jars.
- Leave the jam to cool before labelling.
Notes
- If you can’t find coconut cream you can extract the cream from a tin of coconut milk. Place a 400g tin of coconut milk in the fridge for a day or so, whereupon the coconut cream will harden and separate itself from the coconut water. When you open the tin you should be able to just scoop out the cream leaving the water behind. There should be about 200g of cream in a 400g tin.
- I often do steps 1 and 2 last thing in the evening and place both the macerating raspberries and the steeping coconut in the fridge (in separate containers) and then begin my jam first thing the next day.
- The saucer wrinkle test basically requires you to put about 5 saucers in your freezer when you begin making your jam. Once you think the jam might be ready then you can double check by removing a saucer from the freezer, dropping a teaspoon of jam on it then placing the saucer in the fridge. After about 30 seconds remove the saucer and push the jam with your finger. If it wrinkles up it’s ready, if it just pools back into the space your finger has left then it needs more bubbling time. Boil it a bit longer, then test again with another saucer.
- To sterilise the jars place the very clean jars you would like to use in an oven pre-heated to 140°C for 20 minutes. Sterilise the lids by dropping them into a saucepan of boiling water for 10 minutes with a splash of vinegar. I don’t sterilise my lids in the oven as they tend to ruin.
- The jam can be stored in a cool dark place for about 12 months.
