Essential Chutney and Jam Making Equipment Guide
This post contains affiliate links. Please read my disclosures.
The right equipment for jam and chutney making does make all the difference. But don’t worry if you’re missing some items. We’ll go through the must-haves and the nice-to-haves, including how you can substitute with what you already own.
I have been making my own preserves, jams and chutneys in my own kitchen for most of my adult life. I also spent a very happy five years selling my homemade preserves at my farmer’s market stall in North London, everything from Seville Orange Marmalade to Stem Ginger Apple Chutney.
I started making preserves for Christmas gifting to my family in a tiny shoebox of a kitchen using old jam jars I had cleaned out and my Dad’s old saucepan with a rickety handle. So I know how it can be done using whatever you have to hand.
However, when I started my own business I went all in and set myself up with food mills, maslin pans, fancy labels and a full on canning system.
I can tell you from experience that much of the equipment I used professionally is now gathering dust in my attic, while most of what I rely on these days for home preserving is simple and inexpensive.
I’ve worked with all the popular jar brands, along with a variety of funnels, juicers, sieves and general utensils. We’ll discuss all the essential equipment you actually need vs. what’s optional. And guess what – I’ve distilled the absolute essentials to just four core preserving specific tools. The rest of what you need can be rounded out by what you already have in your kitchen.
What Actually Matters When Choosing Jam Equipment?
The kind of equipment you use can make or break how reliable your recipe is. Whether the size of your pan means your jam is slower to set or the material of it interacts negatively with the ingredients, it can impact your results significantly. There are also other more subjective things to take into consideration when choosing your equipment and they have to work within your budget, in the space you have.
1. Equipment material
There’s a good chance if you’re preserving that you’ll either be using acidic fruits or acid heavy ingredients and how the acid reacts with the material of your pans and utensils will affect the final result of your recipe. This chemical interaction can cause a metallic taste, discolouration or even ruin your equipment.
If you are cooking these acidic ingredients for a length of time like in chutneys this gives the acid time to react with the material.
If you are cooking on high heats, like jams, then this can break down the pan’s surface.
So you need to make sure your pans and utensils are not going to interfere with the final texture and taste of your jams and chutneys.
2. Equipment size
It goes without saying that if you are making a large batch of chutney and only have a medium sized saucepan that will not be sufficient.
However, the size of your pan can also affect the recipe. Wider pans can mean your jam sets faster due to easier water evaporation. Deeper pans may mean they take longer to set which can affect the texture of the jam.
The size of your equipment is also directly related to the next point on our list.
3. Kitchen space
Unless preserving is your number one special interest then you might be more interested in the versatility of your equipment rather than choose tools which have one-use only. In a world of food processors, blenders, toasters, kettles and air fryers kitchen space is at a premium so let’s not waste our time on a full on canning system when a few key items which you can also use for boiling pasta can be sufficient.
4. Budget
Again, if a tool has more than one use then that’s better value for money. A cheap sieve versus an expensive food mill seems a no brainer for just a few more minutes work and a little more man power.
Likewise, if you are not going to be doing a lot of water bath canning then a single-use tool like a jam jar lifter may not be needed. If you are sticking to the traditional hot-fill and sealing approach then it’s simpler to handle the hot jam jars using oven gloves or tea towels.
UK Jam Making vs Water Bath Canning
I make a wide variety of preserves, using both the traditional UK method and water bath canning, so it’s worth understanding how the two approaches differ and why that affects the equipment you need.
UK jam making
Most of the recipes I grew up making, such as Raspberry Jam or a simple Christmas Chutney, use the traditional UK method. This relies on hot-filling sterilised jars and sealing immediately, combined with a balance of sugar and/or vinegar to achieve a shelf life of at least six months.
Because these recipes are naturally high in sugar or acid, they don’t require specialised canning equipment. A preserving pan, jars, lids and a funnel are usually all you need (spoiler alert for the next section).
Water bath canning
By contrast, water bath canning (more common in the US) is used for high-acid foods and involves processing filled jars in boiling water to ensure a stable seal like in this Apple Butter recipe.
For low acid foods, a different method called pressure canning is used, which processes the filled jars at higher temperatures for safety. This is necessary if you are canning vegetables for long term storage.
These canning methods require more specialised equipment, such as large canning pots, pot racks and jam jar lifters.
If you’re sticking to classic high-sugar or vinegar-based preserves, you can keep your equipment simple. The more specialised tools only become relevant if you start exploring recipes that rely on water bath or pressure canning methods.
So you can see the exact equipment you need depends on what you’re making. Let’s first look at the four core essentials which I recommend investing in, followed by a collection of useful general tools.
The 4 Essential Jam & Chutney Making Tools
I should caveat by saying that it doesn’t mean that you can’t preserve without the exact equipment listed. However, I personally find it much more difficult to achieve consistent, clean and safe results without these four specific items, and that includes jams, chutneys, vinegars, ketchups and other preserves.
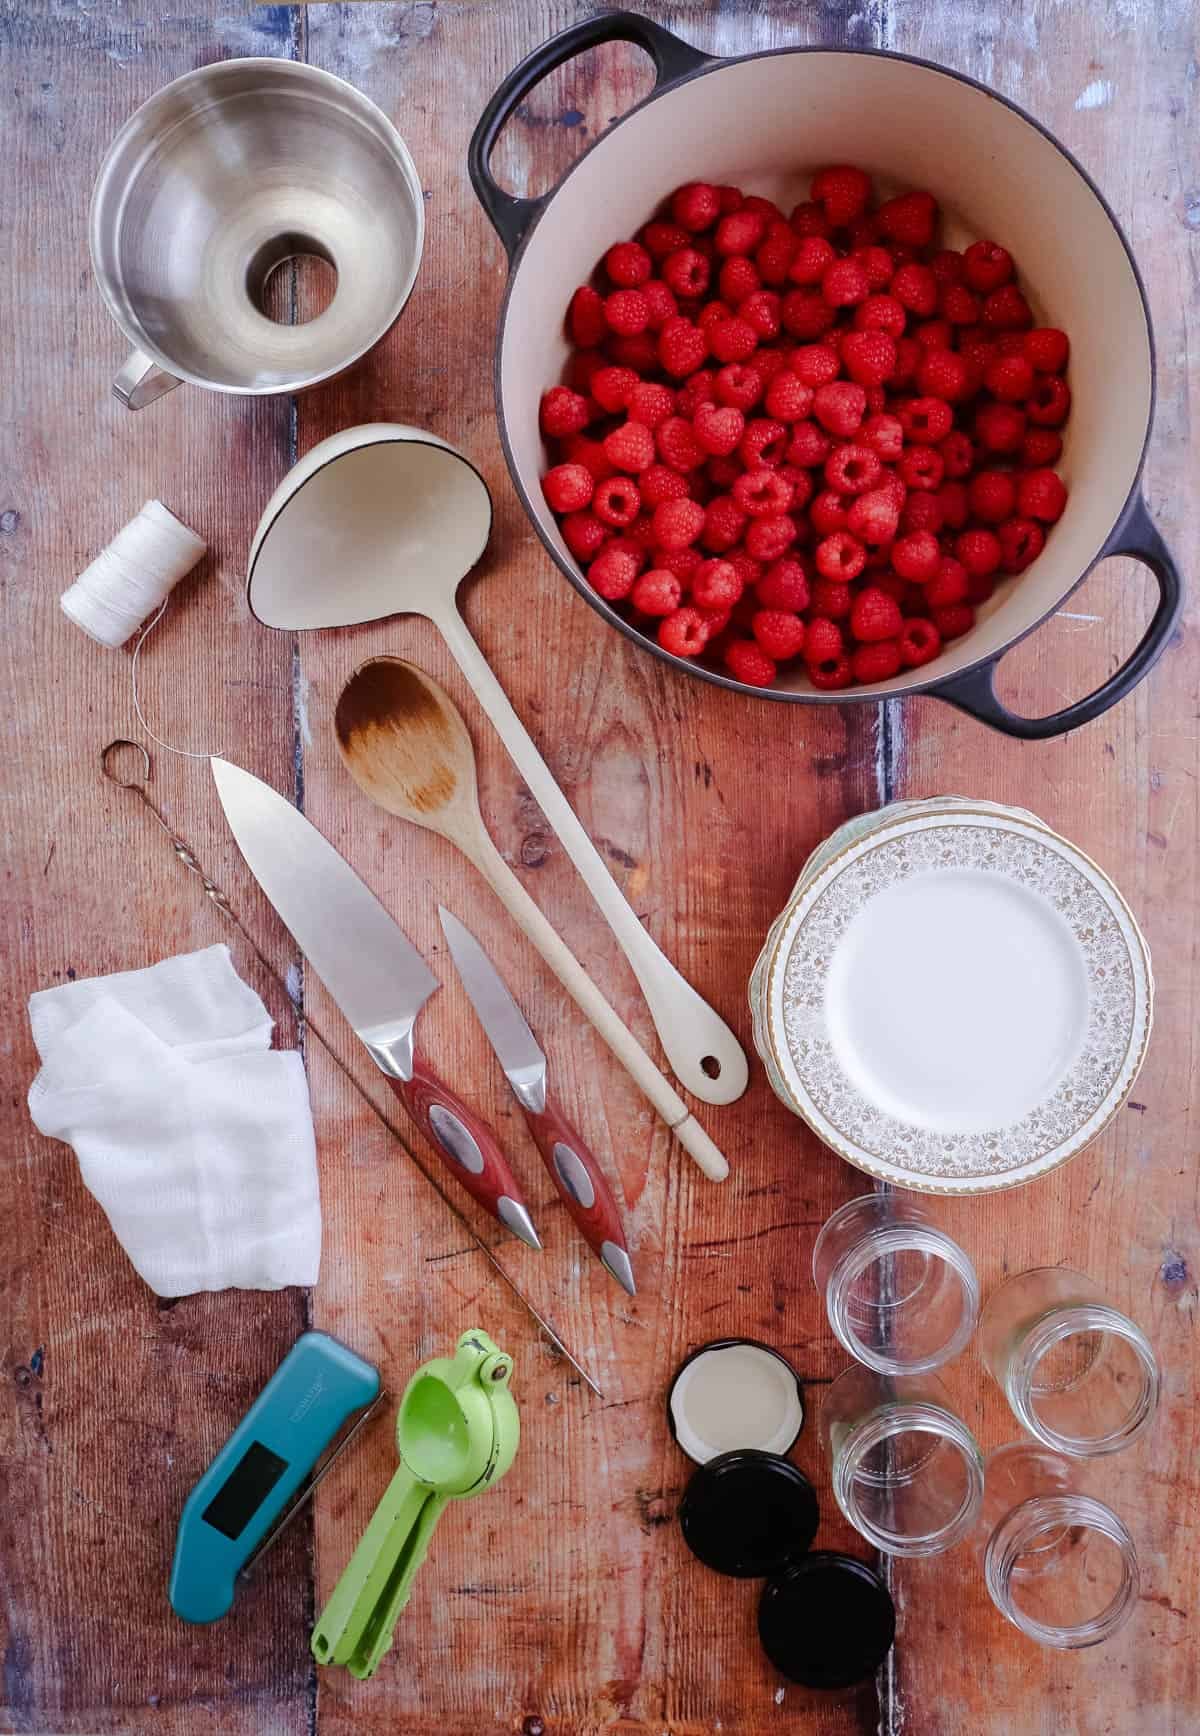
- Preserving pan
- Jam funnel
- Glass jars
- Good-quality sealing lids (ideally new or undamaged)
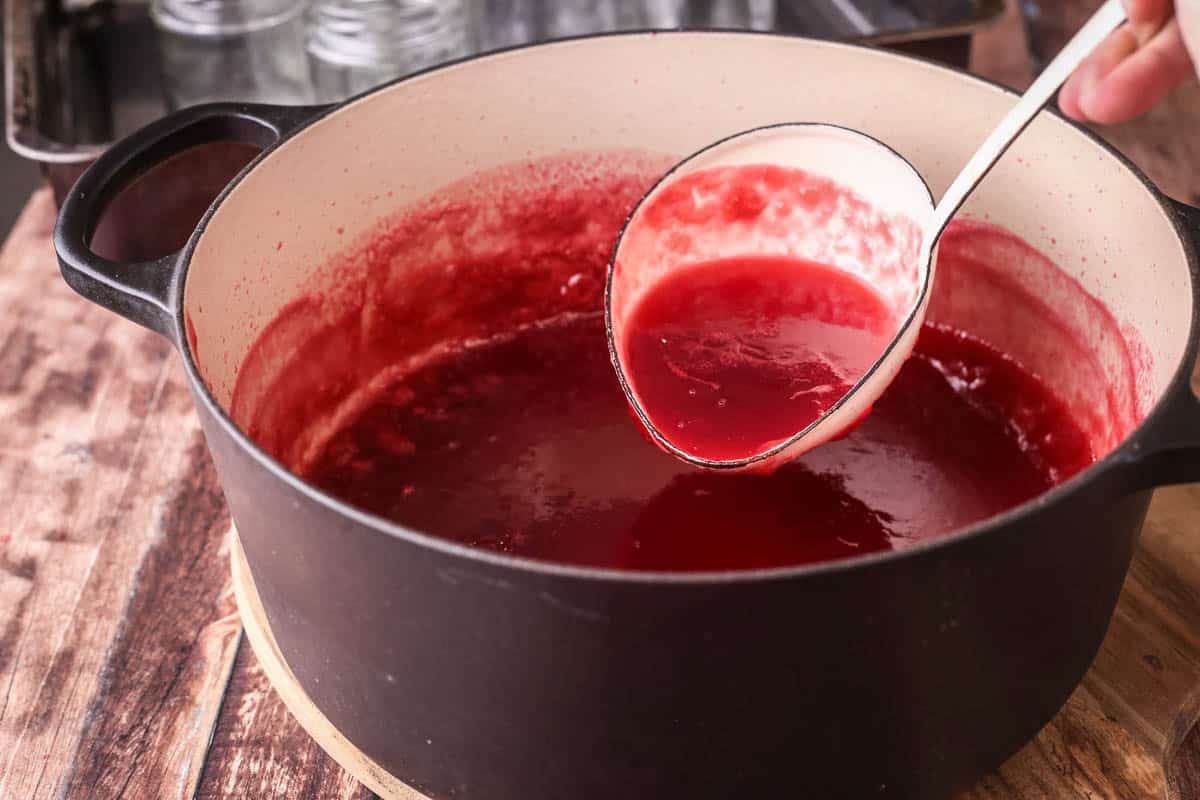
1. Preserving pan
Having the right pan will lead to reliable and even cooking of your preserves. If there is vinegar in your recipe you will also want to be even more vigilant of the pan you are using so the material of it doesn’t react adversely with the vinegar.
A specific preserving pan is something you might need to buy if you don’t have a large enough or wide enough pan of the correct material. But don’t worry – it doesn’t have to be an expensive bit of kit. Ideally jams and chutneys require different kinds of pans but with the right choice you can make do with the same for both.
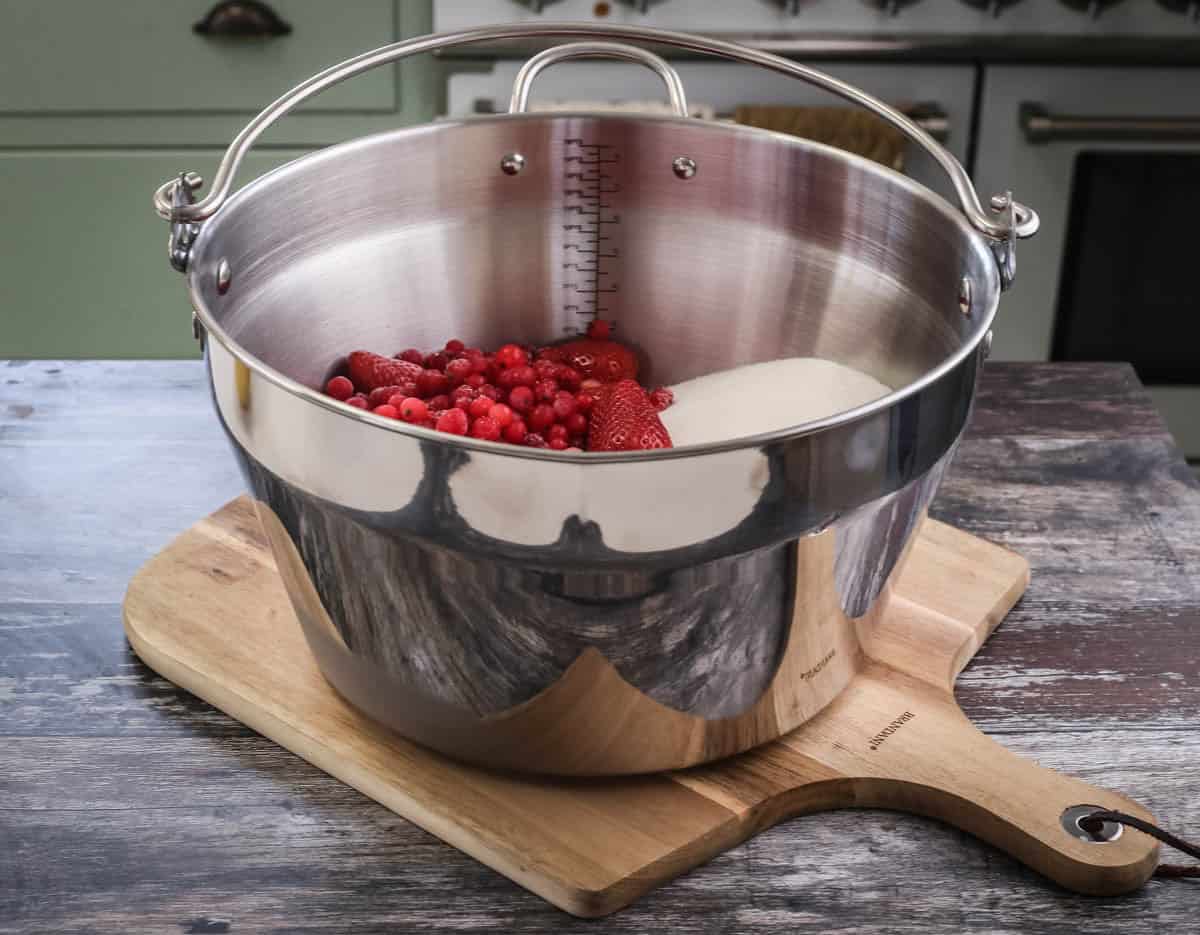
Jams. Best choice. Maslin pan. This is a pan developed specifically for making jams. It is stainless steel so won’t react with any acidic fruit or vinegar. It’s wide so you’ll achieve faster setting results and is deep so you can make a decent batch at once.

Chutneys. Best choice. Enamelled cast iron pan or ‘Dutch oven’. These are excellent as they are designed for cooking over a long period of time, they are deep and are heavy based so they cook evenly with good heat retention and prevents scorching. The enamel coating also means they are non-reactive to acidic ingredients. However, they can be heavy and awkward and have a much more premium price point than other options.
My recommendation. If you don’t have either of these pans and only want to buy just one then I suggest purchasing a 9 litre maslin pan. Most maslin pans are often under £40 so aren't too expensive and can be used for so much more in your kitchen. Some maslin pans have a heavier base then others which will be ideal if you like to make chutneys as much as jams as they’ll be more reliable at longer cooks.
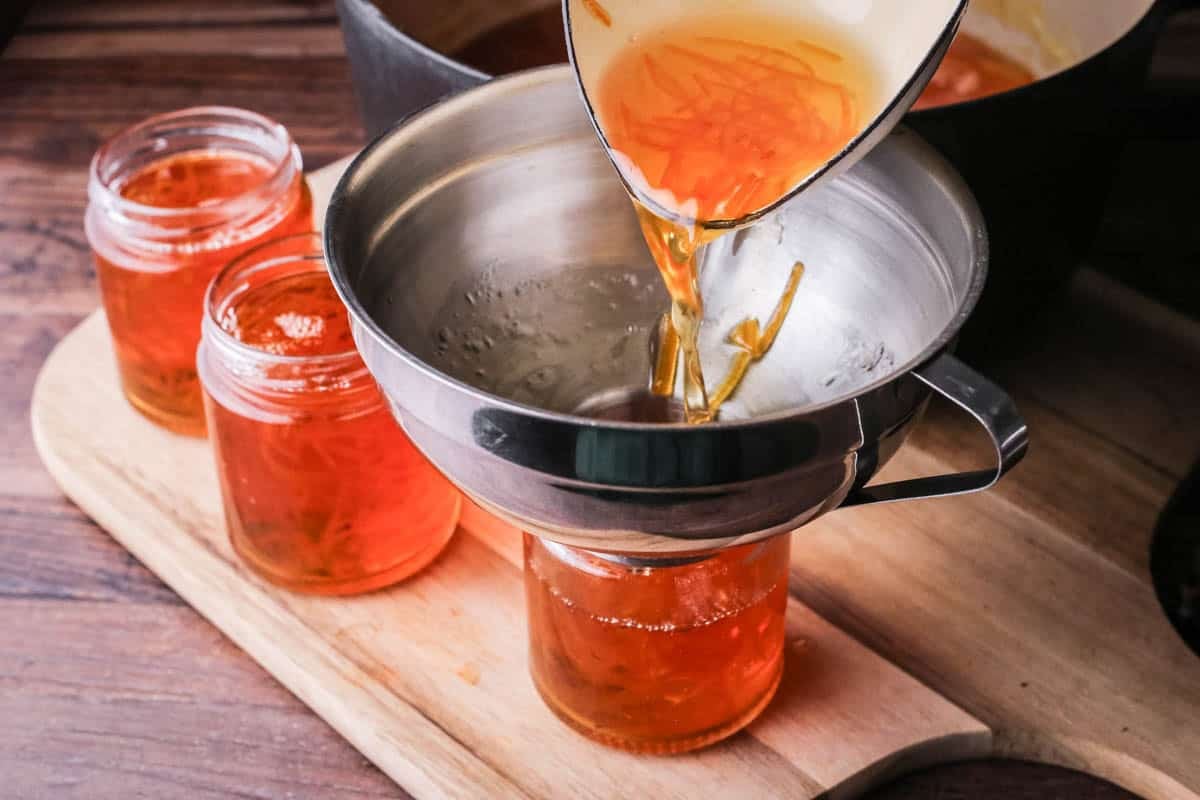
2. Jam funnel
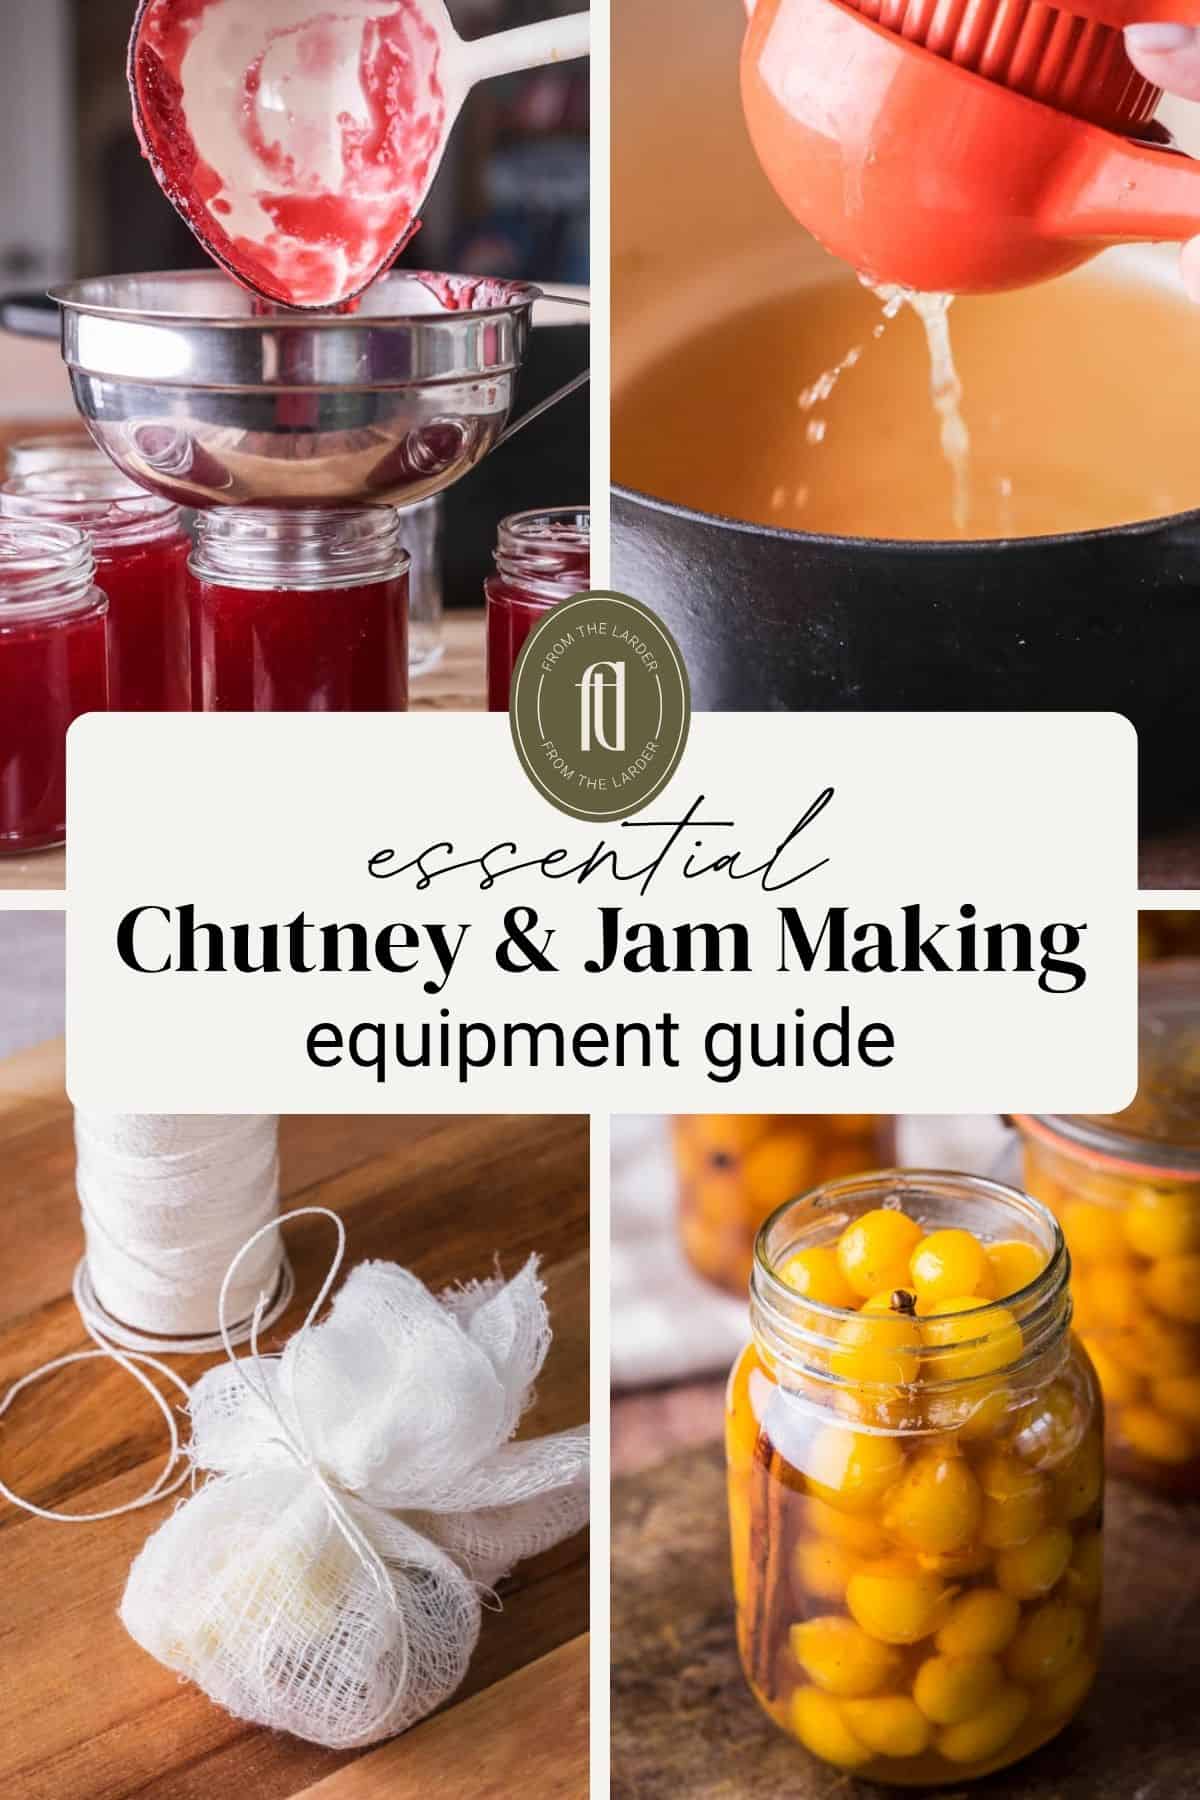
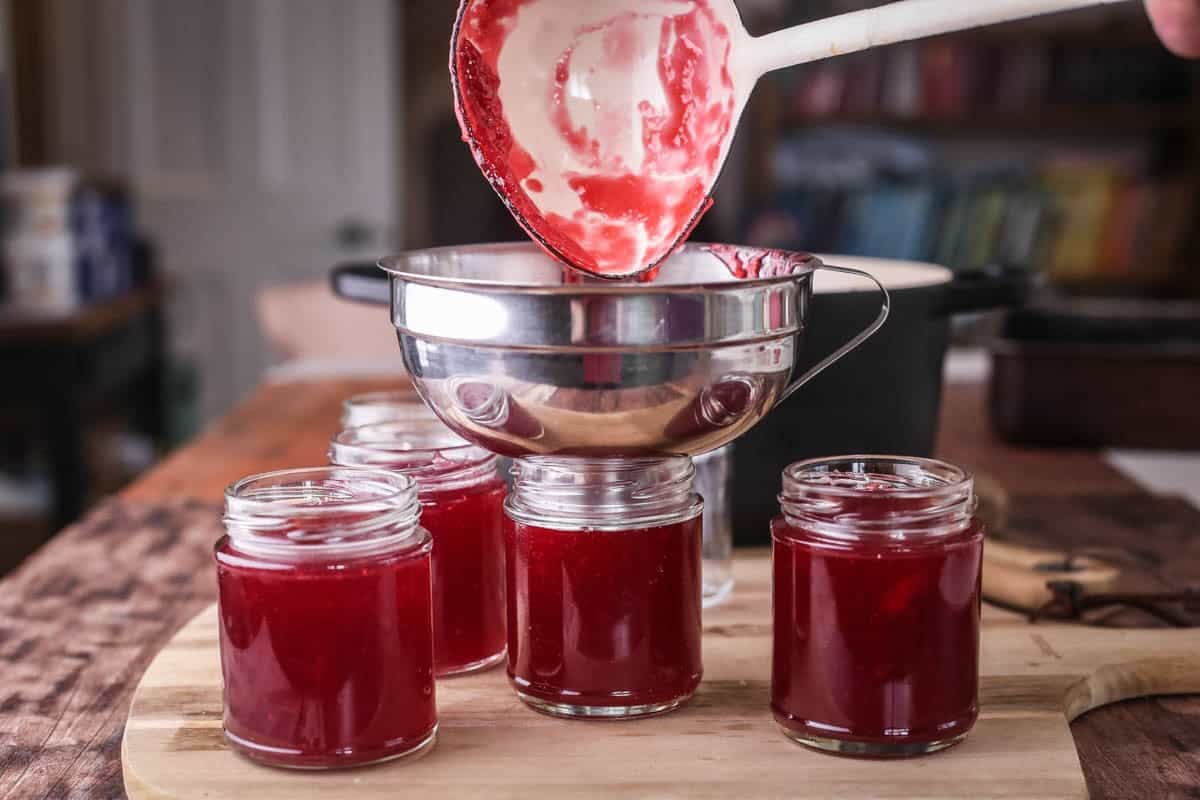
I do not know how I would manage without my jam funnel. Actually, since I made jam for many years without one I do and it was so much messier and stickier. The jam funnel is perfectly sized for both jams and chunky chutneys as they have a wide funnel which fits perfectly into standard jars so there is absolutely no sticky mess spilt down your jars whilst you are decanting.
I would be remiss to not remark upon the fact that jam funnels aren’t ideal for narrow necked bottles if you are making condiments, vinegars or bottling liqueurs. So for that reason make sure you also have a narrower stainless steel funnel that fits inside bottles.
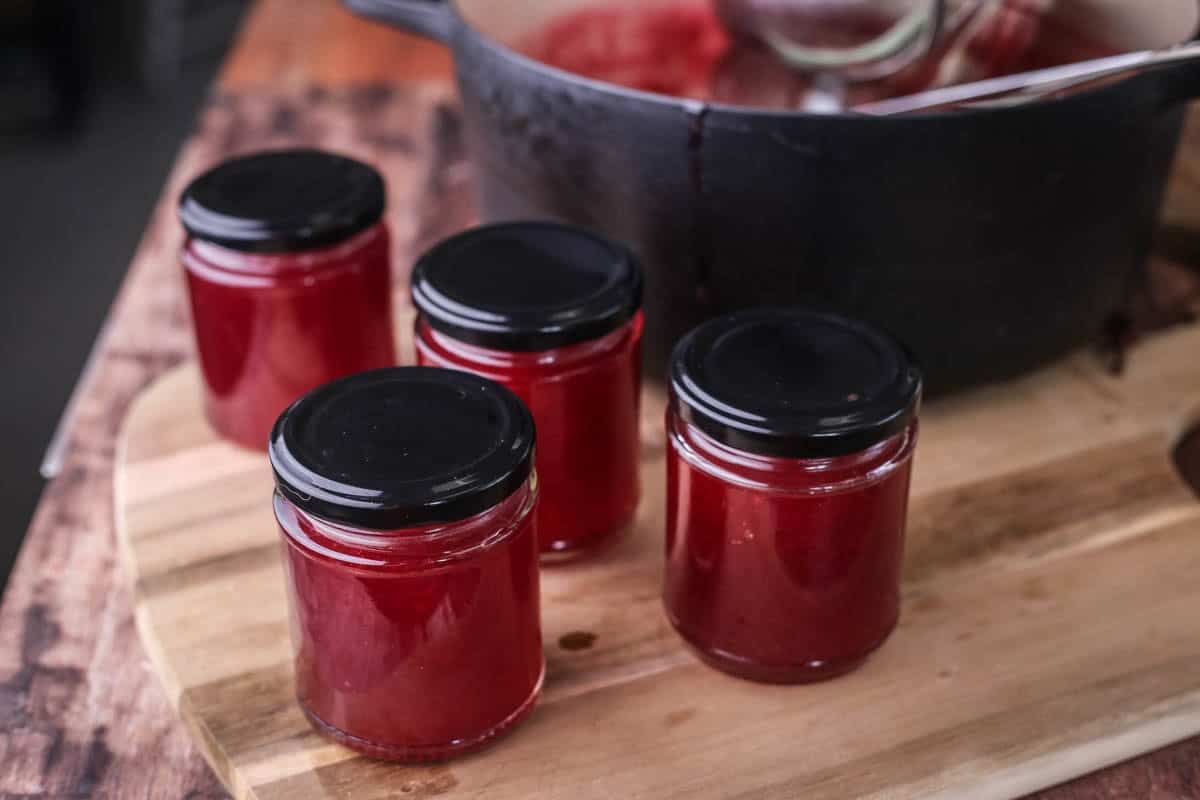
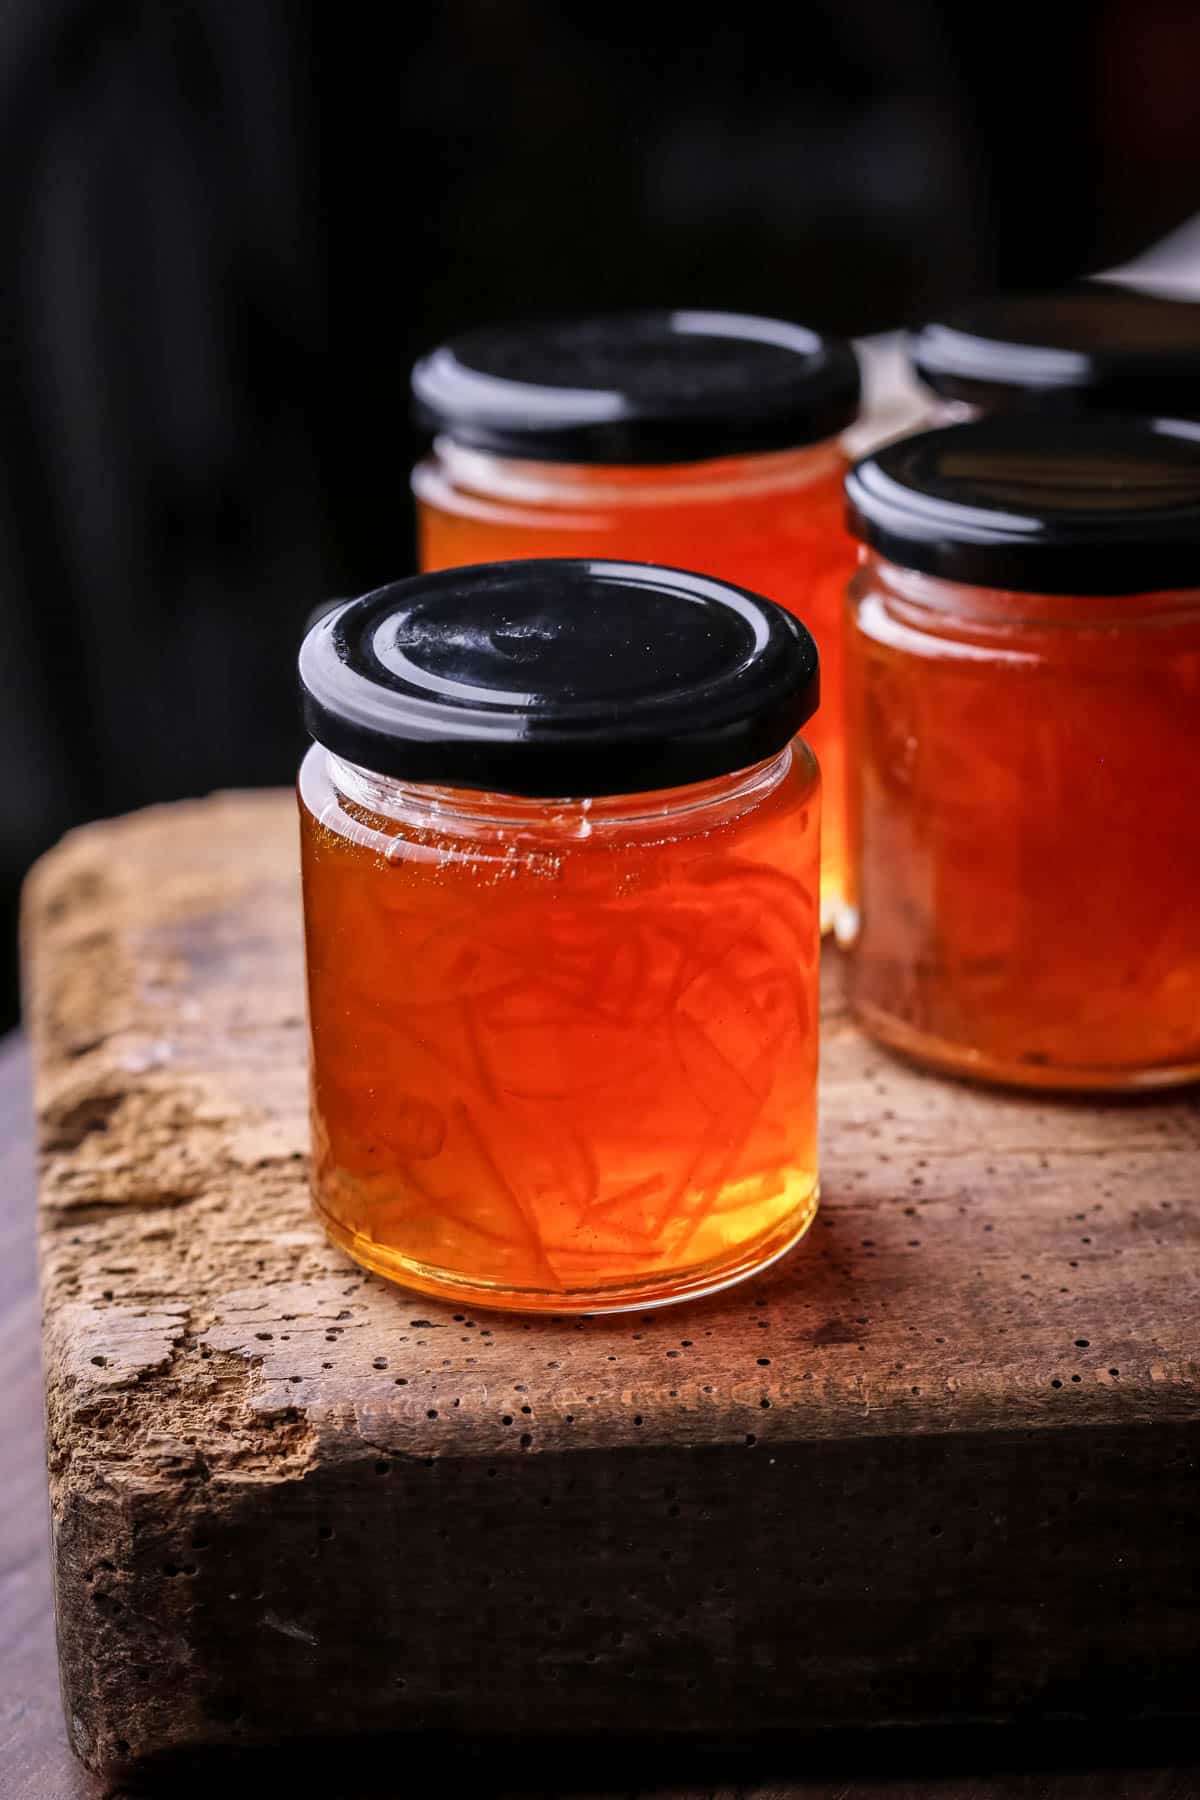
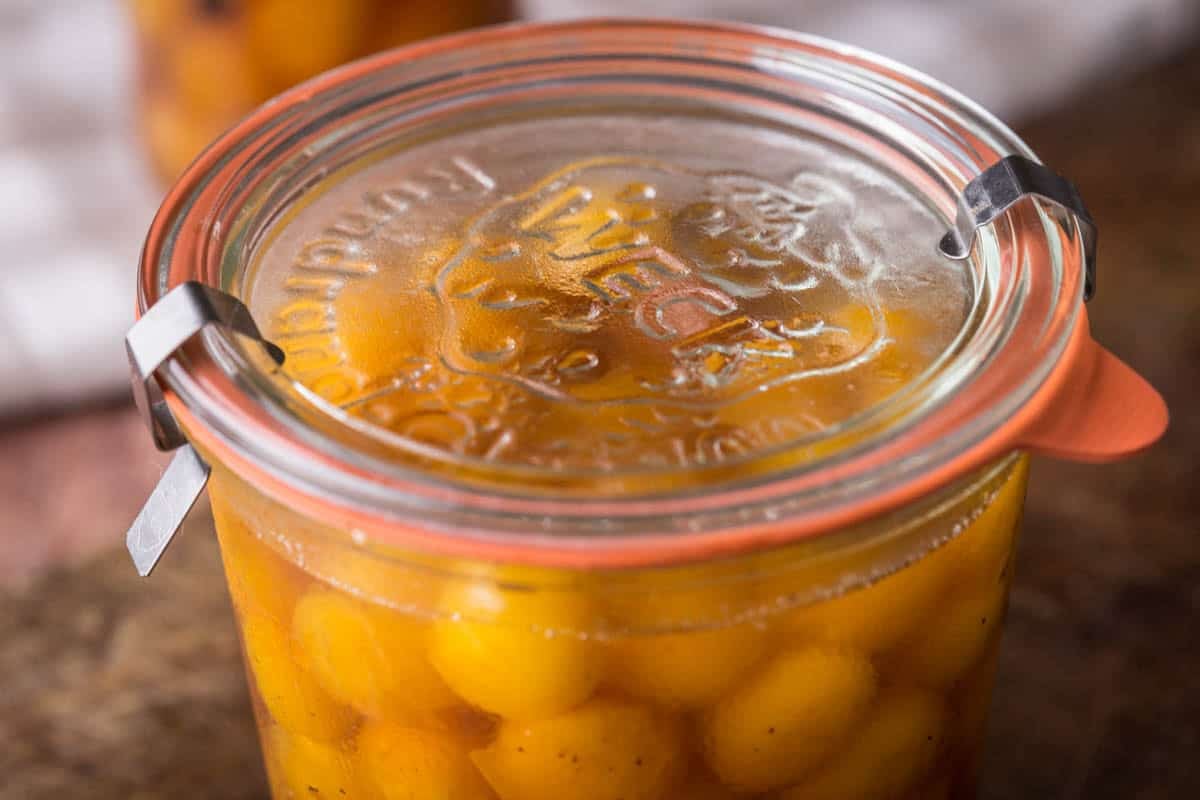
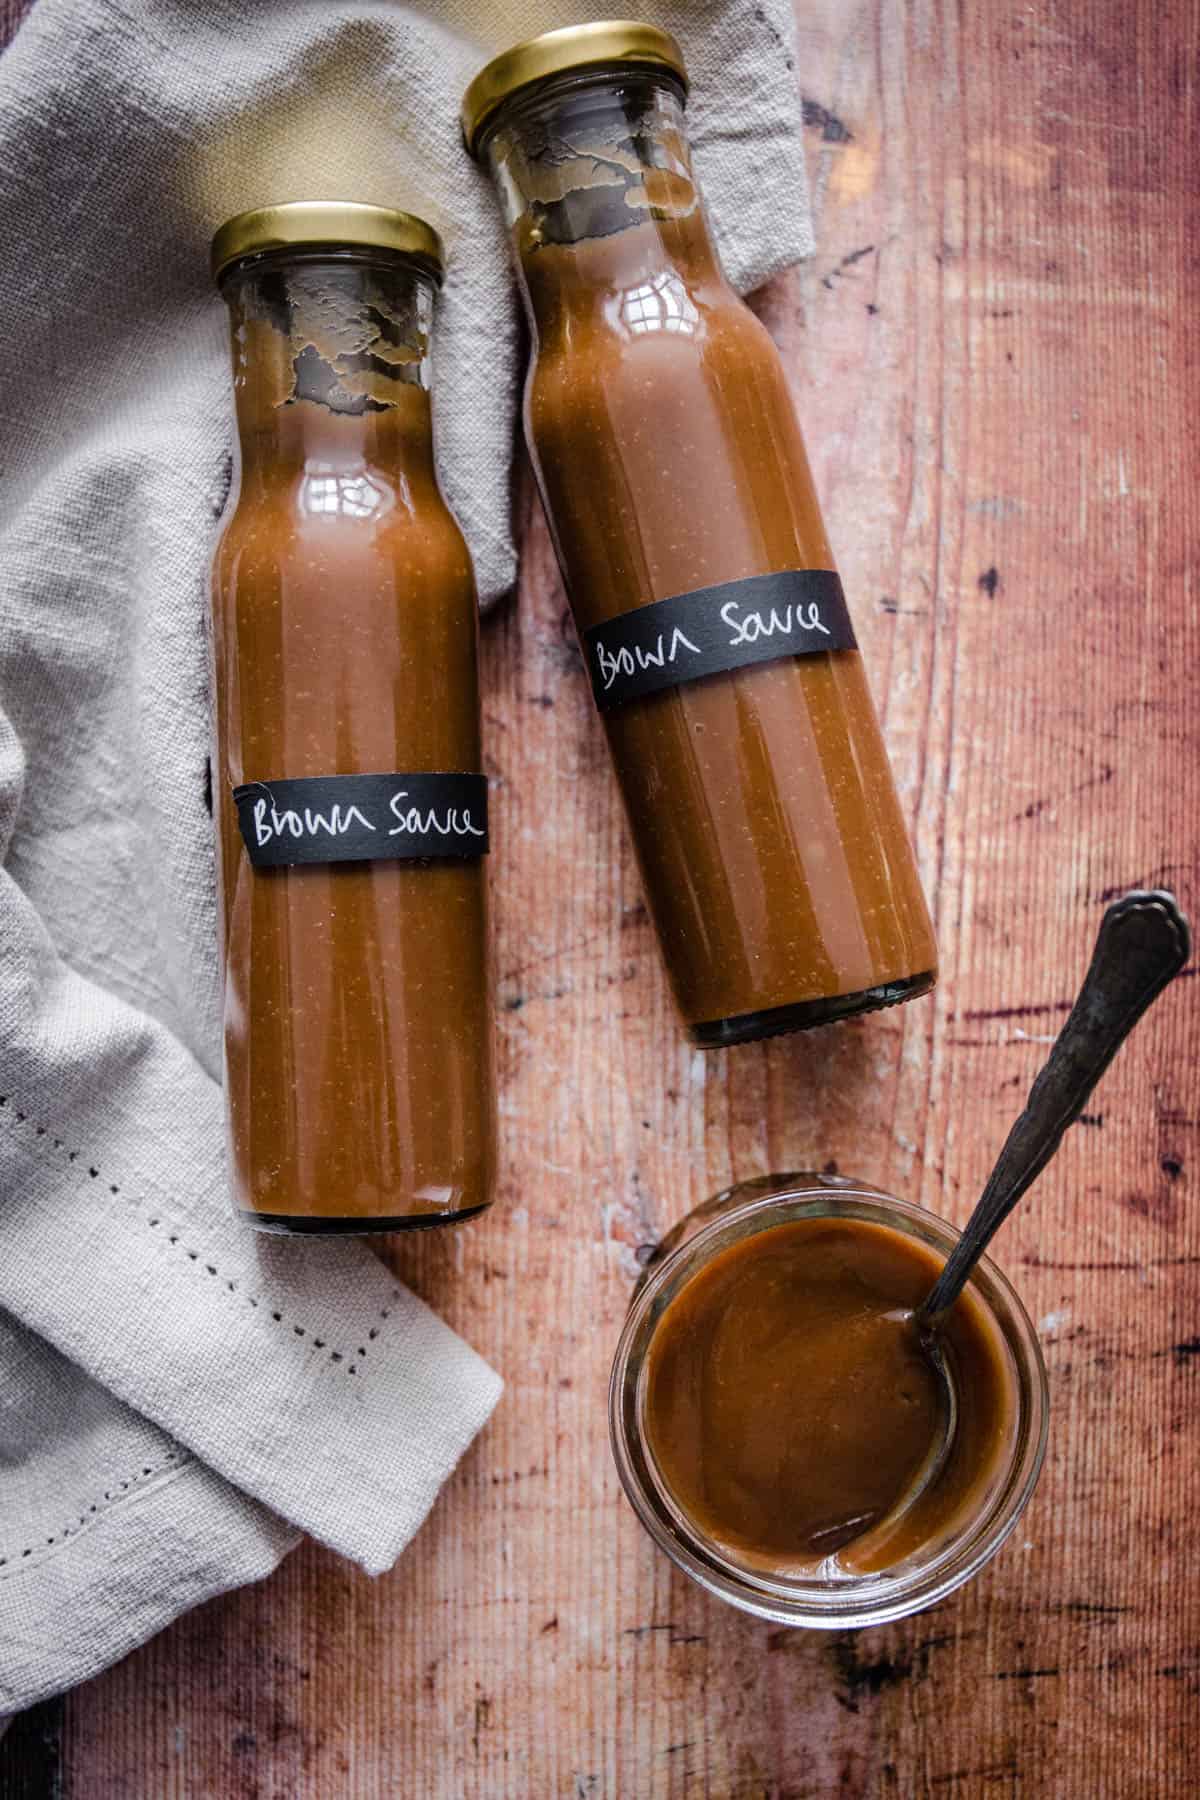
3. Glass jars
These jars have to handle exceedingly hot temperatures whether we are hot-filling our jars or processing via the water bath canning method. Either way it’s essential we use glass jars. They are re-useable whether you use the jars that need twist top lids (these lids are single use though – see below) or whether you use clip-top jars.
You can purchase jars specifically for your preserving or you can re-use ones that at one point housed a shop bought jam. Just ensure your jars are thoroughly washed, labels removed and sterilised before you use them.
If you’re making pickles you might prefer larger jars – about 500ml at least. You’ll also probably prefer to use clip-top jars which have a wire clasp and rubber seal.
4. Good-quality sealing lids
Fresh lids for every batch of preserves are essential in maintaining good food safety practices.
Twist-off lids. These regular twist-off lids which are paired with standard jam jars are designed for single use as they can degrade. The glass jars themselves can be re-useable after they have been washed out and sterilised but I recommend using new or undamaged sterilised lids every time.
These are very easy to purchase in a variety of sizes, depending on the kind of jars you use from online stockists. If you stick to just one type of jar then you can order these lids in bulk relatively cheaply.
Clip-top glass jars. If you preserve using premium jars such as kilner, mason or weck for your savoury preserves then you don’t need to purchase new glass lids, but you will need new rubber seals as they can get damaged if they have been used before.
Kitchen Equipment You’ll Already Have
Chopping board. I’m sure you already have a chopping board in your kitchen and any will do. However, if you are asking my advice for the best kind of chopping board then it will always be wooden over plastic as it’s much more hygenic.
Digital scales. I am a staunch advocate of measuring all ingredients using digital scales for absolute accuracy. This is essential in getting the right balance of vinegar / sugar in particular so that you can ensure safe food practices for long term storage.
Heat-safe stirring spoon/s. It is vital to have either a wooden spoon or a silicone based stirring spoon to hand. These materials will not react with acid-based ingredients and prevent scratching or burning so are essential to your preserve making.
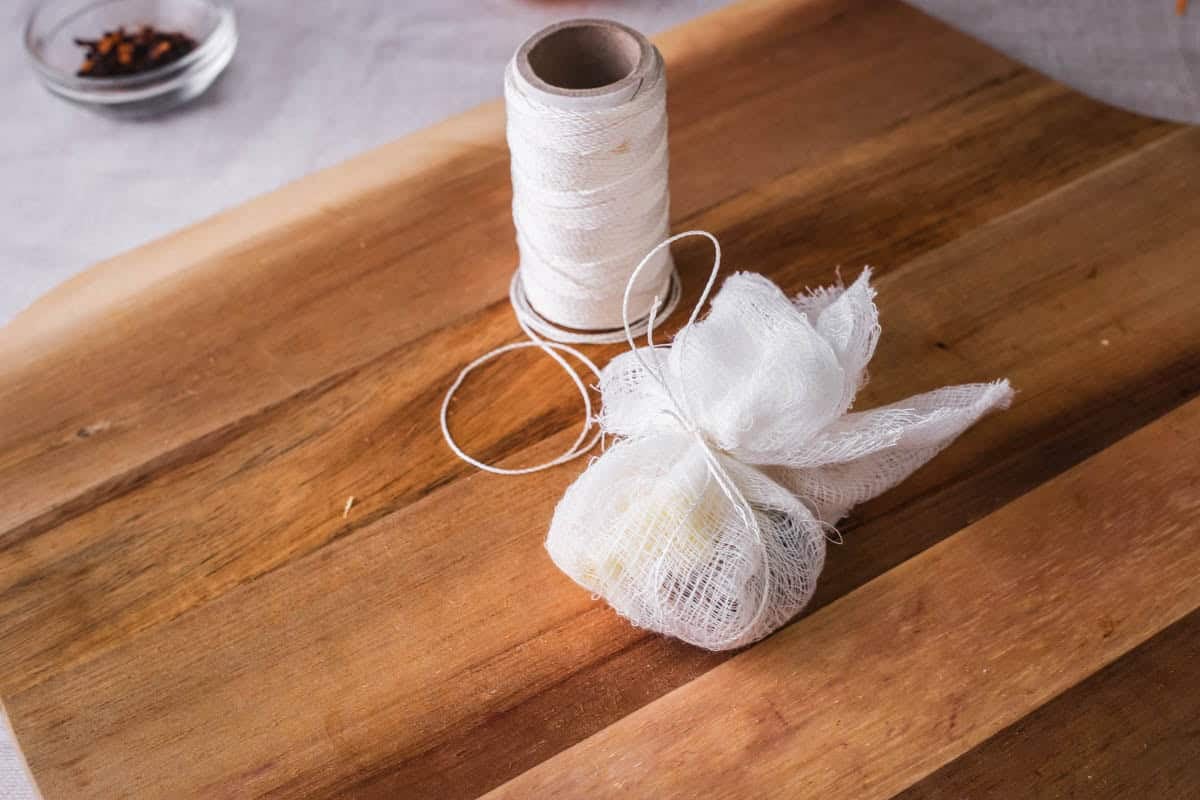
Kitchen string. This is needed for tying up your muslin bag full of aromatics, or when you are straining jellies or vinegars.
Ladle. It’s not ideal to pour your jam or chutney into their jars. Ladles will mean you get precise and clean potting. If you have a ladle with a slight spout shape then you’re really winning.
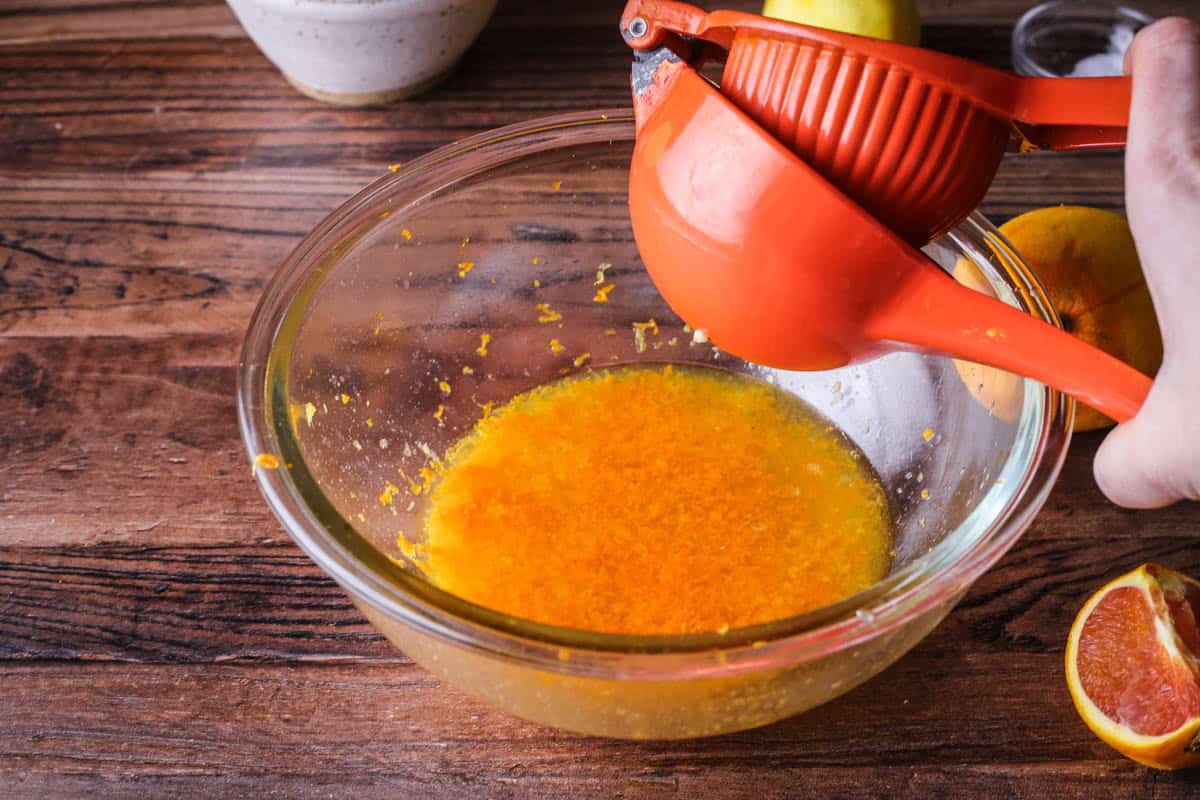
Mexican elbow. I have had many a juicer in my time but the one I currently use is the Mexican elbow which juices quickly, doesn’t take up much room in your kitchen and is easy to clean. I bought a lime, lemon and orange one before realising that the only one you really need is the orange one as it makes short shrift of all citrus, including the larger grapefruit. A good tip is to cut the fruit into quarters first so you can extract as much juice as possible.
Muslin. Huge swathes of kitchen grade muslin is relatively cheap to buy and very useful if you make a lot of your own preserves. It’s good to have for recipes like marmalade, fruit vinegars, jellies and chutneys if you want to remove your aromatics.
Saucers. Any small plate will do here and it’s all for your setting point test for making jam (also known as the ‘wrinkle’ test). Put these saucers in your freezer prior to your jam making and then they’ll be very cold and ready for you to test the setting point of your jam. This test is outlined in my Jam Setting Guide. White saucers are ideal as you can see the colour of your jam. However, metal spoons could also be used.
Sharp knives. A truly sharp knife with a fine blade for consistent and evenly sized pieces. A smaller paring knife and an all-purpose chef’s knife are good to haves. I recommend a good Japanese knives. I buy my knives from Flint and Flame but this post isn’t sponsored and there are lots of other brilliant brands available.
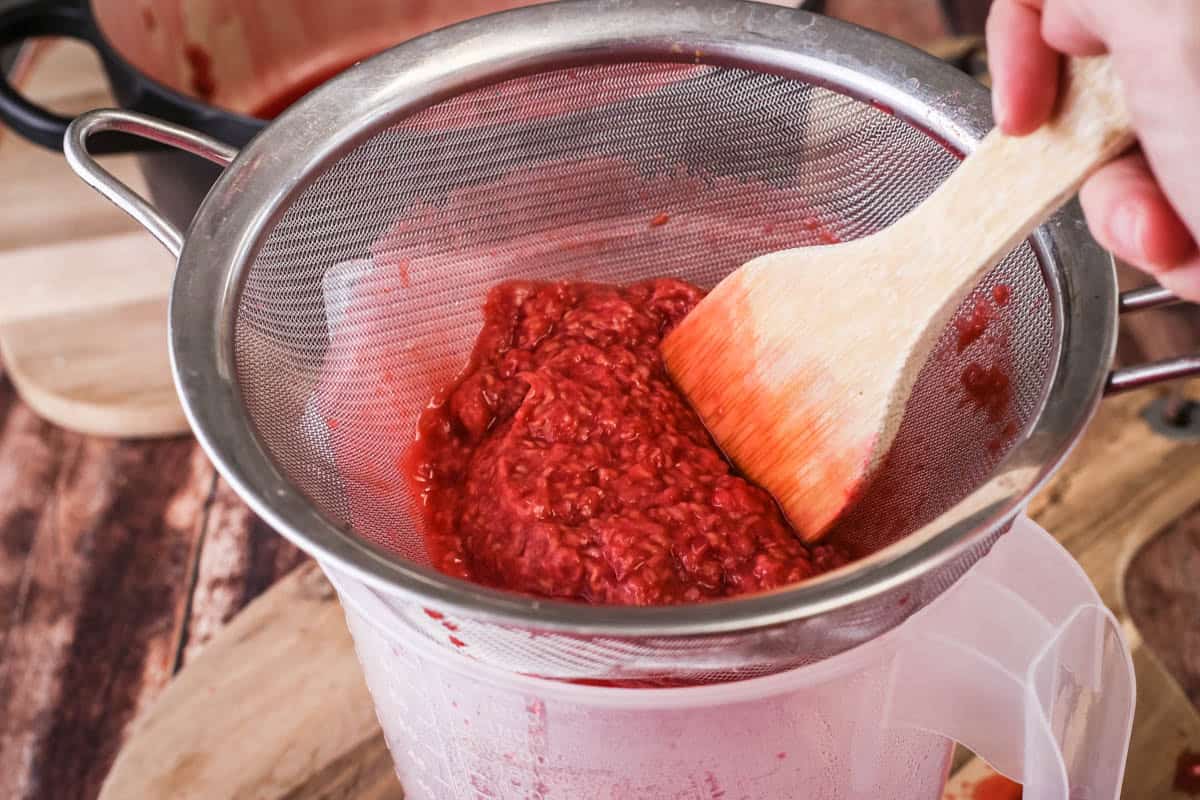
Sieve. If you are making seedless jams or jellies or need to strain your curds then a good sieve (preferable a chinois or conical sieve) is essential.

Skewers. These are useful for removing any air bubbles from your preserve after it has been potted into its jar and prior to sealing. This helps a good vacuum seal to form when you put the lid on which is essential for shelf stability.
Spice grinder / pestle & mortar. Either of these is fine and will probably be useful if you are grinding your own spices for your chutneys.
Tea towels / oven gloves. You will be handling very hot jars and pans so protecting yourself is key and will prevent any droppages.
Special Mention: Fruit Preparation
If you make a lot of fruity jams or butters then I can't recommend enough having the right kind of tools to prepare your fruit. It is time efficient and most importantly you don't lose as much fruit than if you were using a paring knife.
Apple corer. I tested how much apple I was losing by using my paring knife compared to a cheap apple corer and I was actually really surprised. I use a lot of apples in my jams, ketchups, chutneys so think this tool is essential.
Cherry pitter. I'm throwing this in here as it just fits with the apple corer and strawberry huller. A cherry pitter is so useful if you are making any kind of cherry preserve. So much easier than fishing the pits out of the jam after it's finished cooking.
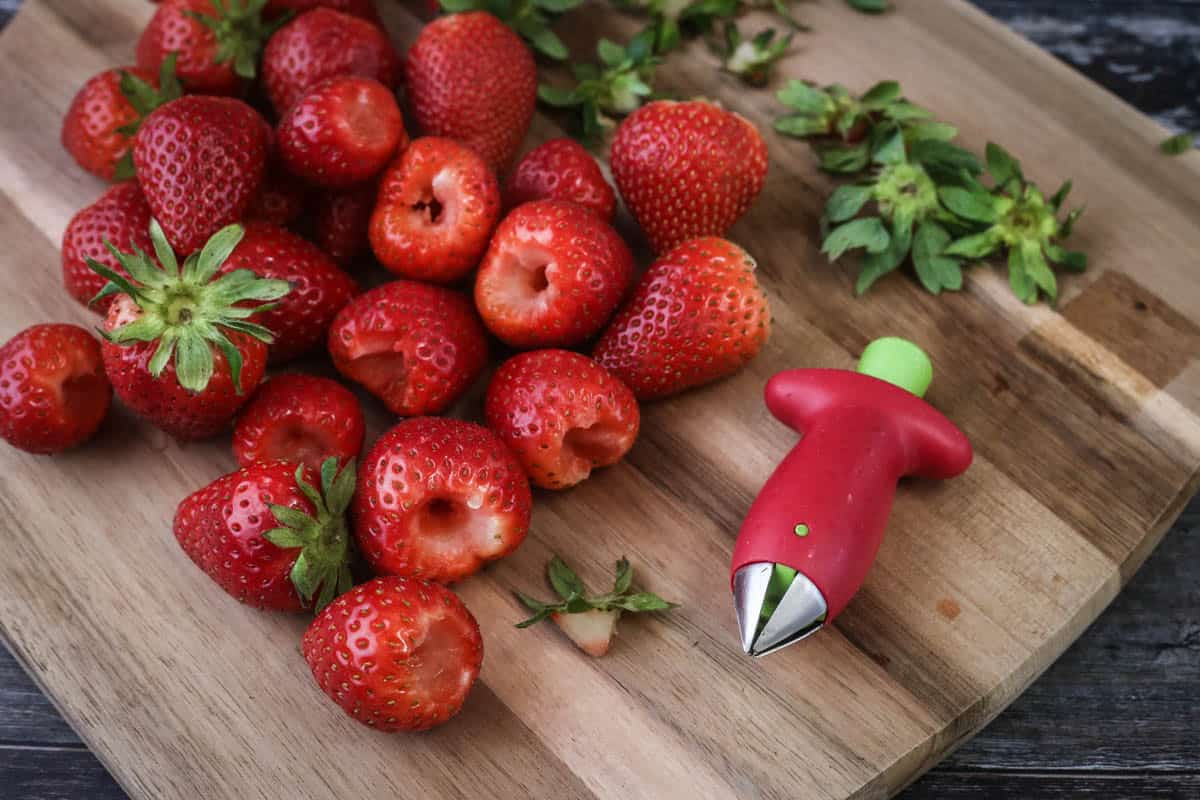
Strawberry huller. This is an inexpensive tool which I think is indispensable when preparing strawberries. It ensures very little of the fruit is removed when you are taking out the stems.
What You Don’t Actually Need
Digital thermometer / jam thermometer. It’s nice to have but isn’t always essential as I never rely on just the temperature of my jam to determine the set. I’ll usually follow the recipe for 5 minutes of rolling boil then start using the saucer test which is much more reliable. You can view my Jam Setting Guide for full instructions.
Fancy Labels. You definitely need to label your jars with the date you made the preserve. It’s easy to lose track very quickly of dates when you make a lot of preserves. I found a fig jam in my cupboard recently that I made five years ago. Honestly I did not think it had been that long ago I made it. Time flies. However, I actually use thick masking tape for my labels these days which I write on with a sharpie and is the easiest budget option. Or if I'm feeling especially fancy then I have black washi tape which I write on with a chalkboard marker.
Fermentation weights. These are very useful if you are making fresh pickles, sauerkraut or kimchi for keeping your vegetables down and removing the excess brine. Definitely a nice-to-have rather than essential. You can easily use a glass ramekin or small jam jar weighed down with brine instead.
Food mill. For a time my food mill was a beloved piece of equipment. If you are making large batches of preserves, a lot of apple butter, apple sauce, seedless jams then yes a food mill will be very helpful. It means you can halve apples, cook them and then process them in the food mill to remove the skin, pips etc. It’s excellent for minimising fruit wastage. But if you are only making preserves in small batches in your home kitchen then it’s not worth the expense or kitchen space. A regular sieve can do the same job (even if it’s not quite as efficient and a little bit more time consuming).
Jam jar lifter. These are designed for the water bath canning systems. For most UK home preserving (where the hot-fill method is the standard) then just using oven gloves or tea towels to handle your hot jars will suffice. However, if you are going to be processing your jars of chutneys or pickles or apple sauce using the water bath canning method then you will need to be taking your jars in and out of boiling water. A jam jar lifter in this case will be absolutely essential and they are relatively inexpensive.
Jelly bag. I don’t think it’s necessarily worth getting a specific jelly bag as it’s not as versatile as just buying a bunch of muslin with kitchen string as that will cover off a lot of preserving uses. But if you make jellies / fruit vinegar a lot then it’s an item you might consider.
Variety of jam jars. I have boxes and boxes of different glass jars in my attic. Weck jars, kilner jars, mason jars, pretty jars, hexangonal jars. However, my favourite jars to use for most of my jams and chutneys are inexpensive 190ml round jam jars. You can buy these in bulk (I’m still using the ones I purchased for my business). Having the same style of jam jar for all my preserves means they store easily. I also keep in tonnes of new lids for them and since I’m so used to working with them I usually have a good idea of how many jars I need to prepare when I begin my recipe which saves time.

FAQs
There are four specific items of equipment you’ll need for preserving which are the right preserving pan, glass jars, fresh or undamaged lids and a jam funnel. You should be able to bolster this list with equipment you already own in your kitchen to streamline the process.
Expensive equipment is not needed to make safe jam and chutney. You can mostly use what you have, even if you don’t have the right sized pan made of the correct safe material (i.e. stainless steel) you can buy relatively inexpensive maslin pans. Other essential tools like jam jars, funnels can be easy to pick up. You can even skip new jam jars and reuse old ones (as long as they are sterilised properly). New lids are essential for safety but are not expensive.
You can make jam without a maslin pan. You need either a large wide stainless steel (stock pots can be too deep and saucepans can be too small) or an enamelled cast iron Dutch oven. These pans will not react with acid based fruits and can withstand the high heat that you need for your sugar.
You can’t use any saucepan for safe preserving. It has to be the correct material most importantly which is either stainless steel or enamel coated cast iron Dutch ovens. It should also be the correct size for your recipe. Large, wide and deep enough pans are best.
You don’t need a thermometer for jam making as you can test for the right setting point using the saucer or ‘wrinkle’ test. View my jam setting guide for this easy and reliable method.
How long homemade preserves last means they should be correctly filled and sealed. For long term storage, if your recipe is relying on the traditional hot-fill and sealing method you want to ensure your jam jars have new or undamaged lids and you want to make sure you remove any air bubbles with skewers.
For the water bath canning method you want to make sure you have a decent sized large pot which means when your jars go in to be processed the water level is at least two inches above the jar. This ensures the jars have been processed properly for long term storage.
Some UK recipes do use the water bath canning method (some of mine certainly do) but more traditional recipes use the hot-fill and sealing method. These kinds of recipes rely on the correct balance of sugar and/or acid to create a safe environment for long term food storage. If hot jars are filled with hot preserves and you seal immediately then a tight seal will form between the jar and the lid which means that they are airtight and safe from bacteria to grow.
