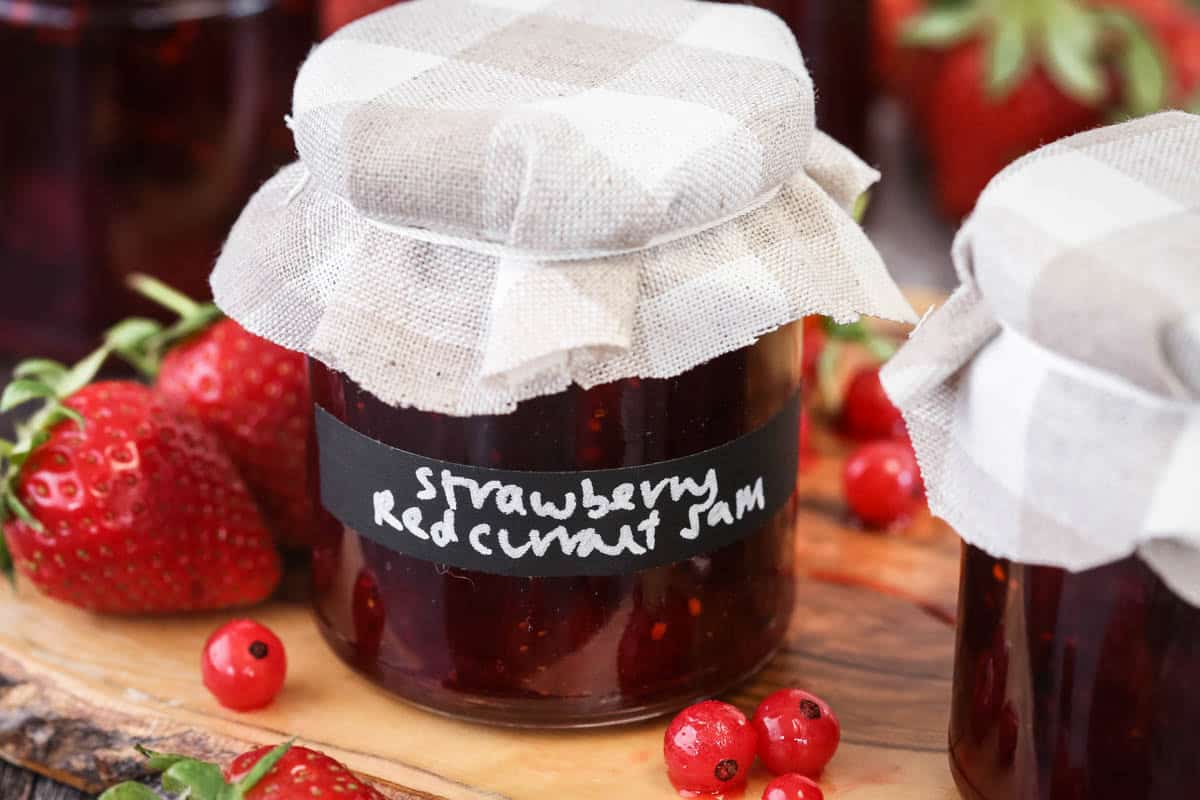
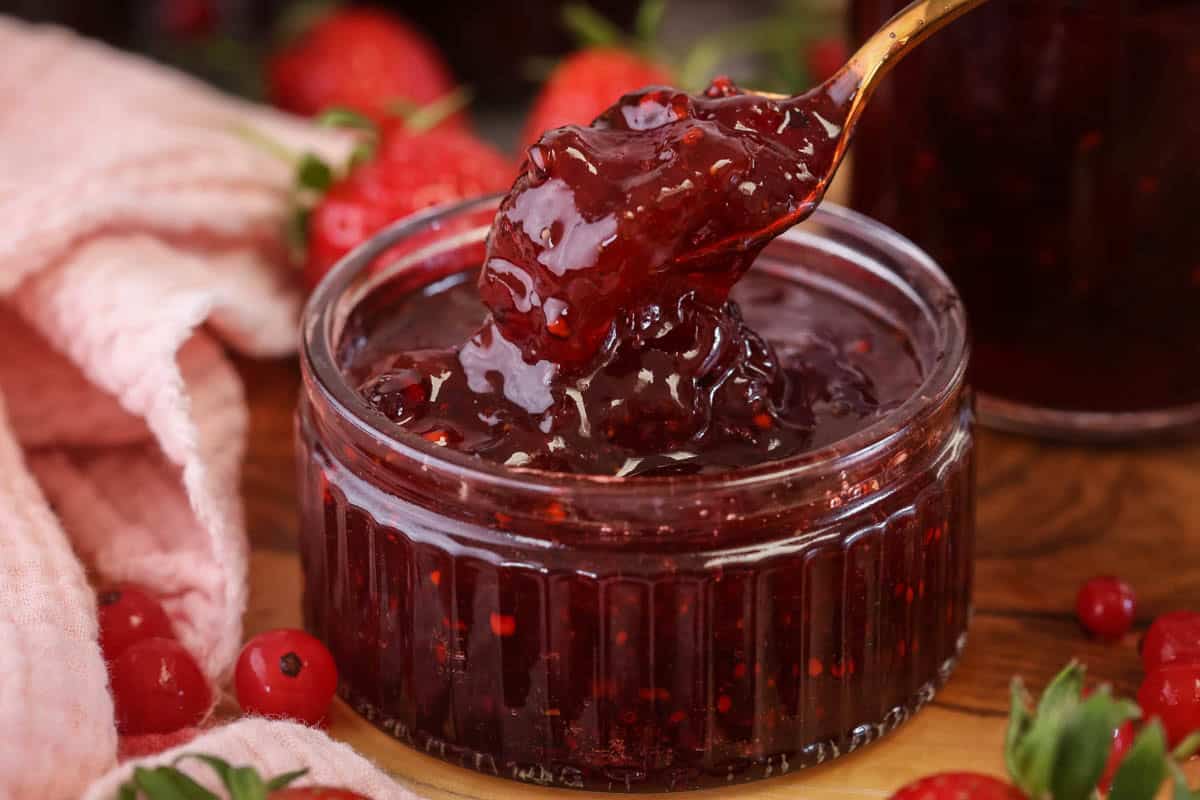
Strawberry and Redcurrant Jam
This post contains affiliate links. Please read my disclosures.

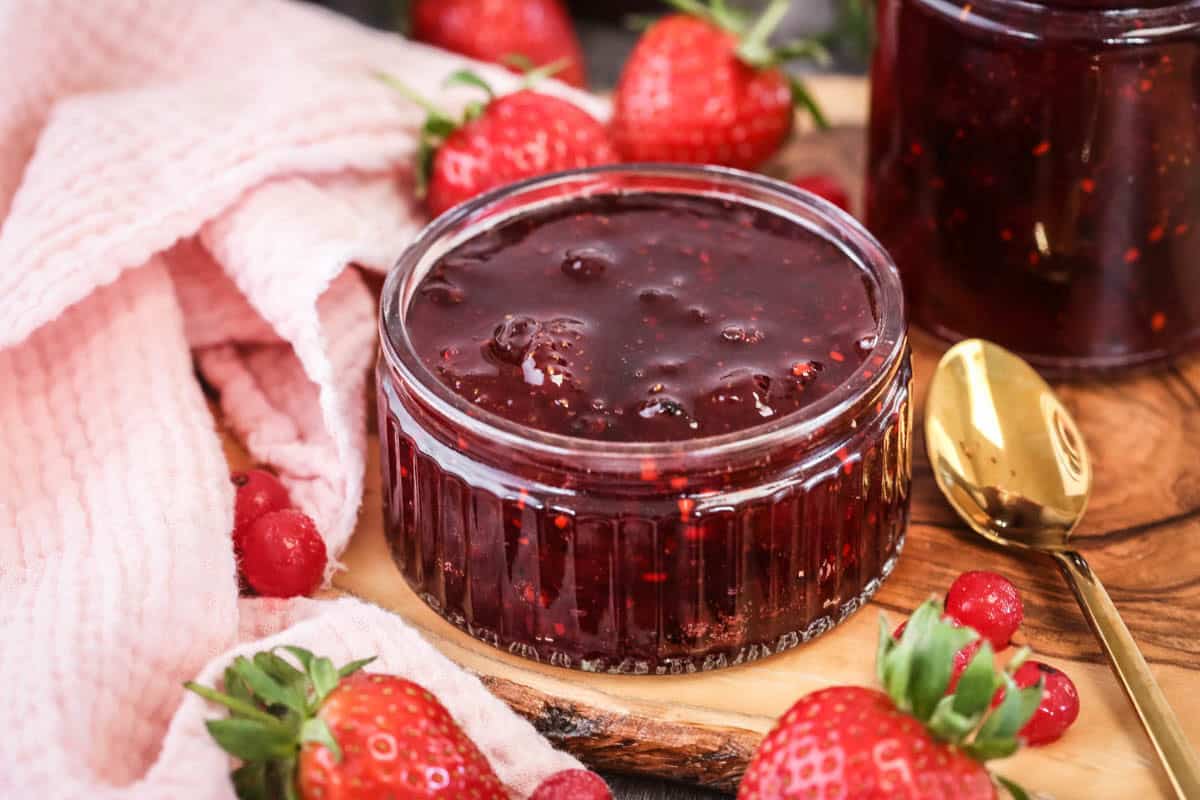
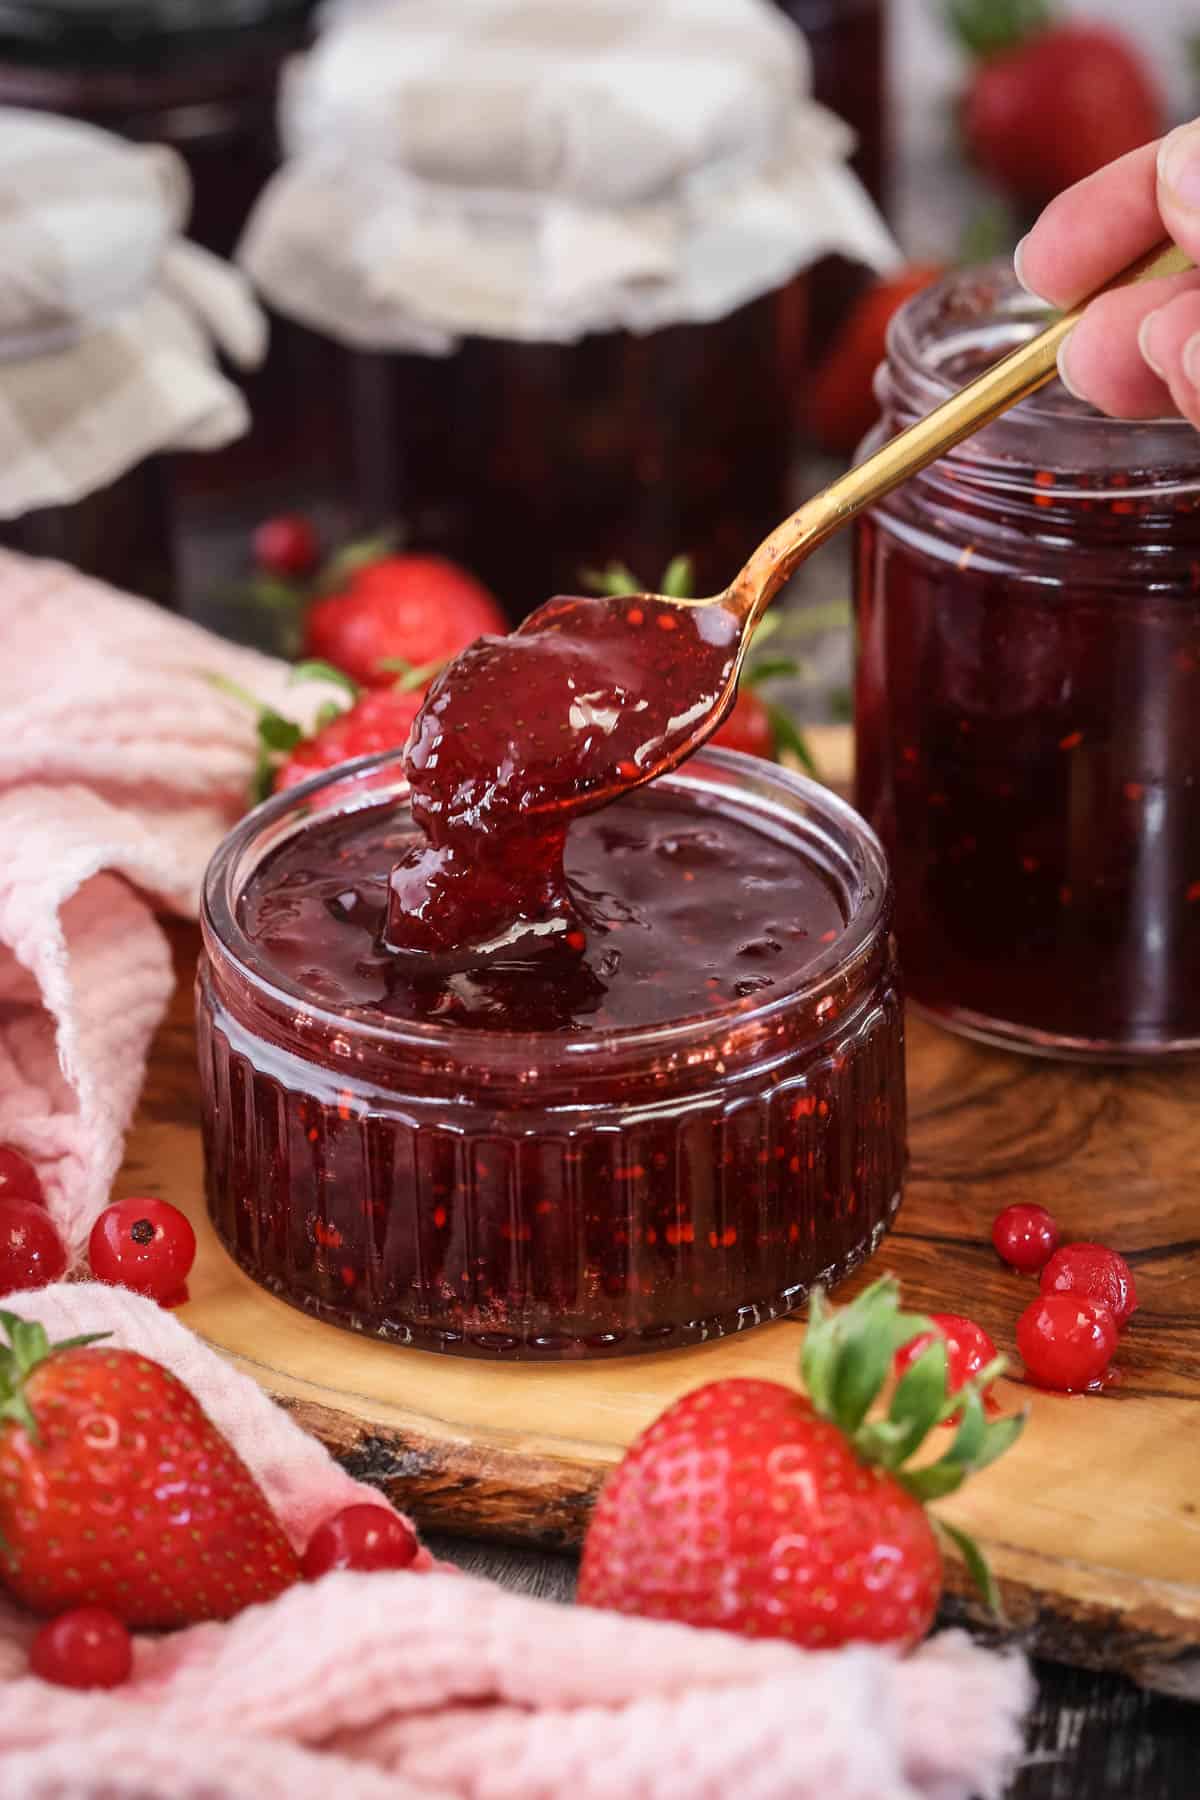
A beautiful Strawberry Redcurrant Jam, for those that don't like their strawberry jam too sweet the redcurrants add extra vibrancy and tartness.
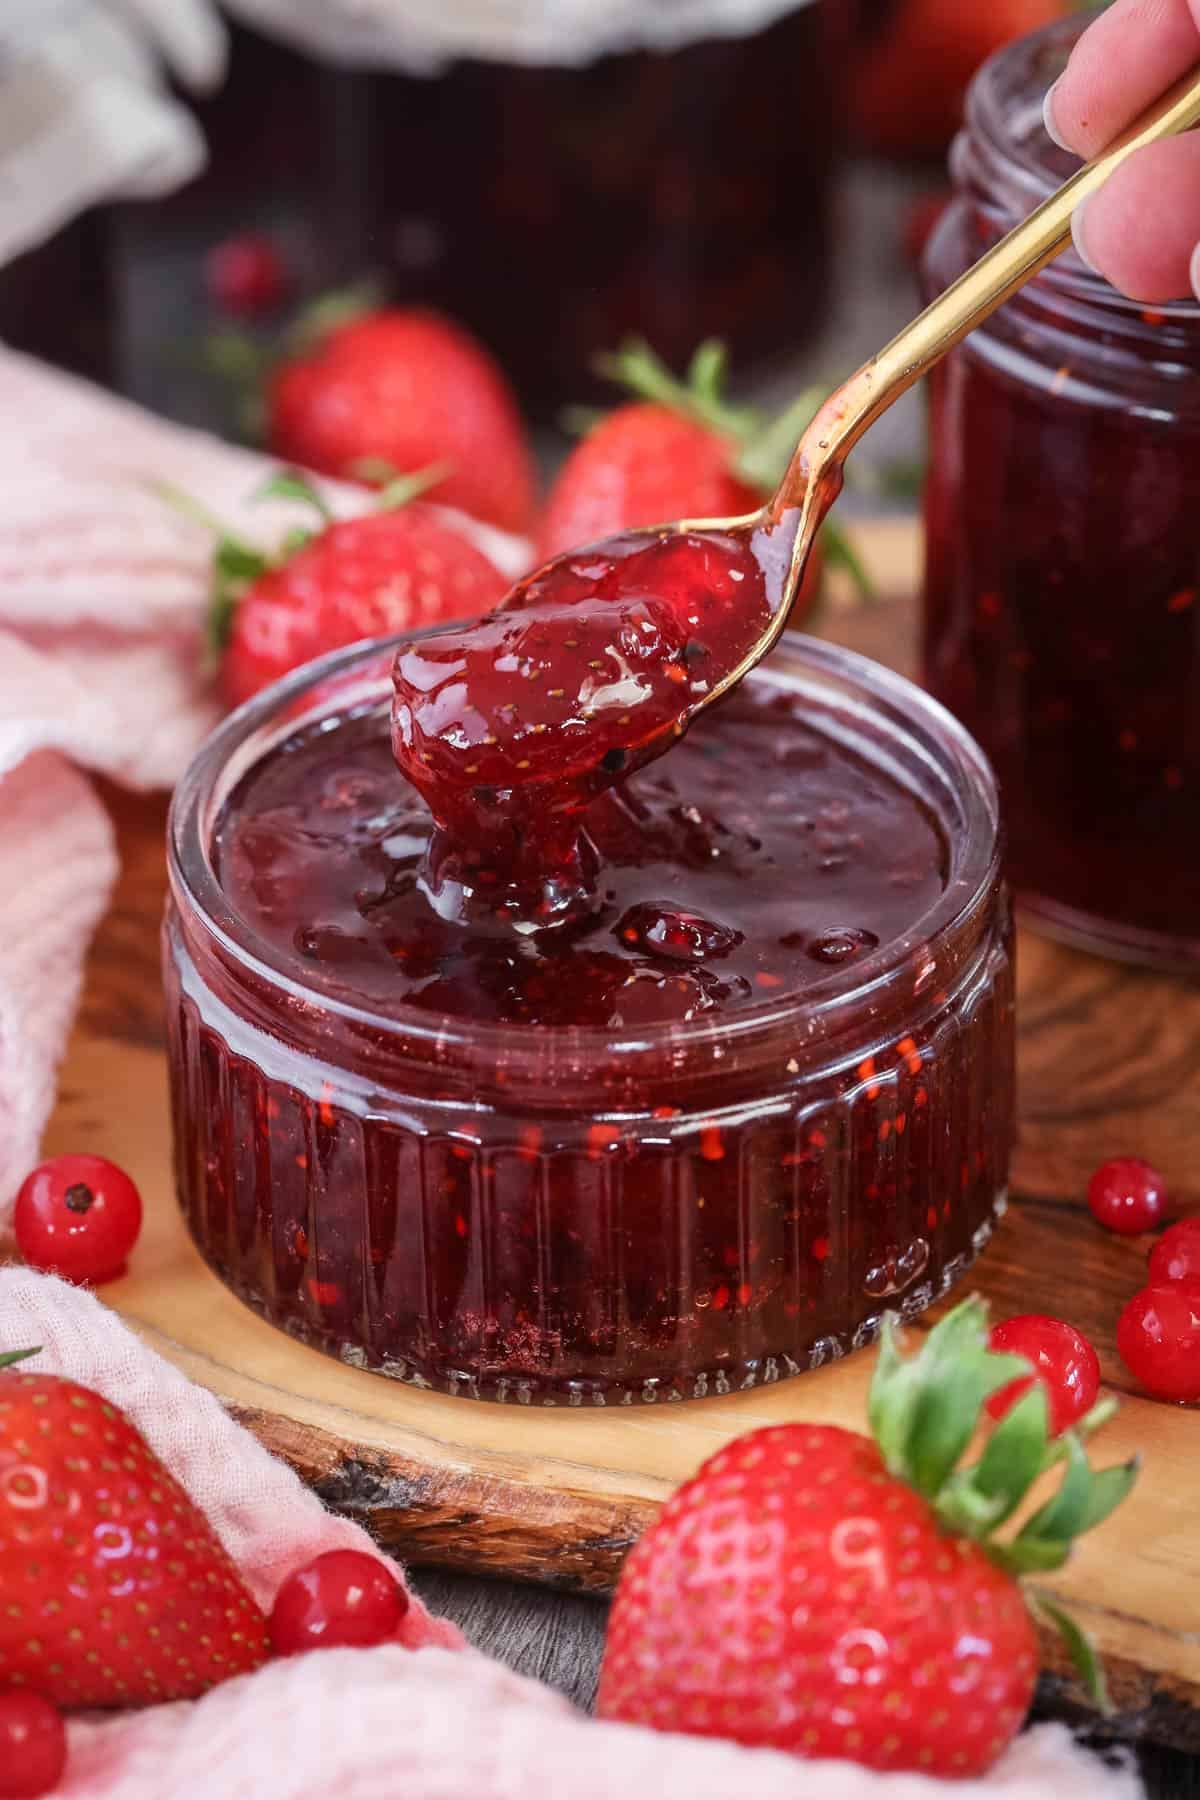
I was on the hunt for a strawberry jam that wasn’t overly sweet and the addition of tart redcurrants fits the bill completely.
This is an easy jam to make which doesn’t require any extra pectin power (as redcurrants are high in pectin) and only needs four ingredients for jam perfection.
I’ll show you how to make a foolproof jam with a soft but firm set, and how to check when it’s ready to be potted. We’ll discuss what equipment you need (hint. nothing you probably don’t already have) and the best way to sterilise the jars and store your jam.
The best time to make this jam is late June to early July when the fruit is fully in season and very flavourful.
Why You’ll Love This Strawberry & Redcurrant Jam
- Perfect balance of sweetness and tart.
- Natural pectin only. You don’t need to use jam sugar or a liquid pectin for the perfect set.
- Easy to make and ready in under an hour.
Ingredients Needed
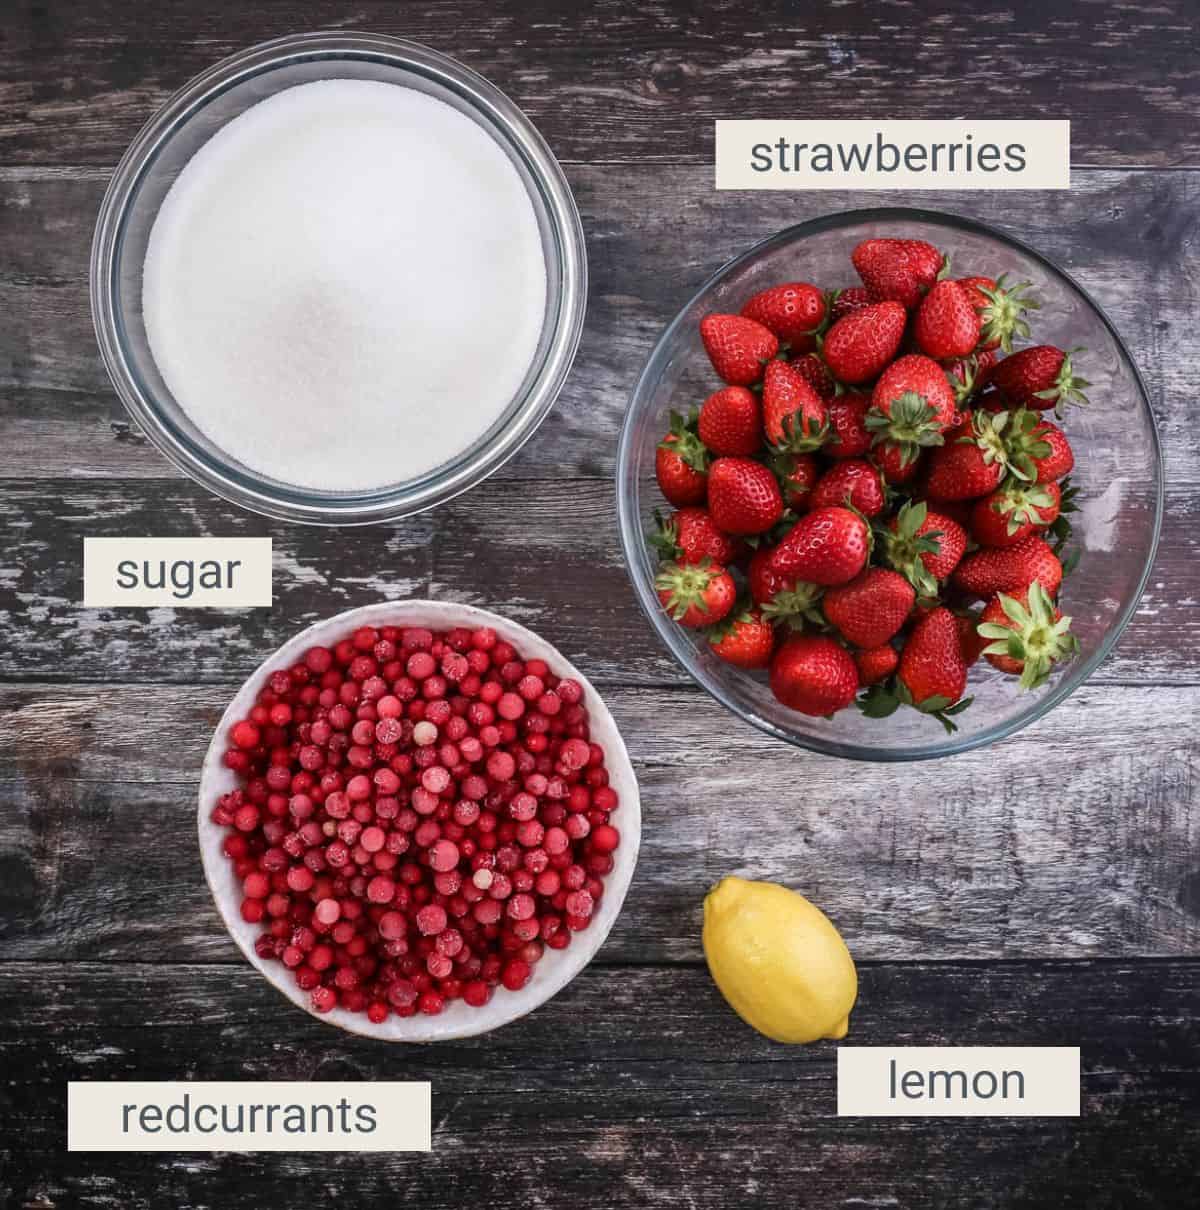
Strawberries. Fresh strawberries are my preferred option. I will caution against using frozen supermarket strawberries as I find they turn to mush and can be quite flavourless. Either use berries you have frozen yourself on the day of picking (which have only been in the freezer for under two months) or use a reputable frozen fruit company like British Frozen Fruits.
Redcurrants. These are in season in the UK from late June to July so it’s quite a short time these tart little berries are around. You can use fresh or frozen berries here. If you have missed the seasonal window I can recommend using frozen berries from British Frozen Fruits. Don’t be afraid to include a few underripe berries in the mix as these are higher in pectin so you’ll achieve a better set to your jam. The majority though should be fully ripe, red and juicy.
White sugar. There is no need to use jam sugar here, which is formulated with added pectin, as redcurrants are already high in pectin. Regular granulated sugar works brilliantly, it’s economical and easy to find.
Lemon. But let’s add a squeeze of lemon juice which provides acid and extra pectin to ensure a totally foolproof set.
Equipment Needed
It’s worth taking a look to check out my Jam Making Equipment Guide before you start. Having the right tools to hand can make a big difference to how easy you find the recipe to make.
I include a lot of ideas including core essentials (like a good maslin pan, jam funnel, glass jars and fresh lids) and suggest what you will already have in your kitchen to make your jam making easier.
A special mention should go to a strawberry huller though which will make your strawberry prep quicker and will mean you have minimal wastage from your fruit.
How To Make Strawberry and Redcurrant Jam
For full recipe instructions go to the recipe card at the end of this post.
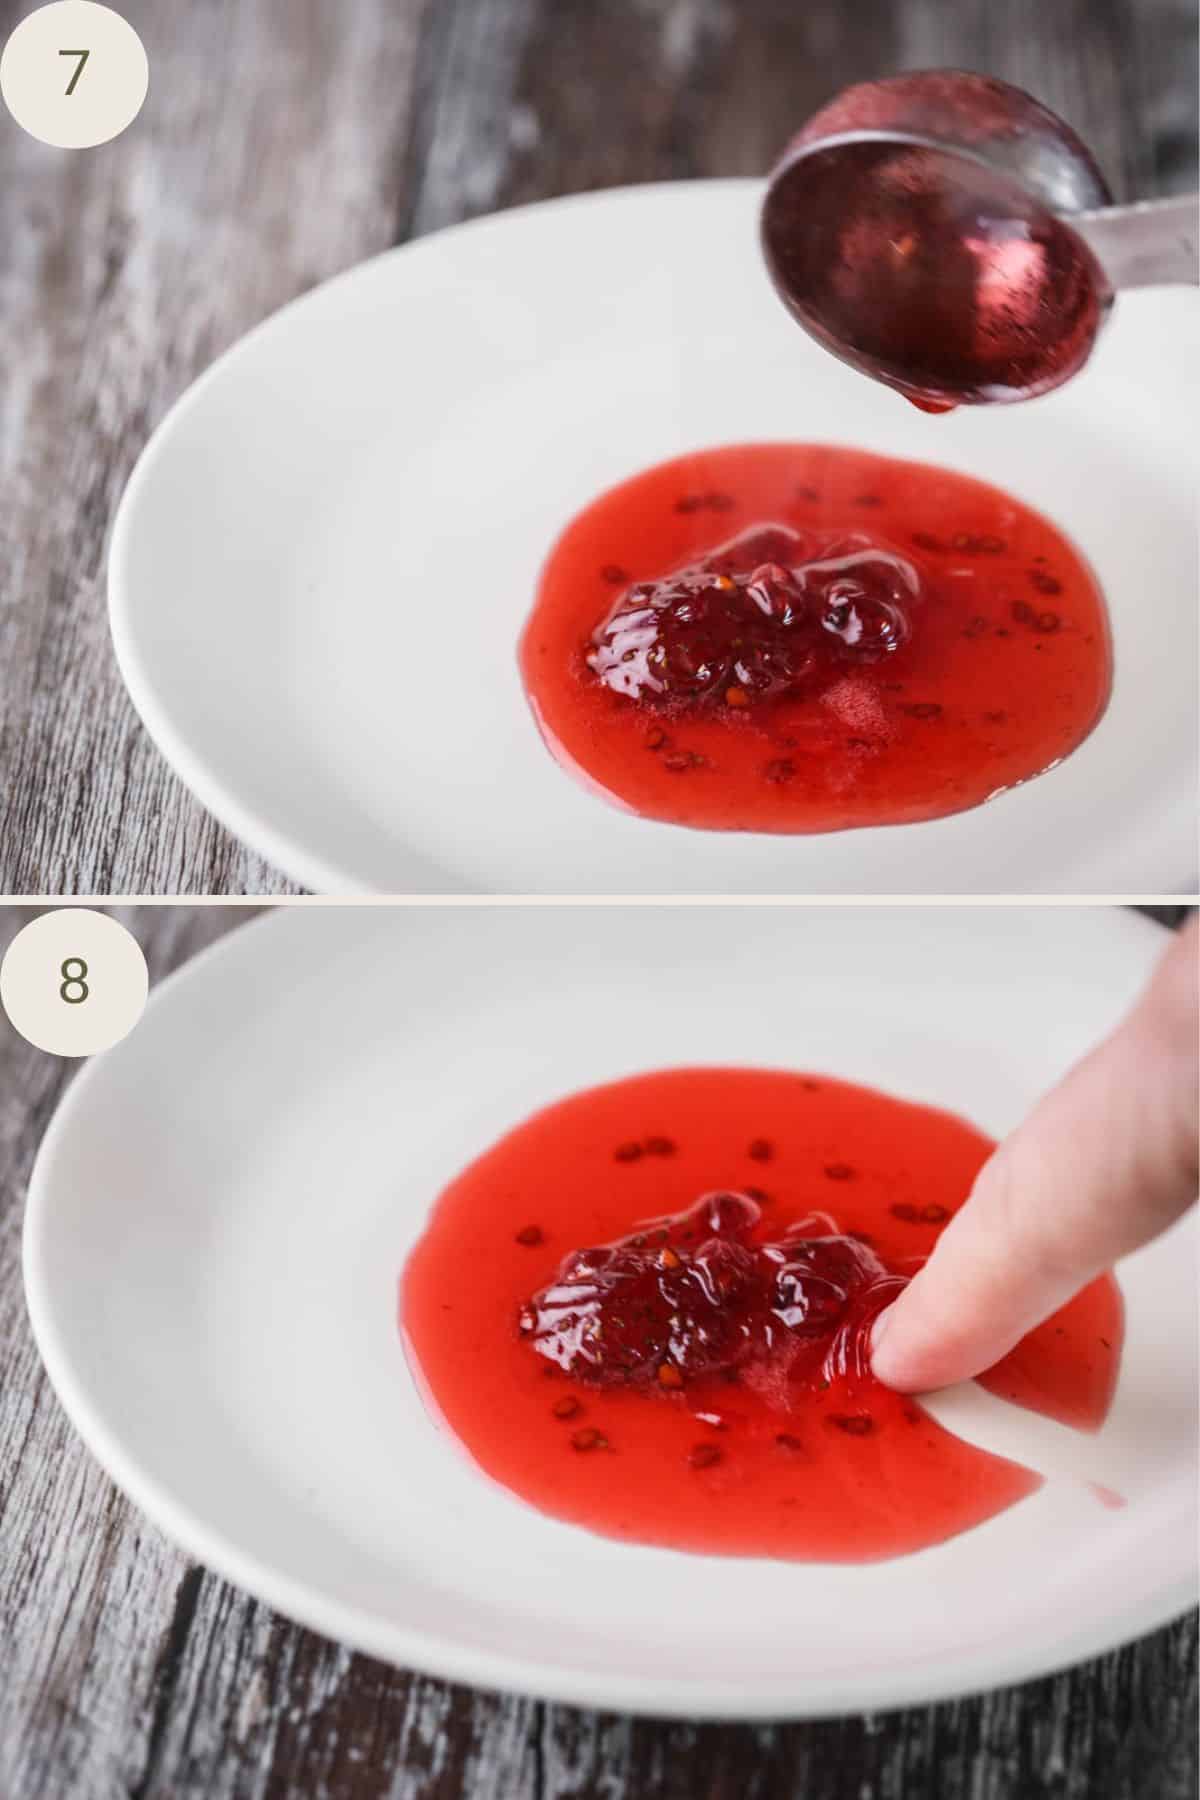
Place clean white saucers in your freezer ready to complete the saucer ‘wrinkle’ setting test when the time comes.
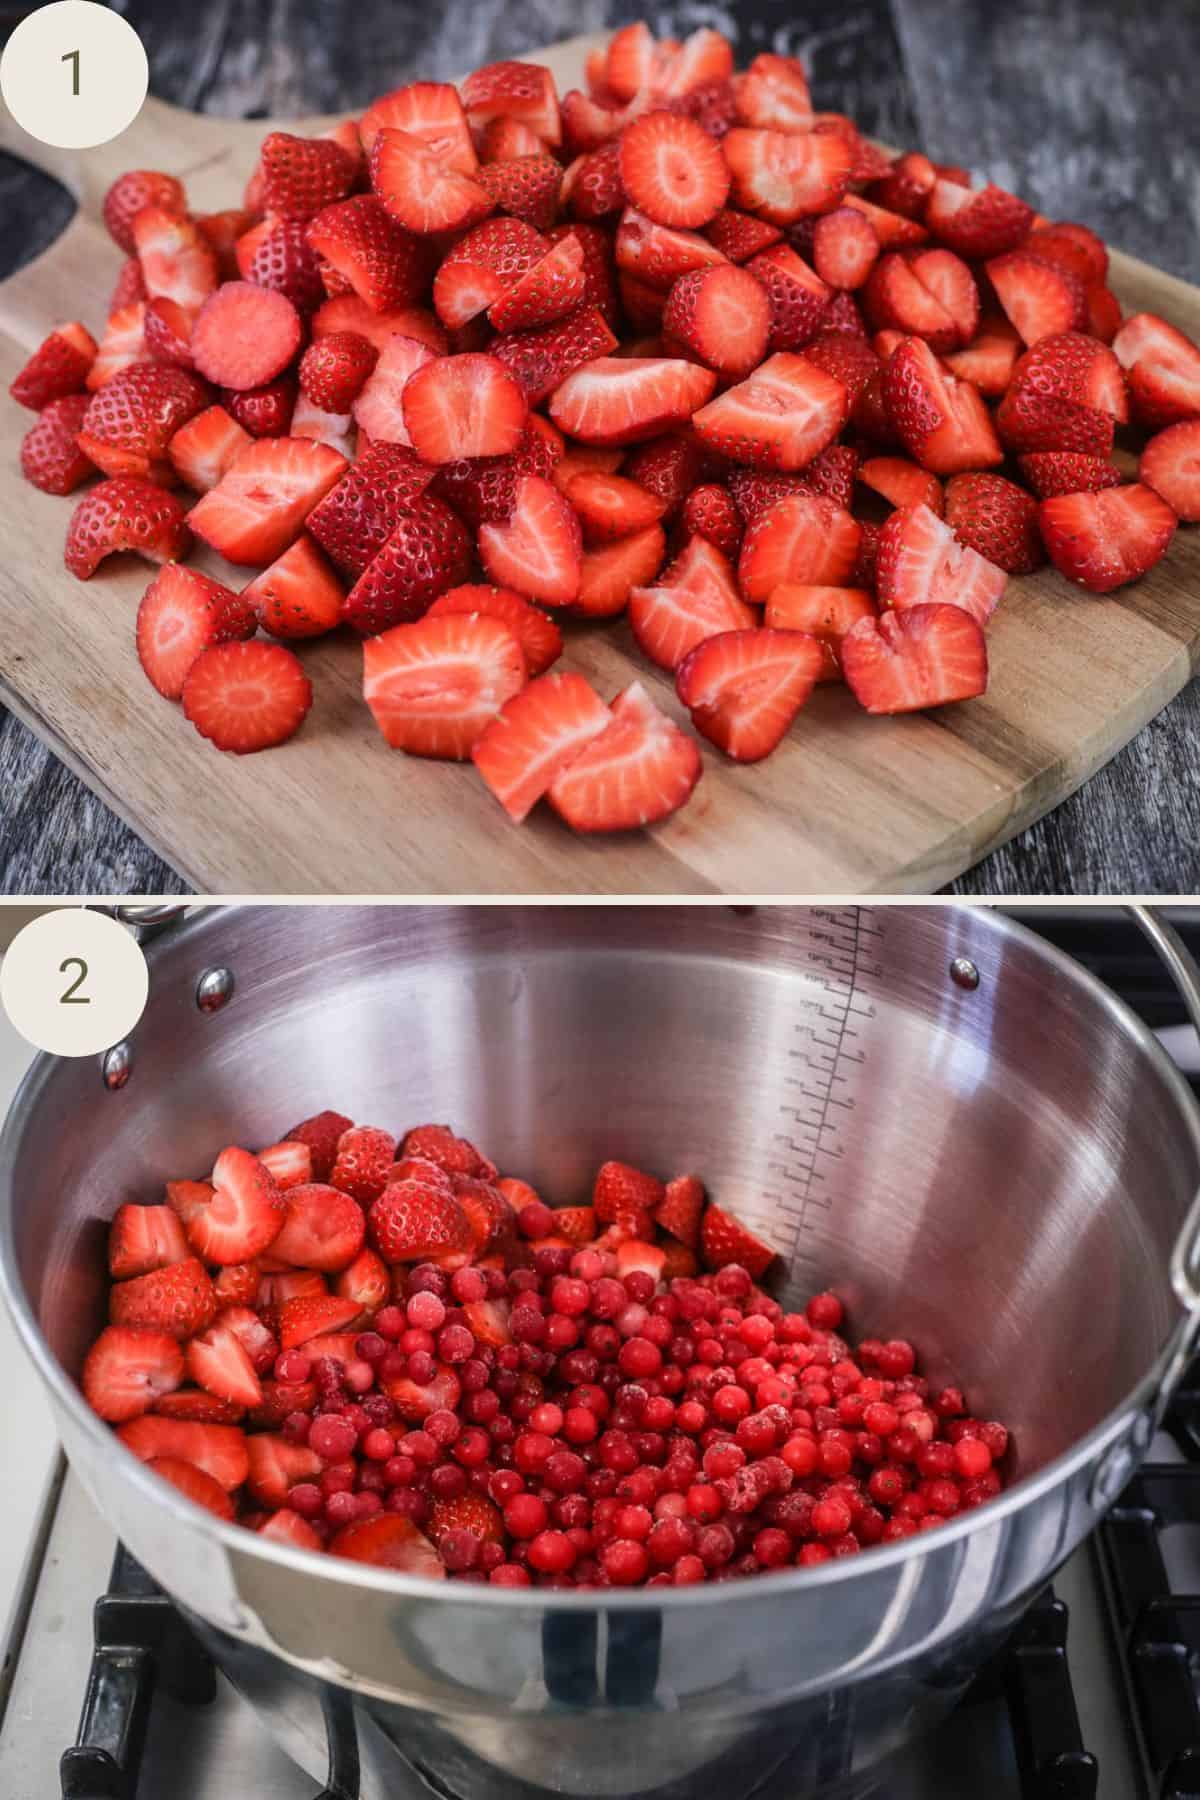
Chop the strawberries into even pieces. Remove the stalks from the redcurrants and then place them in a large preserving pan (or maslin pan) along with the chopped strawberries.
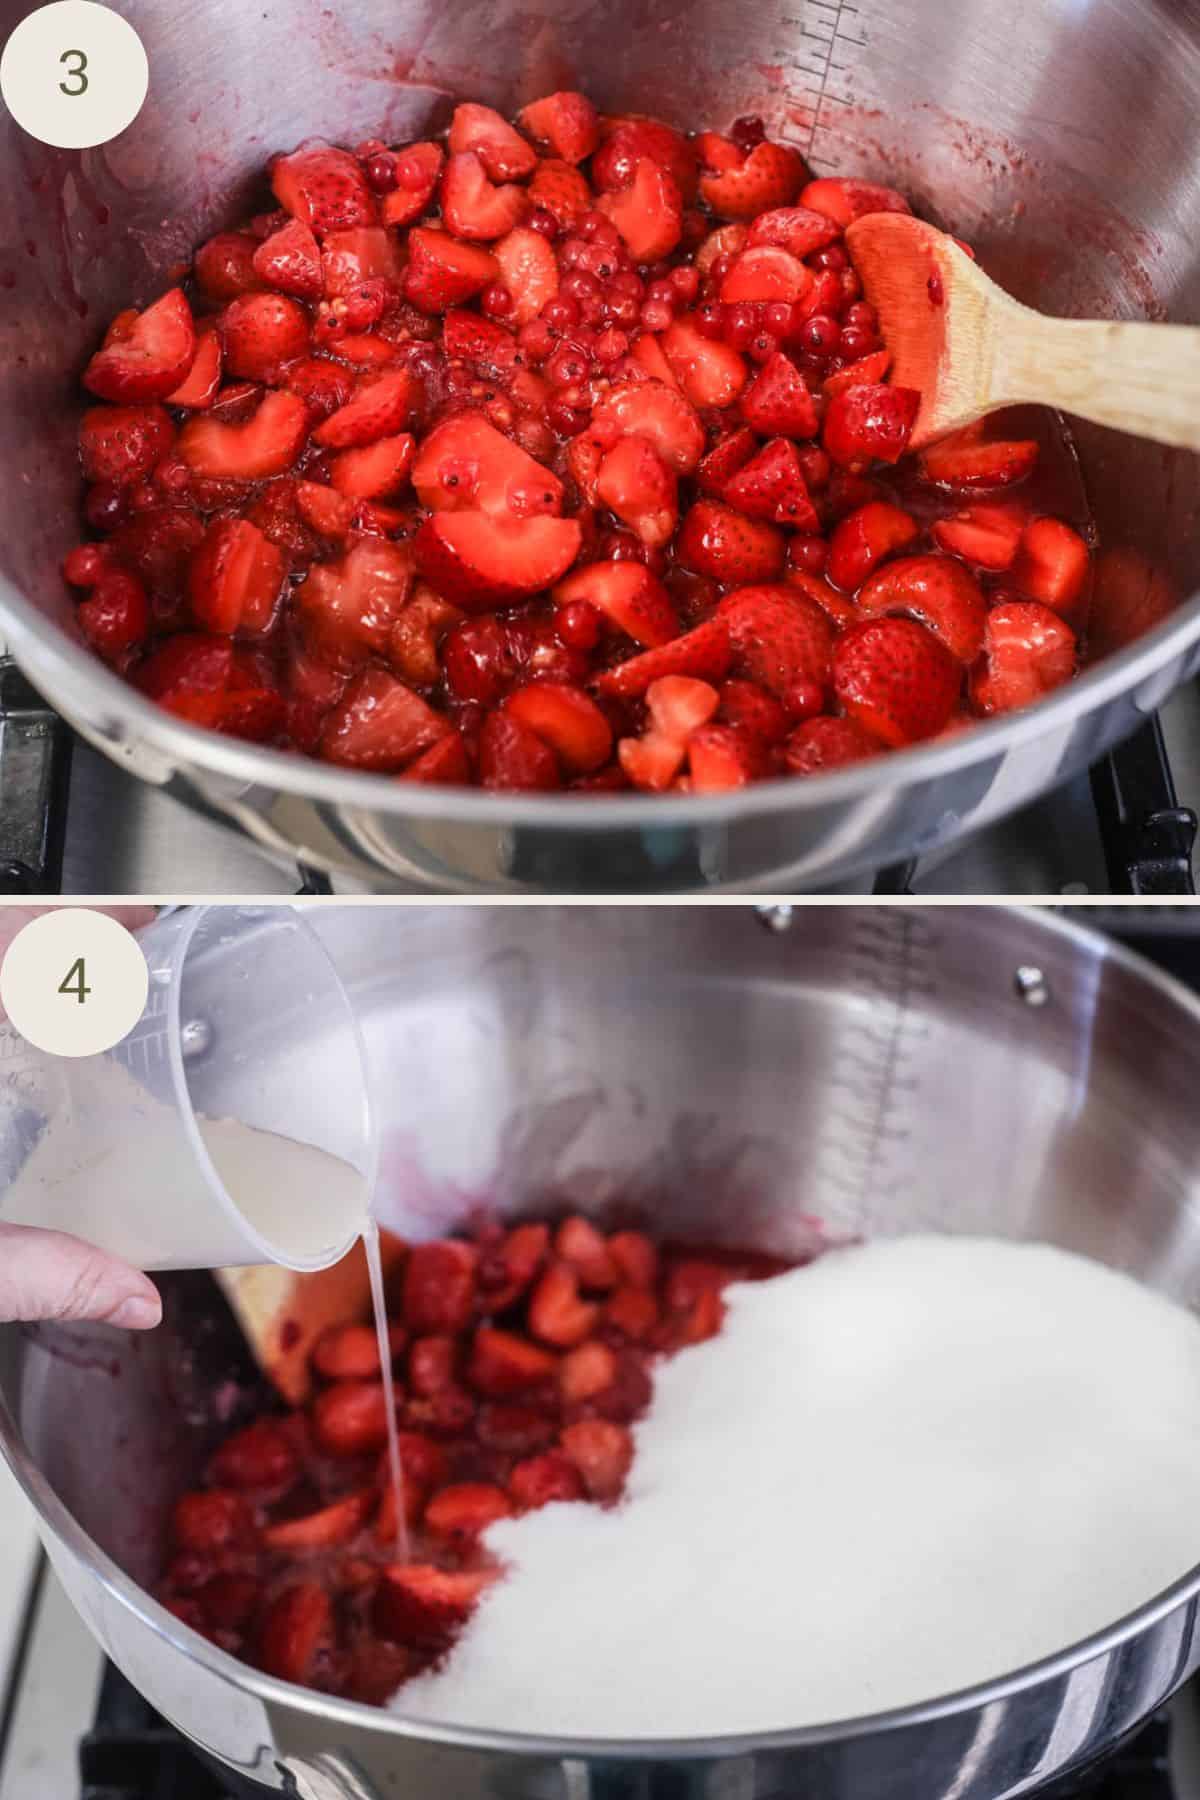
Place the pan on a low heat and heat gently, until the fruit softens and starts to release its juices. Stir in the sugar and the lemon juice.
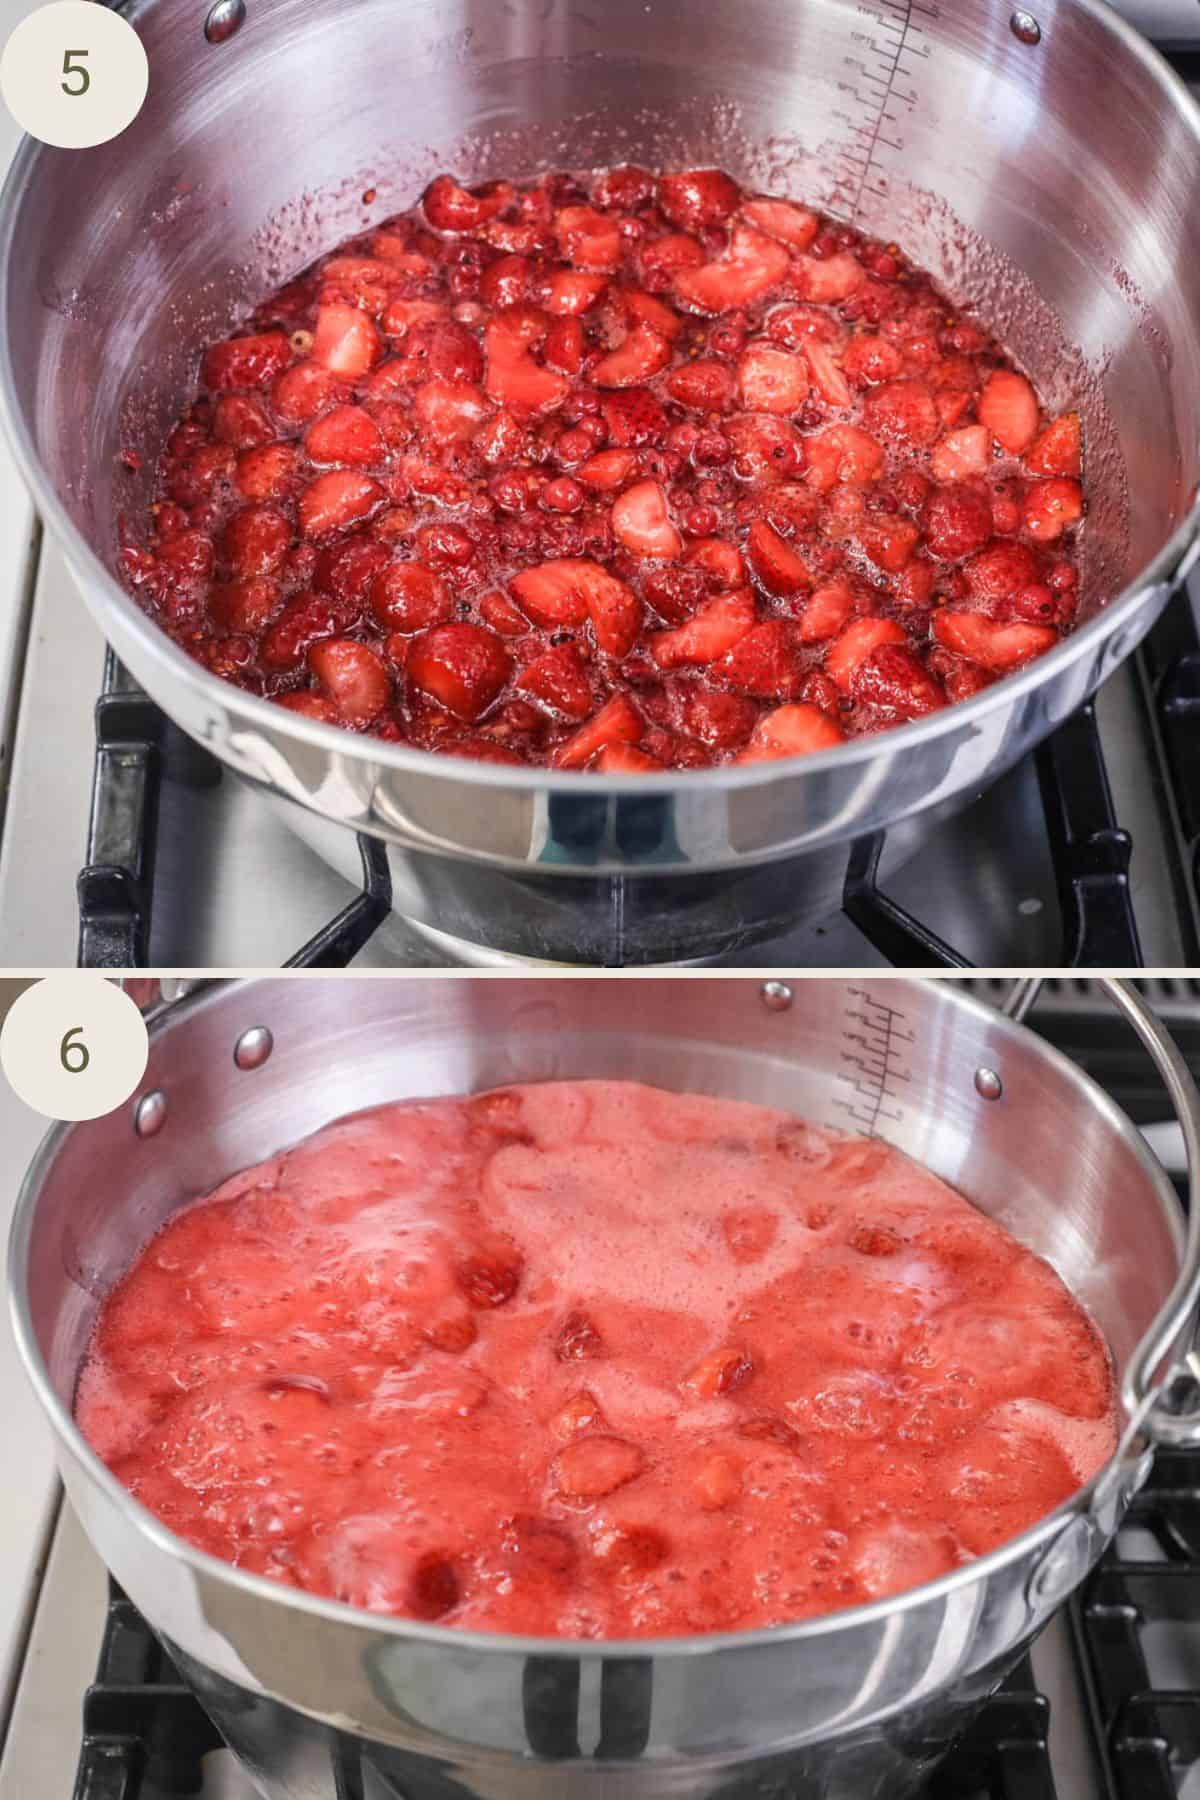
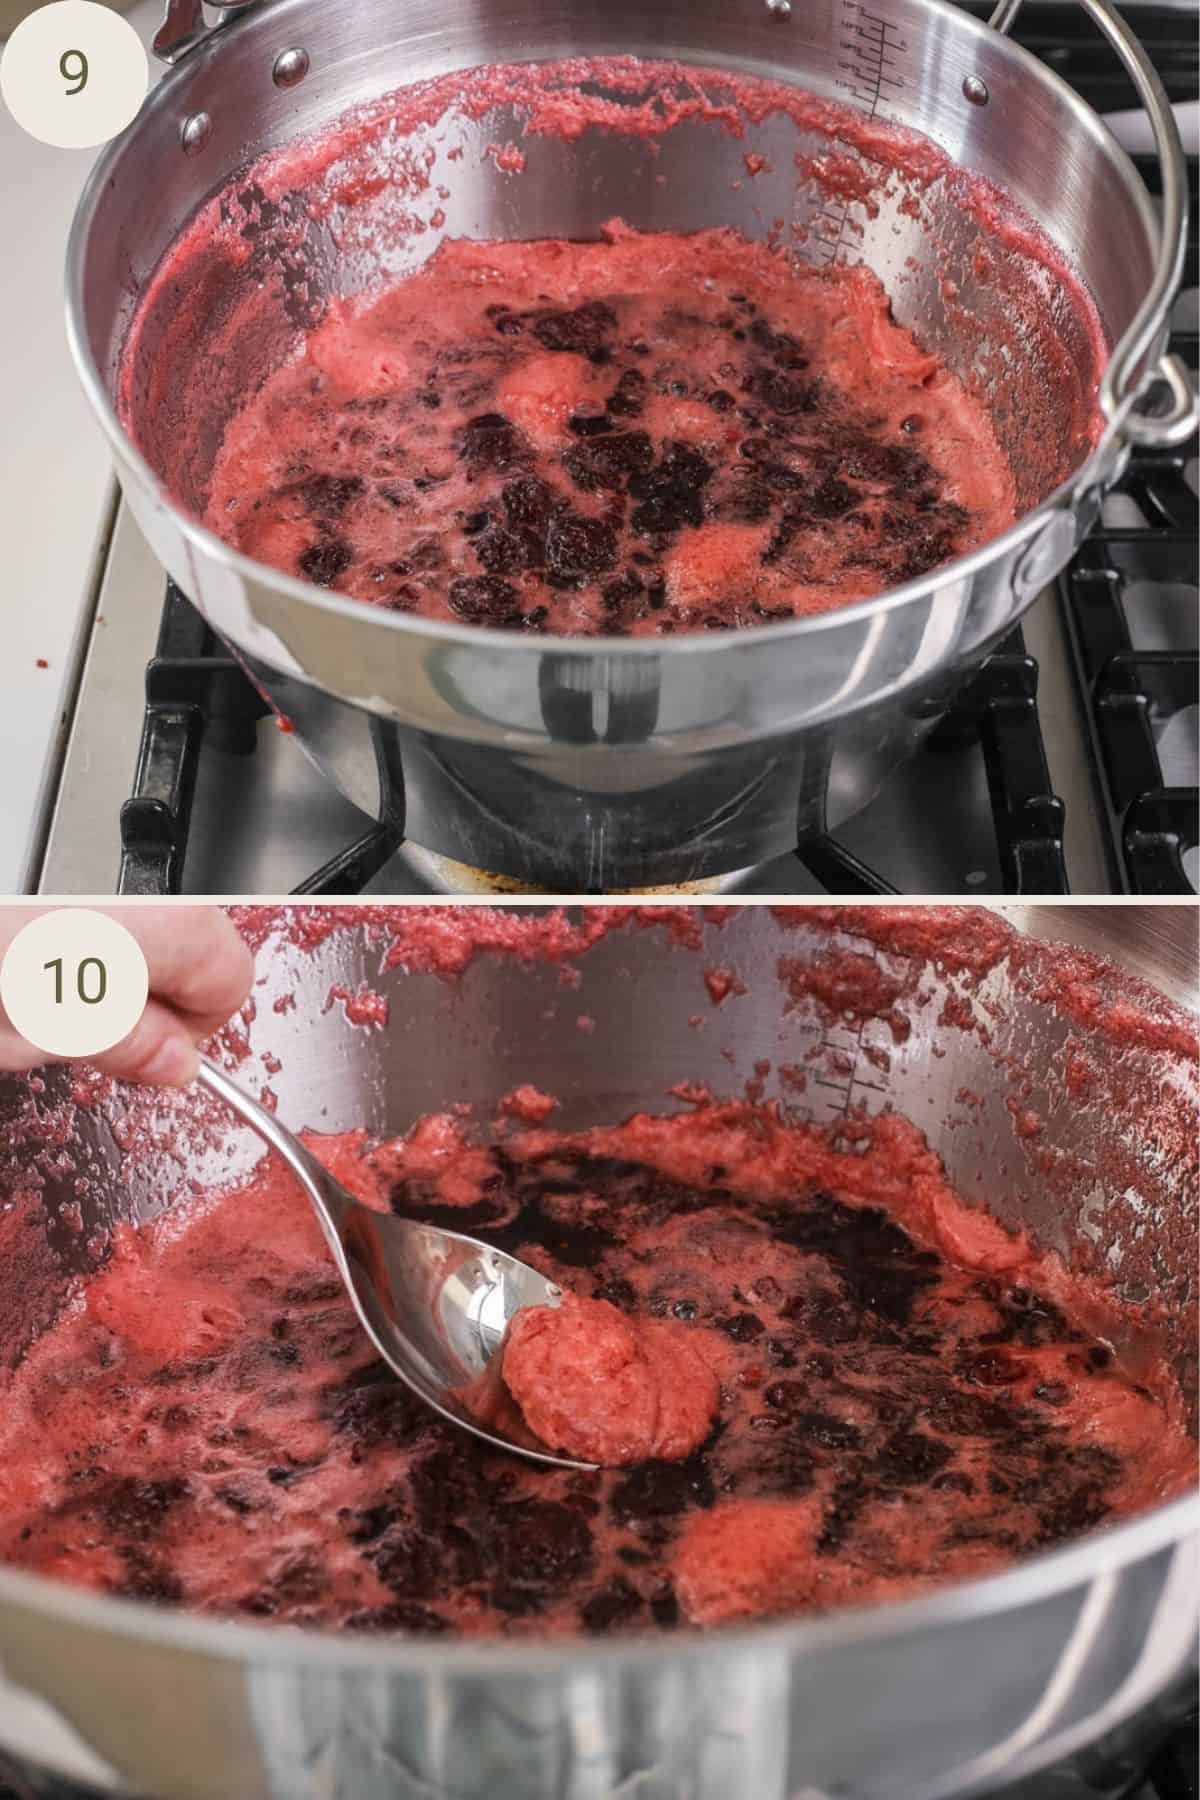
Slowly bring the mixture up to a gentle boil. Once the sugar has fully dissolved then turn the heat up and bring to a rolling boil for 10 minutes.
Once the jam has been boiling for 10 minutes (or has reached 104.5-105°C) then you can check the setting point of your jam using the saucer ‘wrinkle’ test. View my Jam Setting Guide for a step-by-step introduction to this method and how you can ensure your jam is perfectly set before you decant into jars.
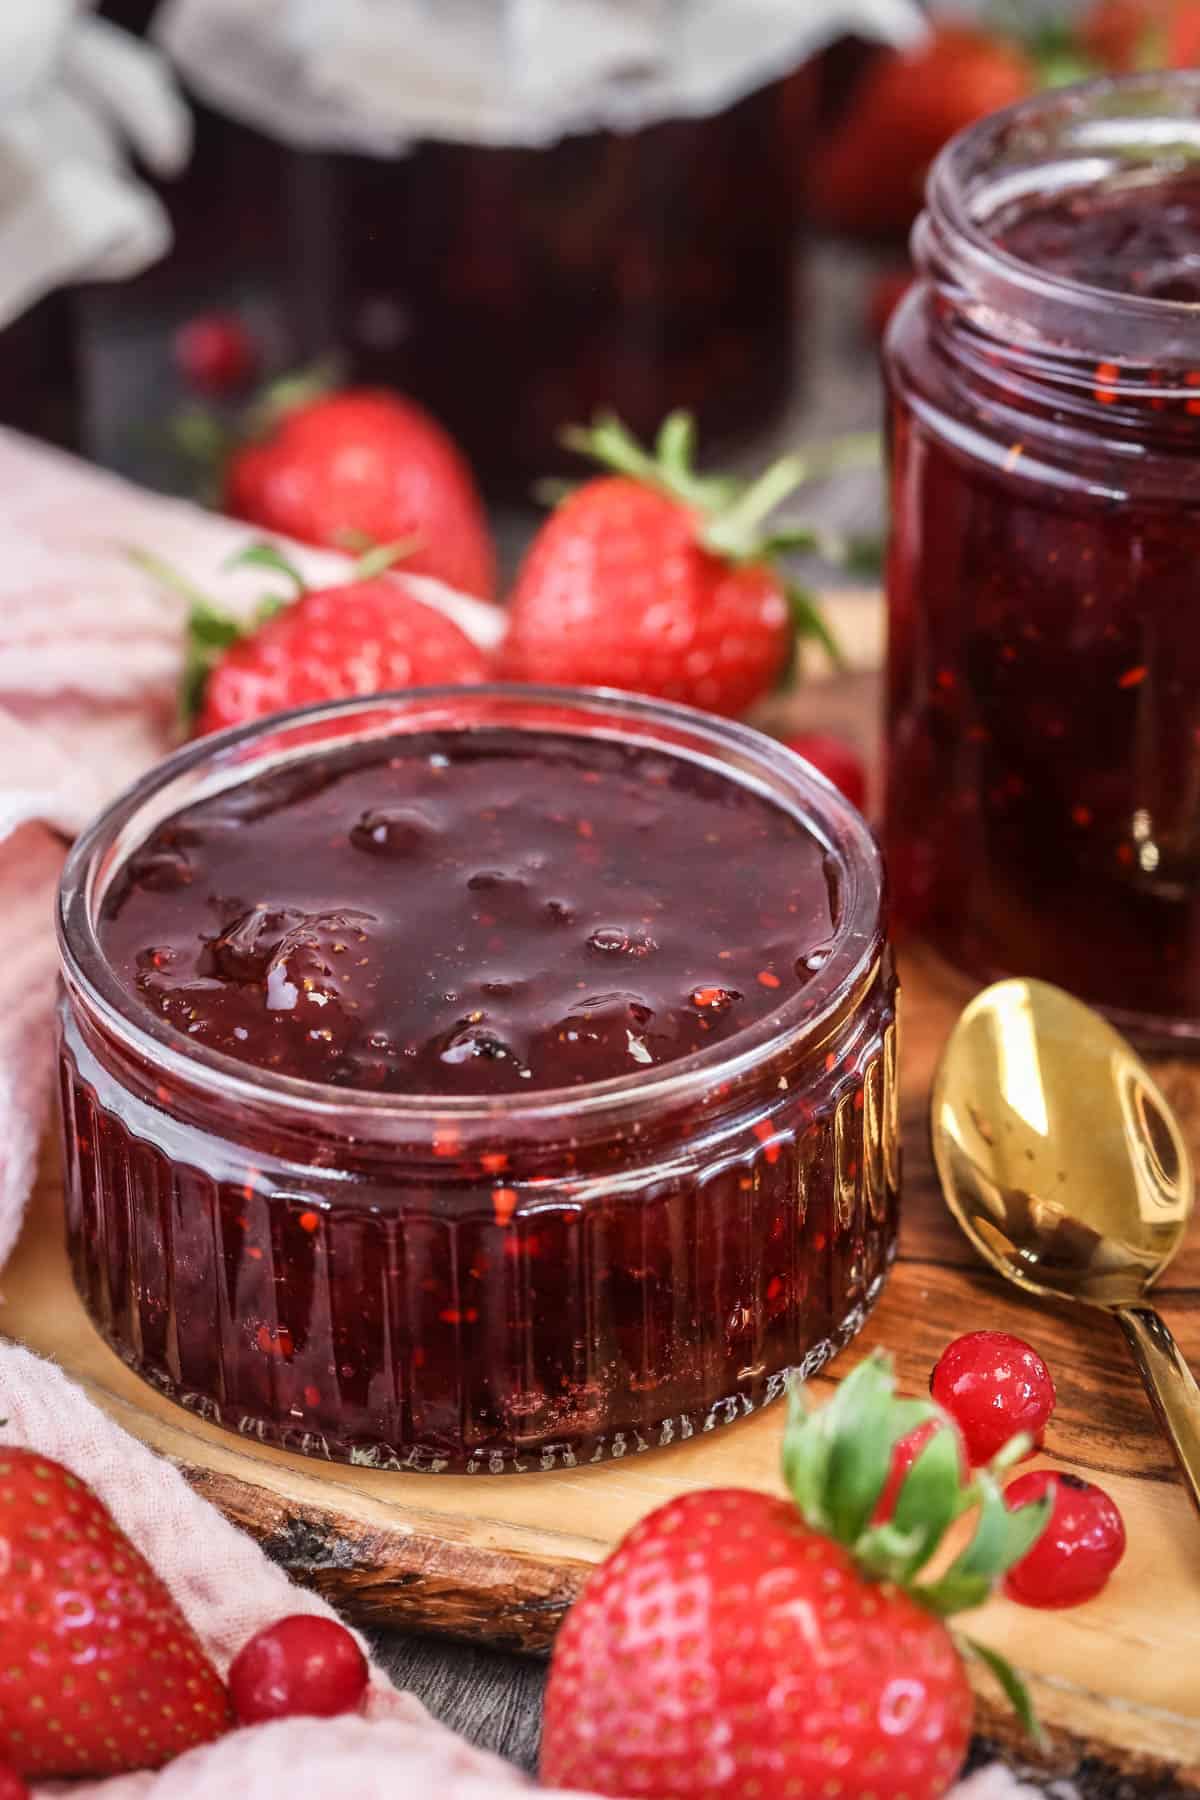
Once your jam has set then skim the scum off the surface of the jam.
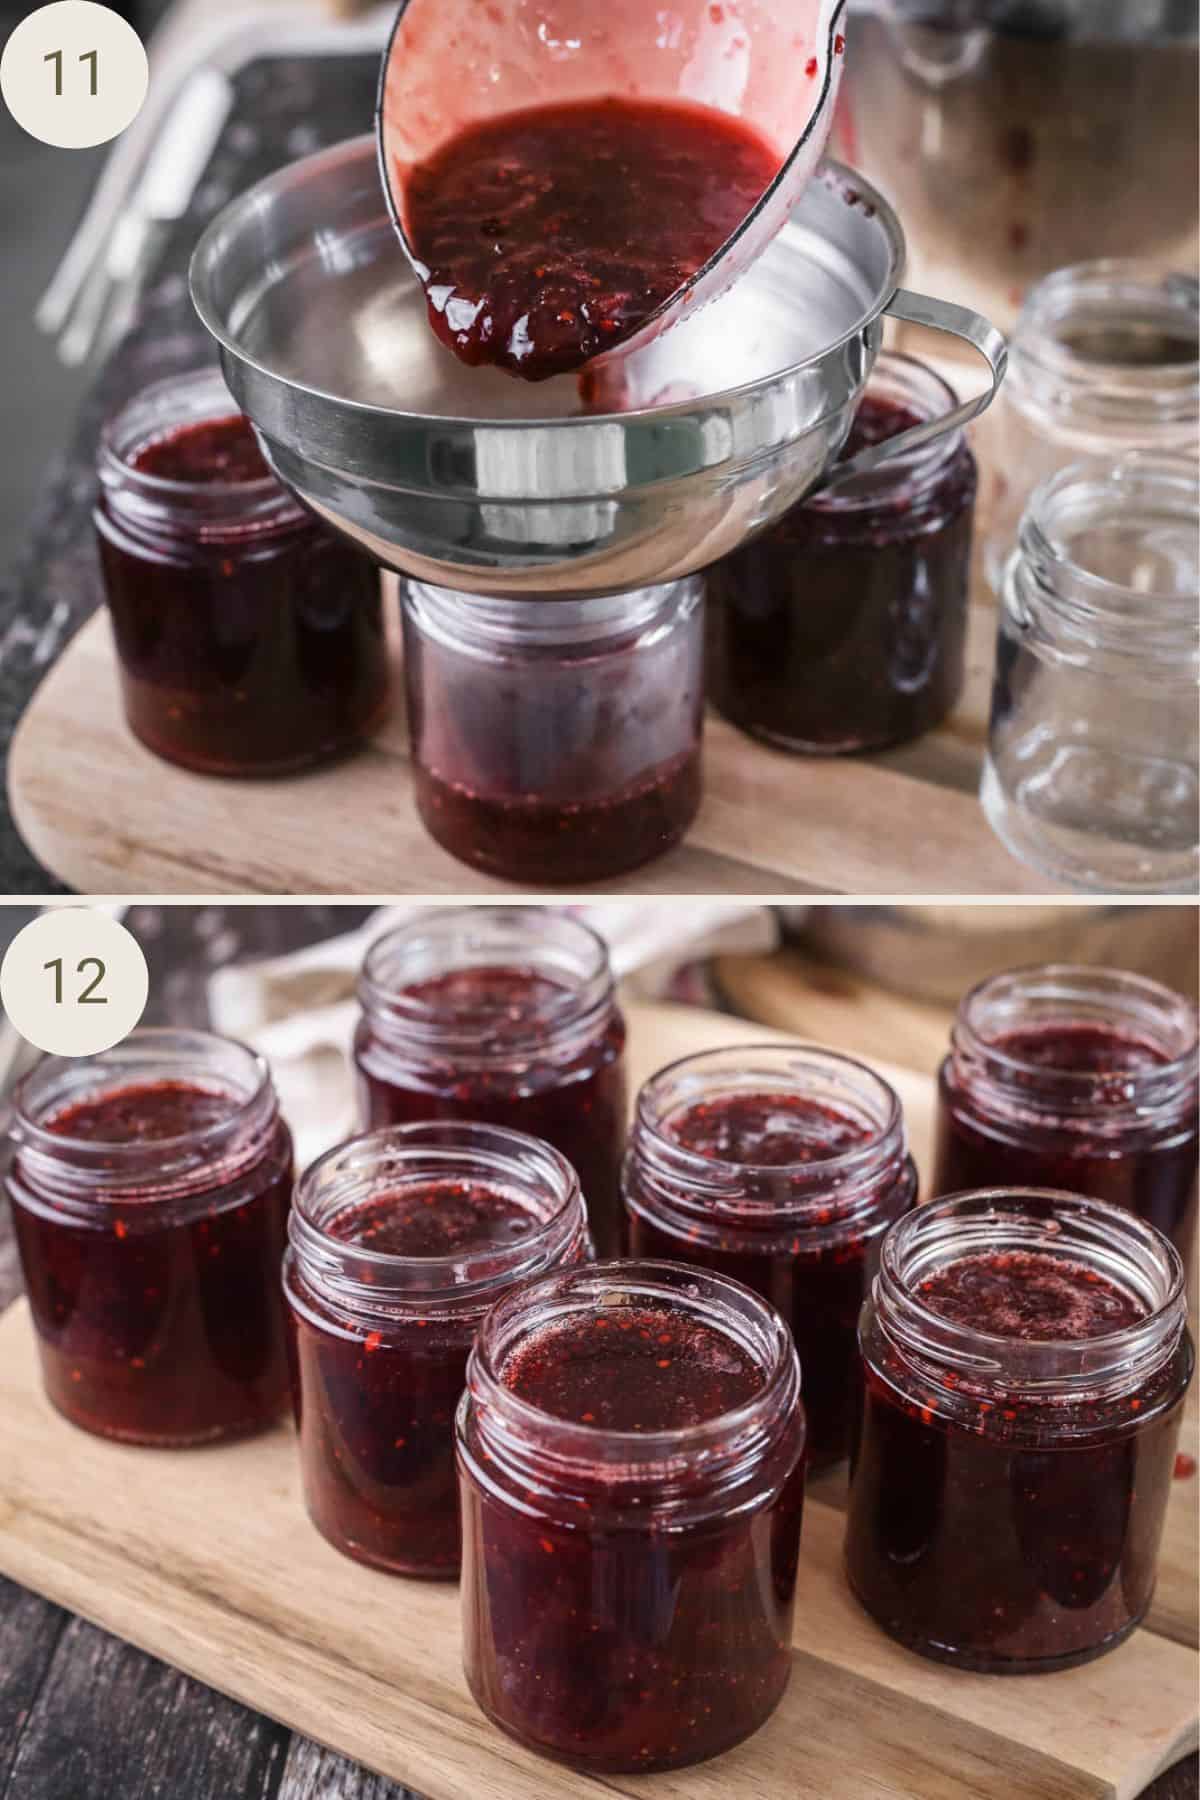
Decant into sterilised jars. Seal the jars tightly and store in a cool dark place.
Tips & Troubleshooting
If you are using frozen berries, you don’t need to thaw them before using.
I cut my strawberries mainly into thirds, chopping off the bottom then halving the top. This is because I think it gives well diced pieces. The most important thing is that the strawberry pieces are of equal size. So the smaller strawberries you may only need to halve and the larger ones may require dicing down a little more.
You don’t need to add any water to the pan, the fruit can be heated dry as they will release their own juices very quickly.
Start on a very low heat as you are bringing the fruit and sugar up to a boil which will ensure the sugar is fully dissolved before you turn up the heat to a full on rolling boil.
Stir the jam occasionally to ensure the jam isn’t sticking to the bottom of the pan as it’s heating up. You’ll probably need to increase the frequency of your stirring as the jam thickens to ensure no burnt bottom.
Storage, Shelf Life & Safety
Fridge vs. larder
This recipe has enough sugar to preserve the jam in a cool dark place (like a larder) as long as they are potted correctly in sterilised jars and lids. If the sugar is reduced then you may end up with a ‘fridge jam’ which would require refrigeration after the jam has cooled.
Once you have opened a jar of jam then store in the fridge for up to a month.
How long it lasts
This jam recipe does not require the jars to be sealed using the water bath method. There is enough sugar in the recipe to ensure excellent and safe storage of the jam for up to six months. Test the jars the day after making the jam to make sure the lids are very securely sealed and store in a cool dark place.
Sterilising the jars and lids
To sterilise the jars place the very clean jars you would like to use in an oven pre-heated to 160°C / 140°C fan assisted / gas mark 3 / 320°F for 20 minutes.
Sterilise the lids by dropping them into a saucepan of boiling water for 10 minutes with a splash of vinegar. I don’t sterilise my lids in the oven as they tend to ruin.
FAQs
It is possible to use frozen fruit to make this jam but I will caution against using frozen supermarket strawberries as I find they turn to mush and can be quite flavourless. Either use berries you have frozen yourself on the day of picking (which have only been in the freezer for under two months) or use a reputable frozen fruit company like British Frozen Fruits.
You don’t need jam sugar or a pectin added sugar for Strawberry Redcurrant Jam as redcurrants are high in pectin. We just use regular white sugar and add a little lemon juice to foolproof the set. My jam setting guide helps breakdown all the different sugars and how they can contribute to set.
You don’t need to remove the seeds unless you like an ultra smooth jam with no ‘bits.’ Although the seeds have pectin so it will be a softer set jam without them. If you do want a seedless jam then heat the fruit until they soften (10-15 minutes) then pass through a sieve or food mill. Once the seeds are removed (which you should save to make a fruit vinegar or fruit liqueur as they still have plenty of flavour) then you can heat the smooth fruit pulp with the sugar and lemon and continue the recipe as normal.
How To Use Strawberry Redcurrant Jam
Of course any strawberry jam is delicious on crumpets, English Muffins, a toasted slice of sourdough but here are some other options for enjoying your jam:
- Cakes. Use to fill a Victoria Sponge or a Swiss Roll.
- Bake into Thumbprint Cookies.
- Make into Jam Tarts.
- Sugared doughnut filling.
- Use to top classic fruit scones for a strawberry cream tea.
- Stir through rice pudding.
- Stir into Greek yoghurt, chia pudding or porridge.
- Drizzle over granola, waffles or pancakes.
More Jam Recipes You’ll Love
This Easy Seedless Raspberry Jam has a smart and simple method and can be achieved in under an hour. Ideal for beginners and since we are removing the seeds it’s also perfect if you prefer a smooth and softly set fruity preserve.
This Gooseberry Jam with Thyme is wonderfully tart with earthy floral notes from the thyme.
This Seedless Wild Blackberry and Lime Jam is a firm early autumn favourite recipe. It’s tangy and not too sweet and best of all contains no added pectin.
Enter your email below to get this recipe sent to your inbox plus get new recipes, baking tips, and updates.
Strawberry and Redcurrant Jam
Ingredients
- 1 kg strawberries
- 500 g redcurrants
- 1400 g white granulated sugar
- 1 lemon - juiced
Instructions
- Place clean white saucers in your freezer ready to complete the saucer ‘wrinkle’ setting test when the time comes.
- Remove the stalks from the redcurrants and chop the strawberries into equal pieces
- Place the fruit in a large preserving pan (or maslin pan) along with the strawberries and place the pan on a low heat and heat gently, until the fruit softens and starts to release their juices.
- Juice the lemon which should provide between 30-35g juice. Stir the sugar and the lemon juice into the pan and slowly bring the mixture up to a gentle boil. Stir occasionally to ensure the jam isn’t sticking to the bottom of the pan.
- Once the sugar has fully dissolved then turn the heat up and bring to a rolling boil for 10 minutes. Increase the frequency of the stirring as the jam thickens.
- After 10 minutes, or once the jam reaches 104.5-105°C then you can check the setting point of your jam using the saucer ‘wrinkle’ test*.
- Once your jam has set then decant into sterilised jars.
