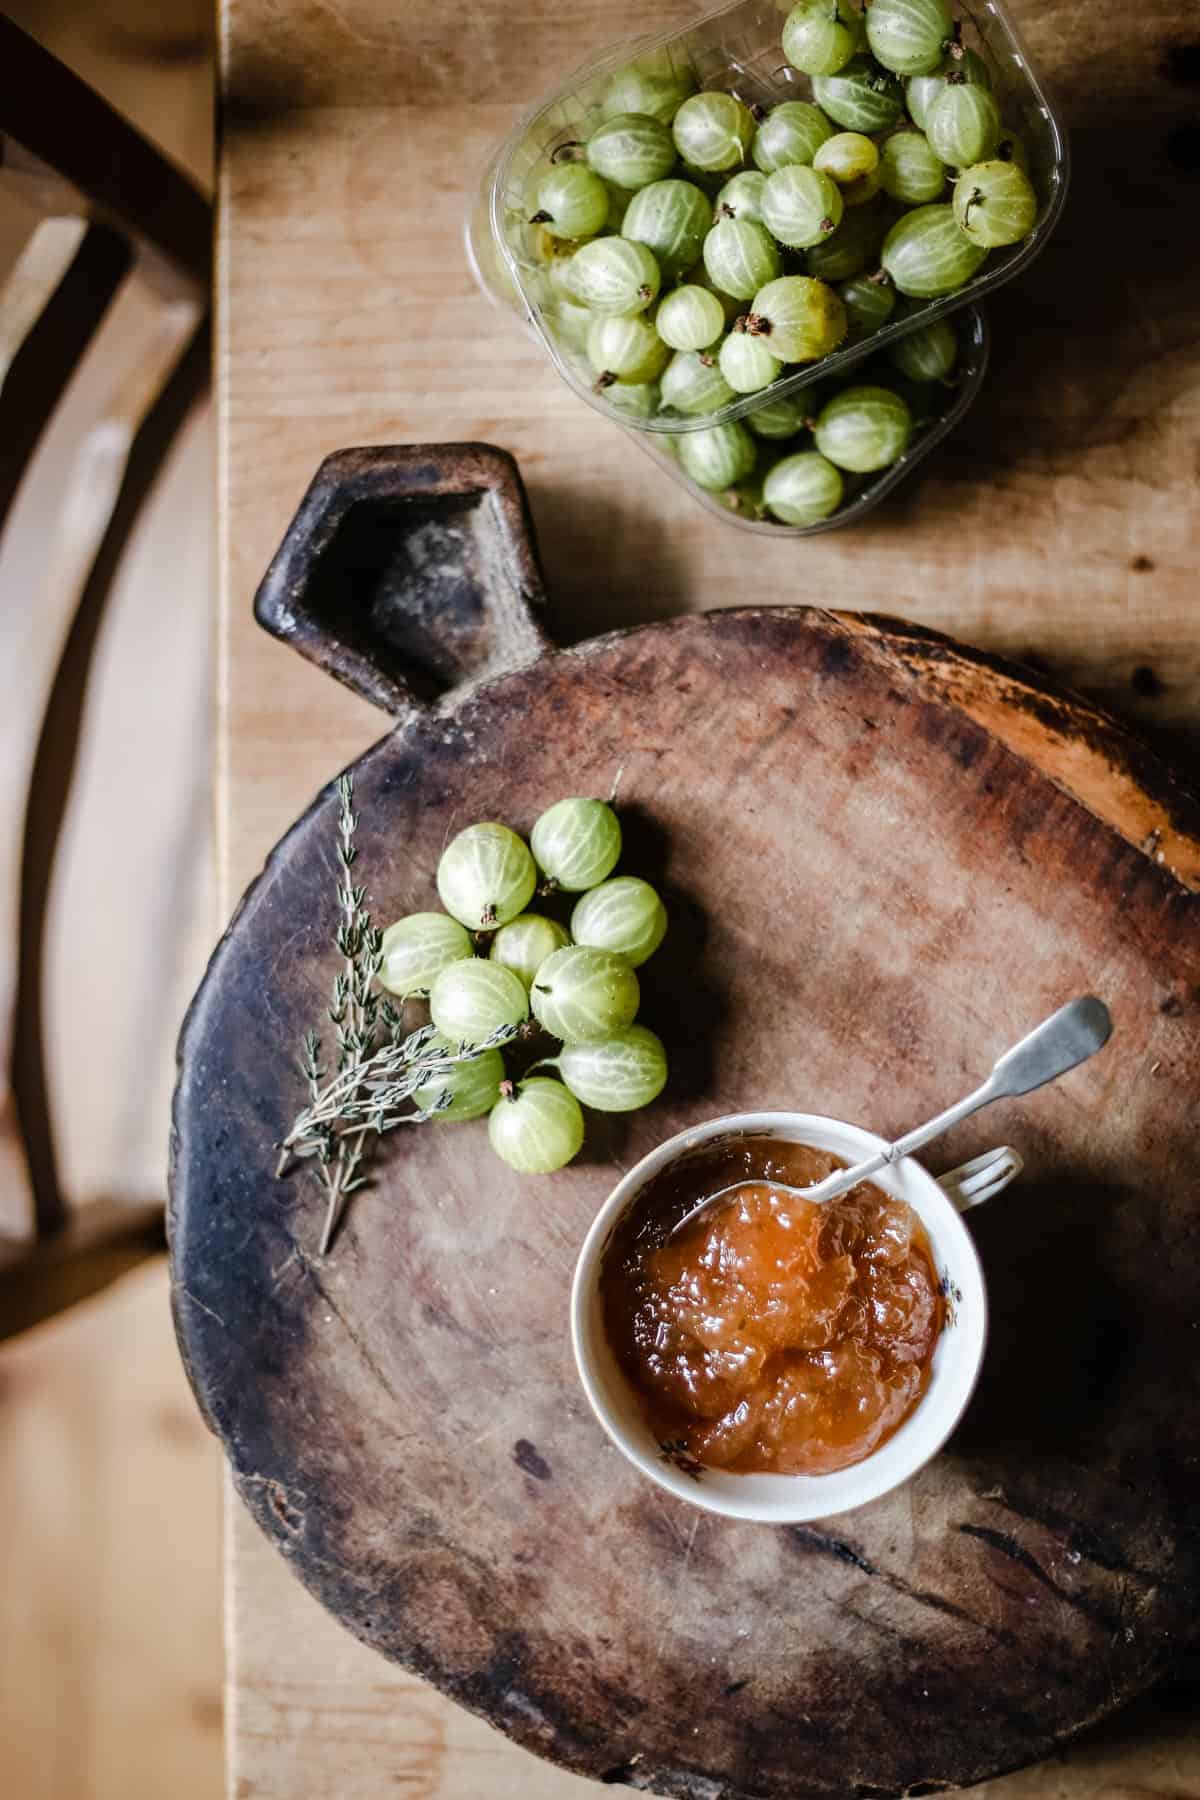
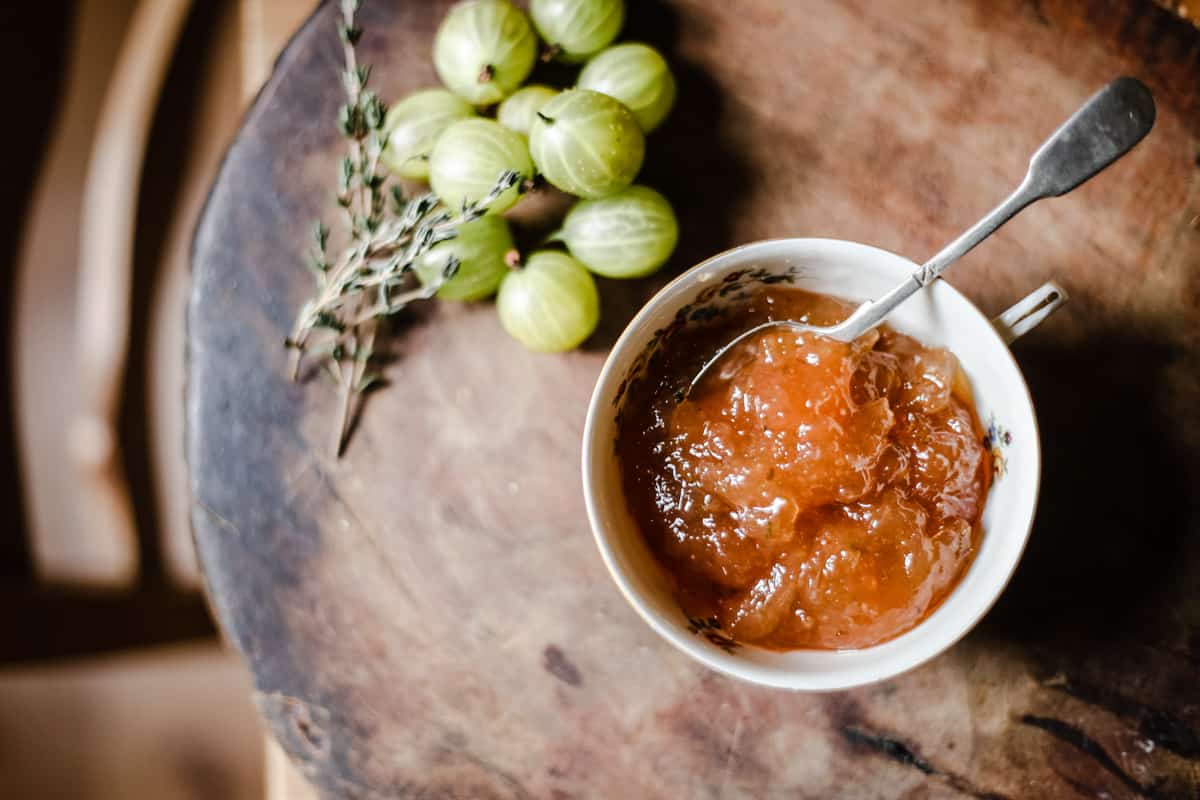
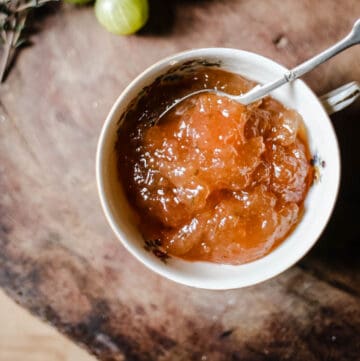
Seedless Gooseberry Jam with Thyme
This post contains affiliate links. Please read my disclosures.

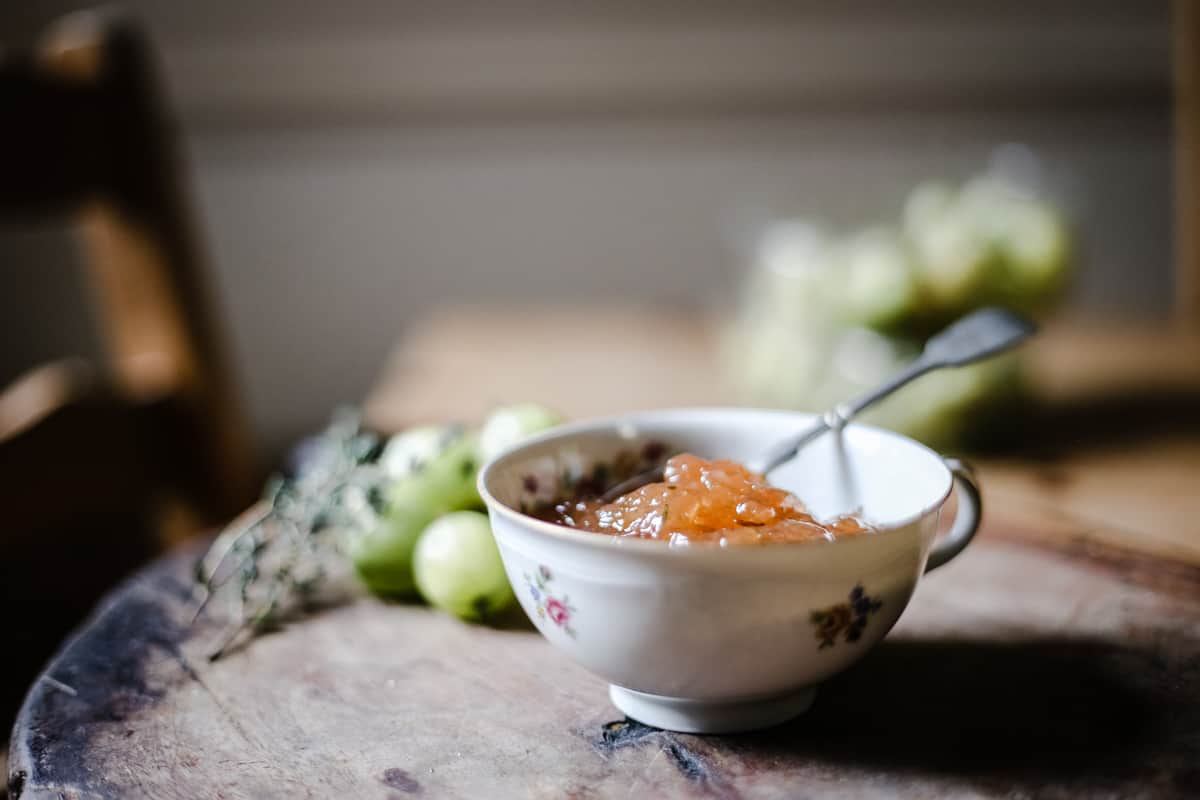
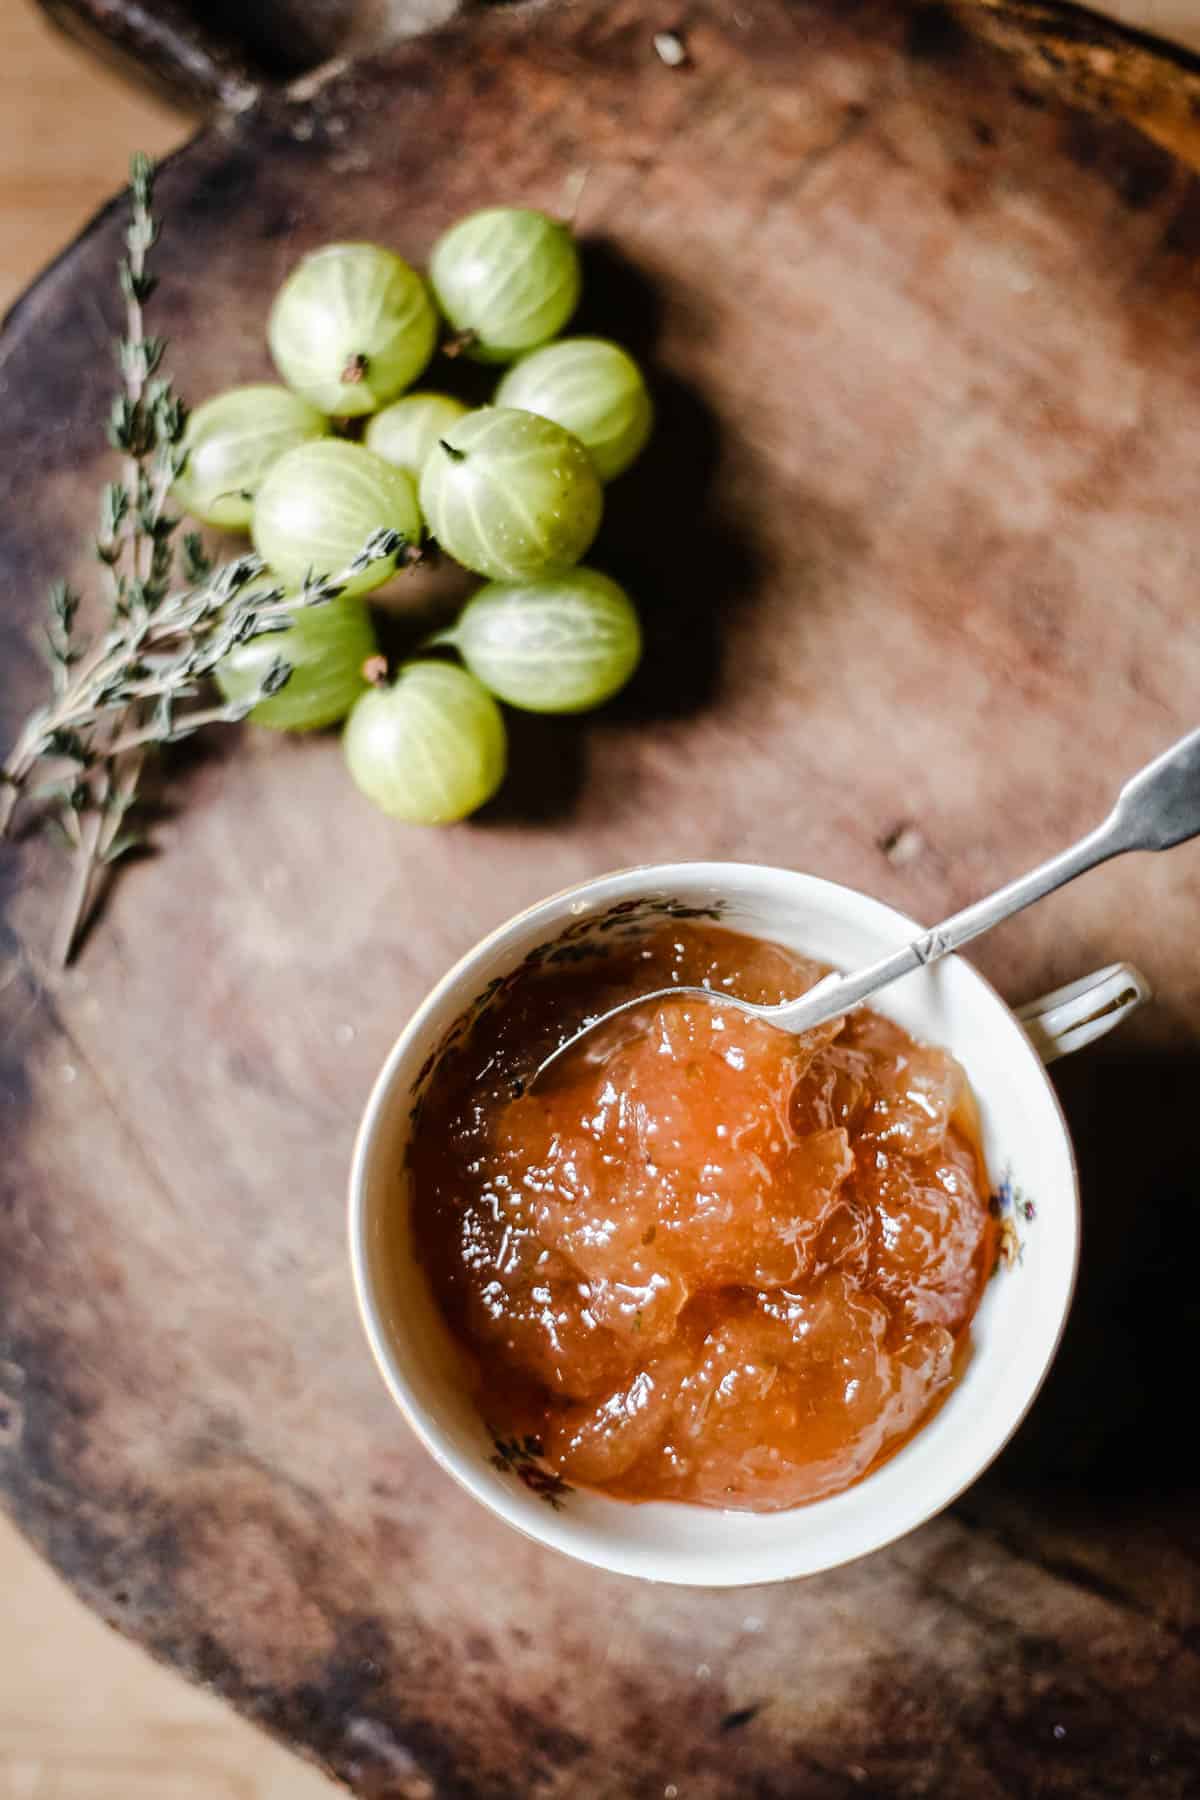
This Seedless Gooseberry Jam with Thyme is wonderfully tart with earthy floral notes from the thyme. Of course it’s delicious on toast, crumpets and scones but don’t dismiss its excellence nestling happily on a cheese board.
Gooseberry Jam will be one of the easiest jams you have ever made. It only requires three ingredients and is an hour of pleasurable work from start to finish.
Why You’ll Love This Gooseberry Jam
- This jam is not overly sweet as gooseberries are quite tart.
- Gooseberries are high in pectin so you can use regular sugar rather than a specialist jam sugar.
- Only 3 ingredients!
- By pre-cooking and sieving the gooseberries prior to adding the sugar you get a smooth seedless gooseberry jam.
- Gooseberries are in season for such a short amount of time that by making them into jam you can enjoy their lovely taste all year round.
Want to do more with your gooseberries?
Then you can try my Spiced Gooseberry Chutney, a traditional-style chutney which balances sweetness and warming spices.
How To Make Gooseberry Jam
- Cook the gooseberries with 200ml water in a large preserving pan until they start to go a bit pulpy.
- Sieve the gooseberry pulp and discard the skin and stem bits.
- Clean out the preserving pan and place the gooseberry pulp back in with the granulated sugar and the thyme leaves.
- Bring to a rolling boil, making sure to stir the bottom of the pan frequently so the fruit doesn’t stick. It should take 5-10 minutes from then to reach setting point.
- Decant into sterilised jars.
Suggested Equipment
It’s worth taking a look to check out my Chutney Making Equipment Guide before you start. But here are the basics:
- You can use a regular sieve to remove the skin and stem but my favourite equipment when preserve making is a food mill which makes short work of this task. It’s also invaluable when making Apple Butter.
- A sugar thermometer will help you check the jam for its setting point.
- Jar tongs are brilliant for handling hot sterilised jars.
- A jam funnel has a wide mouth and is invaluable when decanting the jam into the jars. It makes for nice ‘mess-free’ work.
Can you reduce the sugar?
This is the question I get asked the most when posting jam recipes. And the answer is always… not really.
The sugar allows the pectin in the fruit to activate and is what creates the set. If you reduce the sugar then your jam would be too runny.
How do you know when your jam has set?
Check out my jam setting guide for all the help you need. But if you don't want to click away here are the basic two methods:
- Temperature - Once the jam reaches 104°C then it should have reached the correct set.
- Saucer Wrinkle Test - The saucer wrinkle test requires you to put several saucers in your freezer when you begin making your jam. Once you think the jam might be ready then you can double check by removing a saucer from the freezer, dropping a teaspoon of jam on it then placing the saucer in the fridge. After about 30 seconds remove the saucer and push the jam with your finger. If it wrinkles up it’s ready, if it just pools back into the space your finger has left then it needs more bubbling time. Boil it a bit longer, then test again with another saucer.
How do you sterilise the jars?
Place the very clean jars you would like to use in an oven pre-heated to 140°C for 20 minutes. Sterilise the lids by dropping them into a saucepan of boiling water for 10 minutes. It is best not to sterilise lids in the oven as they can easily ruin.
Sterilising and Jar Tips
- When you are sterilising the lids in the boiling water add a splash of vinegar which will avoid the lids getting a cloudy appearance.
- You can re-use the glass jar, but you shouldn’t really re-use the lids as they will corrode over time.
- I always use the same kind of jars and buy a huge batch of lids in bulk.
Do you need to process this jam in a water bath?
No, as long as the jars have a good tight seal on them. However if you want to process your jam in a water bath then have a look at this post for the all the basics.
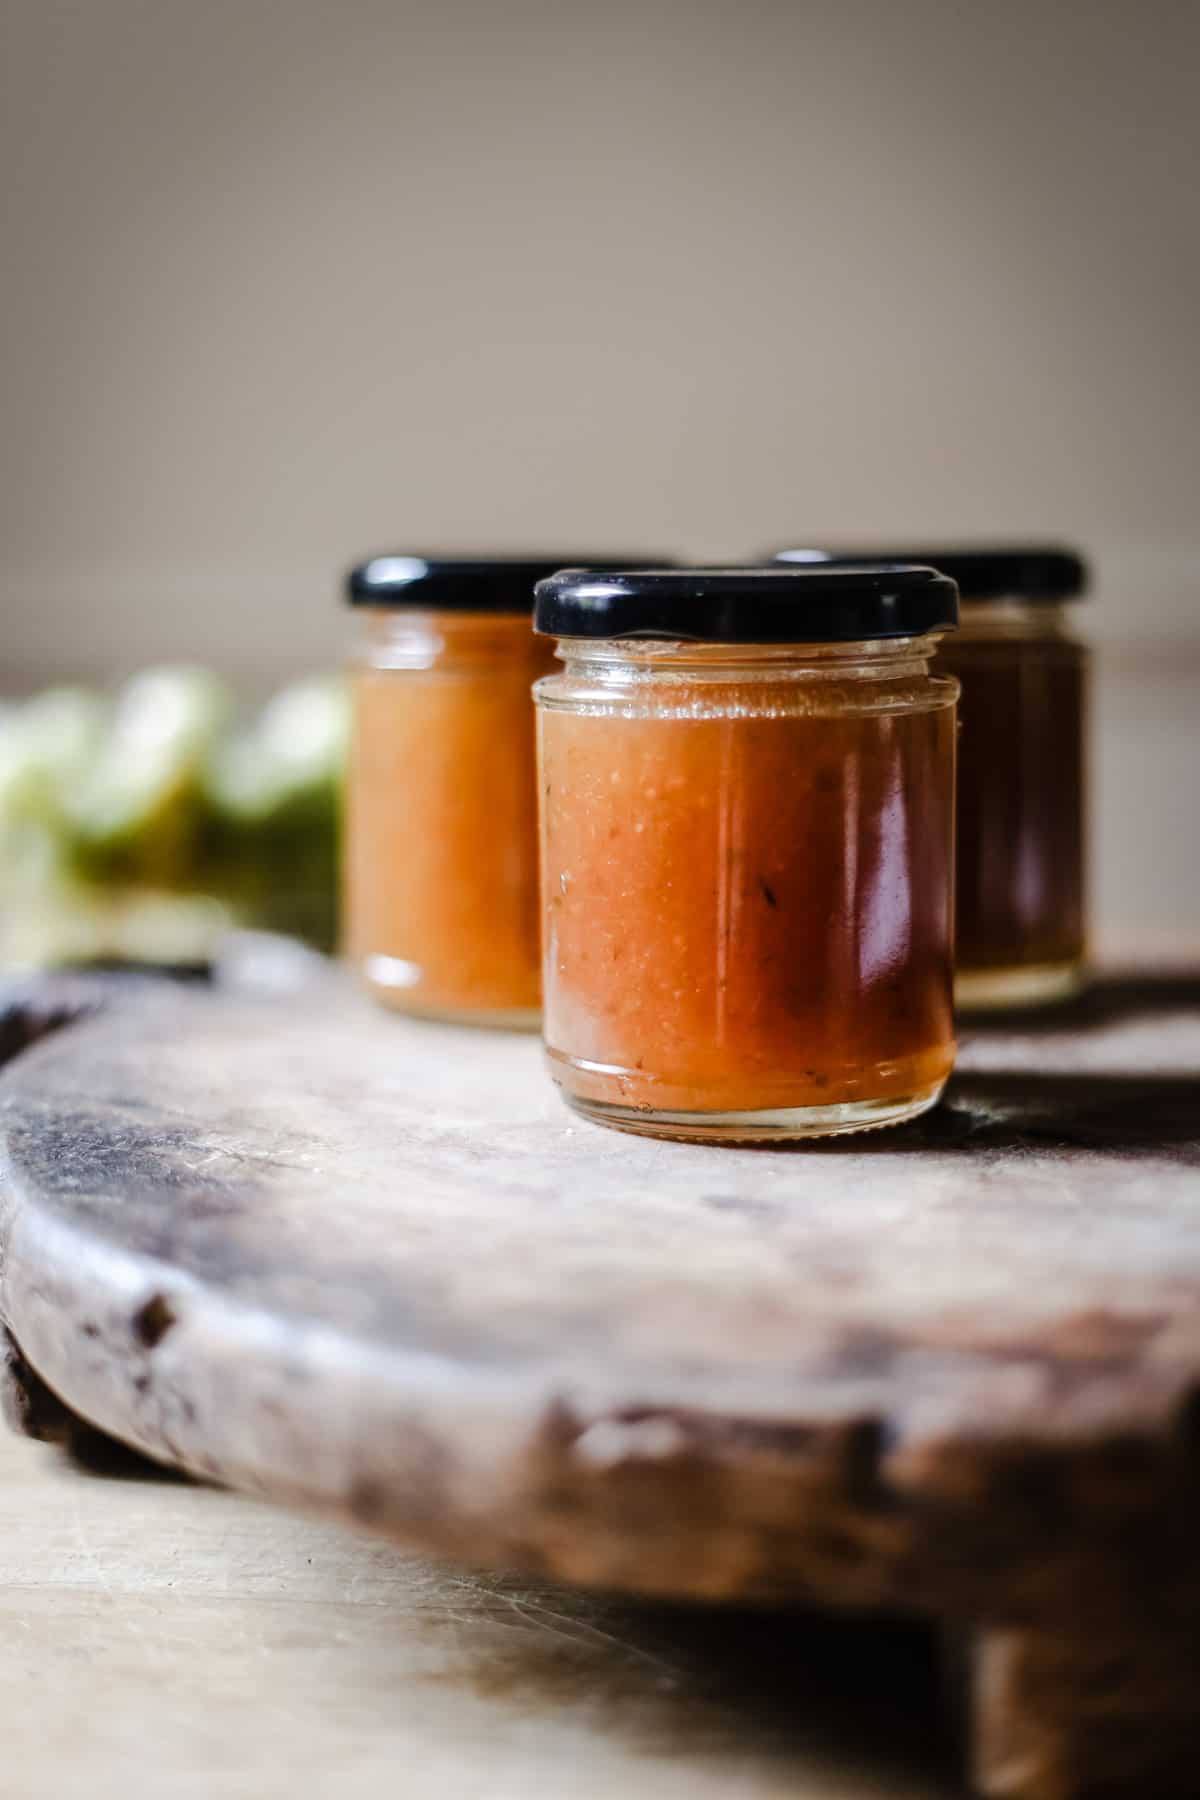
How long does it keep for?
As long as the jars were completely sterilised before you filled them with the jam then it should keep for at least a year. You must store it in a cool dark place. Although once opened you should refrigerate it and use within about 1 month.
How can you eat gooseberry jam?
- Toast and crumpets
- Dolloped atop delicious scones
- Squidged in the filling of a Victoria Sponge
- Pro tip – Although my absolute favourite way to eat this jam is as an accompaniment to salty cheese. Yup, just serve it on your cheeseboard you won’t be sorry.
More Summer Jam Recipes You'll Love
This easy seedless Raspberry Jam creates a smooth fruity preserve made with three simple ingredients.
Seedless Wild Blackberry and Lime Jam is a firm favourite preserve. It’s tangy and not too sweet and best of all contains no added pectin.
A beautiful Strawberry Redcurrant Jam, for those that don't like the strawberry jam too sweet the redcurrants add extra vibrancy and tartness.
Enter your email below to get this recipe sent to your inbox plus get new recipes, baking tips, and updates.
Seedless Gooseberry Jam with Thyme
Ingredients
- 800 g gooseberries
- 650 g granulated sugar
- 2 teaspoons fresh thyme leaves
Instructions
- Pour the gooseberries into a large preserving pan with 200ml water. Turn onto a gentle heat and cook the gooseberries until they start to go a bit pulpy.
- Sieve the gooseberry pulp and discard the skin and stem bits.
- Clean out the preserving pan and place the gooseberry pulp back in with the granulated sugar and the thyme leaves.
- Bring to a rolling boil, making sure to stir the bottom of the pan frequently so the fruit doesn’t stick. It should take 5-10 minutes from then to reach setting point.
- Once the jam reaches 104°C or passes the saucer wrinkle test* then decant into sterilised jars*.

Will food mill remove blossom ends?
I usually remove the blossom ends by hand before cooking the gooseberries.