This post contains affiliate links. Please read my disclosures.
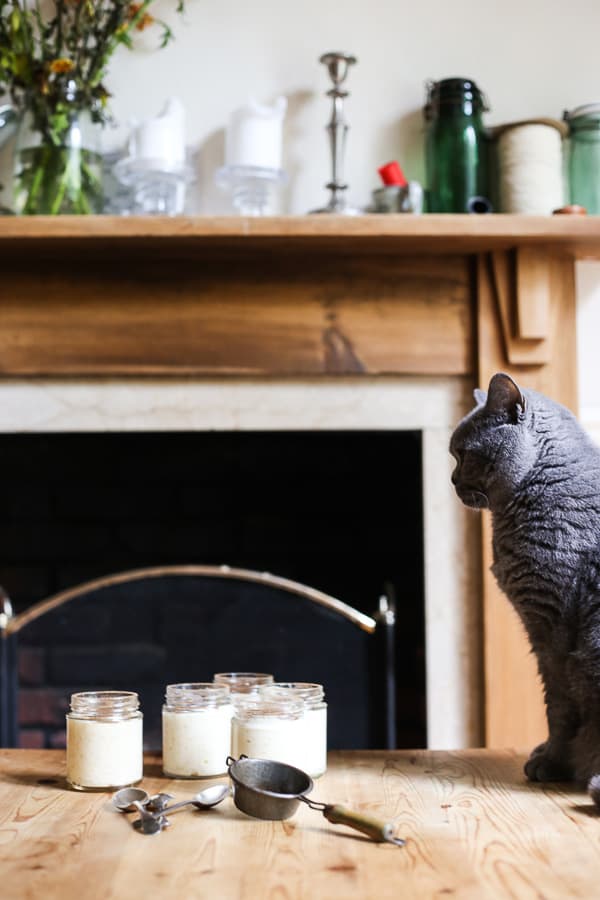
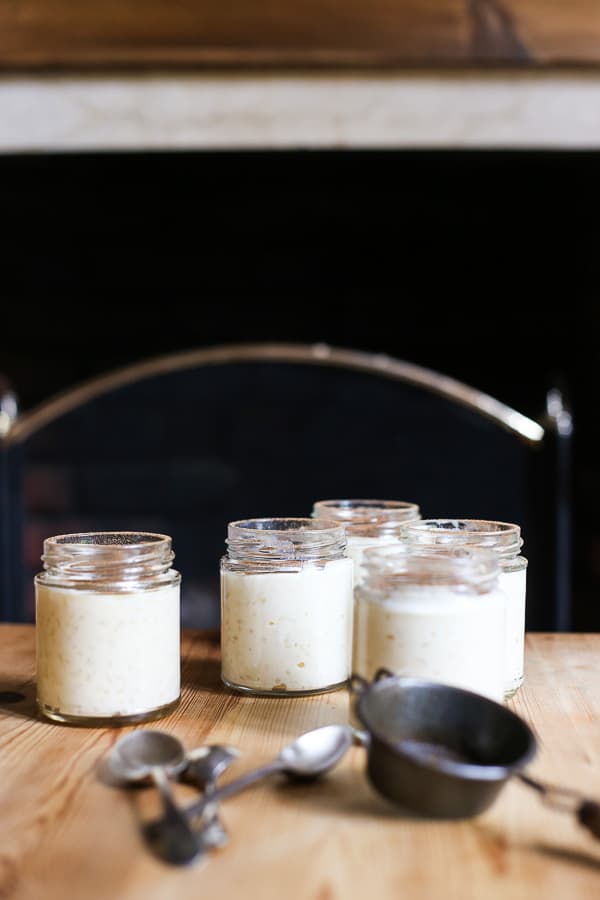
This quick rice pudding recipe is made on the hob (stovetop) and makes a gorgeously creamy rice pudding in just 40 minutes. It’s a lot faster than baking it in the oven and is just as delicious.
Jump to:
- Making Quick and Creamy Stovetop Rice Pudding
- Is Rice Pudding Gluten-Free?
- Why You’ll Love This Recipe
- What Type of Rice is Best?
- Ingredients Needed
- How To Make Rice Pudding On The Hob
- Expert Tips
- Serving Flavour Variations
- How to Make a Dairy-Free / Vegan Rice Pudding On The Hob
- FAQs
- More Quick and Easy Desserts You'll Love
- Rice Pudding On The Hob (Quick Stovetop Version)
Making Quick and Creamy Stovetop Rice Pudding
You don’t always have hours to hang around your oven when the craving for rice pudding hits as this quick and easy method for making traditional rice pudding proves. There’s a little bit more stirring involved (but it’s not as much as making a risotto) as you need to make sure it doesn’t stick to the bottom of the pan.
Is Rice Pudding Gluten-Free?
A lot of the time it is gluten-free but it does depend on the recipe so always check the ingredients. Rice is naturally gluten-free and traditional British rice pudding usually only uses milk or cream to create the sauce. However, some methods (for example Turkish Rice Pudding ‘Sutlak’) do include flour as a thickener. This stovetop rice pudding recipe is also gluten-free but it uses cornflour (cornstarch) to thicken this creamy dessert, and give the sauce body.
Why You’ll Love This Recipe
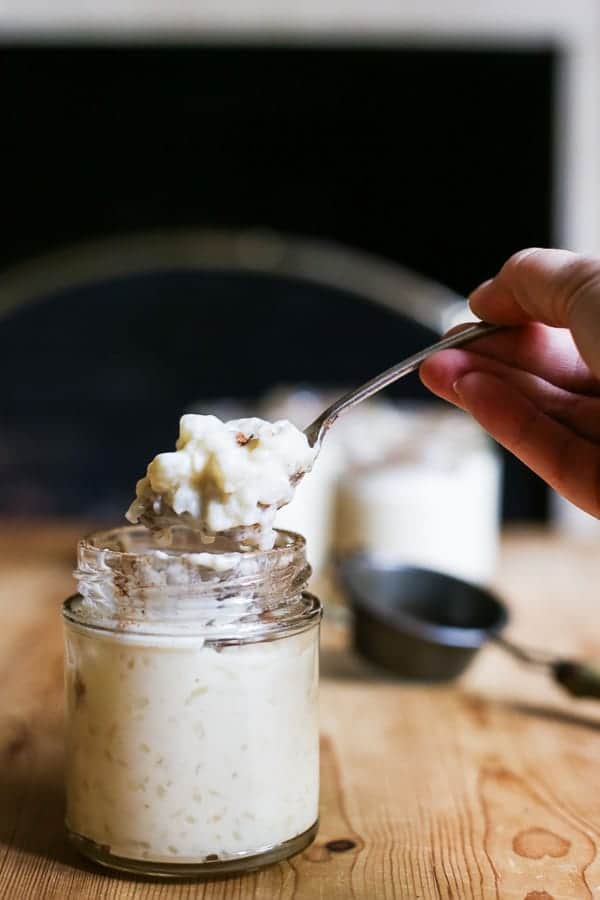
It’s quick. Only about 40 minutes from start to finish and you still achieve an incredibly rich bodied and creamy pudding.
Perfect texture. This rice pudding is saucy and thick and the rice
Simple dessert with simple ingredients. Only 7 ingredients are needed to create the best rice pudding.
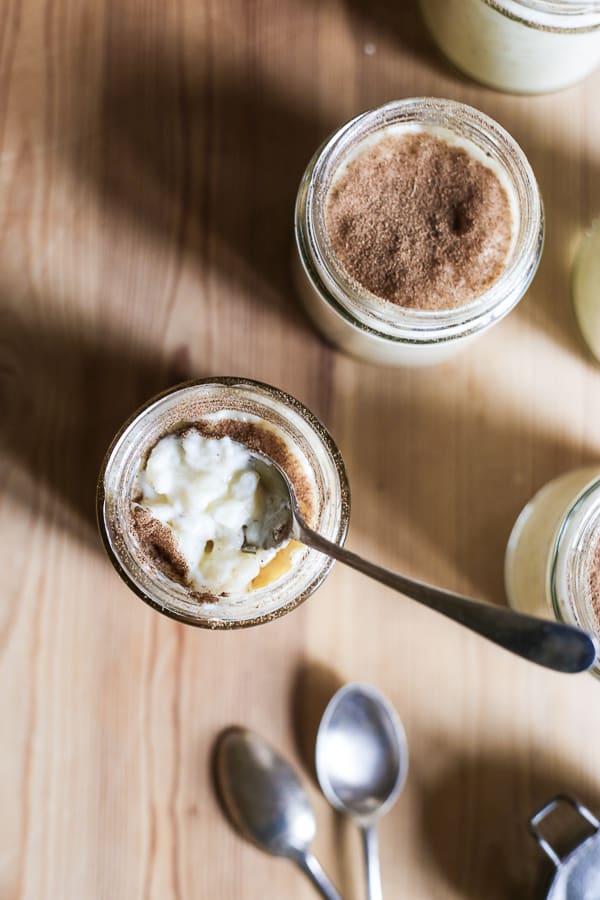
Spicing. You can top the rice pudding with whatever you want (or just keep it simple) and I give a huge list below depending on the season. However, my favourite way to serve it is using a little spice mix sprinkled over the top.
Delicious hot or cold. Rice pudding is great whatever the season, my husband swears cold rice pudding is even better. Also, if it’s summer then you don’t need to turn the oven on.
What Type of Rice is Best?
It’s best to use a short-grain white rice for rice pudding. I recommend using pudding rice but if you can’t get hold of it or you’ve run out then arborio or a risotto rice will create the same creamy texture. It is perfectly possible to make with a long-grain rice but the texture will change. I don’t really recommend basmati or wholegrain rice though.
Ingredients Needed
Pudding rice. Or you can use another short grain rice like risotto rice or arborio rice.
Whole dairy milk. I don’t recommend using semi-skimmed for this one. For plant based alternatives scroll down to the bottom of this post.
Double cream. You can substitute for heavy cream. For plant based alternatives scroll down to the bottom of this post.
Caster sugar. It’s a fine white baking sugar available in the UK. You can substitute with white granulated sugar, honey or maple syrup.
Cornflour (corn starch). Using a starchy flour makes this rice pudding really thick with an even creamier texture. You can substitute for tapioca starch or sweet rice flour (glutinous rice flour).
Vanilla extract. Use a good quality extract, I like Nielsen Massey.
Pumpkin pie spice. Don’t worry if you can’t buy pumpkin pie spice (which is a mix of cinnamon, nutmeg, ginger and cloves) as this is my easy homemade version >>> Homemade Pumpkin Spice Mix.
How To Make Rice Pudding On The Hob
For full recipe instructions go to the recipe card at the end of this post.
1. Prepare and Cook the Rice
Pour the rice and 500ml (2 cups) of milk into a large saucepan and bring it to a boil over a medium heat. Once boiling, cover with a lid, lower the heat, and simmer for 20-25 minutes until the rice has absorbed the milk. Stir occasionally to ensure the rice doesn't stick to the bottom of the pan.
2. Add Milk, Cream, and Sugar
Pour in the remaining milk, reserving 50ml (¼ cup), along with the cream and sugar. Stir the mixture and bring it to a gentle boil.
3. Thicken the Pudding
Whisk the cornflour into the reserved 50ml (¼ cup) of milk. Stir this mixture into the rice pudding along with the vanilla extract. Bring the pudding back to a gentle boil, cover with a lid, and simmer for an additional 15 minutes.
4. Serve the Rice Pudding
Remove the rice pudding from the heat and serve it warm with a sprinkling of pumpkin spice.
Expert Tips
- I recommend using a large non-stick saucepan for this recipe and stirring regularly to stop the rice from sticking. I really like using a silicone spoon for this as it stops the rice sticking to the spoon too.
- Keep an eye on the saucepan in the initial boil as milk can very quickly get out of control on the stovetop once it’s starting to boil. If it starts to rise too quickly immediately remove the saucepan from the heat to calm down and reduce the heat to the lowest setting before you put it back on the hob.
- Once you put the lid on the saucepan, again keep your eye on it. The milk should be gently simmering. If the milk starts to boil towards the top of the lid, then adjust the lid so that it’s not close fitting and allows a little more air in.
- Keep checking the milk and rice cooking together, stirring every so often to make sure it isn’t sticking to the bottom of the pan.
Serving Flavour Variations
I love to keep this rice pudding nice and simple with a few spices dusted on top. However, the beauty of rice pudding is that it can be served in so many different ways with a multitude of flavour variations. Here are my favourites:
Autumn / Winter Rice Pudding
This is when you will want to serve your rice pudding warm from the hob. Serve with:
- A spoonful of homemade jam. Try this Pumpkin Jam, Damson Jam and especially this Baked Apple Butter for something different.
- Christmas Rice Pudding. So delicious with a dash of this suet-free Cranberry Mincemeat stirred in which is packed with all the Christmas flavours.
Spring / Summer Rice Pudding
You will love this stovetop rice pudding made ahead of time and kept chilled in the fridge. It’s a great dessert for warmer months as the flavours truly shine when they’ve had time to settle, you don’t need to switch the oven on and it’s refreshing straight from the chiller. Here are my favourite ways to serve it this way:
- Fresh berries. You can change the berries for the season and either make them into a simple coolie or just fresh from the punnet.
- Spring honey and chopped roasted pistachios. Truly you can use any nuts but this is my favourite combination.
- Nut butter. The same way I always stir a spoonful of nut butter into my porridge I can’t resist with rice pudding either. This Homemade Cashew Nut Butter is my favourite as it’s so delicate with the rice pudding.
How to Make a Dairy-Free / Vegan Rice Pudding On The Hob
I’ve experimented quite a bit with a dairy-free rice pudding since I’m lactose intolerant, so these dairy-free ingredient swaps create a really creamy vegan rice pudding.
- Milk. You can use your favourite plant-based milk – store bought oat milk creates a very easy creamy version, I like Oatly the best. But you could also use homemade cashew milk or homemade unsweetened almond milk – it gives a lovely rich flavour. The only thing to pay attention to is that some of the homemade nut milks really thicken up so keep stirring the rice pudding and more water if it needs thinning out a little. Tinned full-fat coconut milk is also okay if you are happy with the flavour that it imparts.
- Cream. My favourite plant based cream substitutes are the Oatly Whippable Creamy Oat and the Coconut Collaborative Double Cream.
FAQs
The total length of time for this recipe is about 40 minutes which is a lot shorter than an oven baked rice pudding which usually takes around 2-3 hours.
The finished texture of your rice pudding is entirely up to you. This particular recipe produces a thick and creamy rice pudding which is to be served hot from the saucepan. As the pudding cools down it will thicken even more. If you prefer your rice pudding to have a thinner consistency then just add more milk. If your rice pudding is too runny then just cook for 5-10 minutes longer.
I recommend using a good quality non-stick saucepan for this recipe which will help if the rice starts to stick to the pan. Place a lid on the rice pudding to help retain the moisture and stir the rice pudding regularly using a silicone . You may find if the rice pudding is sticking then you get little golden bits dragged into the rice pudding from the bottom, you can just fish them out if you want a cleaner look. If it’s really sticking then avoid scraping the bottom of the pan too much.
Yes, provided you are careful about storing the rice pudding. If you are not eating the rice pudding straight away then cool it quickly to prevent any bacterial growth as you do need to be careful with rice. Then cover and chill as quickly as possible. I actually really like this rice pudding served cold straight from the fridge but it you want it warmed up then make sure to re-heat on the stove or in the microwave, with a splash more milk as it will have thickened, until piping hot. The rice pudding can be stored in the fridge for up to 3 days.
Yes, you can freeze rice pudding by first cooling it completely, then portioning it into airtight containers or freezer bags. Label and date the portions, and freeze for up to 3 months. Thaw overnight in the refrigerator and you can re-heat on the hob or in the microwave, just add a splash more milk to restore the creamy texture.
More Quick and Easy Desserts You'll Love
- Red Berry Eton Mess with Mascarpone Cream
- Traditional Bread and Butter Pudding
- Easy Apple Crumble
- Raspberry Pudding
✨Have you tried this Quick Rice Pudding On The Hob recipe? If you liked it, please leave a 5-star ⭐️ ⭐️ ⭐️ ⭐️ ⭐️ rating on the recipe card and consider leaving a comment as well! I would love to hear about how your recipe turned out and your feedback also helps other readers✨
Rice Pudding On The Hob (Quick Stovetop Version)
Ingredients
- 100 g pudding rice
- 1 litre whole milk
- 60 ml double cream
- 75 g caster sugar
- 3 tablespoons cornflour (corn starch)
- 2 teaspoons vanilla extract
- 1 teaspoon pumpkin spice
Instructions
- Pour the rice and 500ml (2 cups) of the milk into a saucepan and bring to the boil.
- Place a lid on, lower heat and simmer for 20-25 minutes until the rice has absorbed the milk. Stir regularly, making sure it isn't sticking to the bottom of the pan.
- Pour in the rest of the whole milk, reserving 50ml (¼ cup), with the cream and sugar. Stir and bring to a gentle boil.
- Whisk the cornflour into the remaining 50ml milk (¼ cup), then stir into the rice pudding along with the vanilla extract.
- Place the lid back on and simmer for a final 15 minutes.
- Remove from the heat and serve warm with a sprinkling of the pumpkin spice.
Notes
Ingredients
- Pudding rice. You can use another short grain rice like risotto rice or arborio rice.
- Pumpkin Pie Spice. Don’t worry if you can’t buy pumpkin pie spice (which is a mix of cinnamon, nutmeg, ginger and cloves) as this is my easy homemade version >>> Homemade Pumpkin Spice Mix.
Dairy Free / Vegan Version
- Milk. You can use your favourite plant-based milk – store bought oat milk creates a very easy creamy version, I like Oatly the best. Tinned full-fat coconut milk is also okay if you are happy with the flavour that it imparts.
- Cream. My favourite plant based cream substitutes are the Oatly Whippable Creamy Oat and the Coconut Collaborative Double Cream.
Expert Tips
- Use a large non-stick saucepan and a silicone spoon to prevent sticking.
- Monitor the milk closely as it boils; remove from heat and reduce the temperature if it rises too quickly.
- Adjust the lid to allow some airflow if the milk bubbles near it.
- Stir regularly to prevent sticking.
- If the rice pudding is too thick then add more milk.
Leave a Reply