This post contains affiliate links. Please read my disclosures.
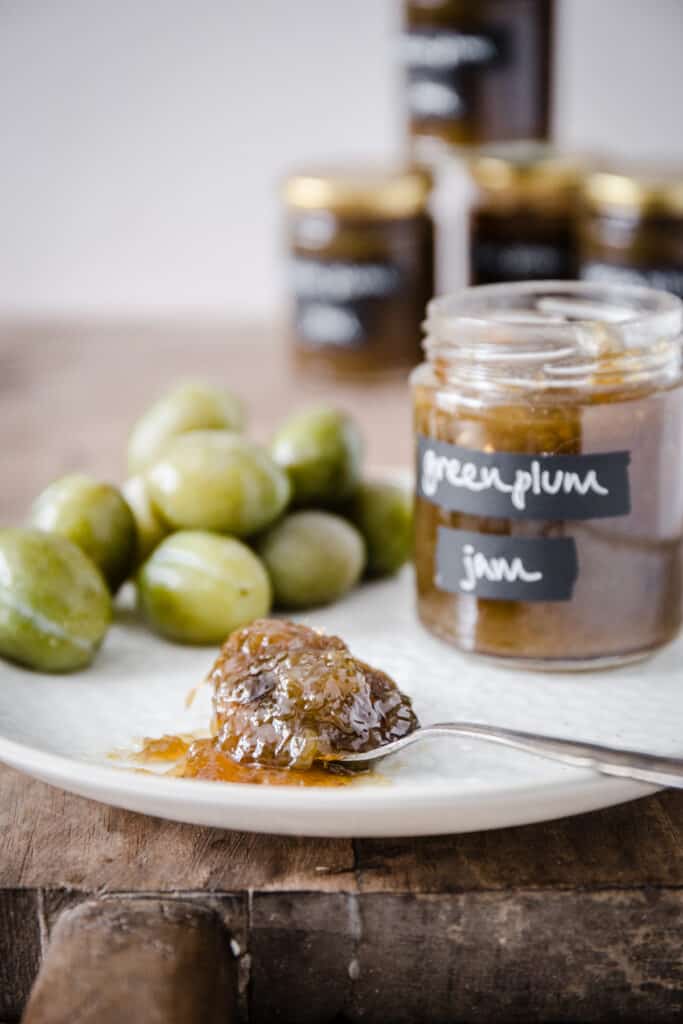
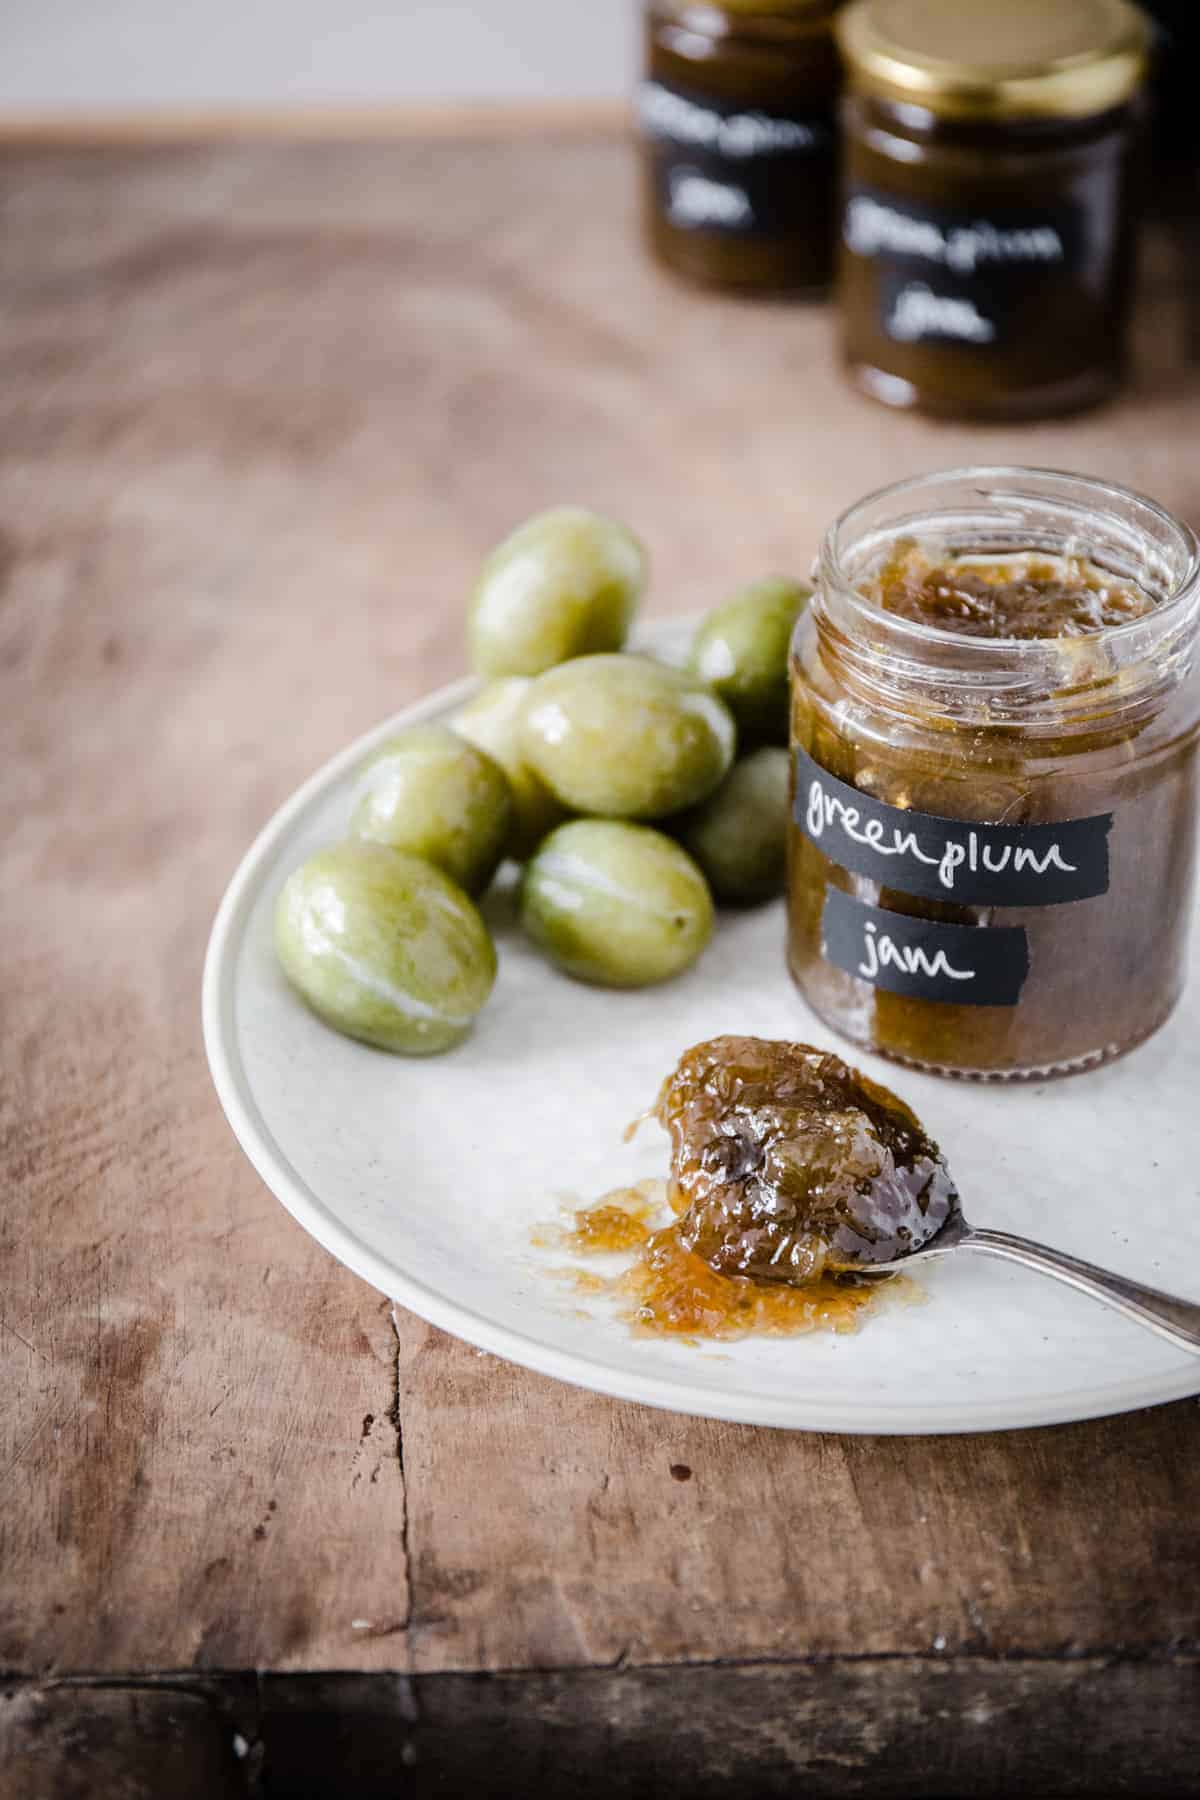
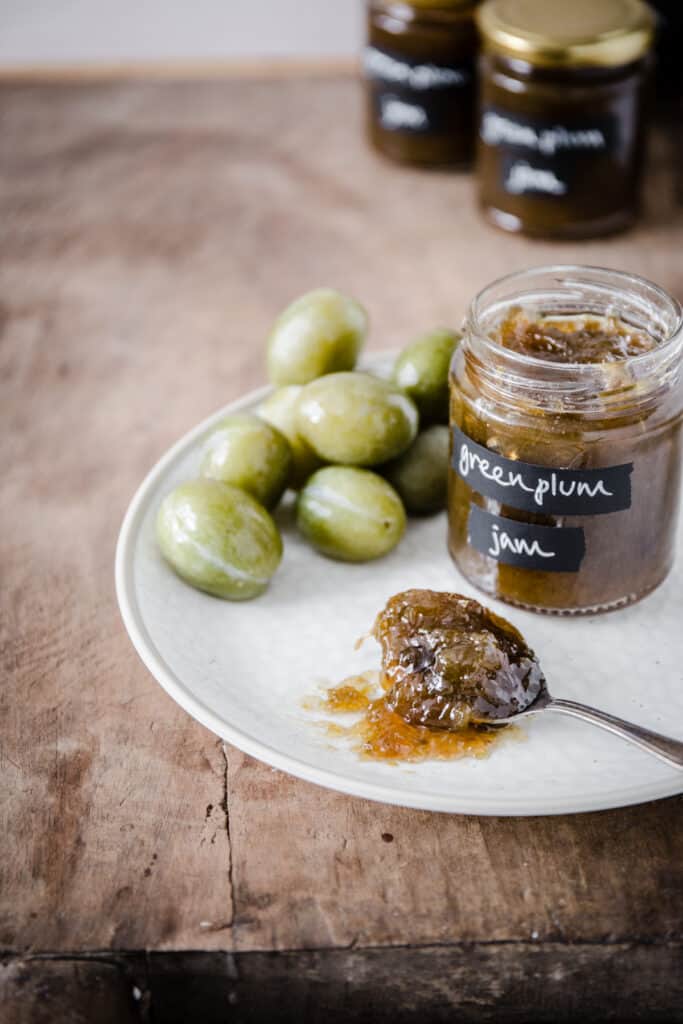
Green Plum Jam is an excellent way to use unripe plums. You might have an excess of green plums due to pruning your plum tree or because of a surprise windfall. This 2 ingredient jam is a perfect solution, it’s delicious, quick and easy and needs no jam sugar or added pectin.
Jump to:
- Can you eat green plums?
- Can you use unripe plums for jam?
- What else can I do with unripe green plums?
- Why is Green Plum Jam such a brilliant recipe?
- How do you make plum jam?
- Recommended Equipment
- Do you need to peel the plums?
- Do you leave the stones in?
- How do you know if your jam has reached setting point?
- What is the ‘wrinkle test?’
- How do I fix runny plum jam?
- How long does the jam keep for?
- Can you make this jam with ripe plums?
- Can you reduce the sugar?
- Can you use frozen plums to make plum jam?
- What can you eat with plum jam?
- More homemade jam recipes
- Green Plum Jam
When we moved into our new house at the end of last year we were so excited to discover a plum tree in the back garden.
I like to think I know a fair amount about food and produce but it turns out I know nothing about how to care for a fruit tree. So it completely caught me by surprise one morning to discover our plum tree had completely broken in half overnight. Hundreds of green plums had scattered all over the grass and many were still clinging in last desperate hopes to the fallen branches.
We had no idea that this situation is inevitable if you don’t prune your green plums regularly from your plum tree. The weight of the growing fruit is often too much for its spindly branches. So if you have a plum tree in your back garden it’s more than likely at some point you will have a load of green plums which you won’t know what to do with.
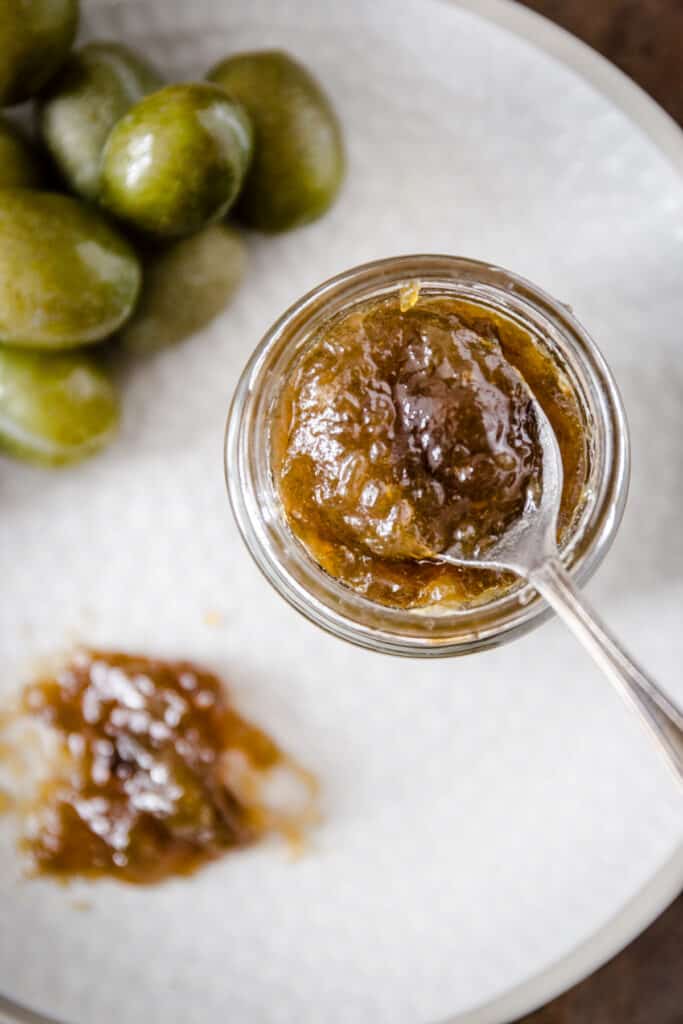
Can you eat green plums?
Yes you absolutely can. They are quite hard though and very sour so you wouldn’t eat it from the fruit bowl like you would a ripe plum. However they are excellent to cook or bake with.

Can you use unripe plums for jam?
They are ideal for jam as they bring all the lovely tart plum flavour. The finished jam is also not too sweet as the fruit itself has lots of flavour
What else can I do with unripe green plums?
You can use green plums in any recipe that you might a ripe plum, although you might need to add a little extra sugar.
Try this Plum and Beetroot Chutney – I made it with unripe green plums!
Why is Green Plum Jam such a brilliant recipe?
- Just 2 ingredients – plums and sugar. The plums are so flavourful they need nothing else.
- Plums are an excellent source of pectin too so you don’t need to add any extra or use special jam sugar.
- It’s quick and because plums have their own special pectin you don’t need to boil for ages to achieve set – 5-10 minutes is enough.
- It’s not too sweet because the plums are unripe and don’t bring an excess of sweetness to the jam.
- The flavour is sharp but very plummy and can be used with so many sweet or savoury dishes, besides being delicious on a crumpet.
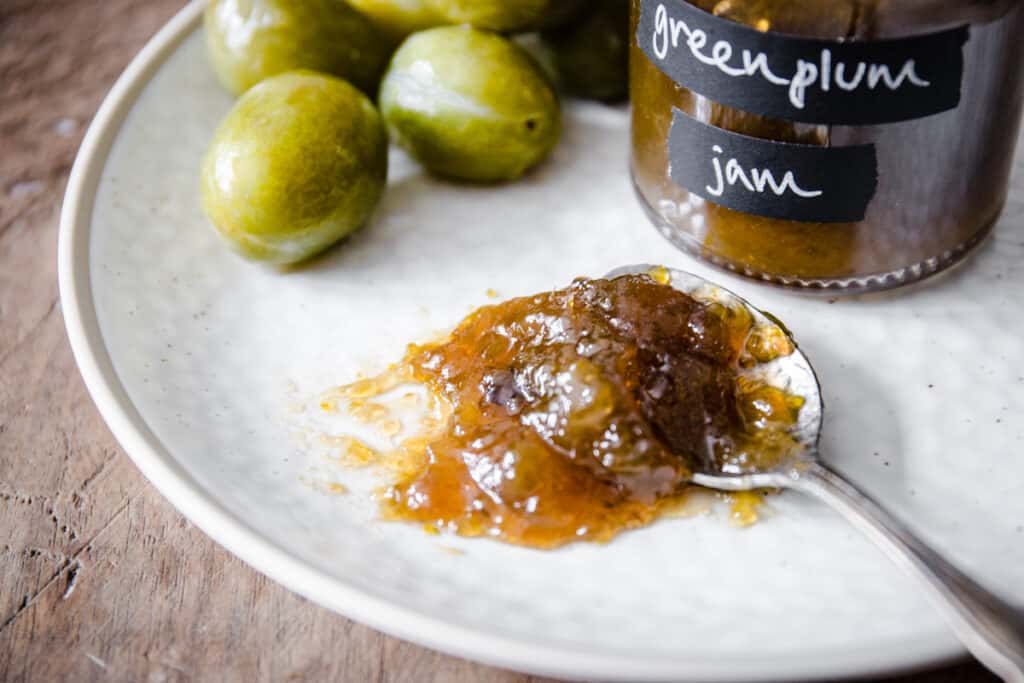
How do you make plum jam?
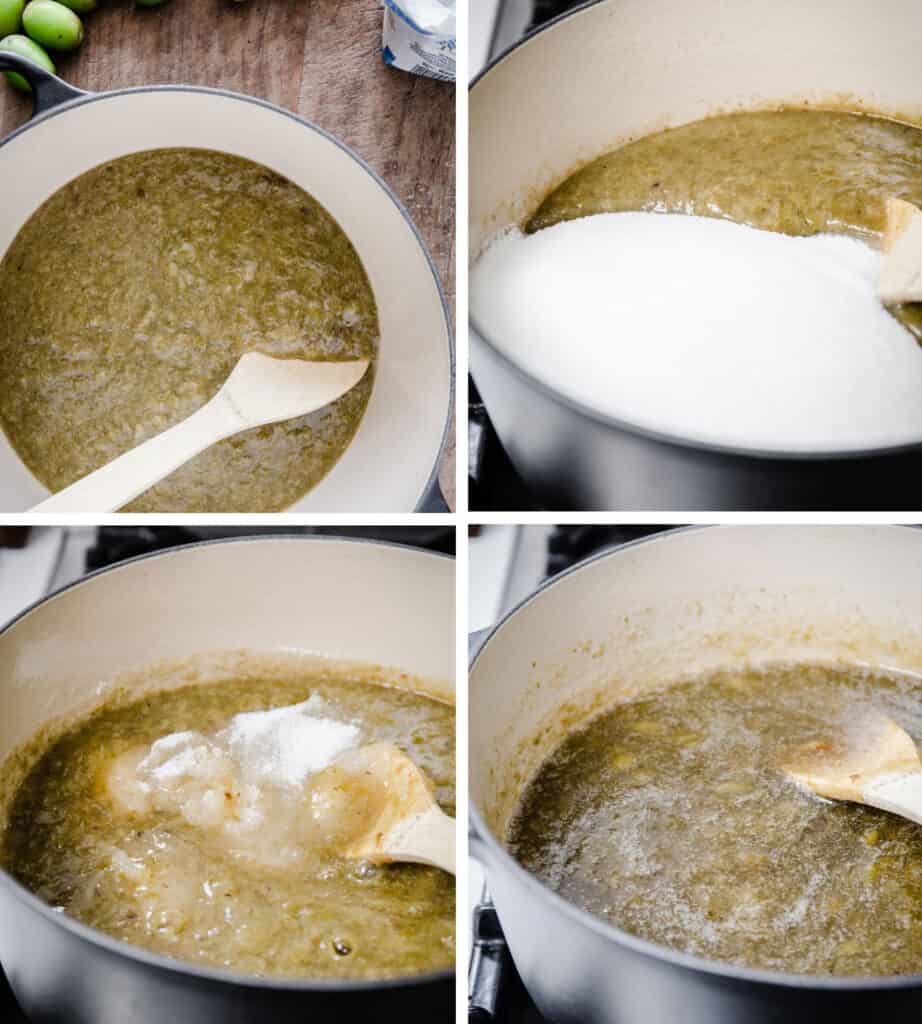
- Place the plums in a large preserving pan or saucepan and heat until the plums have completely broken down into a pulp.
- Remove the plum stones which will be floating within the pulp.
- Pour the sugar into the pan with the plums and bring up to a rolling boil, stirring occasionally.
- Boil hard for 5 minutes and test for set using the wrinkle test. If it’s not quite there then boil for a further 2 minutes.

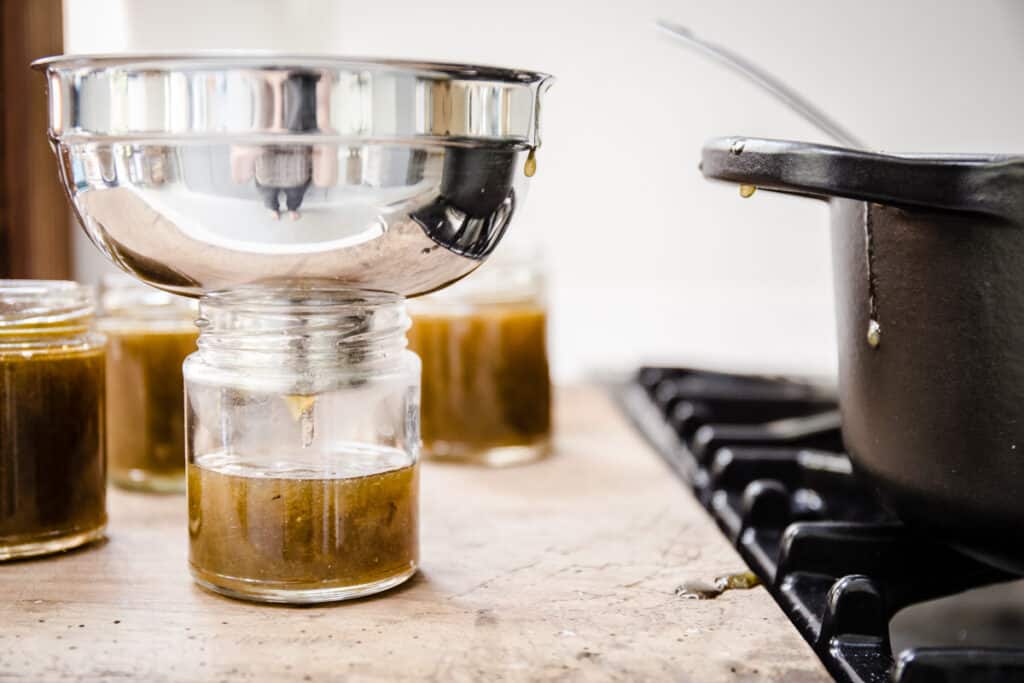
- Once the jam has reached setting point then decant into sterilised jars.

Recommended Equipment
Le Creuset Large Casserole Dish – my favourite preserving pan. Everything cooks evenly, it’s incredibly resilient even if you accidentally burn your jam a little to the bottom (remember to stir!!) and we use it for everything.
Jam Funnel – If you make a lot of chutneys and jams then I would definitely buy an inexpensive jam funnel. Useful for decanting pretty much anything around the kitchen too!
Do you need to peel the plums?
No, the unripe skins are quite fine and dissolve deliciously into the jam.
Do you leave the stones in?
Leave the stones in the jam whilst you are simmering the whole plums. When the plums had broken down into a pulp then remove the stones before you add the sugar. You can do this manually but it might be a bit hot. A slotted spoon should do the job. Check for any errant stones when the jam is finished and as you are putting into jars. They are quite easy to spot at this point.
How do you know if your jam has reached setting point?
Jam has reached setting point when it’s 105°C/220F. However this is not my preferred test. I find the ‘wrinkle test’ gives a very accurate indication if jam is ready to be put in its pots.
What is the ‘wrinkle test?’
The wrinkle test is when you quickly cool a teaspoon of the jam and push the jam with your finger. If it wrinkles up then it’s reached the right setting point.
- Place a few saucers in the freezer before you start making your jam.
- When you think your jam should be ready, it’s been boiling hard for at least 5 minutes, the sugar has completely dissolved and the jam is feeling a little heavier when you stir it, then you are ready for the test.
- Turn the heat off the jam. Remove a saucer from the freezer and drop a small teaspoon of jam onto the saucer.
- The jam should not be too runny. Place the saucer into the fridge for about 30 seconds.
- Remove the saucer from the fridge, at this point the jam should have set. Push the jam with your finger, if the jam wrinkles up then it’s ready.
- If it doesn’t then turn the heat back on and boil your jam for a further 2 minutes before you test again.
How do I fix runny plum jam?
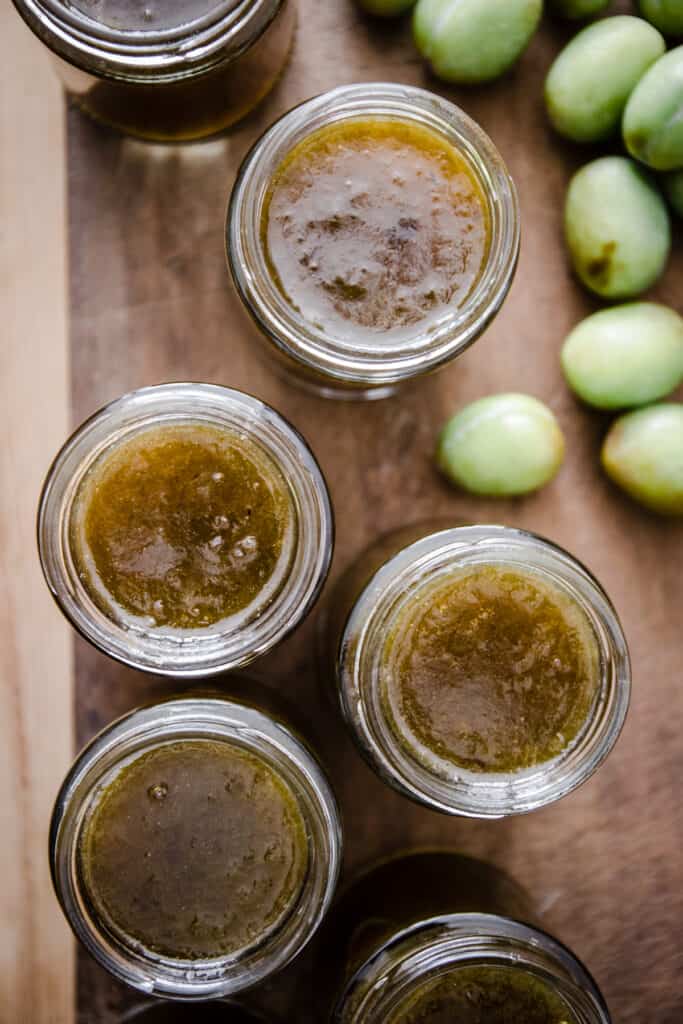
It’s happened to us all, you have bottled your jam and found that once it has cooled then the set is a little too runny. Don’t worry you can simply pour the jam back out of their jars and re-boil it until it reaches a better set.
You must wash and re-sterilise your jars and lids though before you decant the jam back into the jars.
How long does the jam keep for?
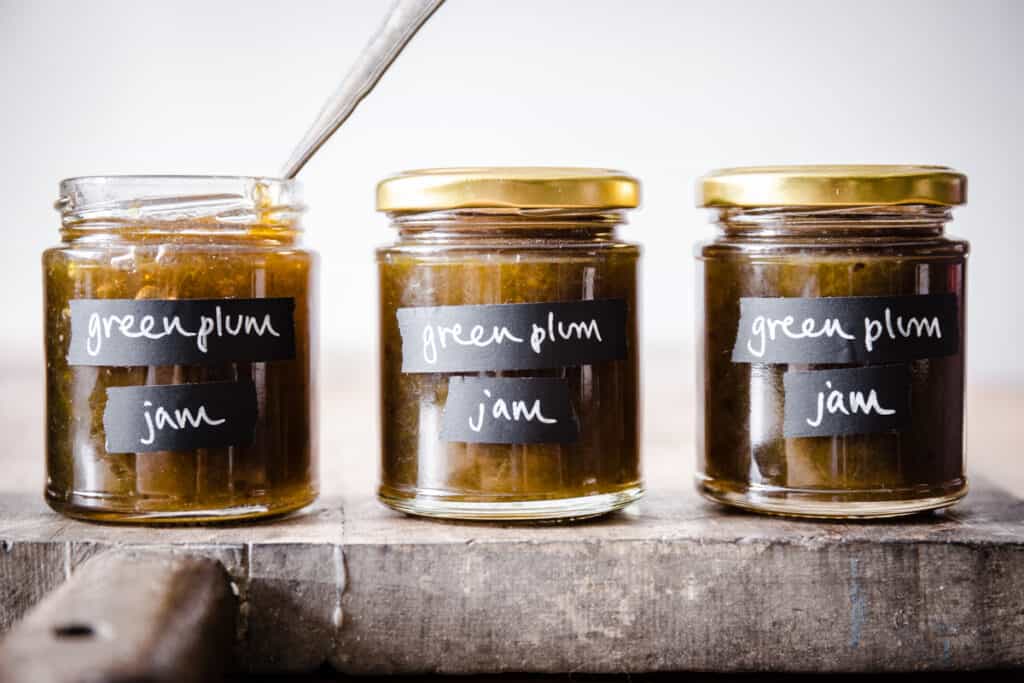
Unopened the jam will last for up to a year if stored in a cool dark place. Once opened keep in the fridge and the jam should last a month.
Can you make this jam with ripe plums?
Absolutely, it will be just as delicious but a little sweeter. You could also use greengages.
Can you reduce the sugar?
Yes you can but the sugar doesn’t only provide the sweetness it also stops the jam from spoiling. If you reduce the sugar it won’t keep as long unopened.
Can you use frozen plums to make plum jam?
Yes. You don’t need to defrost the plums before beginning the recipe, they will just slightly longer to break down initially since they are frozen.
What can you eat with plum jam?
Jam is excellent on buttered toast or crumpets of course but it’s not the only use.
- As a filling in a Victoria Sponge.
- Spread thinly in a cheese sandwich.
- On a cheese or charcuterie board.
- Sticky sausages - Mix 2 tablespoons of jam and 1 tablespoon Dijon mustard and use it to smother over cocktail sausages before baking in the oven for 20 minutes.
- Sweet Cheese Quiche. It’s still a savoury quiche but the taste is fantastic - mix in a couple of tablespoons of green plum jam into the filling of this Homemade Quiche. You will forever make your cheese quiche this way.
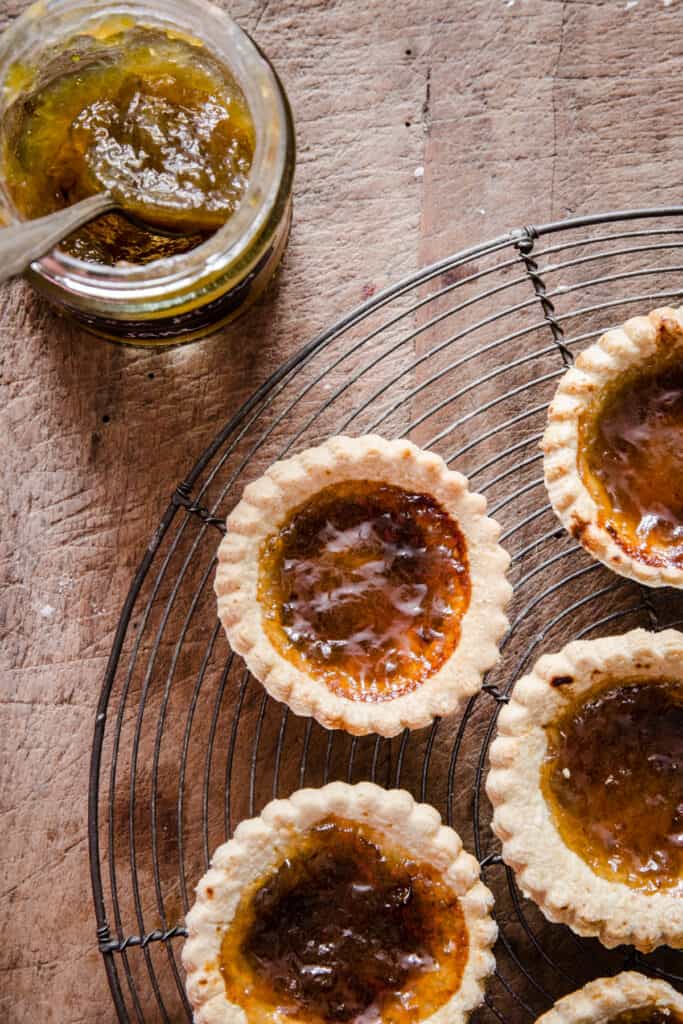
- Jam tarts - see this amazing gluten free pastry recipe!
More homemade jam recipes
Green Plum Jam
Ingredients
- 1500 g green plums
- 1250 g granulated sugar
Instructions
- Place the plums in a large preserving pan with 100ml water. Turn onto a gentle heat and cook the plums until they have broken down into a thick pulp.
- Remove the plum stones manually which should be floating within the pulp.
- Pour the granulated sugar into the pan with the pulp.
- Heat the pan and bring to a rolling boil, making sure to stir the bottom of the pan frequently so the fruit doesn’t stick.
- Boil the jam hard for 5 minutes, whereupon it should have reached setting point.
- Turn the heat off the jam and check for setting point with the wrinkle test.* If it doesn’t wrinkle then turn the heat back on and boil again for 2 more minutes before testing again.
- Once the jam has reached setting point then decant into sterilised jars*.

Kate says
I made about half the recipe, had 10 or so larger green plums. Cooked them down until largely dissolved and fished out the pits with a spoon. I did not use the recommended ratio of sugar, I used about half and tasted it and it was a good balance of sour and sweet (I’m sure it really depends on how tart your plums are to start). Second time making this recipe and it’s so delicious and easy.
Georgina Hartley says
I'm so happy you enjoy this jam. I totally agree about the sour and sweet balance - it's my favourite kind of flavour in a jam.
MR GRAHAM CONNOR says
I stoned the fruit before cooking. Still a bit of a faff but at least no boiling liquid to contend with. Reduced the sugar slightly (10%) too. As a consequence it took the best part of 15 minutes to reach setting point. Lovely result though - very pleased.
Georgina Hartley says
I'm so happy you enjoyed the jam - thank you for leaving your feedback!
Jessie says
Well, that was an adventure!
Followed the recipe (was a bit unsure to cook the plums covered or uncovered) and all went well until pit time.
Oh man. What a mess. I tried the food mill and that didn't work at all. Did the colander method and while it kind of worked, it was taking forever. I ended up using tongs to pull out individual pits, but the amount of fruit I was losing doing that was nuts. Then I just said, "Let's do this." I just shoved my hands into the mashed fruit and weeded out the seeds one by one. It was way faster and I was able to save a ton of the pulp.
In the end, I have jam! I also have an hour's worth of clean up due to pulp, seeds, and preserves all over my kitchen and myself (my poor shirt). Tastes amazing!
Georgina Hartley says
Gosh yes, you did the right thing by diving in with your hands - it really is the easiest way in my opinion. I'm happy you like the end result though!!
Steve says
Just as you described. In fact I think the jam was set very quickly - much quicker than traditional recipes using ripe fruit, so experienced jam makers be warned (I'd say 5 minutes hard boil is the maximum needed)!
I chose this recipe after a storm brought down a fully laden branch on my tree, but I think I'll be adding this to my to do list every year now.
Georgina Hartley says
Thank you for providing your feedback. So happy you could put your plums to good use after the storm!!
Isabel says
Very easy and this must be the best tasting jam I’ve made so far. Thank you!
Georgina Hartley says
You are welcome! Thank you for leaving your feedback on the jam.
Angela says
Broken branches led to panic. Found your recipe, thank you. Had enough to make double the quantity. In panic didn't follow instructions properly, first time making jam. Put sugar, water and fruit in all at once, had fun digging out stones just like everyone else. Took a little longer boiling than you said, but put that down to double the amount. Just put in jars, tasted good now, cannot wait to put on toast. Thank you again for recipe, genuinely did not know you could use green plums.
Georgina Hartley says
That's exactly what happened to me. So happy you found my recipe and hopefully you can enjoy your jam for months to come!
Jacqueline Seaton says
Lovely easy recipe - I was able to beat the wasps to my plums! I am going to try halving the fruit next time, removing the stones before cooking and adding them to the cooking jam in a muslin bag as it was a pain removing them afterwards.
Georgina Hartley says
I know it's a bit of a pain but the plums are quite hard before cooking and it can be tricky removing the stones beforehand. A food mill makes the job a little easier if you have one.
John Bennett says
Wow I have so many green plums on my tree this year I was dreading wasting them, but now I can pick loads and do so many things with them as while waiting for them to turn. Thanks
Georgina Hartley says
You are so welcome! I love the taste of the green plums too.
Molly says
made jam as per your recipe....lovely, also made chutney, didn't realise you could use very unripe plums this way. I was gifted a bag full. Ground the easiest way to remove stones was to tip the pulp into a colander ( or steaming basket) and fish them out with a small spoon, worth the effort!
Georgina Hartley says
I know - it was a revelation to me too. Now, I think green plums are an excellent fruit - they give such a lovely flavour. My current favourite is green plum crumble. I didn't get enough green plums this year to make it again otherwise I would have loved to publish that recipe too!
Sarah says
Absolutely delicious. I found an entire branch on the lawn early this morning and was wondering what on earth I could do with a branch full of green Victoria plums other than leaving them for the garden wildlife. Nice simple instructions and it was easy to make; although as mentioned in a previous post removing the stones took ages. Had to wait for pulp to cool and remove stones by hand trying to rescue as much of the fruit as I could. It was worth the effort. I've already had some of the jam on some nice white bread, it was delicious.
Georgina Hartley says
Yes removing the stones is never fun but I've been given homemade jams before where the stones were left in and it was such a hassle. I'm so happy you enjoyed the recipe!
Audrey Berg says
This recipe was DELICIOUS! Everything worked just fine, though it took me a while longer than the 20 min cooking time - taking the stones out was tricky cause they hid very well! I ended up putting them on a plate to cool, then trying to rescue as much pulp as possible, so just that must've taken about 15 minutes. But other than that I am super happy I tried this, thank you!
Georgina Hartley says
That's great to hear - thank you Audrey!
Patricia says
Delicious! It saved my poor green plums which otherwise would be wasted! Out of habit I done canning process just to read in comments I didn't have to haha.
Georgina Hartley says
Hi Patricia, I'm so happy you enjoyed the recipe!
Catherine says
Georgina I’ve just made your “green plum jam” and it’s amazingly good. The wasps are picking off the few ripe plums we have on the tree at the moment. I fancy making green plum chutney next and get in there before the wasps
Georgina Hartley says
That's great Catherine - I'm happy you like the recipe!
Lisa says
Wonderful tasting jam! My first jam I have ever made. I recommend including the information on boiling the jam to properly seal the jars after. It was a step I didn’t know about and found out after thinking I was done at ‘decant’. You are not done, one more step.
Georgina Hartley says
Hi Lisa, I'm so happy you enjoyed the recipe and the jam! I think by boiling the jam you mean putting it through the canning process. There is no need to do this as there is enough sugar in the jam to preserve it. The lid needs to be screwed on tightly and it will keep well if stored in a cool dark place.
Janice Price says
Had the same trouble my 3rd year old plum tree fell over with all its fruit I did not have enough for the recipy so I scaled it down works perfectly will use for my apricots and greengages next year when I get my June drop
Georgina Hartley says
It was disappointing but we did end up with a lot of green plums that were lovely to make jam and bake with! In the end the plums that did ripen on the branches that were left were attacked by wasps so we didn't get the ripe fruit at all. I'm happy you liked the recipe!