Gluten-Free Digestive Biscuits
This post contains affiliate links. Please read my disclosures.

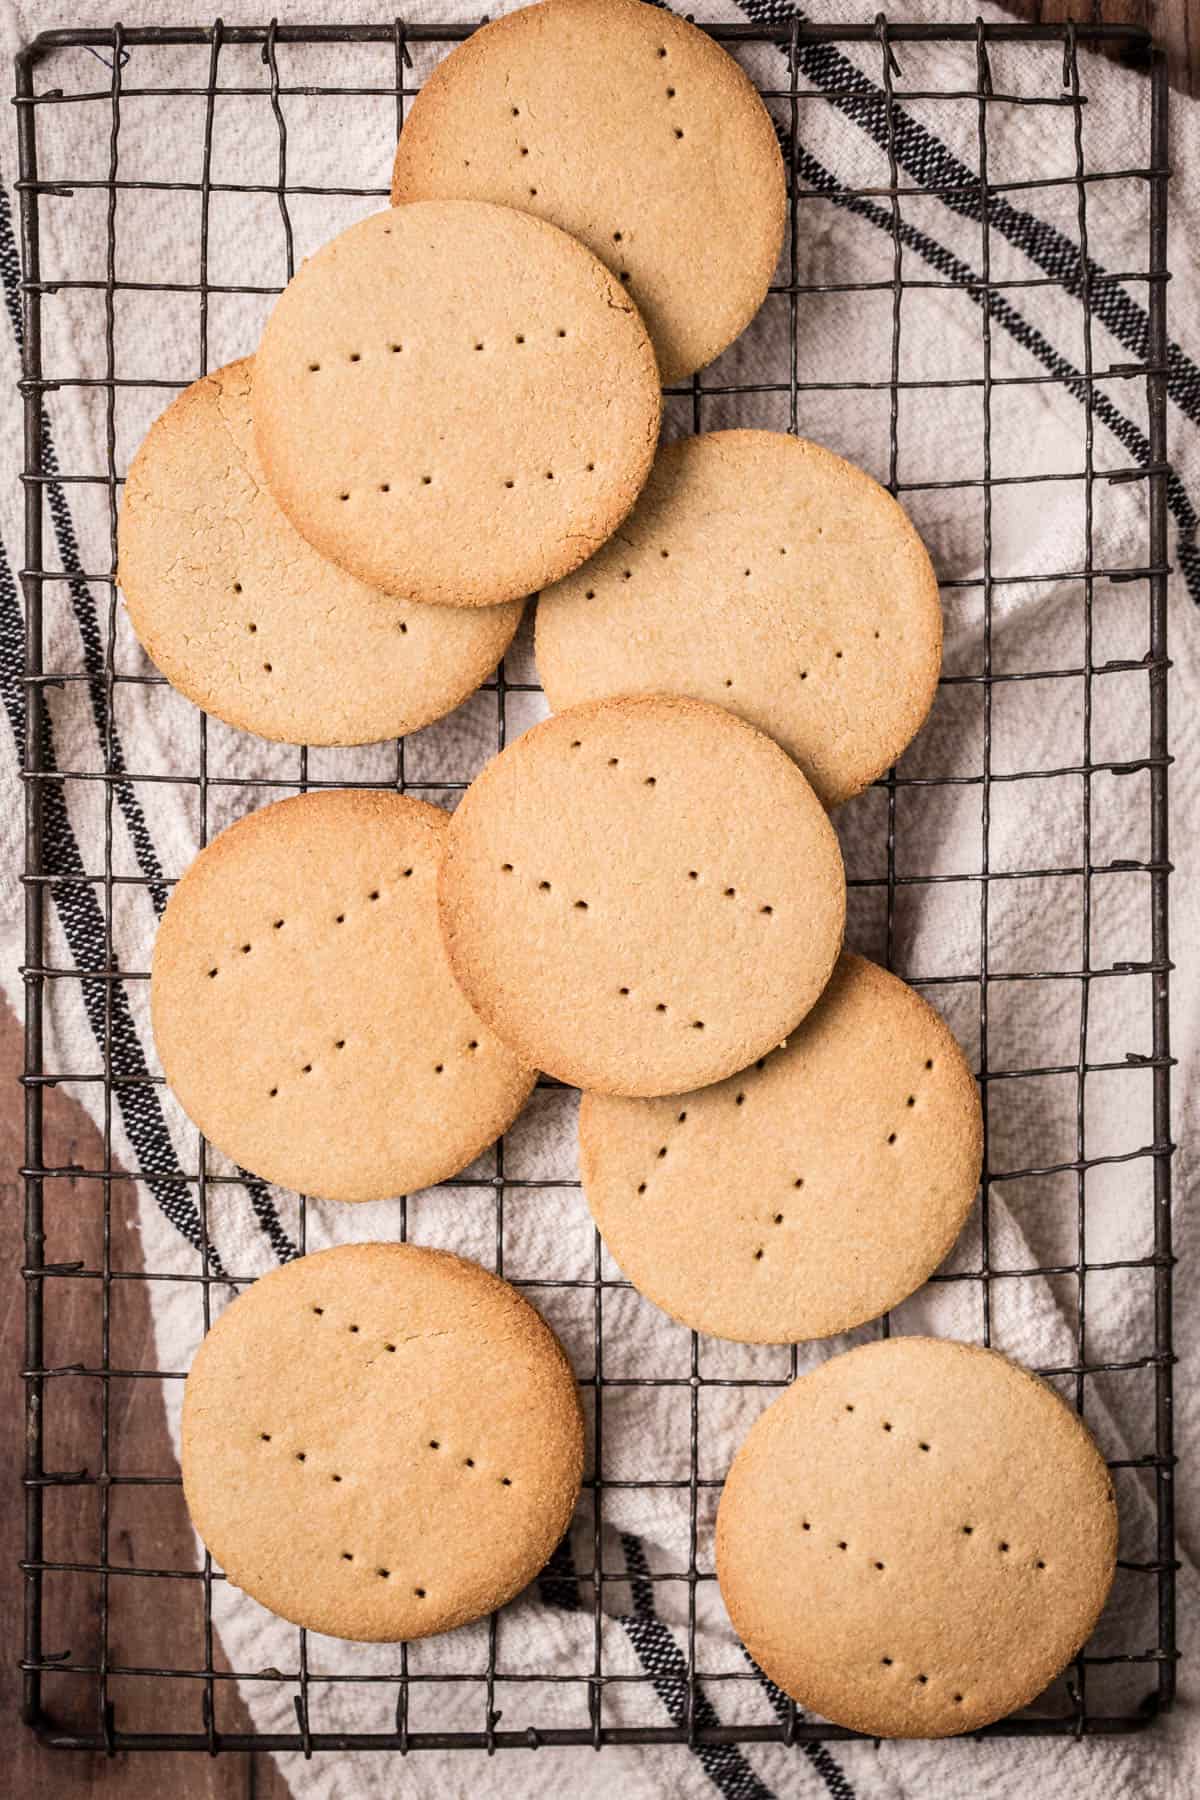
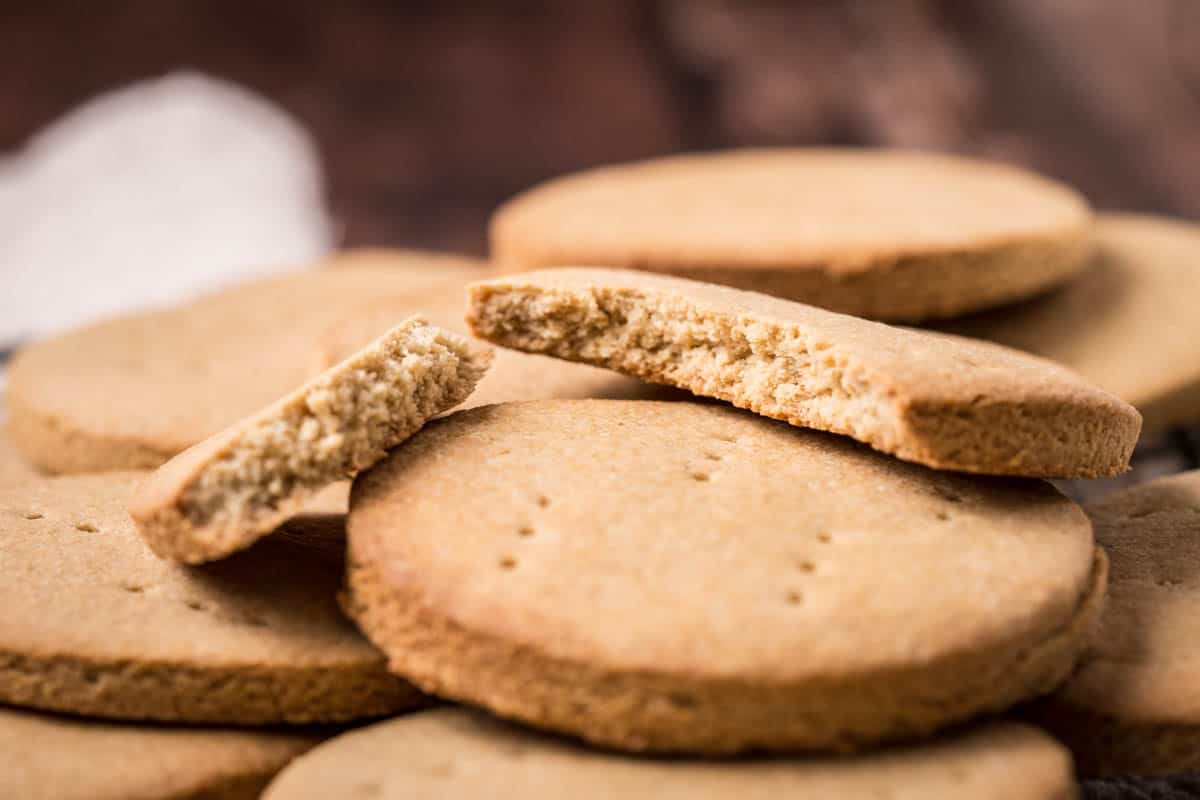
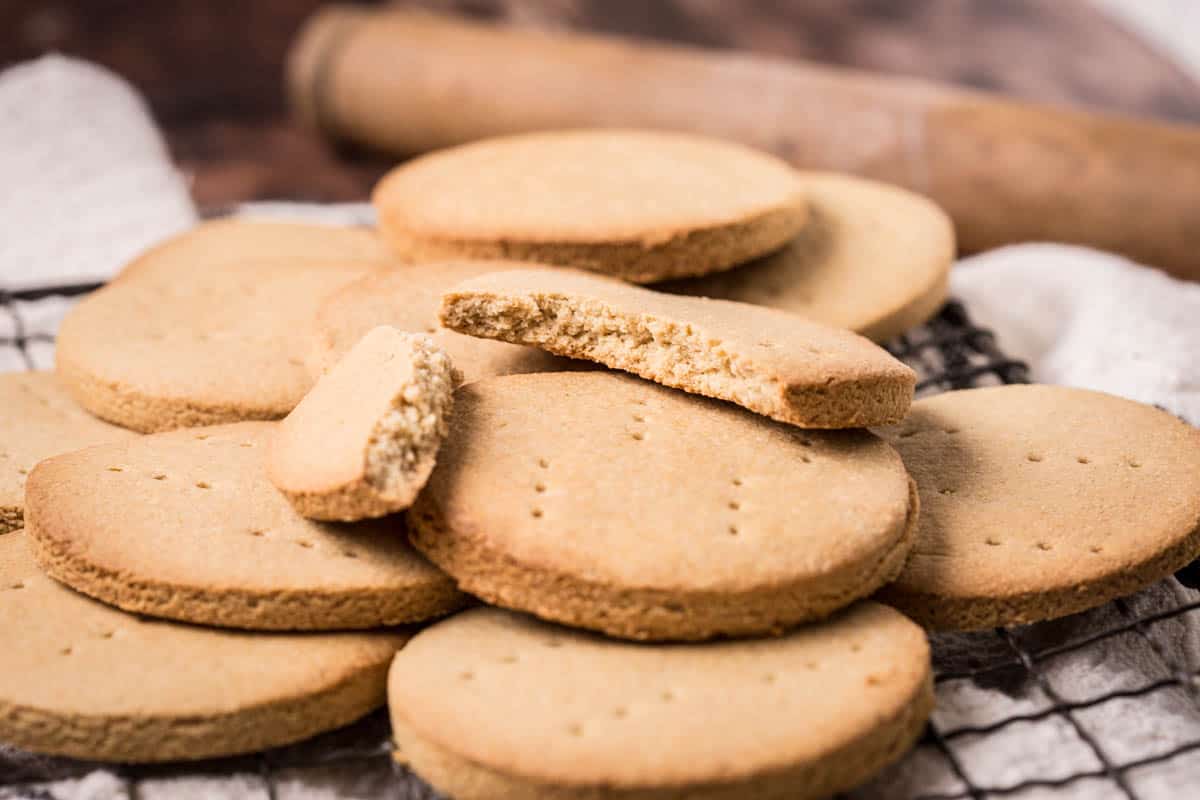
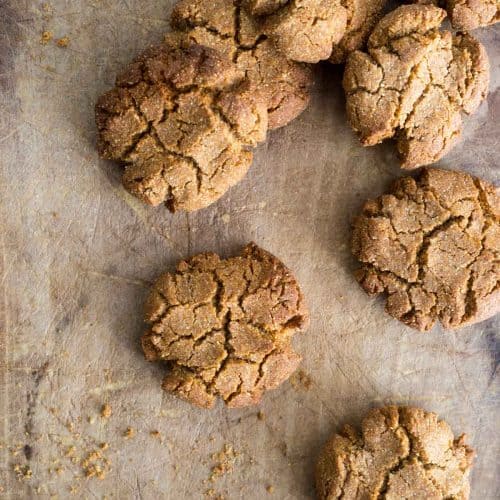
Gluten-Free Digestive Biscuits are simple yet strong and flavourful biscuits, ideal for dunking in your afternoon tea, slathering with chocolate or making your favourite cheesecake bases. This classic biscuit is made with an easy blend of oat flour and almond flour with no xanthan gum.
This is such a personal recipe to me as a McVitie's Digestive Biscuit used to be in my Top 5 Favourite Foods Ever List! I was appalled at the gluten-free digestive biscuit offerings in the supermarket when I became gluten-free so they were one of the very first recipes I perfected. I have baked them constantly ever since. Over the years I have refined the recipe to make it as easy and quick as possible to produce since they are useful as building blocks for so many other recipes. You need to bake them fast so you can get going with your Chocolate Tiffin or Cheesecake etc. But to bake them solely for that purpose is doing them a total disservice. For me, they are a total comfort biscuit and if you miss enjoying them dunked in your tea then you'll adore this easy recipe.
These are a world apart from the supermarket’s own brand versions which have a plethora of odd ingredients and a bit of a funny taste. Using this recipe it really is little bother to make your own and this gluten-free version has a much richer flavour; we use actual butter (as opposed to palm oil), brown sugar (instead of bland white cane sugar) and deliciously flavourful oat flour (instead of maize starch or soya flour).
I'll show you how to bake these biscuits so you can get them right first time including the best tips on how to make the dough fast and how to roll the dough out with ease. And don't worry you won't need any fancy equipment, the biscuits can easily be made with a mixing bowl, rolling pin, baking parchment paper and baking tray. If you have a round cookie cutter then great but a glass will also do if necessary.
Let's get baking! You will have your biscuits for tea time in no time at all. In my house they would be hard pressed to last the following hour but I’m sure you are a lot more restrained than I.
What Are Digestive Biscuits?
Digestive Biscuits have been around for a very long time. The first biscuits were produced in 1839 by Scottish doctors to aid digestion as traditionally they are a great source of fibre due to the use of whole wheat flour. Plus the inclusion of bicarbonate of soda was thought to help calm stomach acid. This can be the case however, unfortunately the baking process of the digestive biscuit alters the chemical structure of the bicarbonate of soda, thus neutralising its digestive effects. But the name has stuck and these seemingly plain brown biscuits are British baking stalwarts.
Why You’ll Love These Gluten-Free Digestive Biscuits
- So much more delicious than the supermarket gluten-free digestives.
- Simple recipe with just 7 ingredients needed.
- Only 2 gluten-free flours are required (and there are easy substitutions for these) and no xanthan gum.
- Easy to make, bake and freeze for future cookie uses.
- Whether you decide to slather over a quick chocolate coating or not, these biscuits will be adored by everyone.
- Very handy recipe to have for your next cheesecake or pie that needs a graham cracker or digestive biscuit crust
Watch The Video
Sometimes it helps to see a visual of what I'm talking about. So watch the video to see what it looks like to make your Gluten-Free Digestive Biscuits and how to coat with chocolate too!
Ingredients and Notes
Gluten-Free Flours
I don't recommend using an all purpose gluten-free flour in this recipe as it will produce different results. Instead I use the following two flours to create a perfect flour blend:
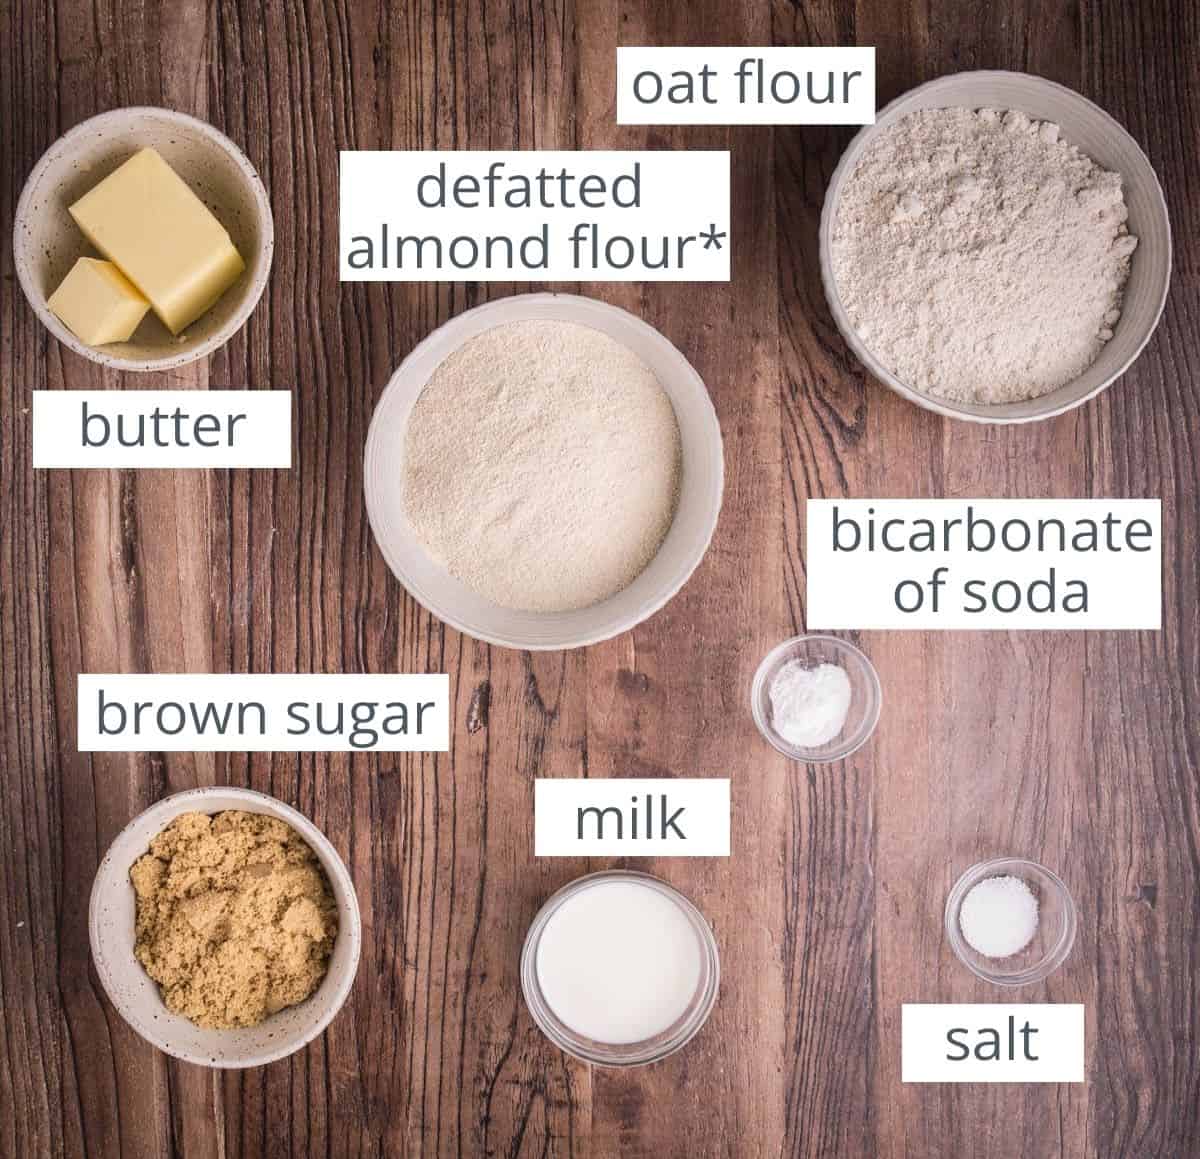
Oat flour. Oatmeal is often used in homemade digestives due to the great texture and flavour it gives the biscuits. I like using ready ground oat flour here but you can easily use gluten-free oatmeal and just whizz it up in the food processor to produce the oat flour - it will have slightly more texture. Make sure it is certified gluten-free.
Oat flour substitution. If you can't eat oats due to dietary restrictions you can swap the oat flour for sorghum flour.
*Defatted almond flour. This is my preferred flour to use alongside the oat flour to create this easy gluten free flour blend and it is different to ground almonds or almond meal as a percentage of the fat is removed when the blanched almonds are pressed. It is really high in protein and it gives the biscuit dough a great workable structure to roll and cut out and the finished biscuits have a great bite. Defatted almond flour can be difficult to find and an expensive treat so if it's not suitable for you then the substitution I offer below of chickpea flour also gives a great result.
Defatted almond flour substitutions. Chickpea flour (gram flour) is my preferred swap if you can’t get hold of defatted almond flour or allergies are an issue or the expense is putting you off. It is a straight swap but the chickpea flavour does come through a little. Not enough that the biscuits are not still delicious though and the flavour is negligible if you are using the digestive biscuits for a pie crust or cheesecake base when there are other flavours at play.
If you want to use ground almonds or almond meal instead of the defatted almond flour you will need to use 20% less butter (140g total butter) to compensate for the extra fat. They will produce a softer dough and they will need a longer chilling time before rolling out (about an hour) and the biscuits will spread slightly more in the oven.
The rest of the ingredients
Light Soft Brown Sugar. Using brown sugar adds a gentle molasses flavour and moisture to the batter, enhancing the depth of taste and providing a subtle caramel undertone.
Butter. Unsalted is the best choice here. Make sure it is cold from the fridge.
Bicarbonate of soda. Also known as baking soda, this is a white crystalline powder that is commonly used as a leavening agent in baking. This is the traditional leavener used in digestives.
Milk. Use whole milk or a plant based milk if you are making dairy-free.
Salt. I like to use kosher salt in my baking as it has a round gentle flavour. Using salt in your baked goods lifts and sharpens all the other flavours.
How to make Gluten-Free Digestive Biscuits
For full recipe instructions go to the recipe card at the end of this post.
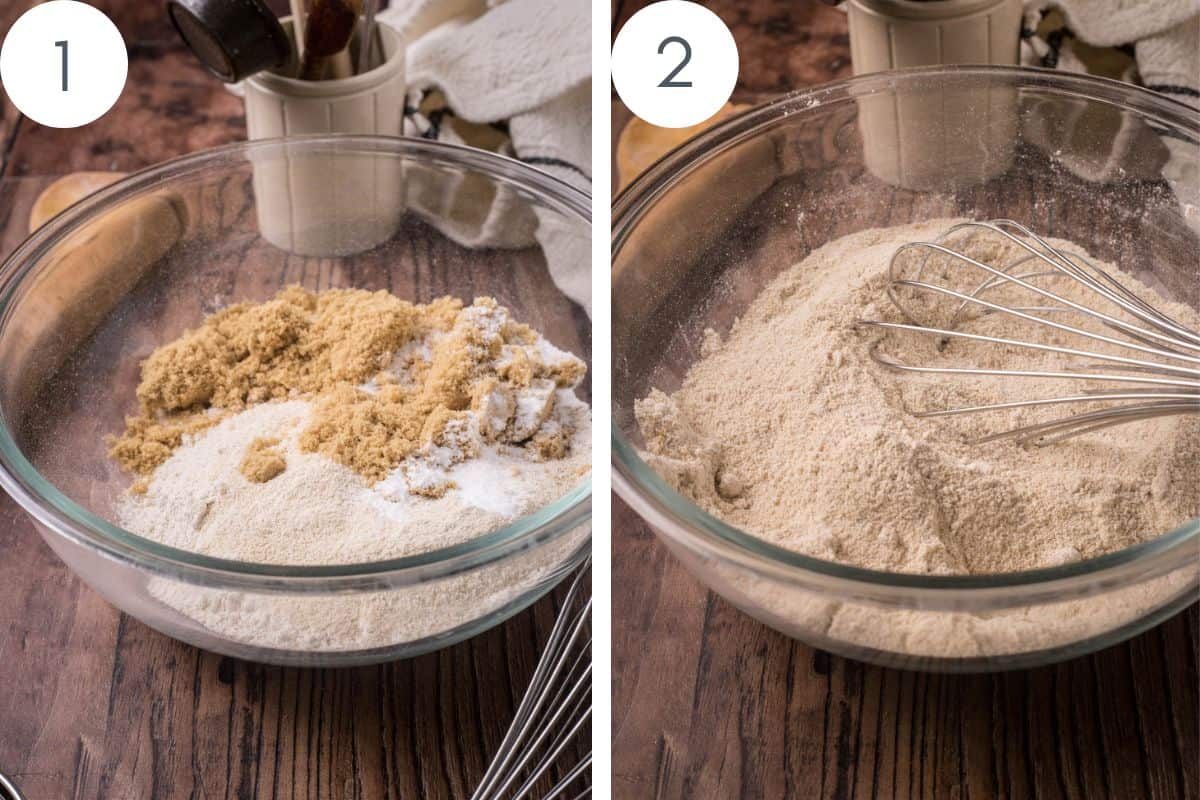
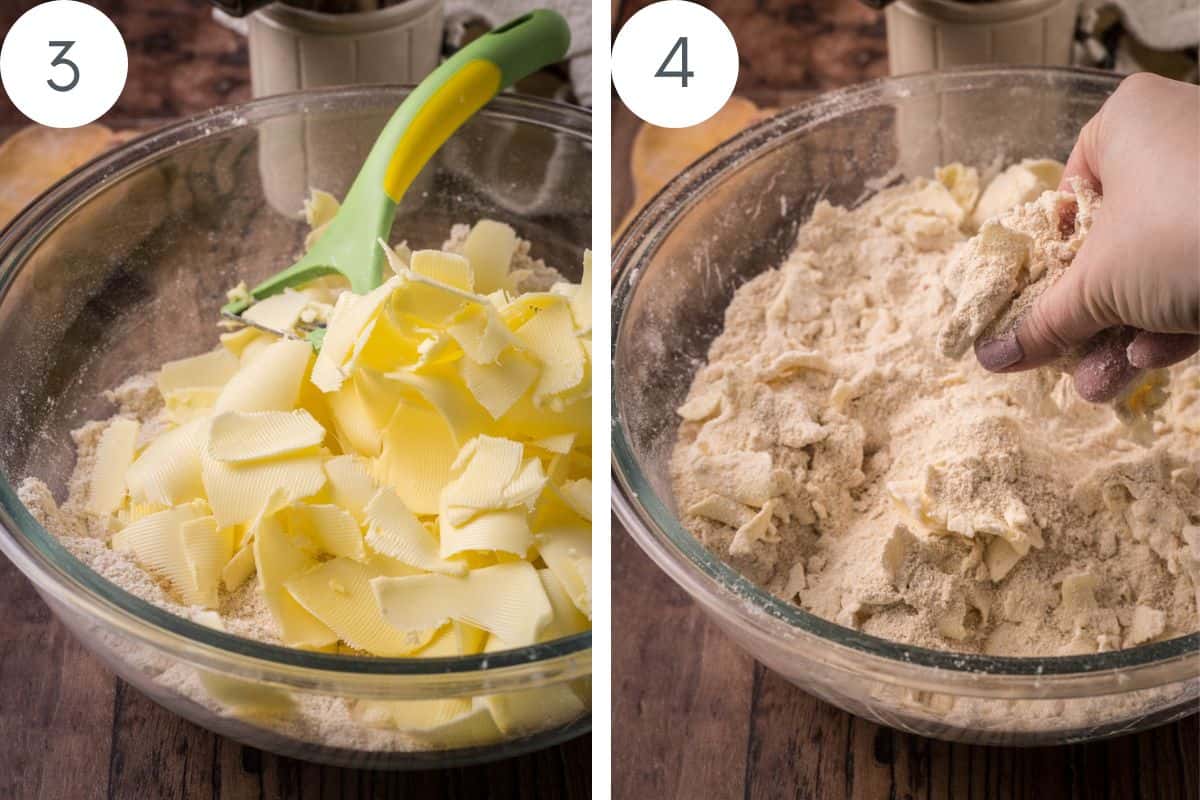
- Whisk the oat flour and almond flour together in a large bowl with the sugar, salt and bicarbonate of soda then rub the butter in to form breadcrumbs.
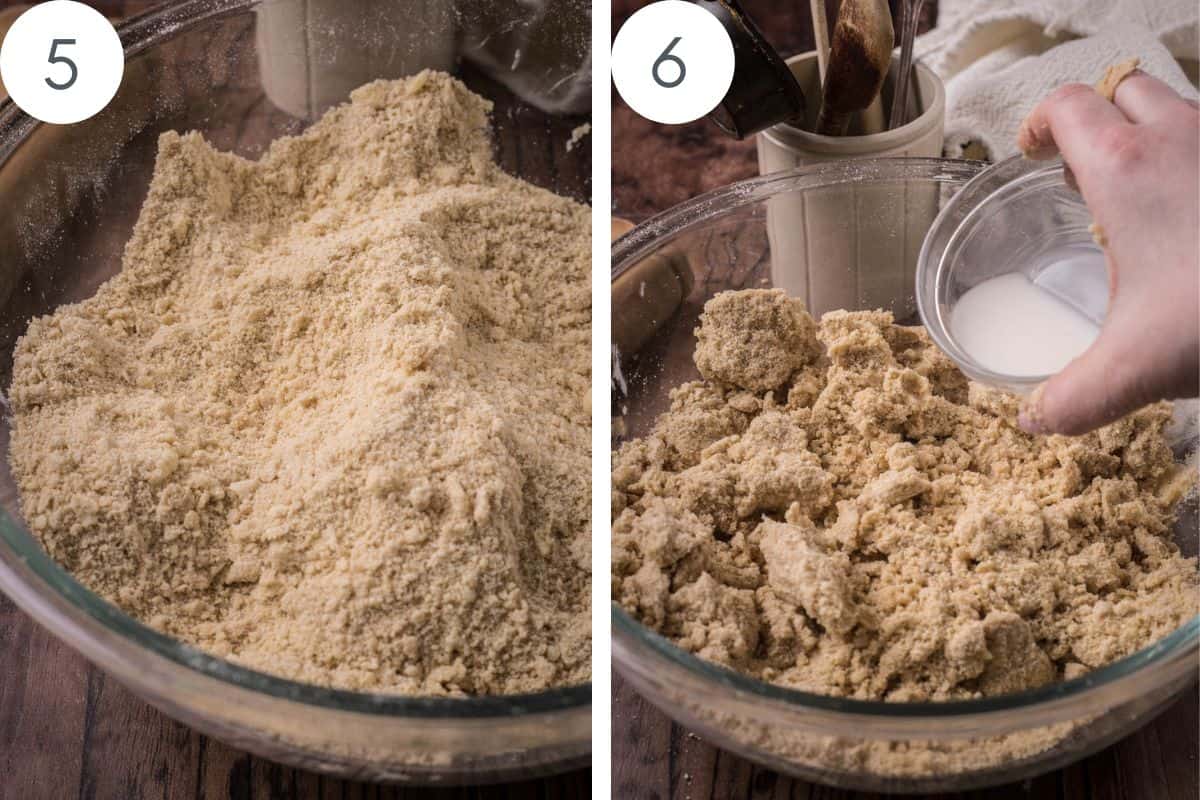
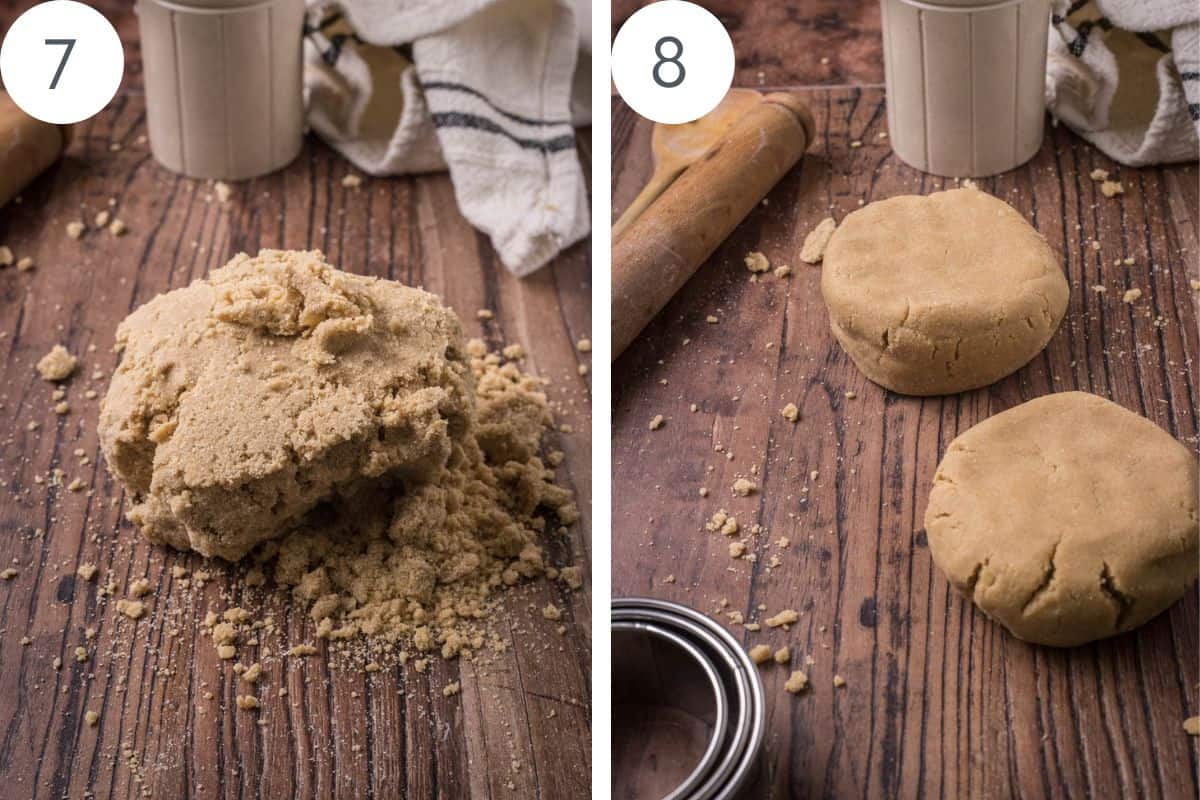
- Add enough milk to form a coherent dough then chill for 30 minutes.
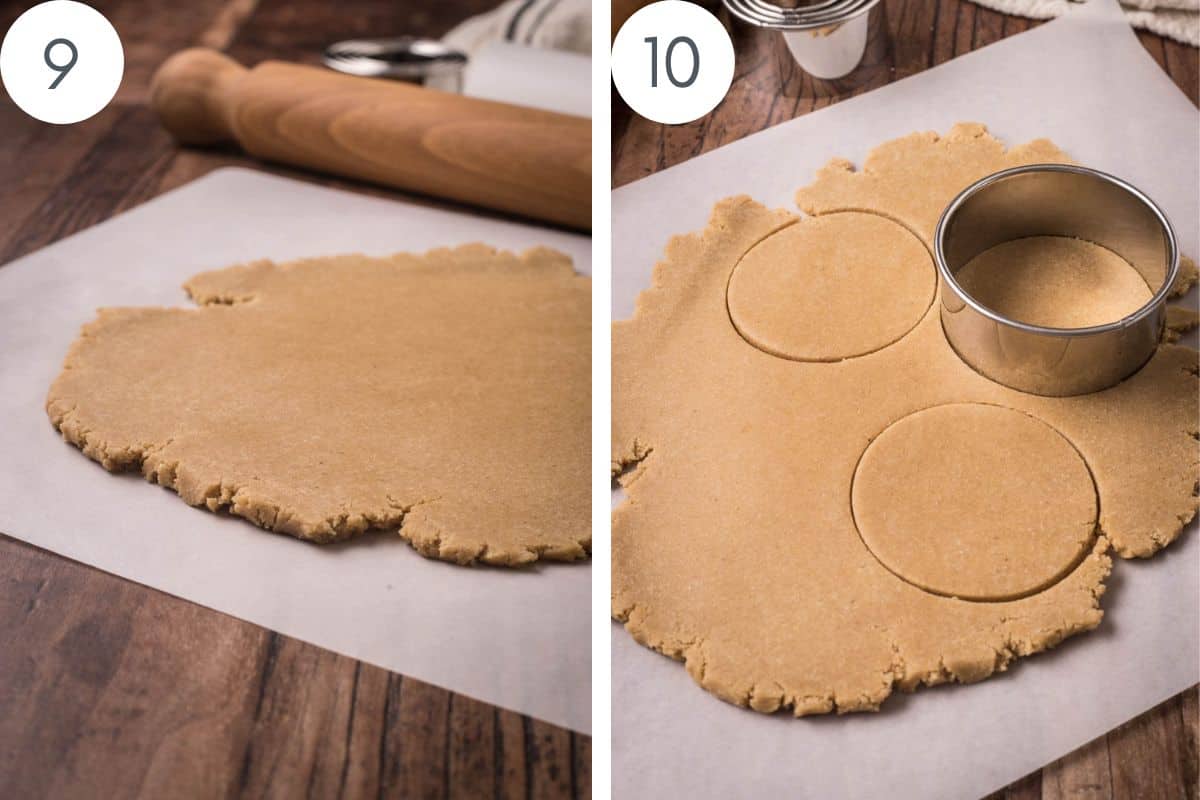
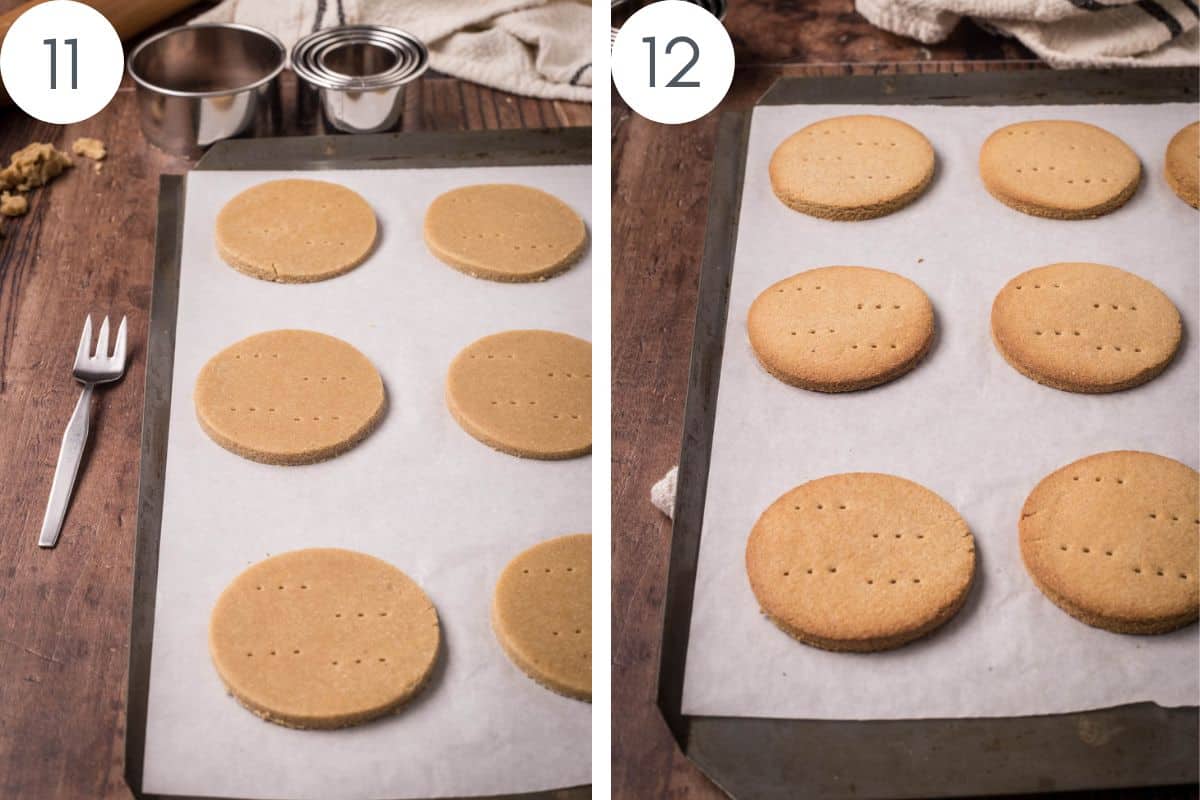
- Roll the dough, cut out the biscuits and bake on the prepared baking sheet for 12 minutes.
- Leave on the baking tray for 5 minutes before transferring to a wire rack to cool completely.
Digestive biscuits do not stand on ceremony and they definitely do not need chocolate. Only on high days and holidays might I consent to a small brush of salted milk chocolate to glaze the surface. Feel free to embellish yours though if you like things a bit more flashy.
Expert Tips
Use precise measurements for all ingredients, this is especially the case when working with gluten-free flours. And I urge you to use digital scales, any slight variation in measurements can alter the desired texture and consistency.
If you have a food processor then I recommend mixing your flours with the cold butter that way. This is a quick and easy way to combine the ingredients without the butter warming up too much. You can add the milk in there too and then just quickly bring the dough together by hand before chilling.
Alternatively if you want to make without a food processor then I recommend peeling the cold butter into the dry ingredients which helps to keep the butter cold as it won't need as much rubbing into the other ingredients.
I recommend splitting the dough in half and chilling two dough balls as I usually bake the biscuits in two batches anyway. Then whilst the first batch is baking I roll and cut out the second dough ball.
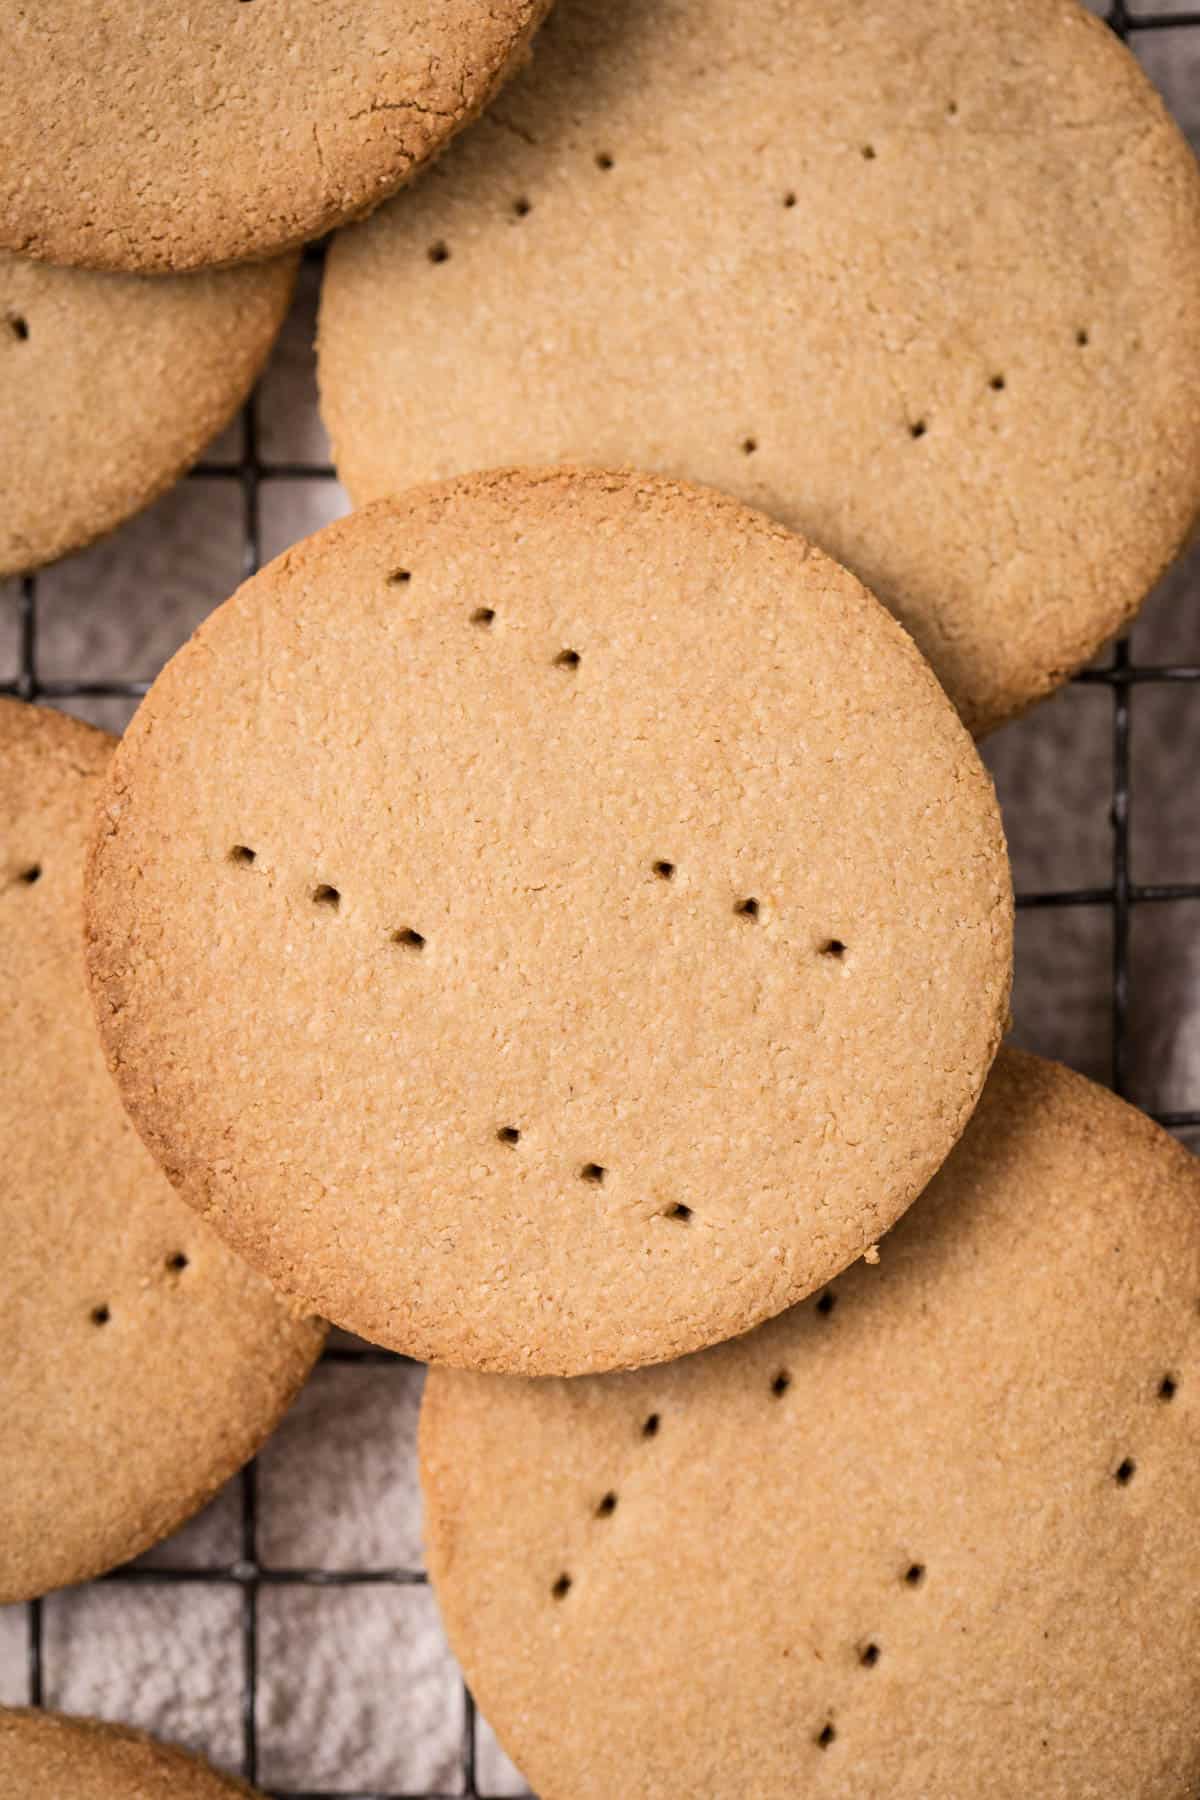
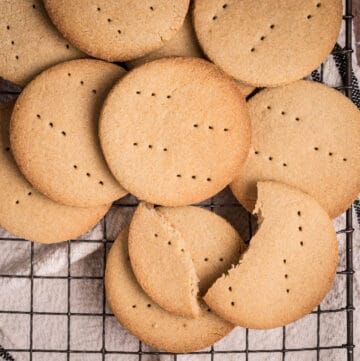
Before you cut out your biscuits you can use a pastry docker to create the signature tiny holes in the biscuit. However, the tines of a fork do just as well.
You know when your biscuits are baked as they turn beautifully golden.
Allow to cool completely before enjoying as they firm up and get a better texture as they cool. Straight out of the oven they can still be a little soft and certainly won't be suitable yet for your cheesecake bases.

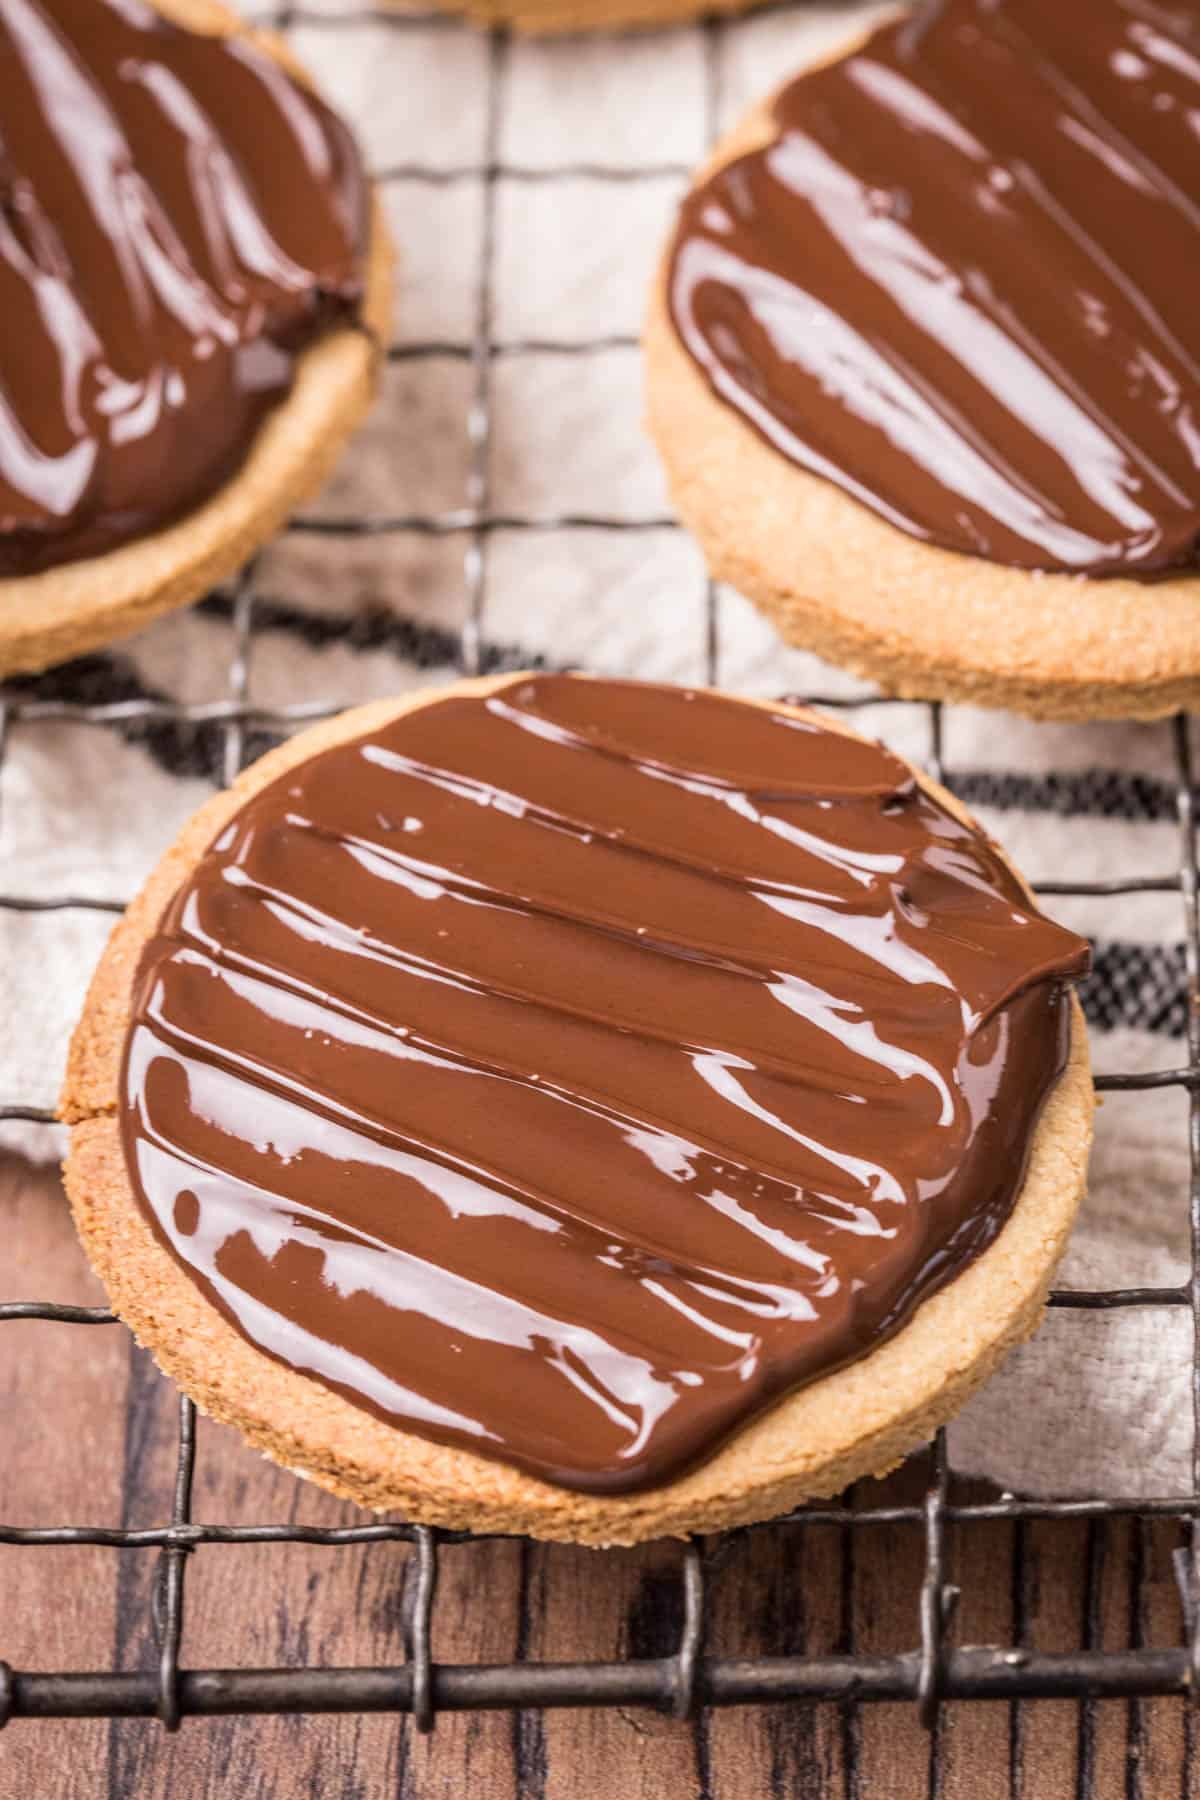
How to Make Chocolate Covered Digestives
Digestive biscuits do not stand on ceremony and they definitely do not need chocolate. However on high days and holidays might I consent to a small brush of chocolate to glaze the surface. You can use milk chocolate or dark chocolate or even dairy-free chocolate if you prefer.
You don't have to but I do recommend tempering the chocolate before brushing onto the top of the biscuit. Not only is tempered chocolate more attractive (as untempered chocolate can dry a disappointing dull colour with white streaks) but it also means the chocolate sets harder so you can store your biscuits at room temperature - they can get a bit melty otherwise.
- You will need about 170g (1 cup) chocolate.
- Melt the chocolate in the microwave or in a bain marie and temper using this easy guide on How to Temper Chocolate.
- Dip a tablespoon measure into the chocolate and drop onto the centre of the biscuit. Use a small palette knife to spread out to the edges.
- Allow the chocolate to cool on the biscuit at room temperature.
- To create the signature Chocolate Digestive look then wait for about 20 minutes when the chocolate is just starting to set and run the small palette knife up and down the chocolate to create the pattern (see the video above).
How To use Digestive Biscuits in Baking
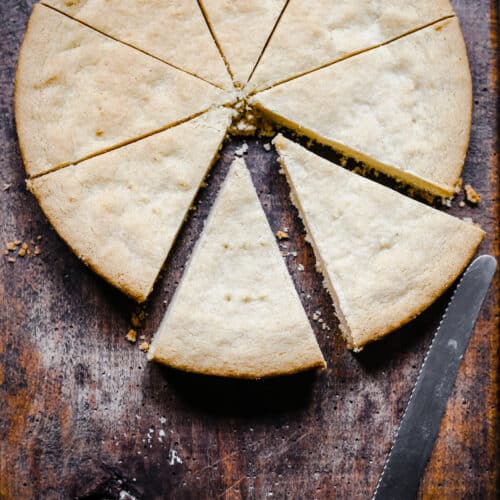
Digestive Biscuits are also an essential ingredient for the enthusiastic home baker since they are the perfect biscuit to produce the ideal pie or cheesecake crust. They are absolutely wonderful as the base in this Strawberry Pink Peppercorn Cheesecake. Just add melted butter to crushed Digestive Biscuits and press into a pan and you have the most delicious base for a whole range of desserts.
Chopped Digestive Biscuits can also be added to chocolate to make a Rocky Road or a Chocolate Tiffin. Or you can just bake yourselves up a batch of these delightful biscuits and just dunk pleasurably into your cup of tea, they withhold the moisture surprisingly well.
FAQs
Your dough probably needs more time to chill if it's too soft and sticky to roll out. Try chilling for another 30 minutes. Then roll the dough out in between 2 sheets of baking parchment to help keep the dough from sticking to the rolling pin.
If your dough is too sticky to roll or cut out then you may have used ground almonds rather than defatted almond flour. You can fix your dough by adding 30g of a starchy flour like tapioca starch, potato starch or cassava flour. Knead it into your dough, re-chill it, and it will become stiffer and easier to roll out.
These biscuits have only been tested with dairy butter. You can substitute the dairy if you have a favourite vegan butter which works well as a 1:1 swap. The whole milk can easily be swapped for dairy-free milk.
Once the biscuits have cooled to room temperature, you can store them in an airtight container (but preferably tin rather than plastic as it plastic will keep the biscuits too warm) in a cool dark place. They will start to taste a bit stale after 5 days or so but there is no way they will last that long anyway!!
Absolutely but I recommend freezing the biscuit dough prior to baking. You can freeze the dough successfully by double wrapping it. First wrap it tightly in plastic wrap then aluminium foil. Then either place in a resealable freezer bag or airtight container. Don’t forget to label including the date. To enjoy, thaw in the refrigerator overnight, then roll, cut out and bake as per the recipe.
More Gluten-Free Biscuits You'll Love


Enter your email below to get this recipe sent to your inbox plus get new recipes, baking tips, and updates.
Gluten-Free Digestive Biscuits
Ingredients
- 180 g oat flour
- 180 g defatted almond flour
- 115 g light brown soft sugar
- ½ teaspoon bicarbonate of soda
- ½ teaspoon sea salt
- 170 g unsalted butter - cold, sliced thinly
- 50-55 ml whole milk
Instructions
- Whisk the flours, sugar, bicarbonate of soda and salt together in a large mixing bowl.
- Add the butter and rub into the flour using the tips of your fingers until the mixture resembles breadcrumbs.
- Pour in the milk one tablespoon at a time until it forms a cohesive dough.
- Shape the dough into two rounds and then flatten slightly and wrap in cling film. Chill for 30 minutes
- Pre-heat the oven to 190°C/ 170°C fan/gas mark 5.
- Roll the dough out to 8mm thickness then cut the biscuits into 8cm rounds. Prick the biscuits with the tines of a fork a couple of times.
- Place the biscuits on a baking sheet an inch or so apart and bake the biscuits for 12 minutes. The biscuits can be baked in two batches.
- Remove from the oven, leave on the baking sheet for 5 minutes then transfer to a cooling rack to cool completely.

I just made these again, for another cheesecake, and although I forgot to reduce the amount of butter (I used normal almond flour) they still turned out wonderful! I found I didn't use all the milk, I only needed about 30ml. I also realised I didn't have enough oat flour, so I used about half oat, half sorghum flour. The dough was a little hard to roll out, as it was quite sticky, but I managed by putting a sheet of cling film in between the dough and the rolling pin. Once baked they looked lovely and golden brown, they didn't spread a lot, which I was pleased about, and more importantly they taste amazing! Also, last time I made these biscuits I found I only needed about half the batch for the cheesecake crust, but I made a full batch this time, like last time, because everyone loves them so much they were all asking whether they could eat some biscuits as soon as they were ready!
Thank you for letting me know how much you enjoyed them!