This post contains affiliate links. Please read my disclosures.
The ultimate guide on How To Temper Chocolate, see below to download a quick reference PDF.
Making your own chocolate truffles and hand filled chocolates is a bit of an indulgence. It requires some time and a little bit of patience to learn how to temper chocolate but a whole lot of satisfaction. If you find the whole process slightly intimidating then have no fear, it is much easier than you think and once you have done it a few times, you may find making your own beautifully hand filled chocolates more than a little addictive. Or maybe that’s just me, but I don’t hear any complaints from friends or family.
Why do you temper chocolate?
Chocolate does not need to be tempered if you are melting chocolate for everyday use such as adding into cakes, buttercreams, biscuits or tarts. However, if the finished look and texture of the chocolate is important, such as if you are coating truffles, creating chocolate cages for your cakes, making Easter Eggs, chocolate bark or hand-filled chocolates then you will need to temper the chocolate. Chocolate bars we buy from the supermarket have already been tempered but if we melt the chocolate we are taking it out of temper, which means that the crystallisation of the cocoa butter will run amok. We need to take these crystals into line by regulating the temperature of the chocolate during the melting process. Think of the lovely glossy shine of an Easter egg right before you break it apart with a glorious crack. Without tempering, chocolate will bloom, giving it a dull white streaky appearance and with no satisfying snap, the chocolate will crumble miserably.
Marble Slab Method
There are two main ways of tempering chocolate, the marble slab method and the seeding method. The marble slab method gives a more consistent result if you are dealing with large amounts of chocolate but it does require you to have a large marble slab or countertop. The seeding method, which I am concentrating on here, is more suitable for tempering chocolate at home as you can temper less with more control and you are not pouring chocolate all over your kitchen. Well, at least that isn’t the aim.
Seeding Method
The only bit of special equipment required for the seeding method is a digital thermometer. I definitely have a preferred instrument – my thermapen (thermapen.co.uk) – as it reads the correct temperature immediately. Some of the cheaper digital thermometers do have to be held in the chocolate for thirty seconds or so to confirm an accurate reading which could be the pivotal amount of time to drive up your temperature and lead to over-tempering, plus they have annoying wires which really get in the way. Thermapens are not the cheapest but they come in different colours and if you shop around some of the colours are strangely cheaper than others.
How much chocolate do you need?
The minimum amount of chocolate you can temper successfully is about 300g, any less and you will have difficulty getting an accurate temperature reading. More chocolate means the temperature gauge can fully immerse in the chocolate, plus you will have more control with the more chocolate you are handling.
What kind of chocolate do you need?
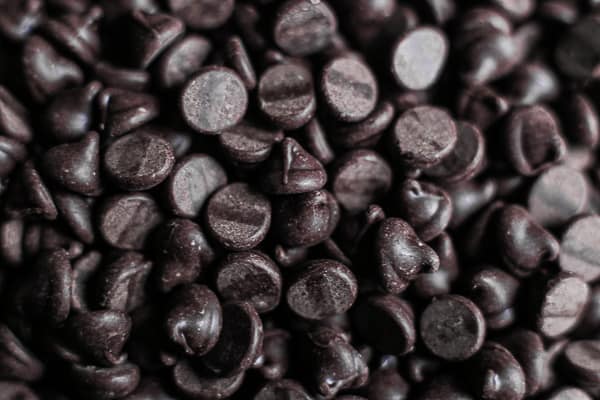
I recommend buying good quality chocolate chips rather than relying on Green and Black bars, mainly due to the cost, as it is so much cheaper to buy chocolate in bulk online than in single bars from the supermarket. Also chocolate chips will melt much quicker which will really help when you are adding your seed back into your chocolate. Now, you also can’t buy just any old chocolate chips, if you are spending your afternoon tempering chocolate and covering some delicious chocolate truffles then you really want the chocolate to be of the utmost quality. Of course you can go absolutely crazy with this as different brands can be astronomical, but a good place to start is Belgian Callebaut chocolate chips as they are reasonably priced and are also delicious. I buy my chocolate online from www.chocolatetradingco.com as they have a very good selection. The different types of chocolate, dark, milk or white work to different crystallisation temperatures, so do read be careful that you follow the correct method for the correct type of chocolate.
I always wear latex kitchen gloves when handling melted chocolate as it will get all over your hands, your kitchen work surface, spoons, bowls and the floor. Melting, then cooling, melting, then cooling. Also chocolate moulds can be messy if you are not used to them. Gloves mean there is less temptation in licking all that molten goodness off your fingers and you can concentrate on the task at hand.
How many times can you re-temper chocolate?
You can re-temper the chocolate 3-4 times so don’t worry about the amount of chocolate you are melting if you actually only need about half. You can always have a few chocolate projects on the go. However, once you are done with the tempering you will usually have some spare melted chocolate left sitting in your bain marie. For this reason my home made chocolates always come with some brownies on the side as you do not want that chocolate to go to waste. Remove the chocolate from your bain marie whilst it is still in a molten state otherwise it will pretty impossible to shift once solidified.
Once you get the hang of it tempering chocolate is really quite easy. Making homemade chocolates is a lovely way to spend the day. The Easter weekend is the perfect time to tackle such a project with the obvious reward being lots of delicious chocolates which will cost a hell of a lot less than those you will get from your fancypants chocolatier and a million times more delicious than Terry’s All Gold.
How to Temper Dark Chocolate
For tempering white or milk chocolate look to the table below for the different temperatures to work with, the rest of the method remains the same.
- Measure out your chocolate, then set aside ⅓ of the chocolate to create the seed.
- Place the first ⅔ of the chocolate in a bain marie or a metal bowl set over a saucepan with 1 inch of hot water in it. The water should not be boiling and should not be touching the bottom of the metal bowl.
- Melt the chocolate very slowly, stirring occasionally but always checking the temperature. You want it to reach 55°C which is usually just after all the chocolate has melted.
- As soon as the melted chocolate reaches this temperature, remove the metal bowl from the heat and place on a tea towel to halt the heating.
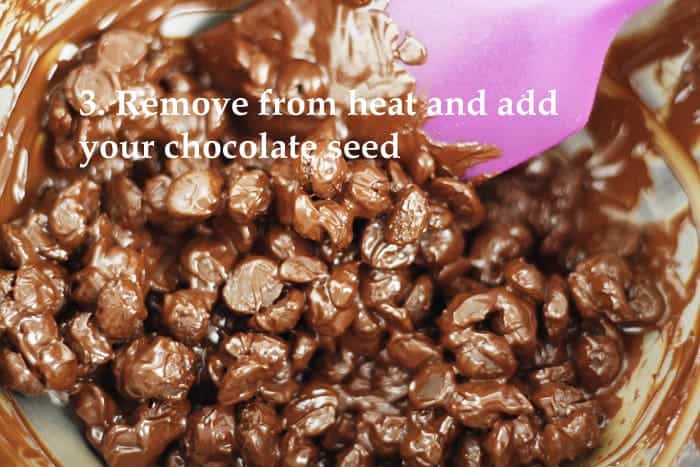
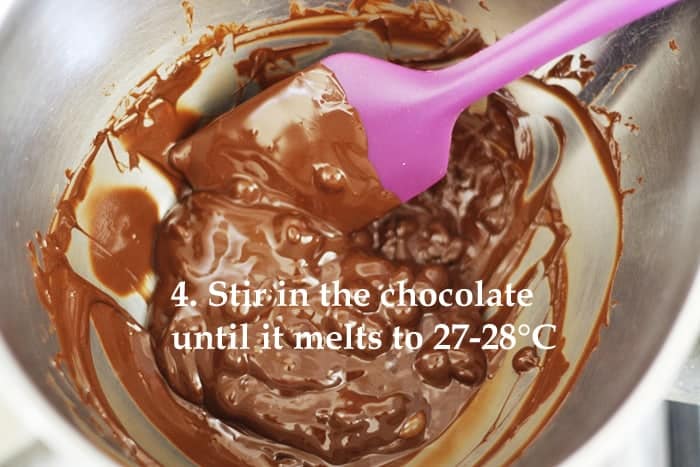
- Tip your ⅓ of chocolate seed into the molten chocolate and stir in very quickly and firmly so that the chocolate melts completely. You need the temperature to reduce to 27-28°C. This could take about 10 mins of constant stirring. If by this stage your seeded chocolate has not completely melted you need to remove the lumps as these will impair the finished temper of the chocolate.
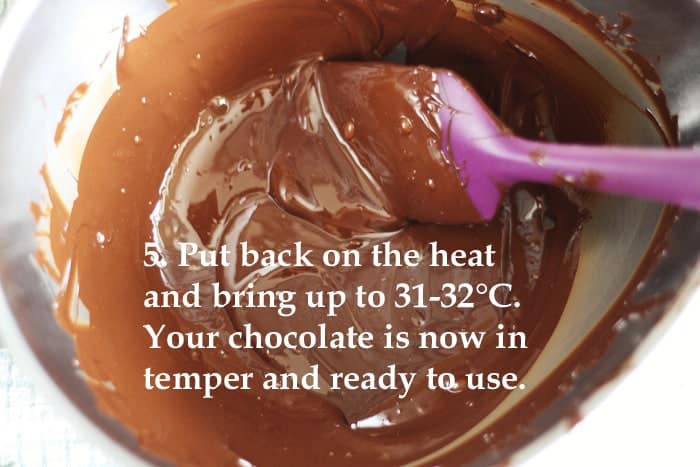
- As soon as the temperature has dropped to 27-28°C then place the metal bowl back on the heat and bring back up to 31-32°C. It can take just moments so keep stirring with the thermometer at hand to monitor.
- When your chocolate has reached 31-32°C it is now in temper and is ready to use.
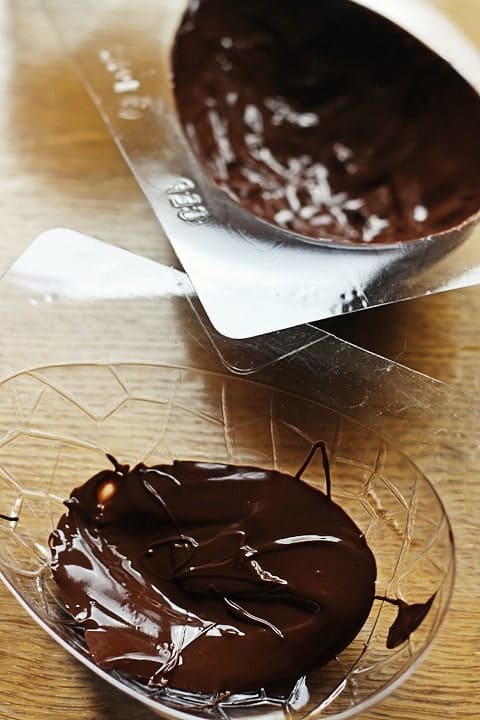
- If you are able to keep the chocolate between 31-32°C whilst you are using it then that is ideal, however, if not then you need to work very quickly coating your truffles or filling your moulds otherwise the temperature will drop out of temper. As the chocolate cools it will thicken and become impossible to manipulate.
- If you let your chocolate rise above 31-32°C then you will have over-tempered the chocolate and will need to start again by raising it to 55°C and taking it from there.
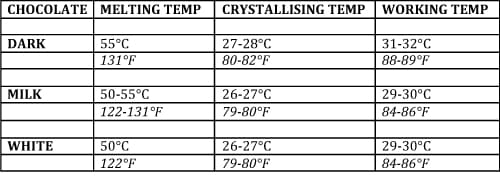 Table adapted from Paul A. Young’s Adventures in Chocolate
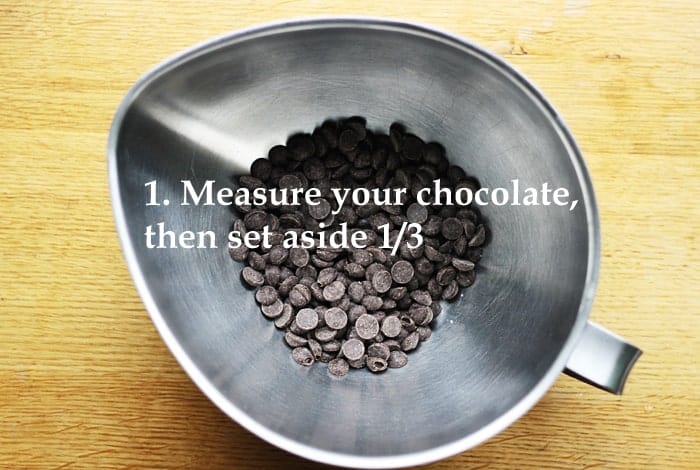
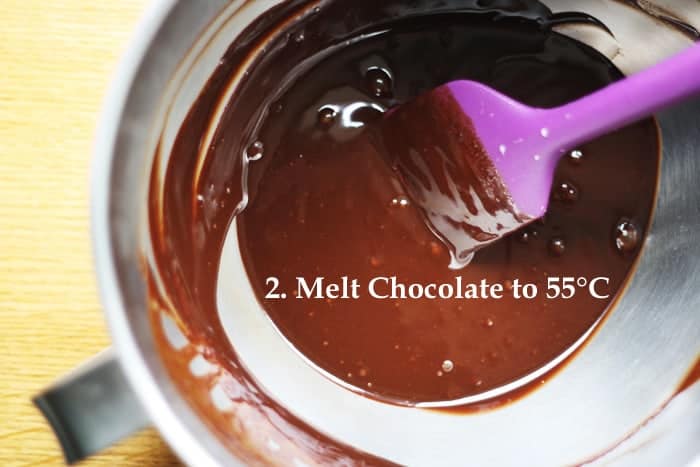
Quick Guide on How To Temper Chocolate
This is a long post so if you want a quick easy reference on the basic points of how to temper chocolate then download my quick guide on how to temper chocolate at the link below!
SHOP THE RECIPE
ETI SuperFast Thermapen 3 thermometer (Tan) | OXO Good Grips Silicone Medium Spatula - White


Leave a Reply