This post contains affiliate links. Please read my disclosures.
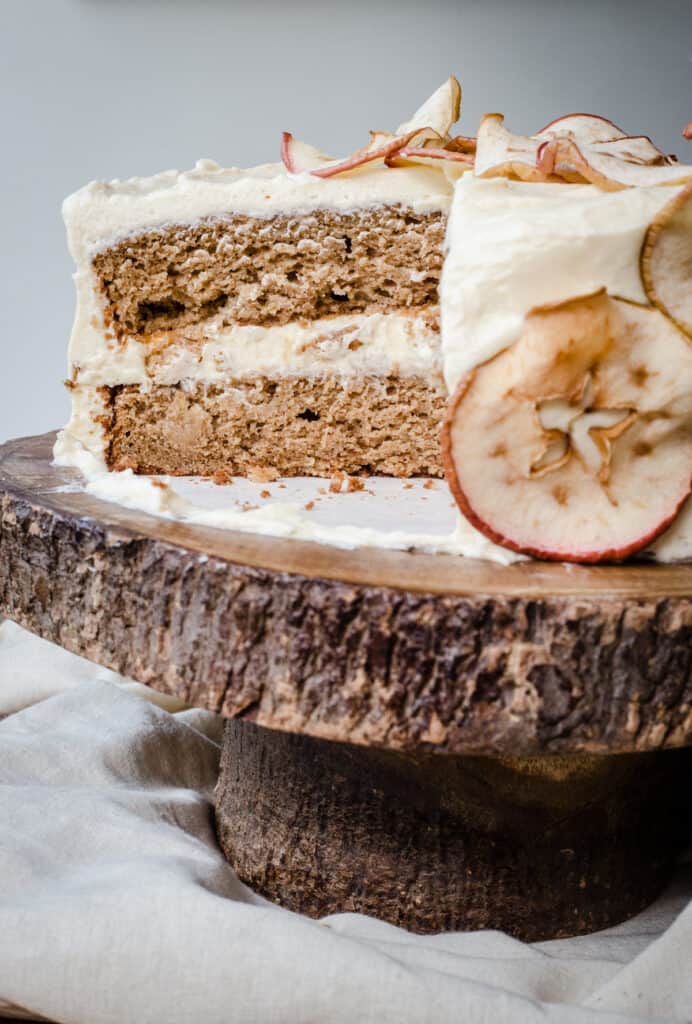
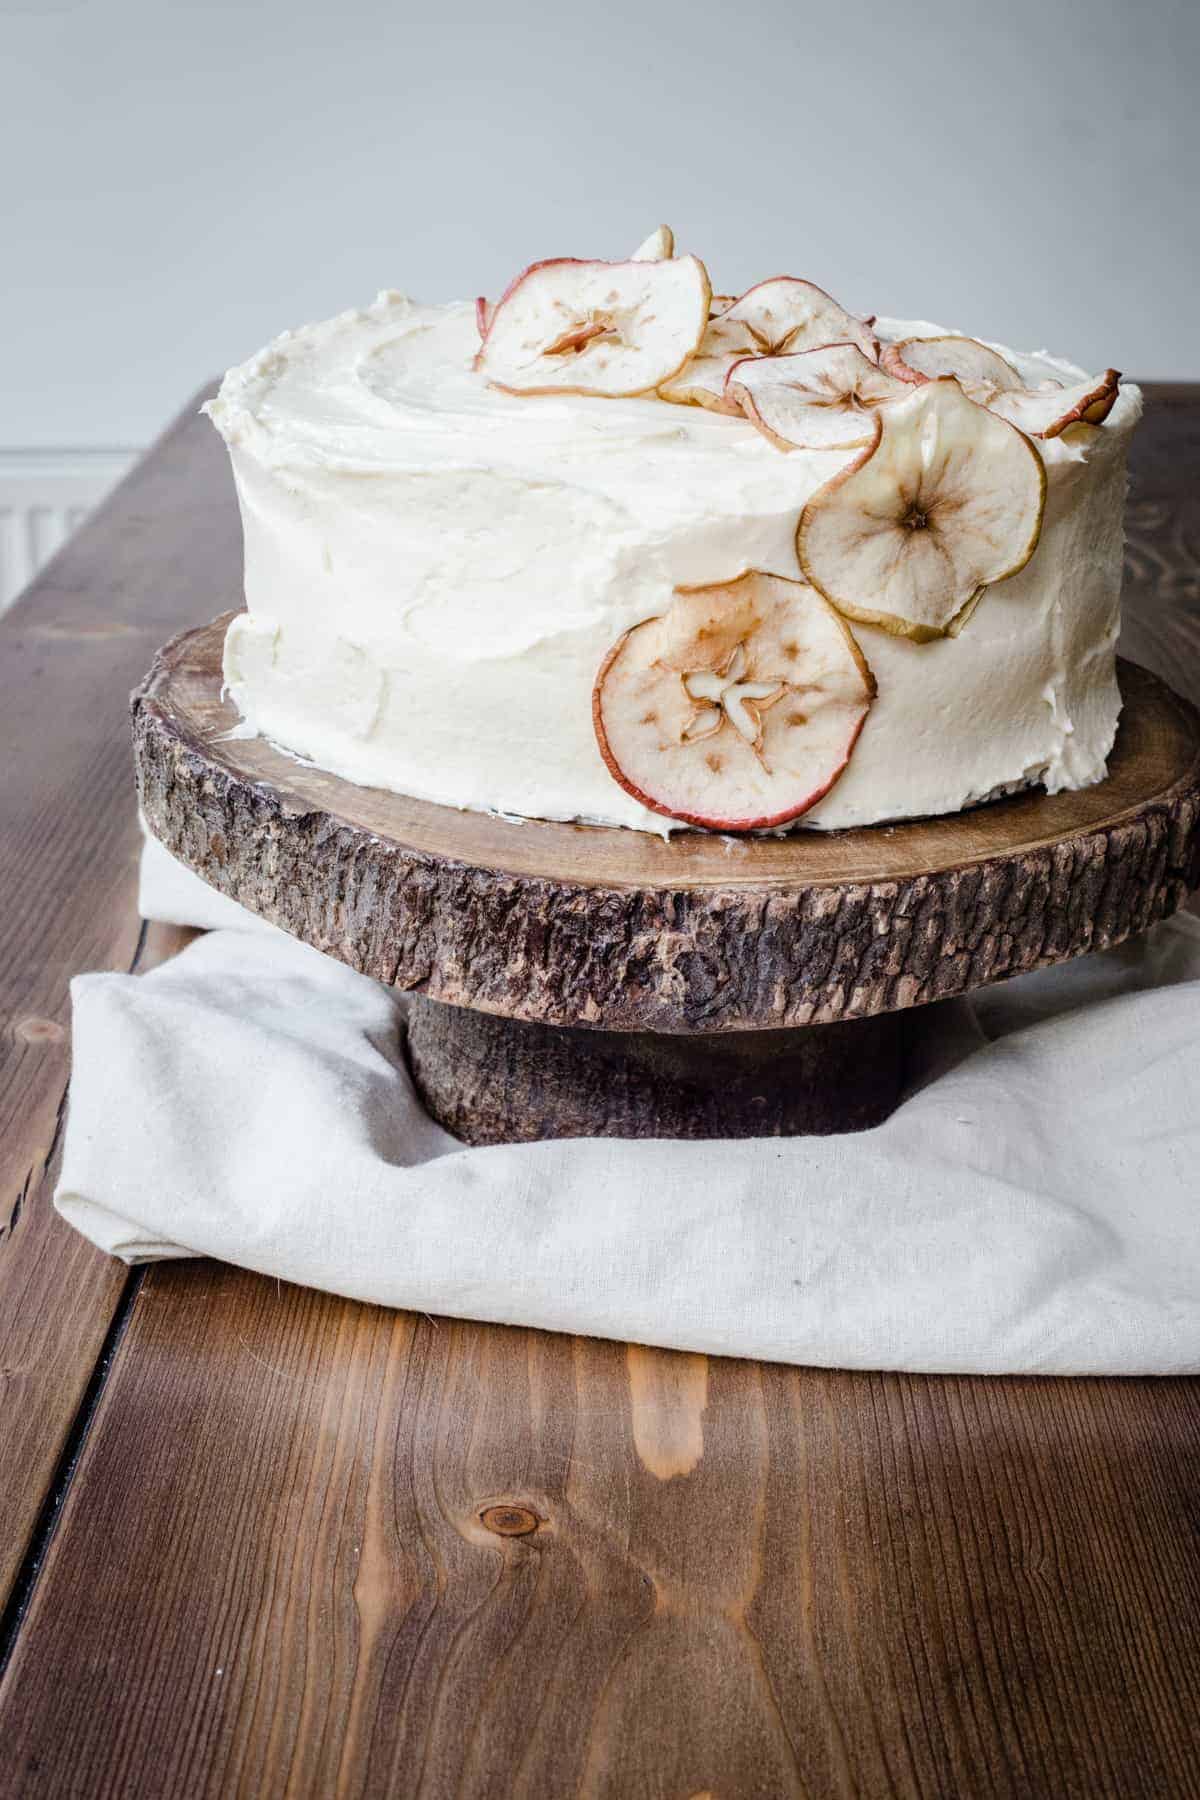
A beautiful layered Apple and Cinnamon Cake with Salted Caramel Cream Cheese Buttercream. This gluten-free apple cake is wonderfully flavourful and the depth of buckwheat rounds out the warmth of the cinnamon, allspice, cloves and nutmeg. The luxurious cream cheese buttercream spiked with homemade salted caramel turns this cake into a real celebration.
I always smile patiently at the ‘I don’t normally like gluten-free cakes but this one is amazing’ comments. Of course it’s a compliment to my cake recipes but the reputation of gluten-free cakes is so disappointing. They are often dismissed as dry crumbly over-sweetened confections but this is a shame as gluten-free cakes can be incredibly flavourful, light and fluffy. You just need to use the right flours.
This Apple and Cinnamon Cake is a perfect example. It often receives the kind of comments mentioned above. That’s if I have bothered to tell the recipient the cake is gluten-free at all. You would be hard pressed to realise otherwise as the flours chosen here both compliment the delicate spices and give exactly the right fluffy texture.
Table of contents
Gluten-Free Flours
- Buckwheat Flour - This Apple Cake was actually adapted from a wheat cake which I had on the blog way back when. Even back then the main flour of choice which I used was buckwheat flour. A naturally gluten-free flour with an amazing flavour that pairs perfectly with the apple, spices and salted caramel.
- Sweet Rice Flour – One of my favourite flours. It is so incredibly useful as it’s a starchy flour which gives the cake excellent structure and bounce in the absence of gluten’s elasticity. To use too much of it in a recipe can lead to chewy dense cakes but just enough and it’s your gluten-free secret weapon.
- Potato Starch – Often you just need a bit of a filler and this is the function that I mainly use Potato Starch for. It’s neutral in taste and balances the cake out well so I don’t have to overuse other gluten-free flours which may overwhelm the texture or taste.
If you need more comprehensive information on gluten-free baking then visit my Ultimate Guide to Gluten-Free Flours and my Ultimate Guide to Gluten-Free Cakes.
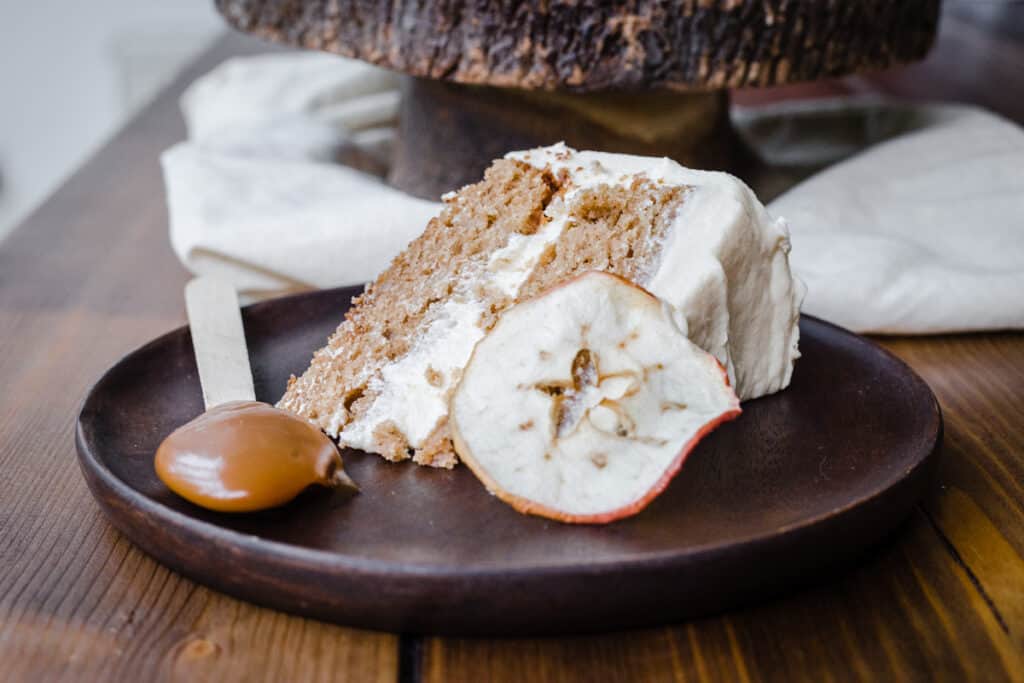
The combination of the fresh Autumn apples, gentle spices, brown sugar and buckwheat make this cake so richly flavourful. The sponge is incredibly simple to make and requires no complex methods.
How to make Apple and Cinnamon Cake
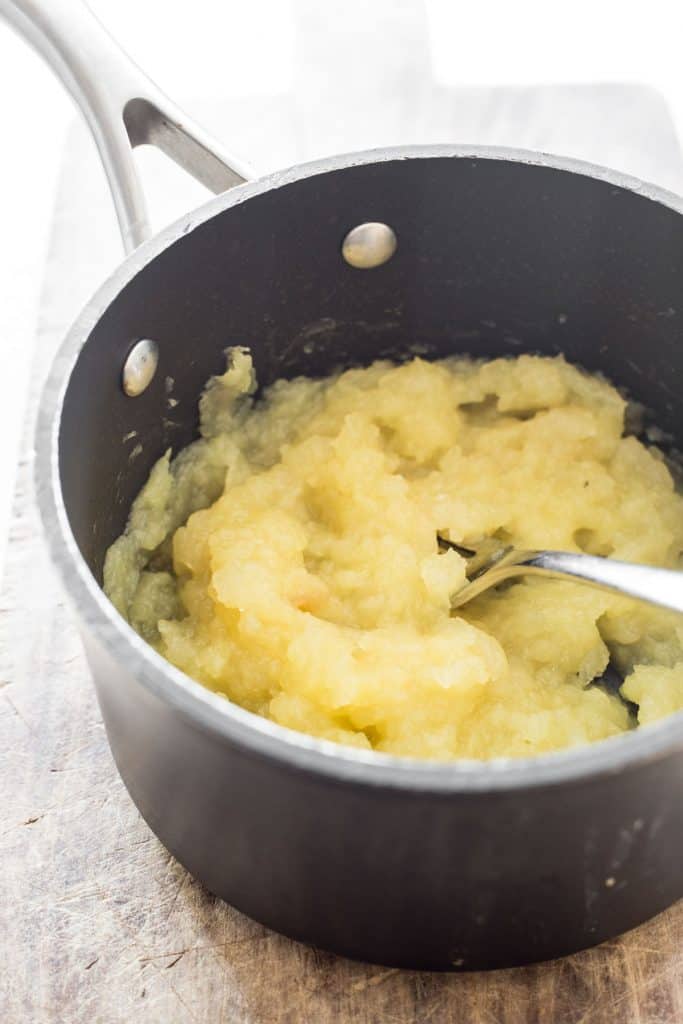
- Make the apple sauce by heating diced apple until they have broken down into a pulp. Set aside.

- Cream the butter and sugar until light and fluffy.
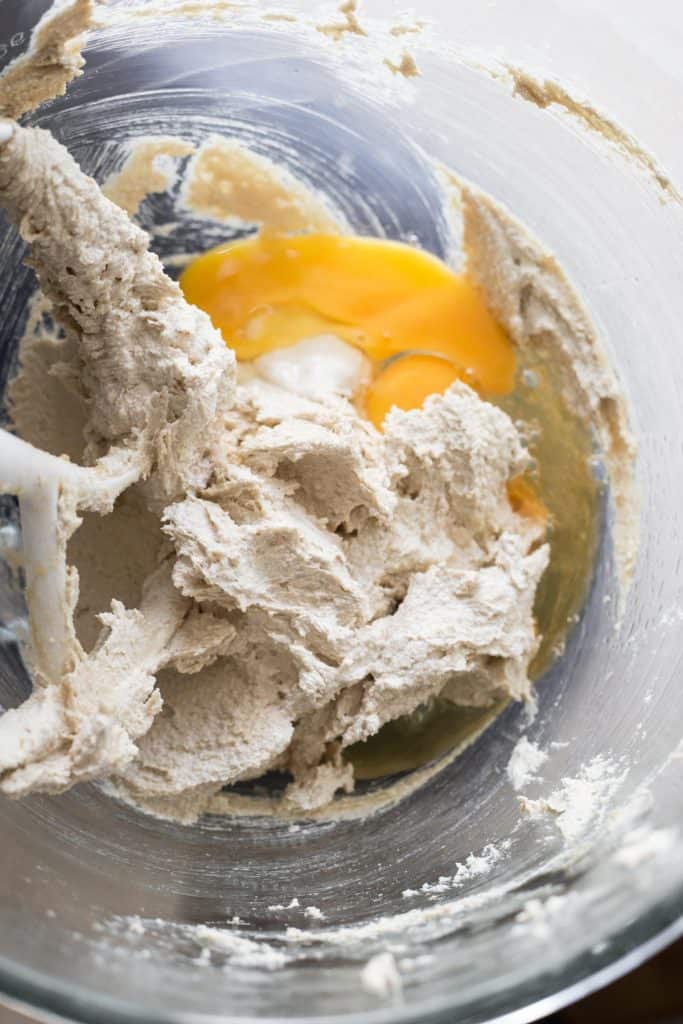
- Add the eggs one at a time then vanilla extract.

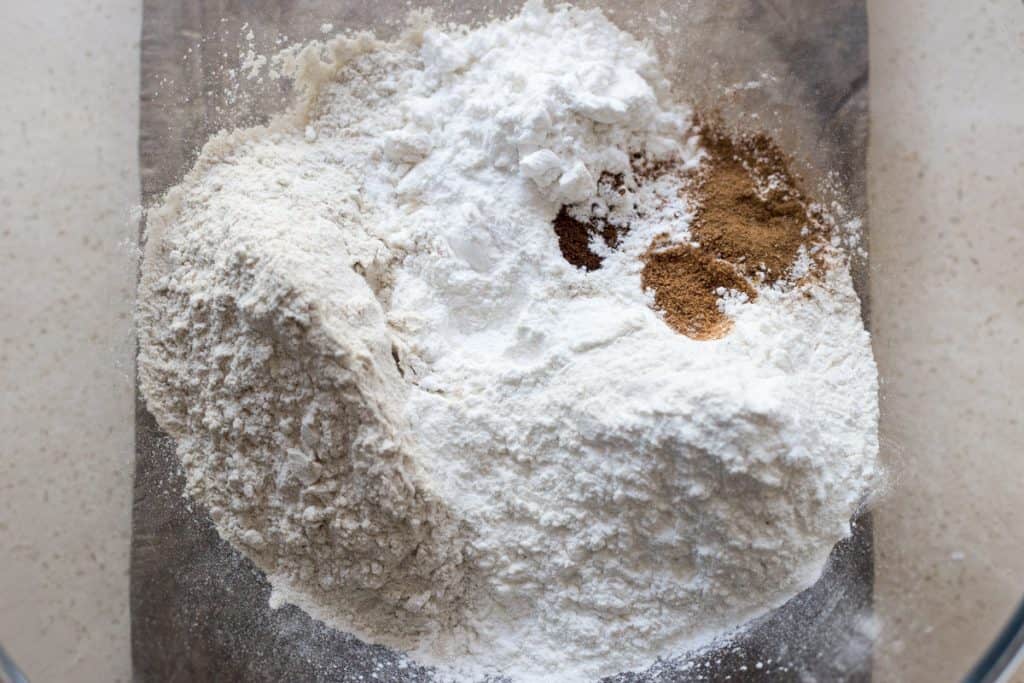
- Sift together the flours with the spices and salt.

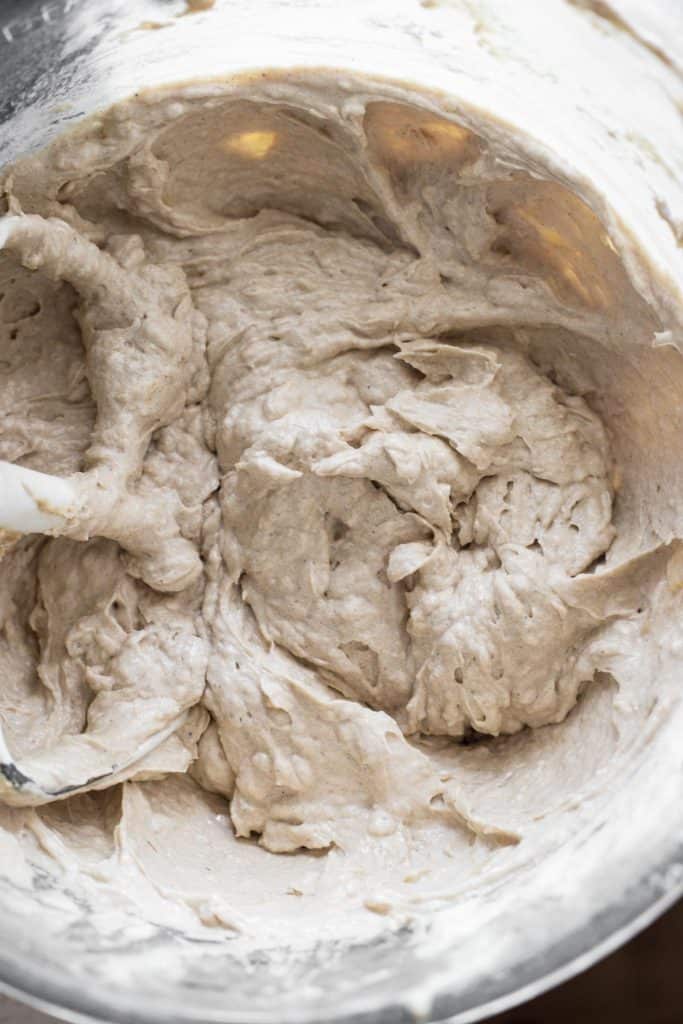
- Add the flour and the apple sauce to the batter alternately until the batter is smooth.

- Pour into two 8 inch round cake tins and bake for 25 minutes.
Baker’s Tips
- This cake uses freshly made apple sauce from the most flavourful eating apples you can find. I like to use Cox apples here but you can use braeburn, pink lady or whatever is in season where you live.
- For cakes that use the creaming method, always use room temperature butter. Start the creaming off slow then ramp up the speed as the butter and sugar are mixed together. It should be pale, light and fluffy.
- Add the eggs one at a time just incase you get a bad one.
- You add the flour and the apple sauce alternately in three goes, this ensures even mixing.
- Always bake the cakes in the centre of the oven and once they are done leave to rest for a few minutes so the sponges have a chance to spring back from the cake tins.
Of course this cake is delicious by itself but by filling and covering the sponges with Salted Caramel Cream Cheese Buttercream you are really upping the ante. We use homemade salted caramel and it’s so much easier to make than you think. If you’ve never made it yourself before don’t be scared by the hot sugar. It’s a pussycat as long as you don’t answer the phone or the door whilst tending to its needs.
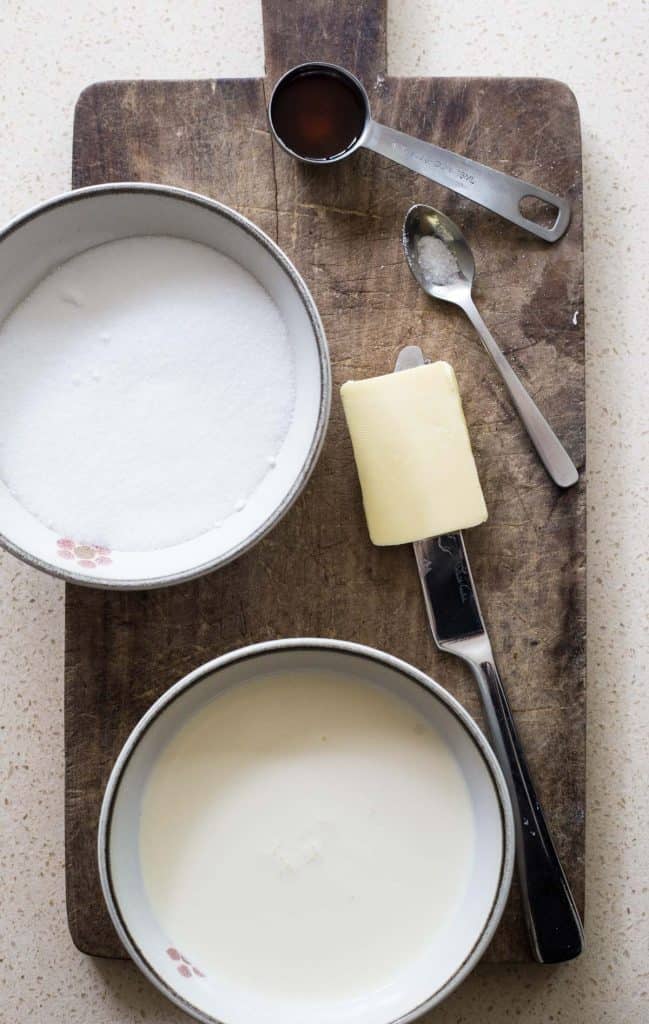
How to make homemade salted caramel
- Pour caster sugar into an even layer of a heavy bottomed saucepan. Heat gently until the sugar has melted.
- Immediately add double cream and butter. Stir into the sugar until smooth.
- Add salt and vanilla extract then remove from the heat.
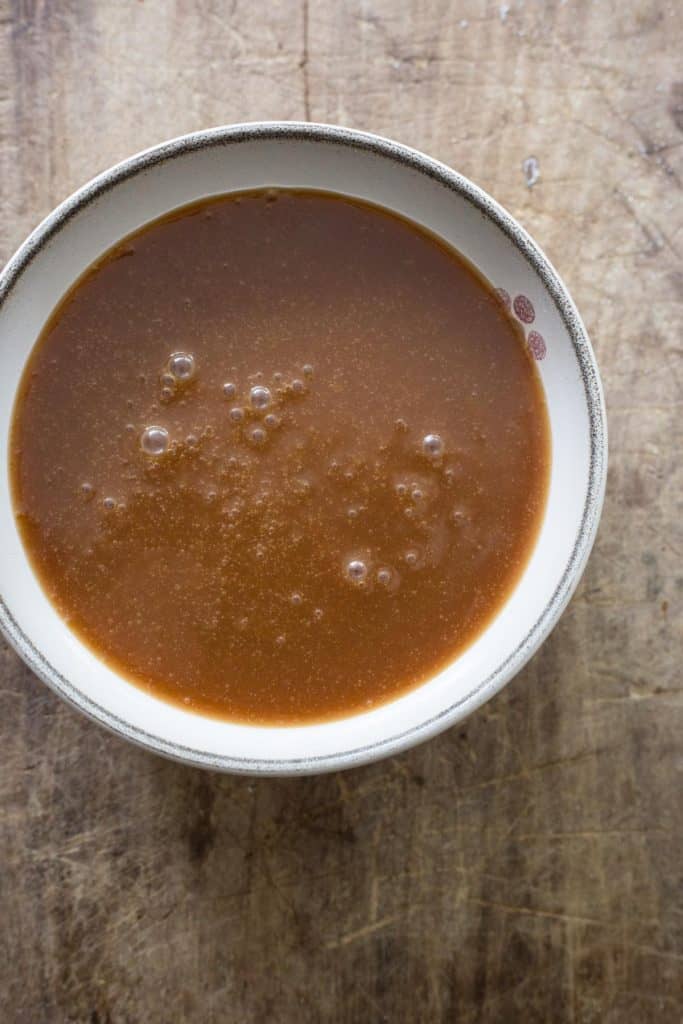
Caramel Tips
- Use a heavy bottomed pan for sugar work. I always use enamelled cast iron pans as any burnt sugar mishaps can easily be removed. Non-stick pans seem to always get un-stuck.
- Do not walk away from the sugar when it is initially melting. It can turn from a gentle toffee brown to raging burn in seconds. Instead towards the end of the melt just keep that saucepan swirling. If there’s a stubborn lump of sugar that won’t melt then prod lightly with a silicone spatula, hopefully it will break apart and melt instantly.
- I always use a silicone spatula for stirring the caramel as once the sugar hardens it can break easily off without any stressful washing up.
- When you add the cream and butter the caramel often aggressively bubbles up. Be careful and stand back.
- If the cream and butter are too cold then the sugar may harden again, just be patient – it will re-melt.
- As soon as you have poured the caramel out of the saucepan, fill the pan with hot soapy water and leave to soak for a few minutes to melt the hardened sugar around the edges and make the washing up easier.
The salted caramel recipe I have included below makes slightly more than you need for the buttercream. You can use this little excess for drizzling on the cake when serving. Or it can be your own special baker’s treat.
If you would like more Salted Caramel Cake recipes then why not try:
Chocolate Peanut Butter Caramel Crunch Cups
Milk Chocolate Peanut Caramel Brownies
Salted Caramel Chocolate Espresso Cake
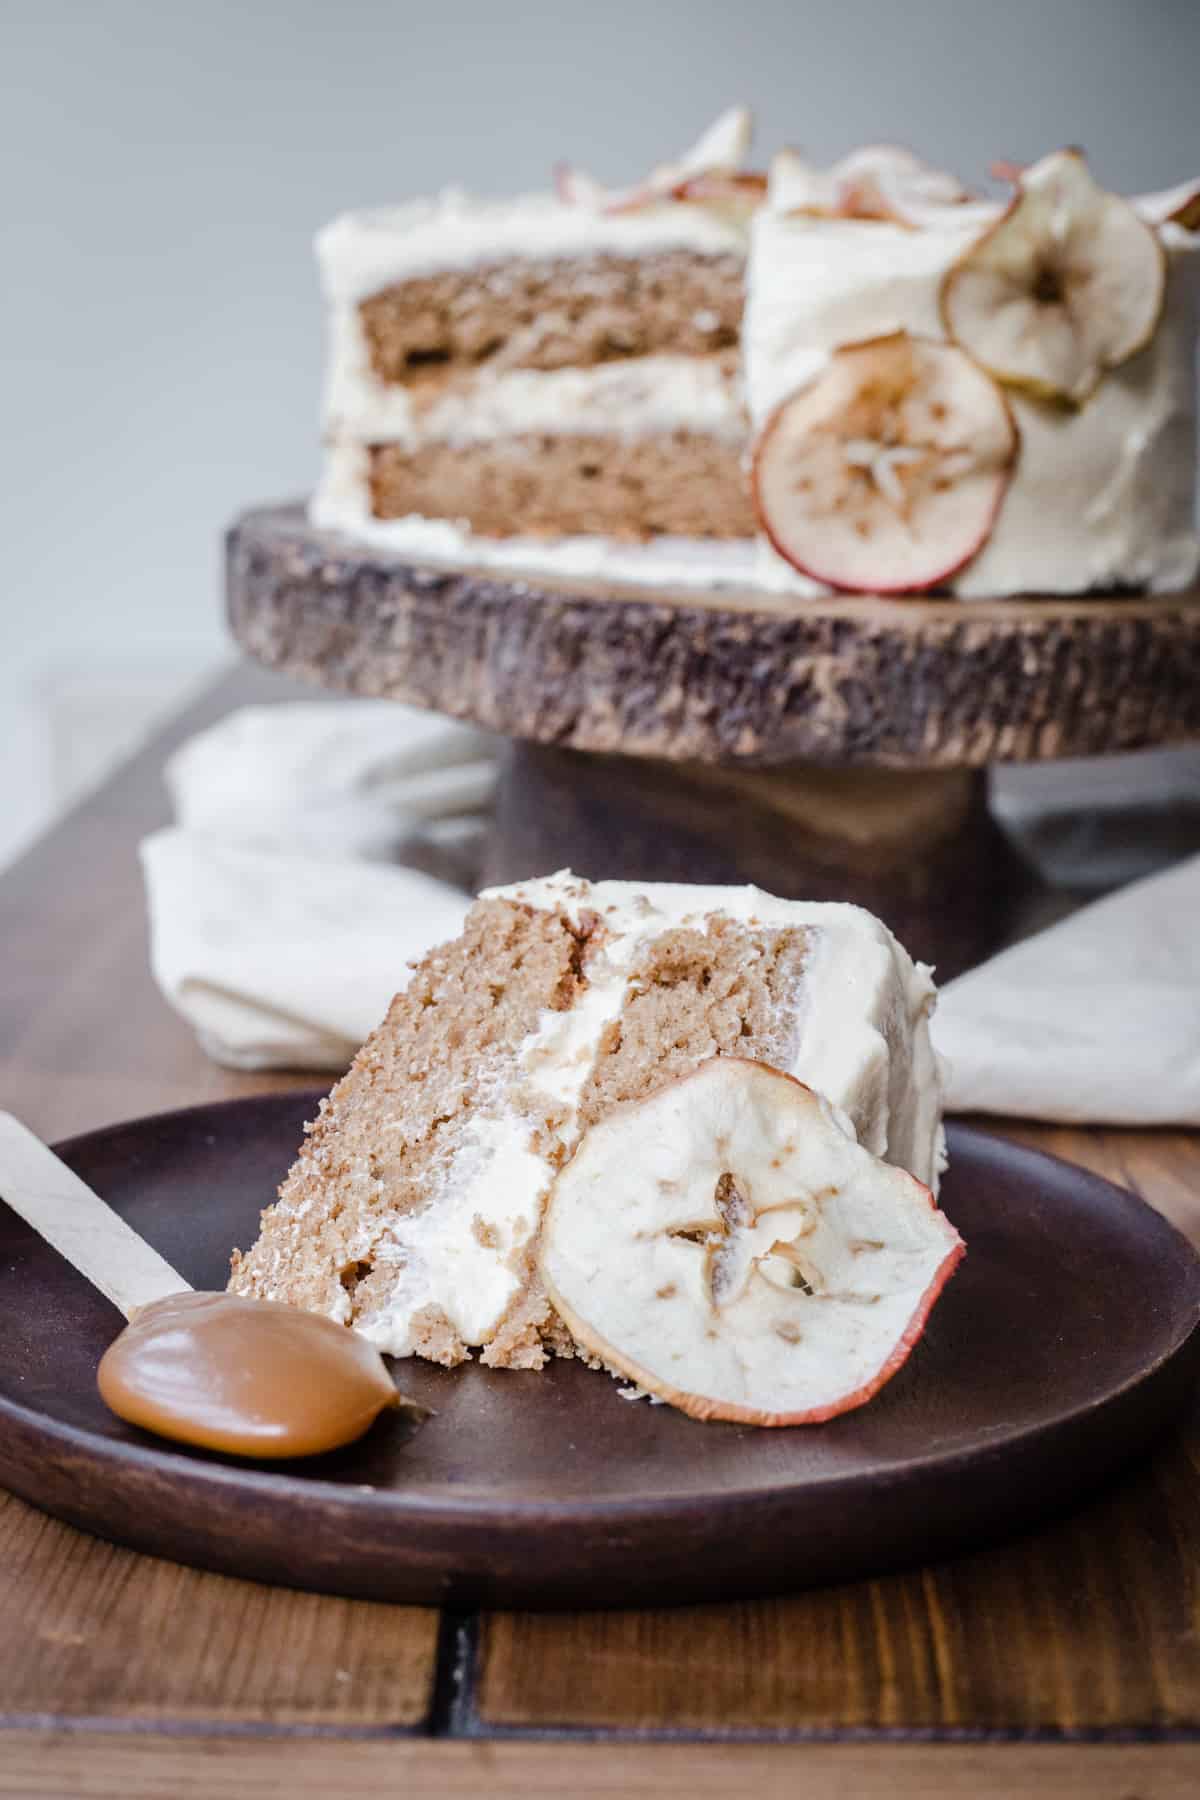
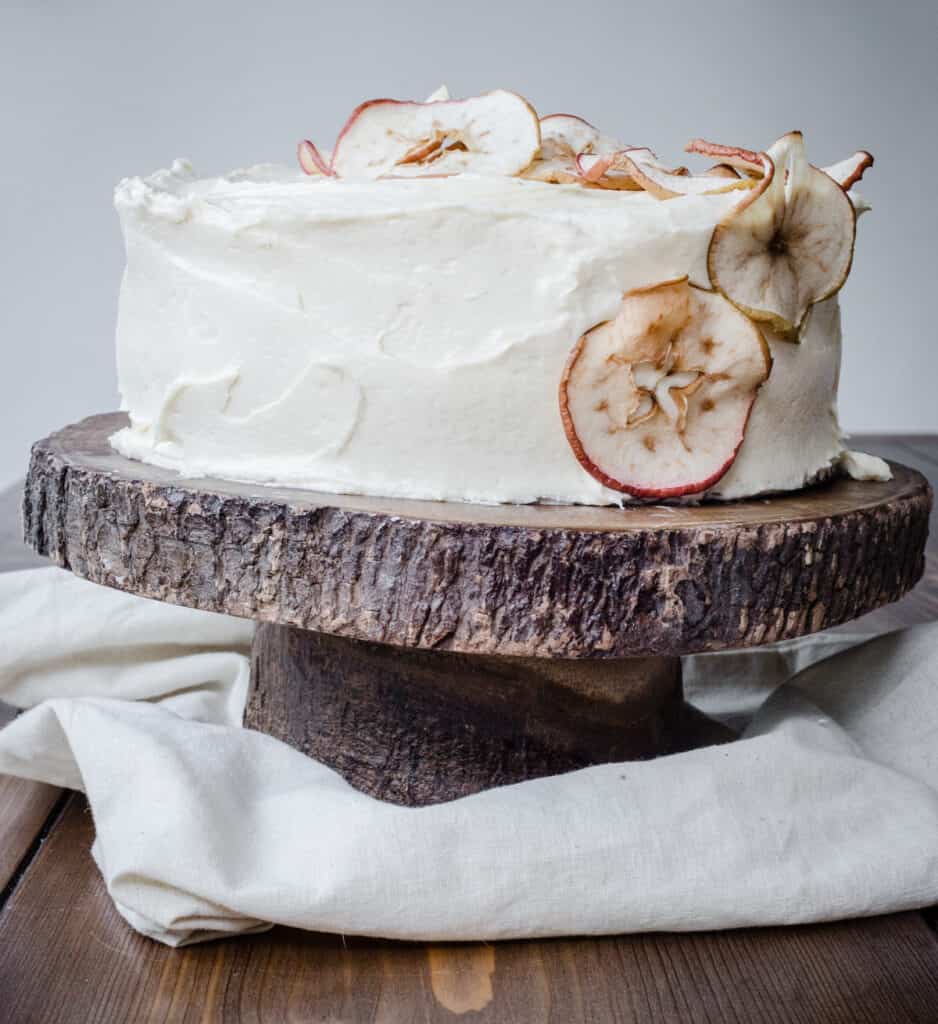
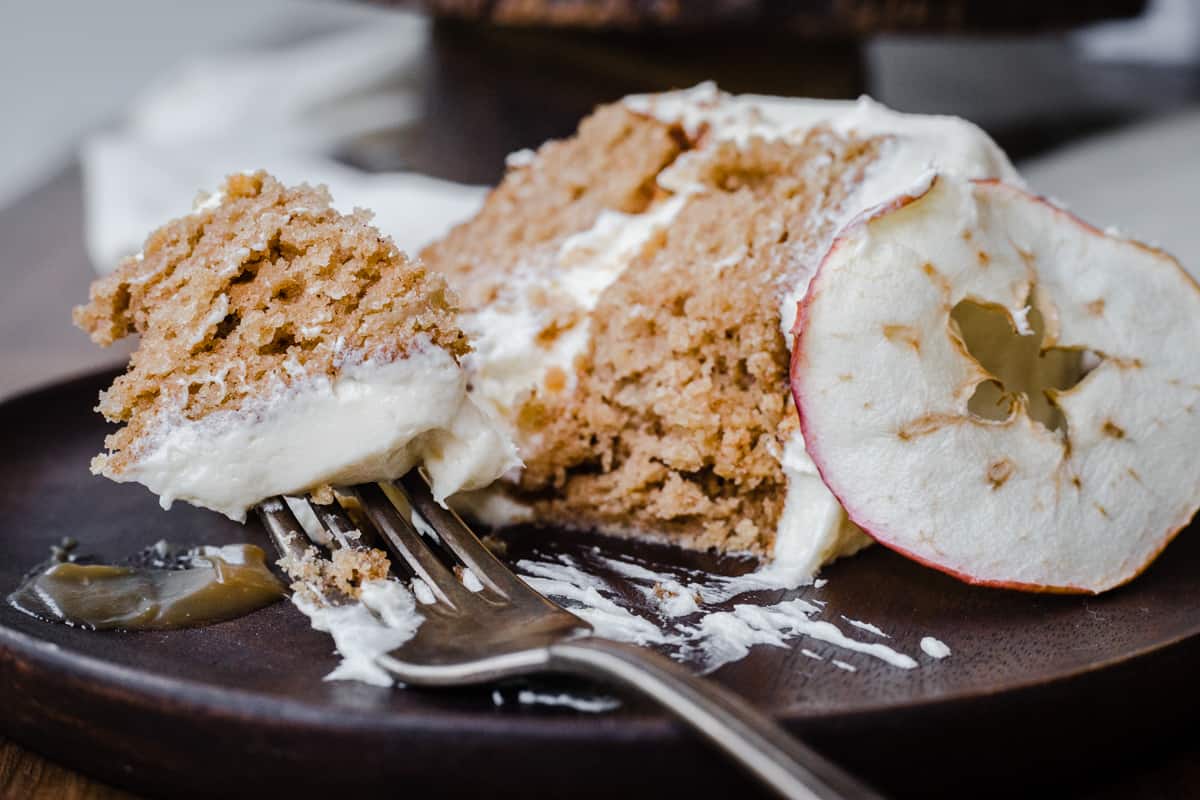
Now you have an amazing Apple and Cinnamon Cake with gorgeously silky buttercream but the bit I often struggle with when finishing a cake is how to make it look as good as it tastes. These easy peasy apple slices make the cake look incredibly fancy but they are a cinch to achieve.
How to make dried apples for cake decoration
This quick method is ideal if you are just looking for a simple way to decorate your apple cake. The apple slices are not de-hydrated enough for storage but will last a 3-4 days on top of you cake.
- Pre-heat the oven to 140°C fan.
- Slice the apples across the core very thinly.
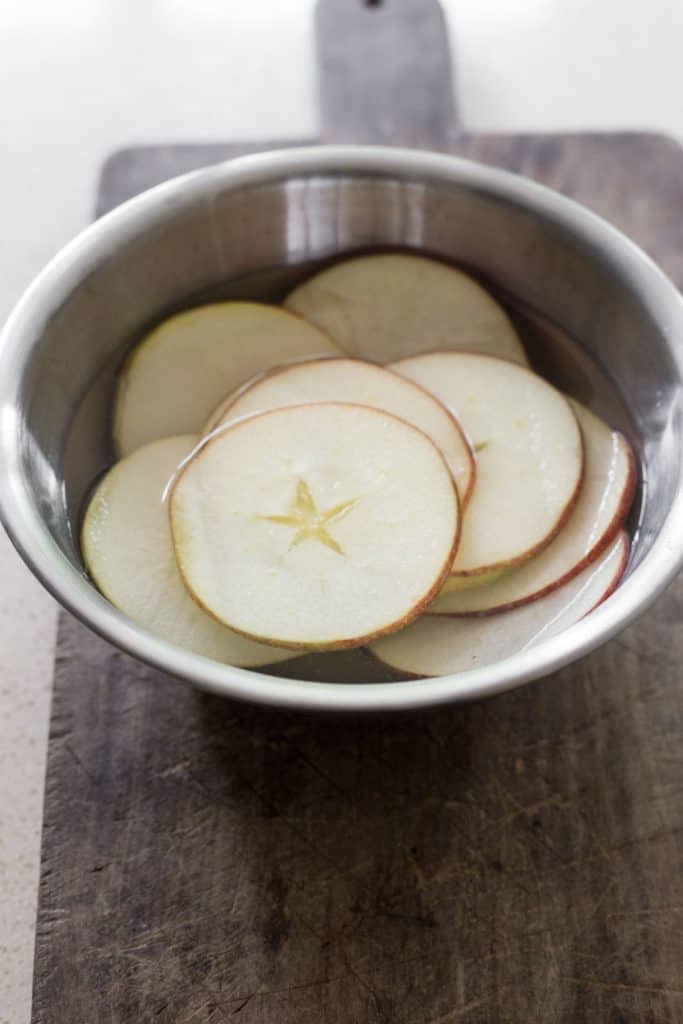
- Place the apple slices as you are slicing them in water with fresh lemon juice. This stops the apple from browning.

- Dry the slices in kitchen towel then place on a parchment lined baking sheet and bake for 1 hour.
- Turn off the oven and leave the apple slices inside with the door open until the apple slices have completely cooled.
Pro Tip
Don’t bother peeling or coring the apple, they are so pretty in their skins with the core providing an attractive star pattern in the centre.
How to freeze
Yes you can. It’s easier to store if you freeze the sponges by themselves individually. Wrap up well then remove them from the freezer the night before you want to decorate and serve.
How to store
Due to the cream cheese in the buttercream it’s better to keep in the fridge if you are not serving right away. It will keep for 3-4 days. An hour or two before serving remove from the fridge to bring up to room temperature.
More delicious gluten-free apple recipes
Apple and Blackberry Crumble
Apple Cheddar Thyme Crumble Cake
Apple Butter
Roast Pork Belly Apple and Caramelised Walnut Salad
Apple Blueberry Maple Cake
Apple Scones
If you make this Apple and Cinnamon Cake with Salted Caramel Cream Cheese Buttercream then please leave a comment below and/or give the recipe a rating. If you then go on to use this recipe as a launch pad for your own baking creation then I’d also love it if you’d share it and tag me on Instagram. It is so lovely for me to see your versions and variations of my recipes.
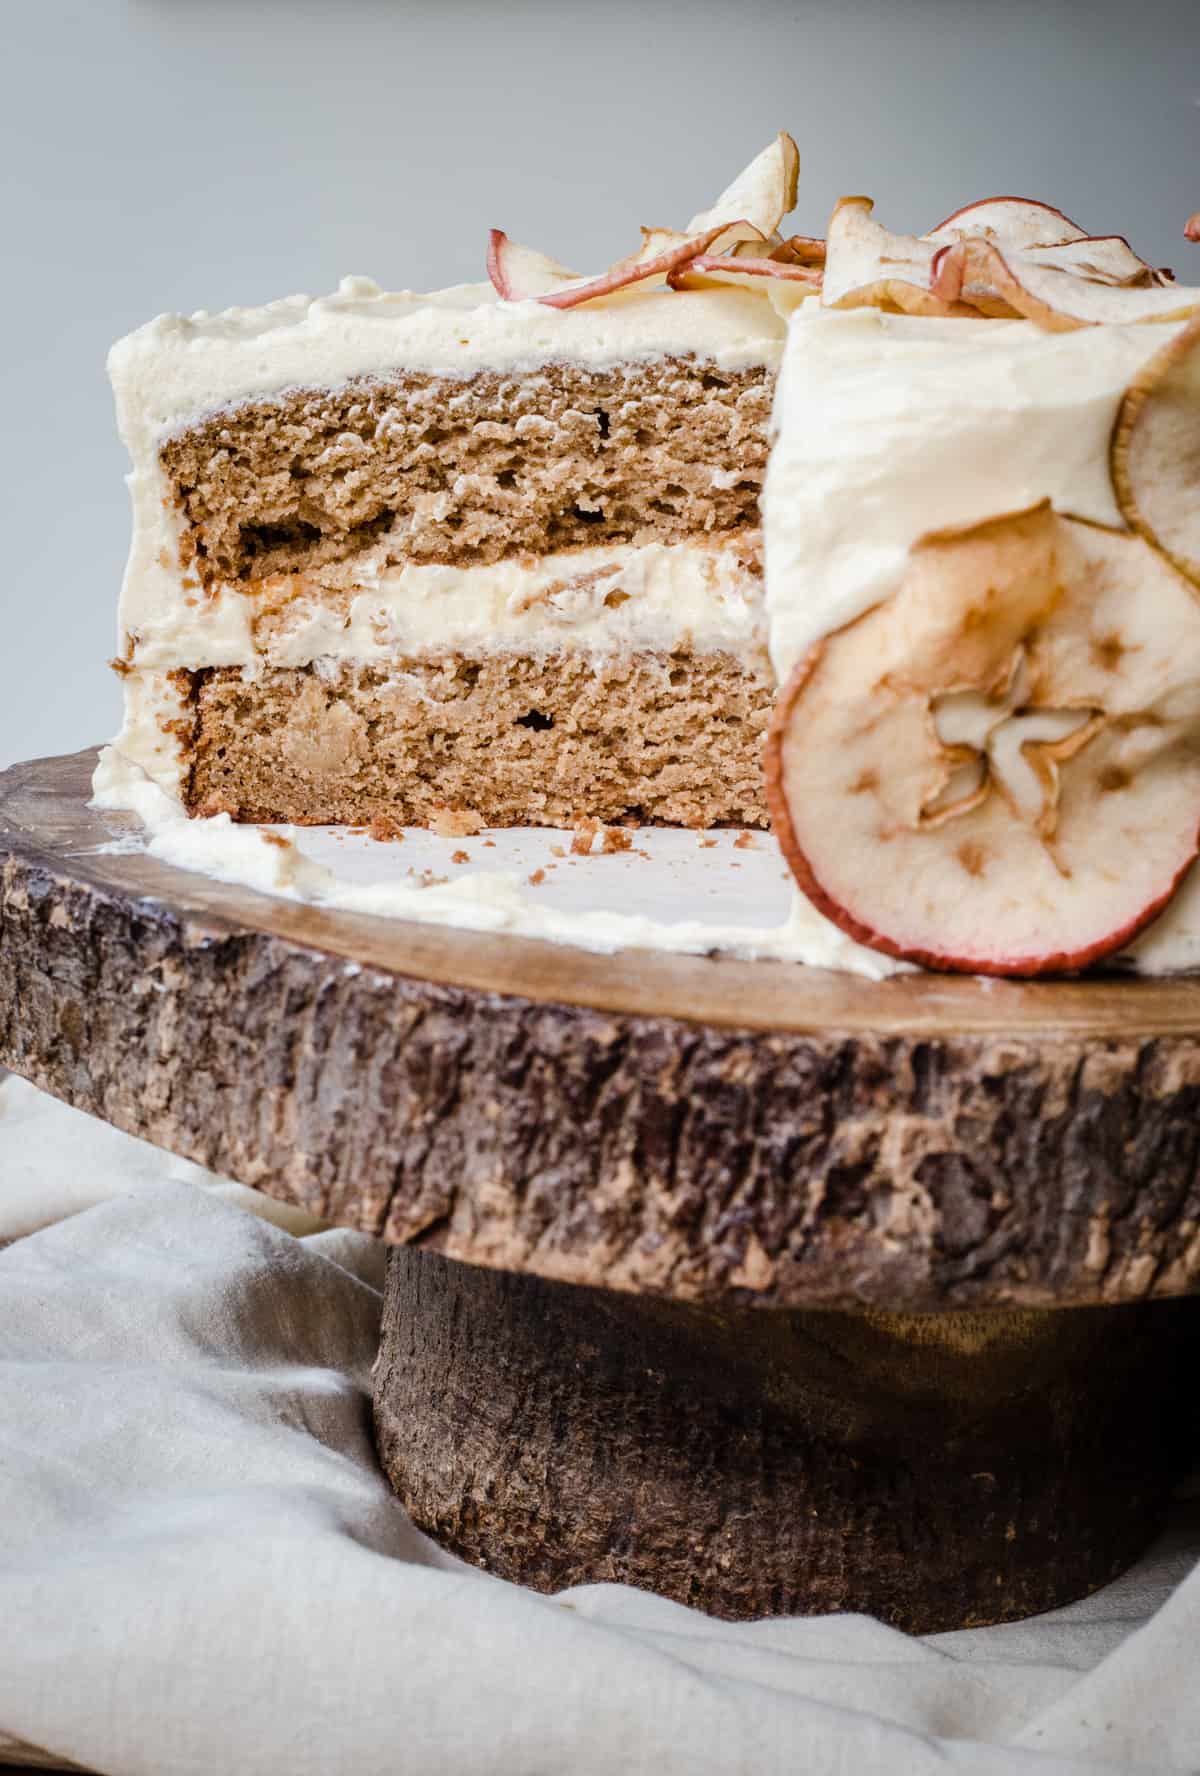
Apple and Cinnamon Cake with Salted Caramel Cream Cheese Buttercream {gluten-free}
Ingredients
- 5-6 eating apples - to achieve 300g sauce
- 125 g buckwheat flour
- 100 g sweet rice flour
- 50 g potato starch
- 1 teaspoon bicarbonate of soda
- ¾ teaspoon baking powder
- ½ teaspoon salt
- 1 teaspoon ground cinnamon
- ½ teaspoon ground allspice
- ¼ teaspoon ground cloves
- ¼ teaspoon ground nutmeg
- 170 g unsalted butter
- 280 g soft light brown sugar
- 2 eggs
- 1 teaspoon vanilla extract
Salted Caramel
- 125 g caster sugar
- 150 ml double cream
- 20 g unsalted butter
- ¼ teaspoon sea salt
- 1 teaspoon bourbon vanilla extract
Salted Caramel Cream Cheese Buttercream
- 450 g unsalted butter
- 500 g icing sugar
- 120 ml salted caramel
- 300 g cream cheese
Decorative Apple Slices
- 1 apple
- ½ lemon
- Water to cover
Instructions
- Pre-heat the oven to 180°C / 160°C fan / gas mark 4 and line and grease 2 x 20cm round baking tins.
- Make the apple sauce by peeling, coring and dicing the apples. Place in a saucepan with a tablespoon or two of water and heat gently with the lid on. Stir every so often until the apples have broken down. You should be able to mix them into a pulp with a fork. You need 300g of sauce so weigh out the correct amount and set aside to cool.
- Sift together the flours, bicarbonate of soda, baking powder, salt and spices in a large bowl and set aside.
- Cream the butter and sugar for 5-10 minutes in a food mixer or handheld beater until light and fluffy.
- Add the eggs, one at a time, to the creamed butter and sugar and mix in well. Then add the vanilla extract.
- Add the flour mixture alternately with the apple sauce, adding the flour in three additions and the apple sauce in two (begin and end with the flour), scrape down the sides of the bowls as needed and mix until just combined.
- Divide between the two cake tins.
- Bake for 25 minutes, then remove from the oven and cool on a wire rack completely before filling and covering with the buttercream.
Salted Caramel
- Tip the sugar into a small saucepan and heat on a medium temperature until the sugar melts. Do not touch with a spoon but you can encourage the melting by swirling the actual saucepan around occasionally if you like.
- Stir in the double cream and butter carefully and be prepared for it to bubble up furiously, the caramel may harden slightly but just keep on stirring the bubbly mixture until the cream, butter and sugar are smooth.
- Add the vanilla extract and salt, stir in quickly and remove from the heat.
- Pour the caramel directly into a glass jar, seal and place in the fridge to chill thoroughly before using.
Salted Caramel Cream Cheese Buttercream
- Cream the butter until soft then add the icing sugar and mix for about 10 minutes until very light and fluffy.
- Scoop in the cream cheese and chilled salted caramel and mix in thoroughly.
Decorative Apple Slices
- Pre-heat oven to 160°C/ 140°C fan / gas mark 3.
- Fill a medium sized bowl ¾ of the way with water. Squeeze in the juice of ½ lemon and stir.
- Cut the apple very thinly across the core. Don’t bother to peel or core.
- Place all the apple slices in the lemon water for 5 minutes which helps to avoid apple browning.
- Dry the apple slices thoroughly on kitchen towel then place on a parchment lined baking tray.
- Place in the oven for 1 hour, turning the apples over halfway.
- Turn the heat off the oven and leave the apples inside to cool.
- Assembly
- Generously sandwich the buttercream between the two apple sponges and cover the sides and top. Decorate with the apple slices.
Notes
How long your apples take to break down depends on the type of apple you are using. Cox Apples are quite soft so only take about 10 minutes to cook through. Unsalted Butter – At room temperature means the butter will dent if you press into it gently. How long your butter takes to get to room temperature depends on the warmth of your kitchen. Eggs – I always use medium. I recommend both breaking them into a separate bowl one at a time and before adding them to the batter. This is in case you have a bad egg. They are rare but they do happen. Or a double yolker which would mess with your quantities. Adding them to the batter one at a time gives more air to your cake. Adding the flour and the apple sauce – I recommend adding in thirds alternately. This ensures even mixing into the batter. Salted Caramel – do make it the day before if you can as it really benefits from a decent amount of chill time so the caramel can thicken. Otherwise it adds too much liquid to the buttercream. If you are running short on time, place in the freezer for 30 minutes to cool very quickly. Storage – This cake is best eaten at room temperature but you should store it in the fridge to avoid spoiling the buttercream. Just remove from the fridge 1 hour before you want to serve it. It keeps in the fridge for 3-4 days. Decorative Apple Slices – The method given here is the quick method which is perfect for cake decoration as it leaves them a little malleable. They only keep for about 3-4 days. You can make the day before or whilst your cake sponges are cooling.
Nutrition
This recipe was originally published in February 2016. It has been updated with revised recipe to amend the flours to gluten-free alternatives, new pictures and a more detailed method.

Lindsey says
Hi - I'm planning to make this lovely recipe for my friend who is visiting this weekend. Can you tell me if 2inch/5cm deep cake tin is big enough please? Thanks!
Georgina Hartley says
All of my 8 inch round cakes are tested in tins which are 4 inches deep so I don't think a 2 inch cake tin will be deep enough I'm afraid.
Lindsey says
Thanks for your reply Georgina - I'll get the 4inch tins 🙂 I'm really looking forward to trying this cake & will be my first ever gf cake with proper flours!
Jen says
Excellent Apple cake…so delicious even without the frosting! I made it according to the directions, except used coconut sugar for the brown sugar…and did not make
the butter cream. Will probably make a coconut sugar caramel sauce tomorrow to top pour over when I serve it. But it is so good just plain! I also baked it in a 9x13 pan instead of layering it.
Thank you for this recipe!
Georgina Hartley says
You are so welcome!!
Caroline says
Hi Georgina, can you advise me what I can sub for sweet rice flour? I'm living in Bulgaria and I can't seem to buy it here. Thank you
Georgina Hartley says
Hi Caroline, my first choice would be to substitute it with almond flour which would give the cake a great structure and the difference would not be noticeable. If you can't have nuts then my next choice would be cassava flour - this is a starchy flour like sweet rice flour and doesn't always work as a swap but here I think would be effective. Basically since sweet rice flour is a starchy flour you would need to swap with another starchy flour (or with a nut flour like almond flour which work well in any swap). I hope that helps!
Melissa says
I found this recipe browsing for a gluten-free recipe using apple sauce so that I could sub in some really gorgeous pears. The idea of using buckwheat for flavour really appealed, so this looked like a good choice. I have to admit that, in addition to the substitution, my recipe-reading skills failed when I made this, so I made the cake portion of the recipe with regular white rice flour instead of sweet rice flour. But it was still a really lovely base cake with a great taste and texture! I'm sure it's probably even better with the correct flour and with the buttercream (which I didn't make, not having the right ingredients on hand), but I will not hesitate to make this again with regular white rice flour if that's what I have on hand.
Georgina Hartley says
Hi Melissa, that's great to hear that this recipe was a success - despite the flour mix up! The sweet rice flour would give the cake more structure and make it more moist. However all the flavours would still have been there so I'm happy you liked it. Thank you for your feedback!
Marc Hartley says
I think this is your best tasting cake ever. Love Marc.
June @ How to Philosophize with Cake says
That cake looks just lovely! I remember the cake from the Ovenly cookbook, it had the same luscious thick buttercream 🙂 Love the use of buckwheat in the cake too!
Georgina says
Thank you, oh yes the Ovenly cookbook is so inspiring. I've talked about it before (I think) but I absolutely love Alice Medrich's Flavor Flours which has made me think that cooking with flours other than wheat flour should be a choice rather than a substitution - it has made me really consider the flour I use in my baking.