Gluten-Free Peanut Butter Cake
This post contains affiliate links. Please read my disclosures.
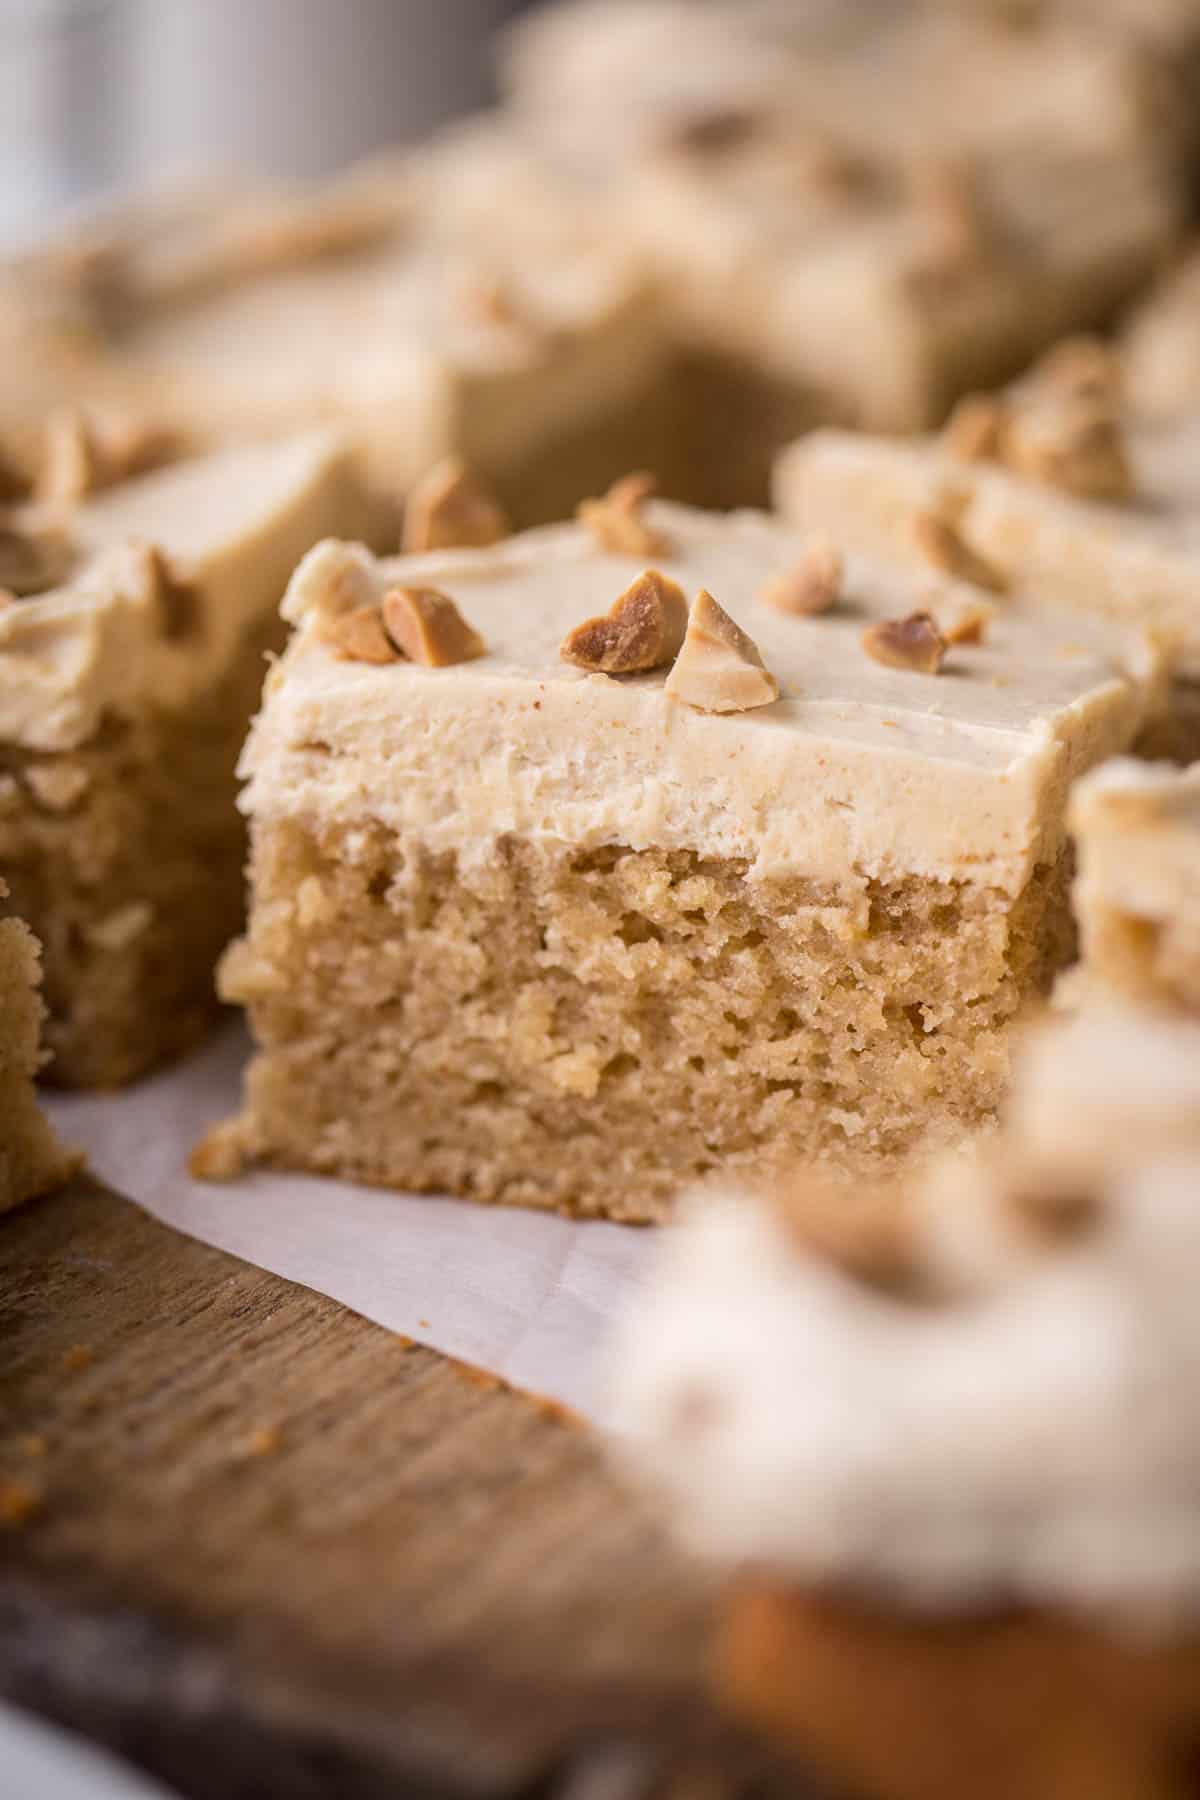
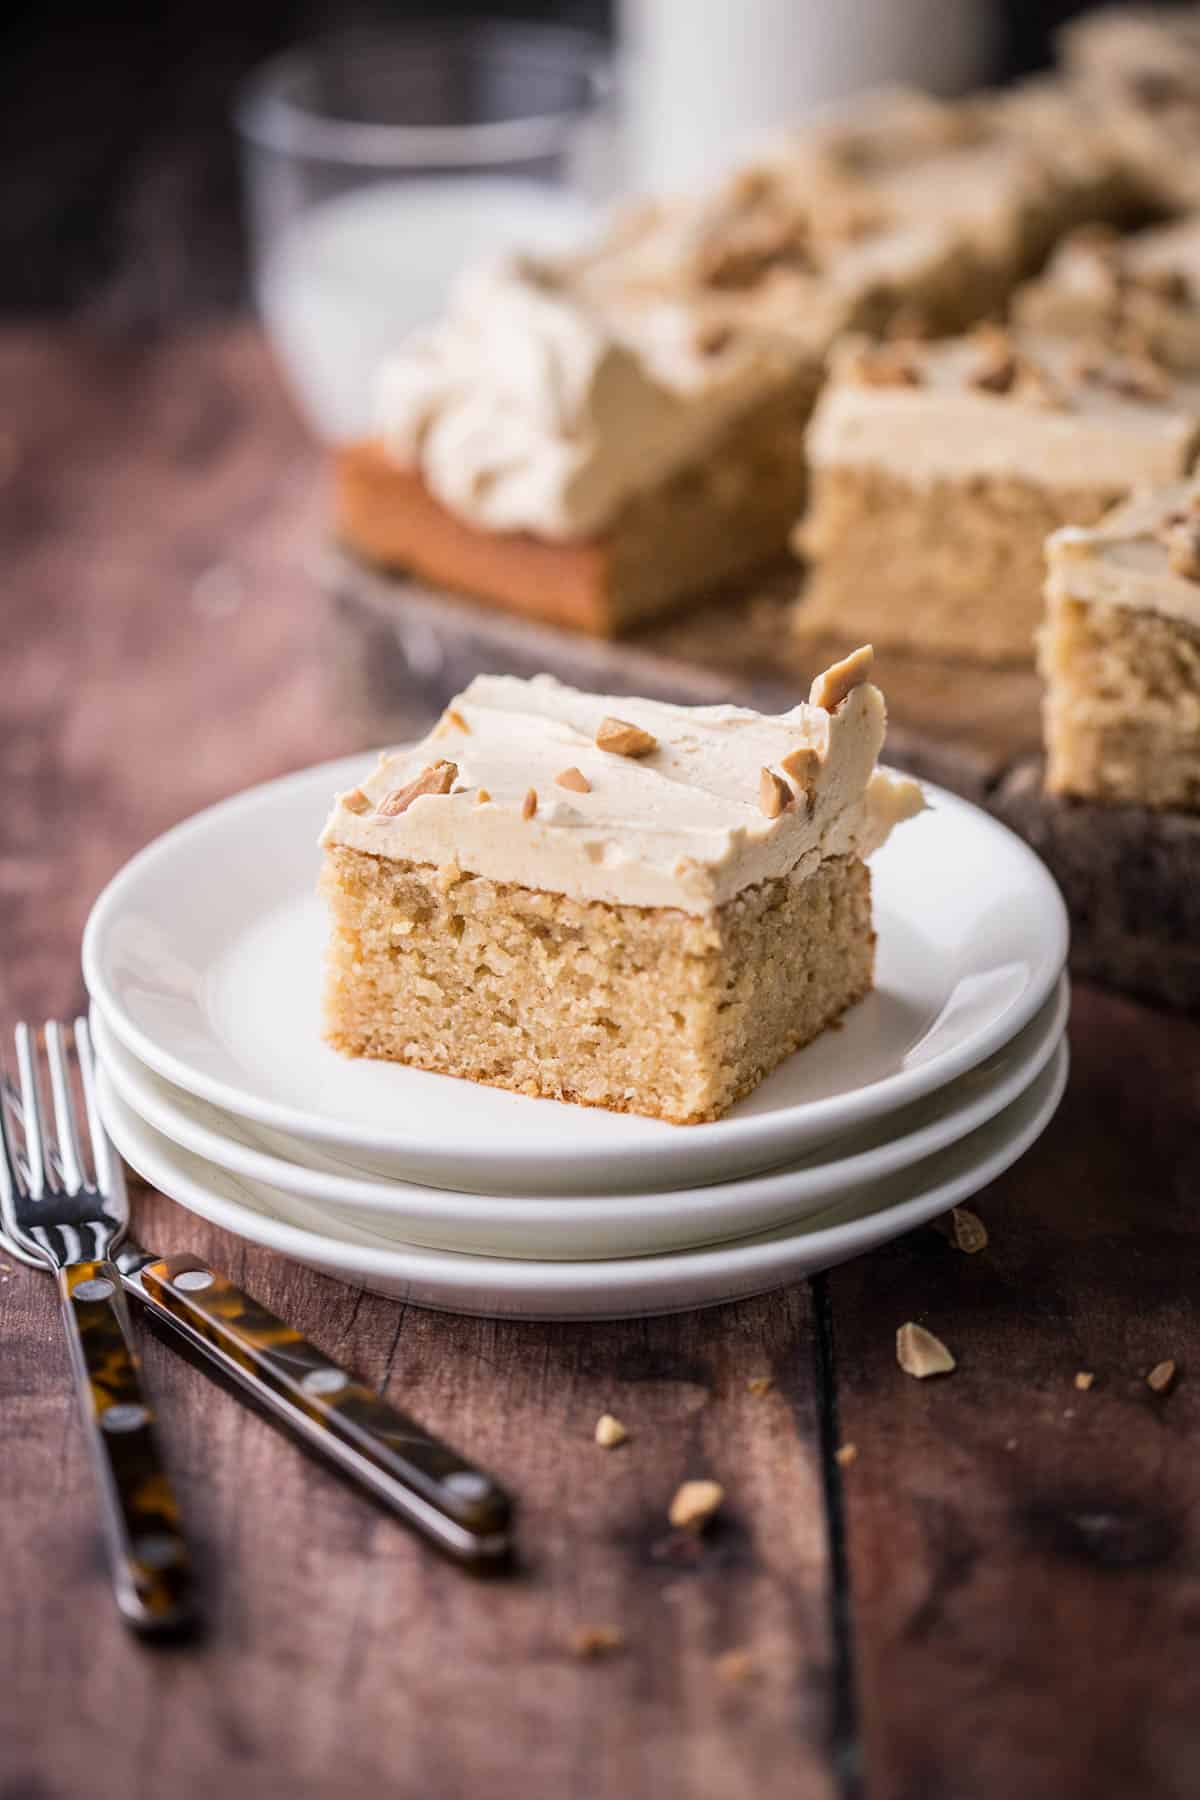
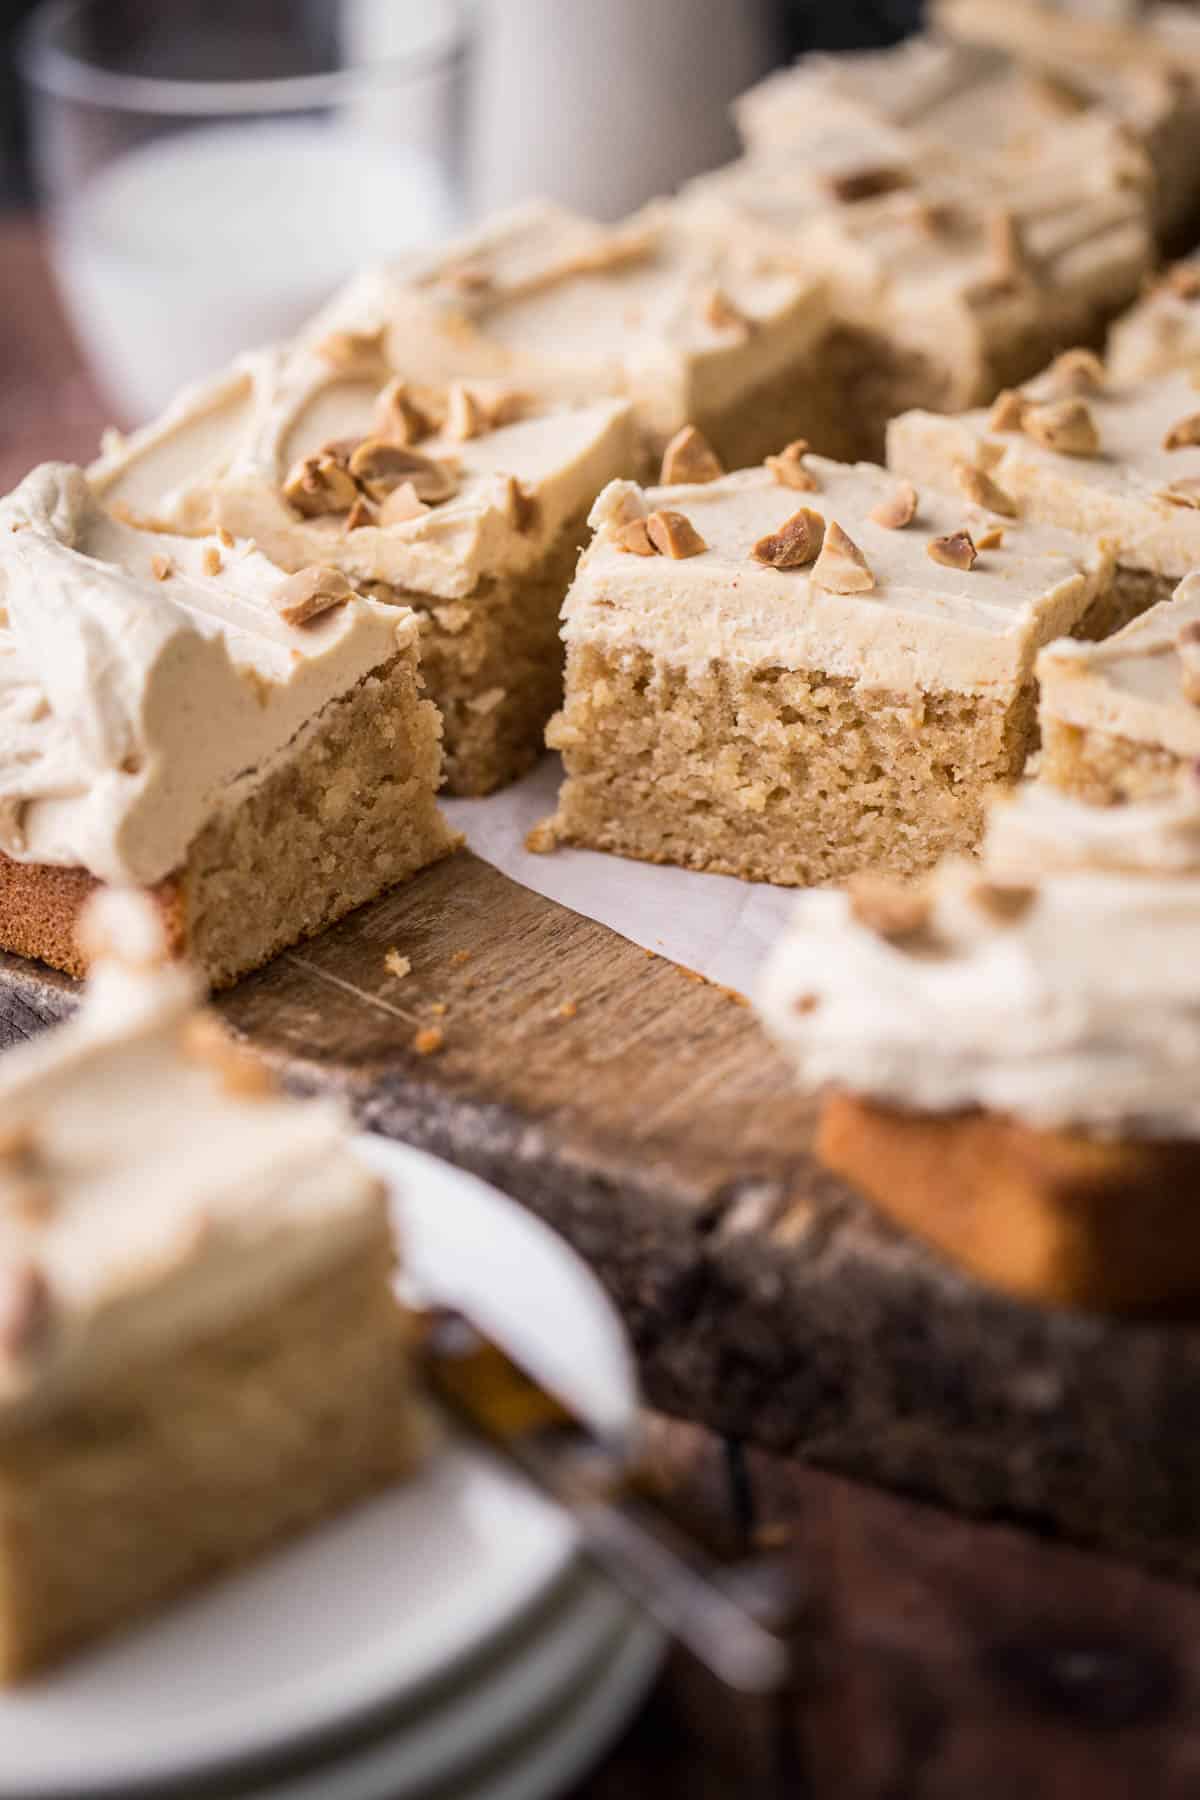
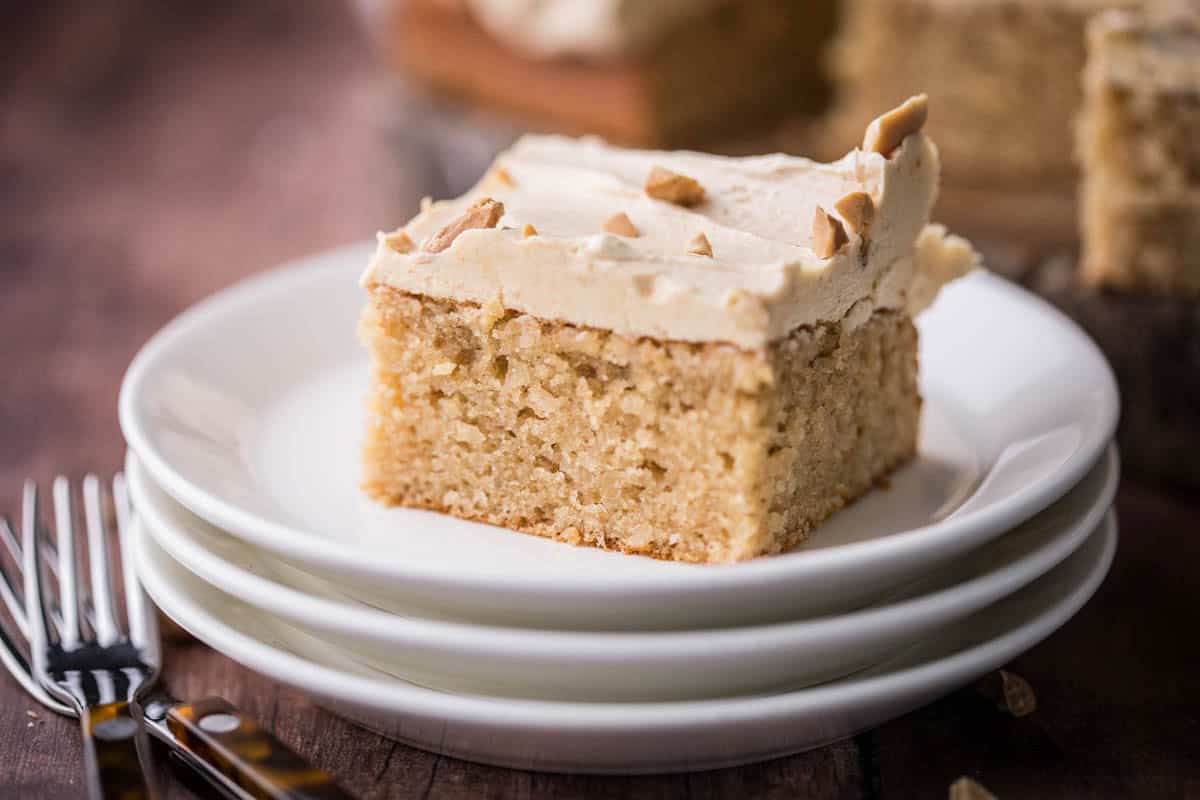
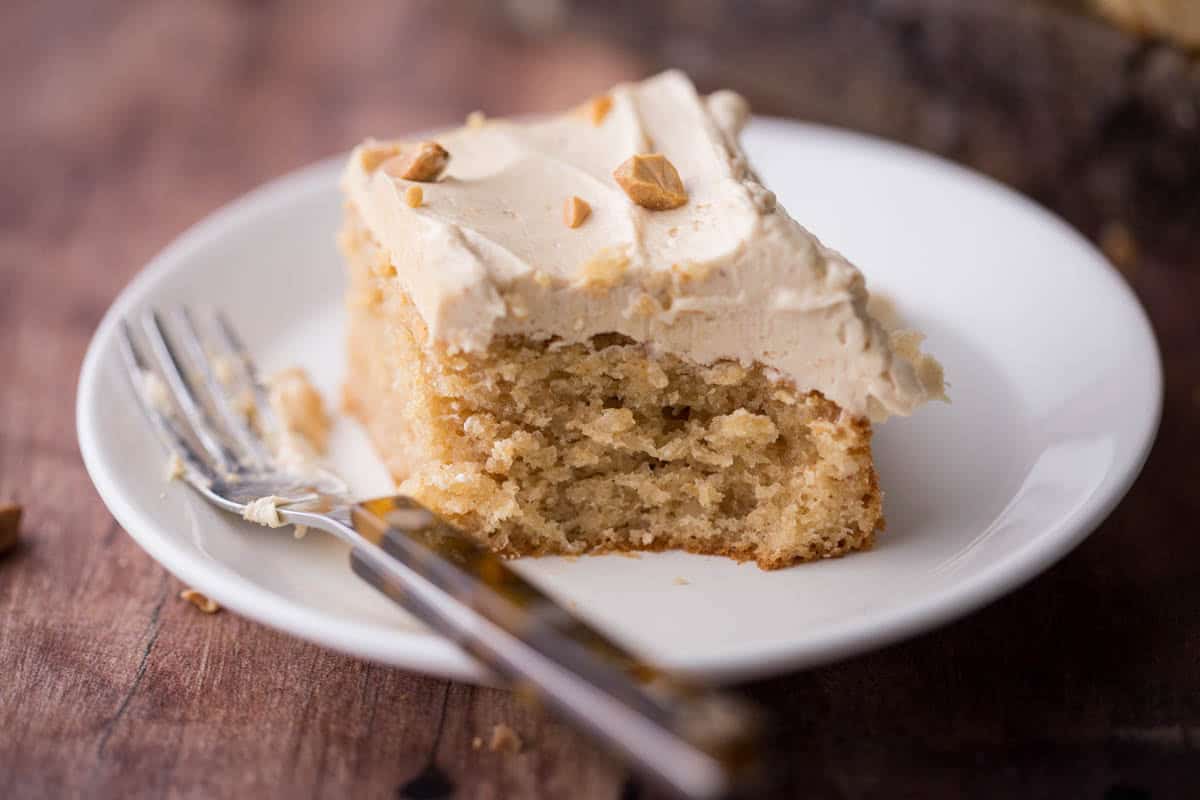
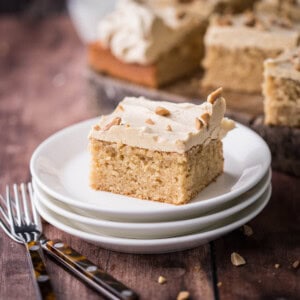
This easy to make Gluten-Free Peanut Butter Cake is deliciously fluffy, light and moist and smothered in a creamy peanut butter buttercream frosting. Made as a simple traybake it is perfect for snacking or serving to a crowd and has a richly irresistible peanut butter vanilla flavour.
This Peanut Butter Traybake is super simple to make, it needs no special equipment, except for a food processor to grind your peanuts at the start of the recipe.
The strength of using ground peanuts in the sponge means that you can use any gluten-free flour blend you have handy in your kitchen and there is no need for any xanthan gum.
This easy peanut butter cake is so versatile, you can add toppings, make it into cupcakes, serve it with a chocolate ganache if you prefer. I give all the step-by-step instructions, a recipe video, variation ideas and a dairy-free adjustment if you need it within the post below.
If you’re a peanut butter fanatic then you will be in total heaven, let’s bake!
Why You’ll Love This Gluten-Free Peanut Butter Cake
- Simple. There are easy simple steps involved in this cake. You do need a food processor for grinding the peanuts but apart from that no special equipment is needed.
- Moist texture. We use olive oil and milk mixed with vinegar to create a perfectly moist texture.
- Rich peanut butter flavour. We use natural unsweetened variety for the best taste and strengthen the flavour by using ground peanuts in place of some of the flour.
- Excellent traybake. Baking your Peanut Butter Cake as a sheet cake means it’s the perfect cake for sharing or snacking.
- Gluten-Free Flour. You can use your favourite brand of gluten-free flour, or use my Homemade Gluten-Free Blend for the best results.
- No xanthan gum needed. The ground blanched peanuts and peanut butter in the recipe provide enough protein that the cake has a great structure and texture without the use of xanthan gum.
- Dairy-free. There are some very easy switches to create a dairy-free version of this cake which I detail below in the FAQs.
Watch the Video
Sometimes it helps to see a visual of what I'm talking about. So watch the video to see what it looks like to make your Gluten-Free Peanut Butter Snacking Cake.
Ingredients Needed
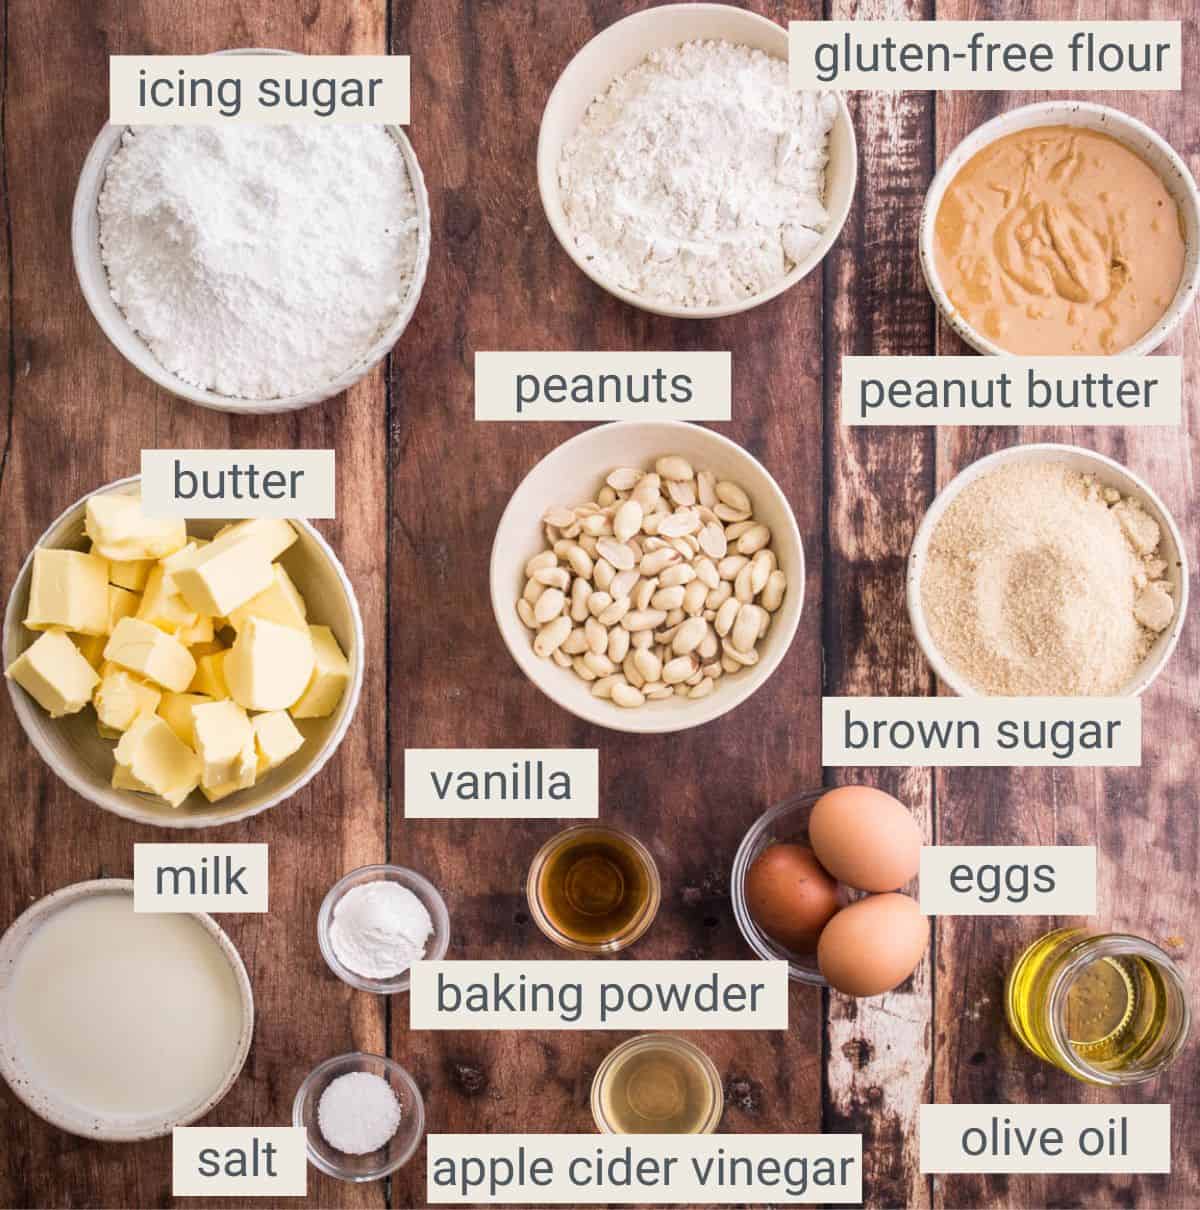
All-Purpose Gluten-Free Flour. You can use any. I recommend Doves Freee Plain White Gluten-Free Flour. You don't need a brand which contains xanthan gum, but if it's included then don't worry about that either. I also particularly recommend my Homemade Gluten-Free Flour Mix which gives great results.
Blanched peanuts. Peanuts are great in gluten-free baking as they are high in protein. We blitz the peanuts in a food processor to create ground peanut meal. Blending with a couple of tablespoons of sugar will ensure that you are not creating more peanut butter. The peanut meal is ideal for providing a good structure and texture for your cake.
Peanut butter. Use unsweetened smooth peanut butter. It’s a bit more costly than the generic sweetened variety but it provides a richer flavour and allows us to control the sugar content of the recipe. Make sure it’s lovely and drippy, not the dry hard stuff from the bottom of the jar. You could use crunchy peanut butter which will give the cake a more nutty texture.
Brown sugar. Gives lovely gentle molasses flavour and moisture.
Eggs. This recipe uses medium size, about 60g each with shell (50g each without shell). These are often classified as large eggs in the US. I recommend weighing your eggs to ensure the correct amount.
Olive oil. This is my preferred oil in cakes rather than vegetable oil or coconut oil. But to avoid a strong flavour use a flavourless mild and light olive oil.
Milk. Use whole milk or a plant based milk if you are making dairy-free.
Apple cider vinegar. Reacts with the milk to give a lovely tanginess which adds complexity of flavour.
Vanilla extract. You don’t need to use the best quality vanilla extract here as it’s included to amplify the richness of the peanut butter. A supermarket brand is just fine.
Baking powder. A leaving agent which causes the cake to rise and become light and fluffy. Do check your baking powder is gluten-free before use.
Salt. I like to use kosher salt in my baking as it has a round gentle flavour. Using salt in your baked goods lifts and sharpens all the other flavours.
Icing sugar. (powdered sugar). Icing sugar is preferred over white sugar in buttercream because it dissolves more easily, resulting in a smoother and less grainy texture, while also contributing to the desired consistency and sweetness of the buttercream.
How To Make Gluten-Free Peanut Butter Cake
For full recipe instructions go to the recipe card at the end of this post.
Peanut Butter Sponge Cake
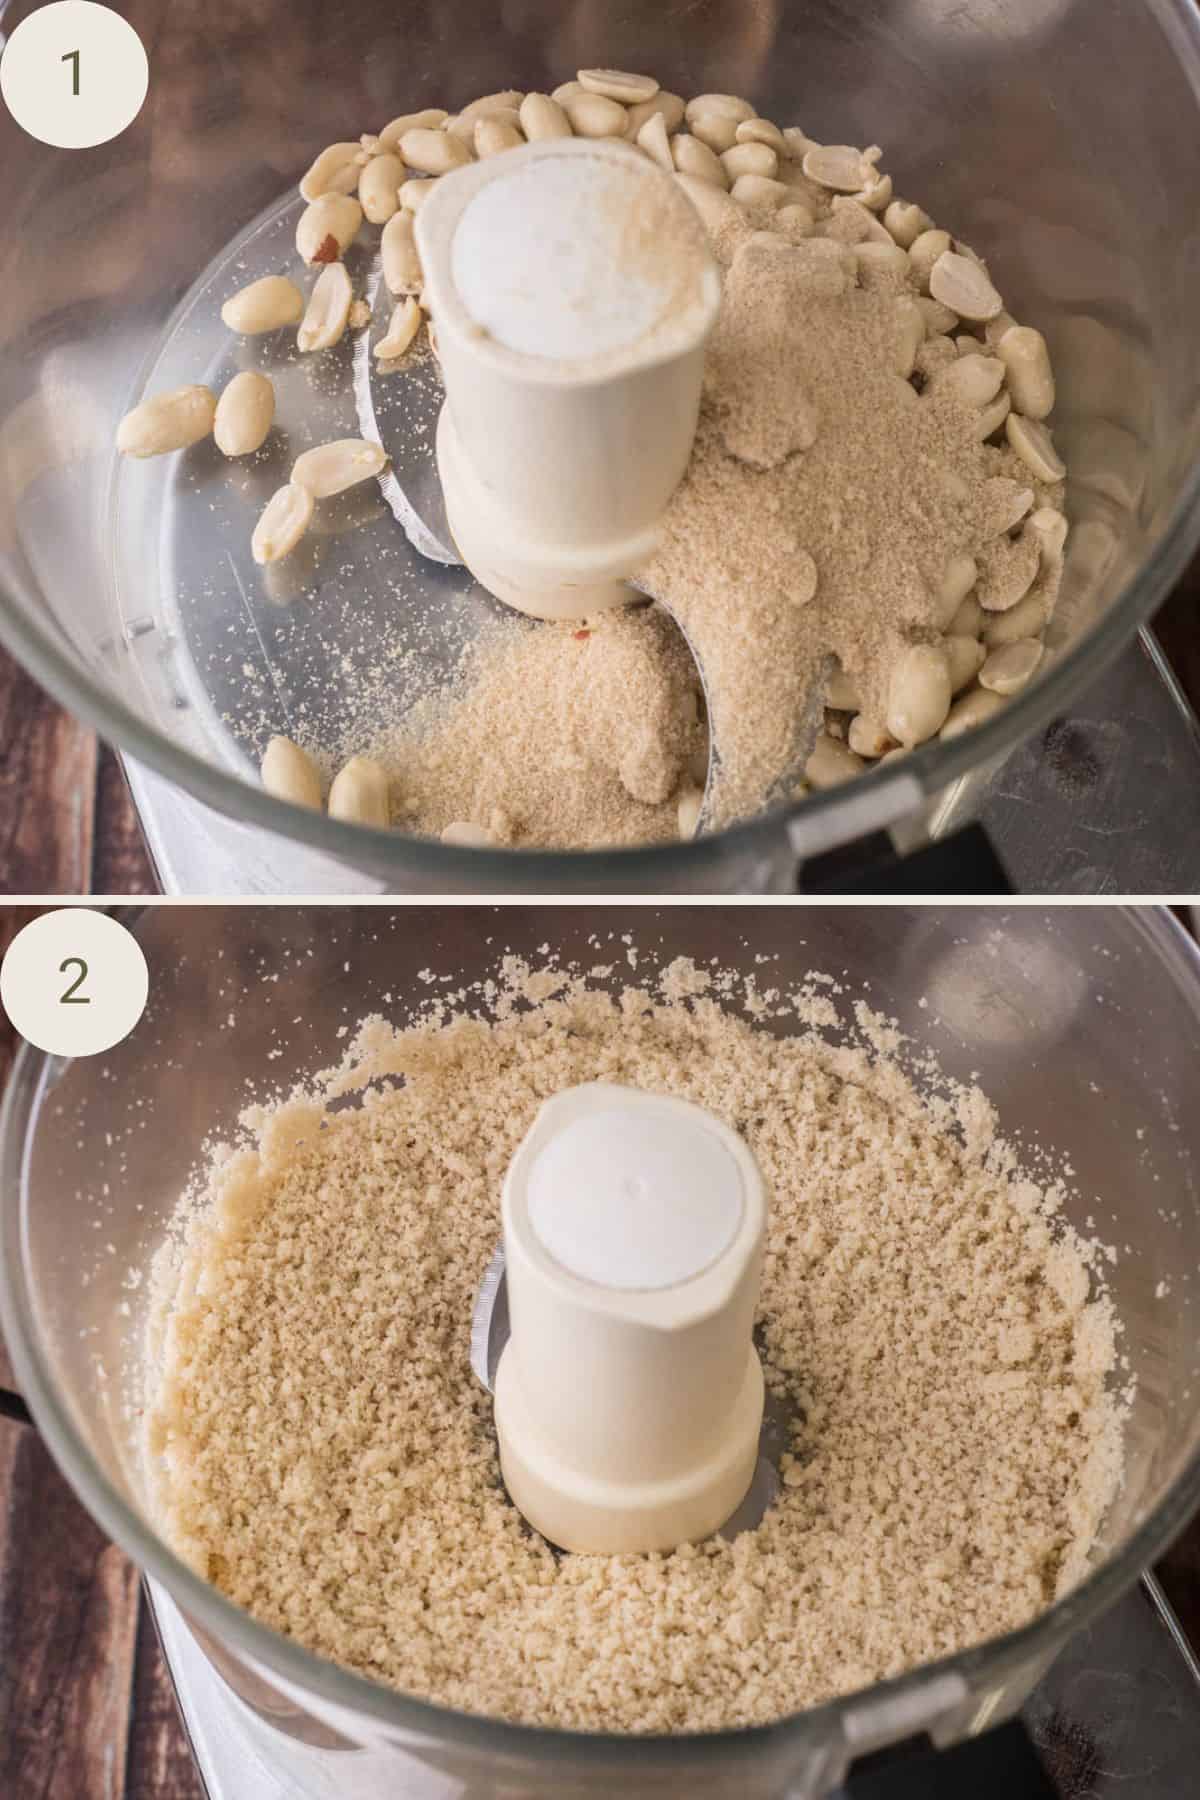
Grind Peanuts: Place peanuts in a food processor with 4 tablespoons of brown sugar and process until the peanuts have been finely ground.
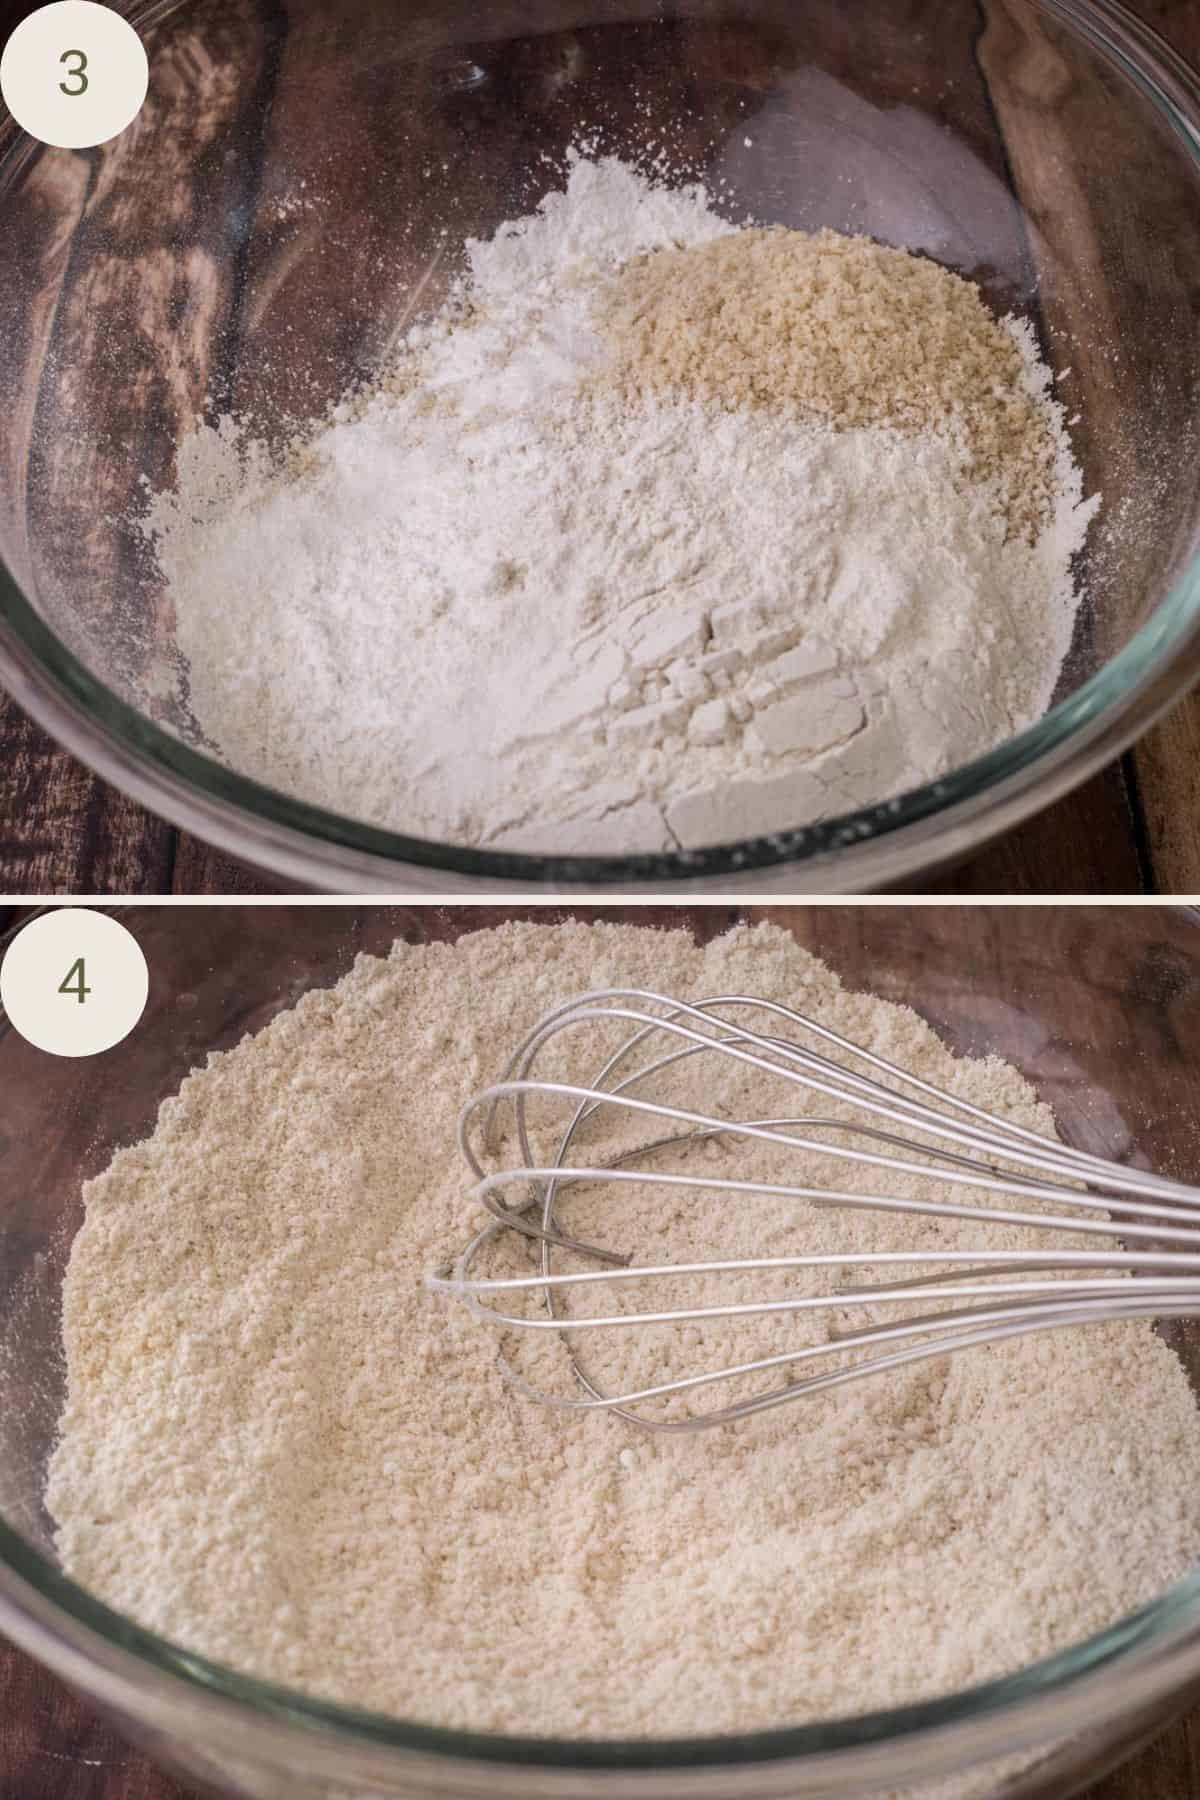
Mix Dry Ingredients: In a large bowl, whisk together the ground peanuts, gluten-free all-purpose flour, baking powder and salt. Set aside.
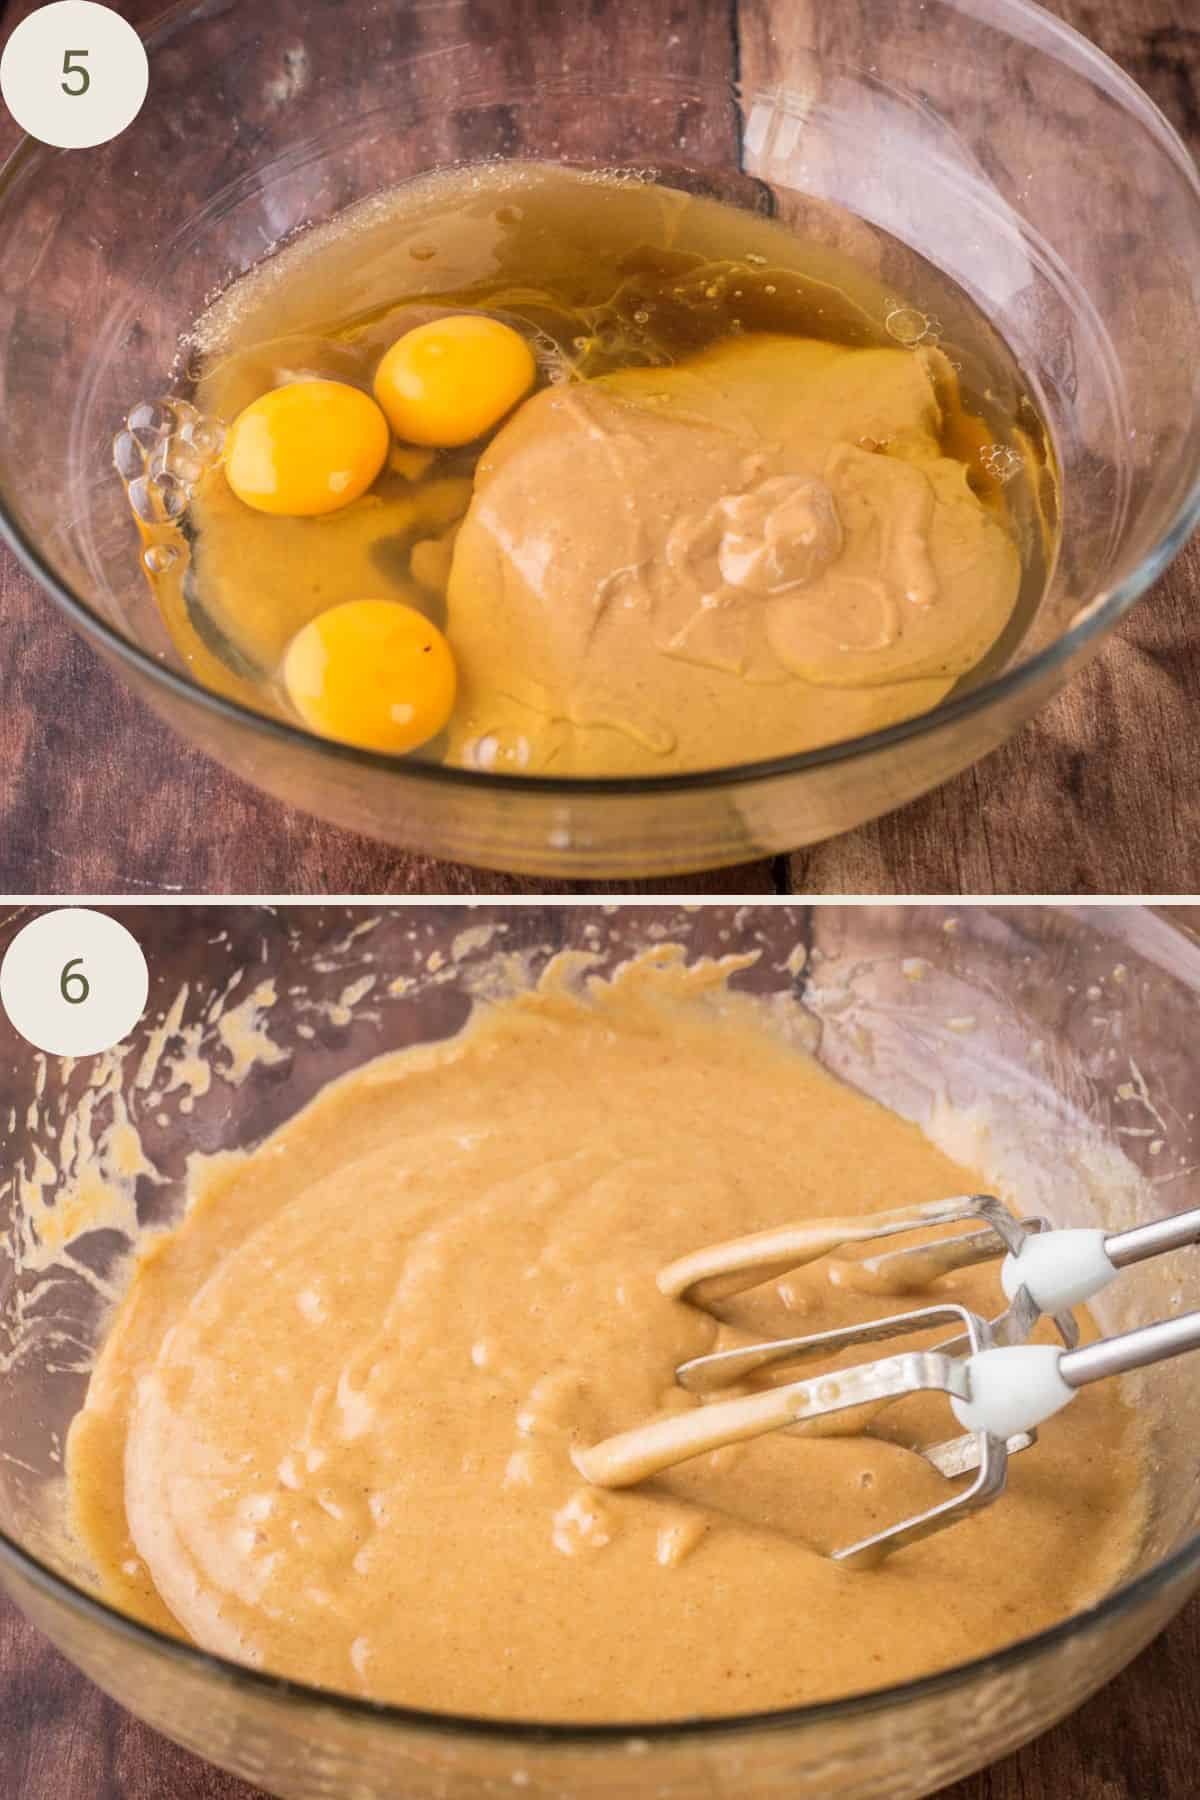
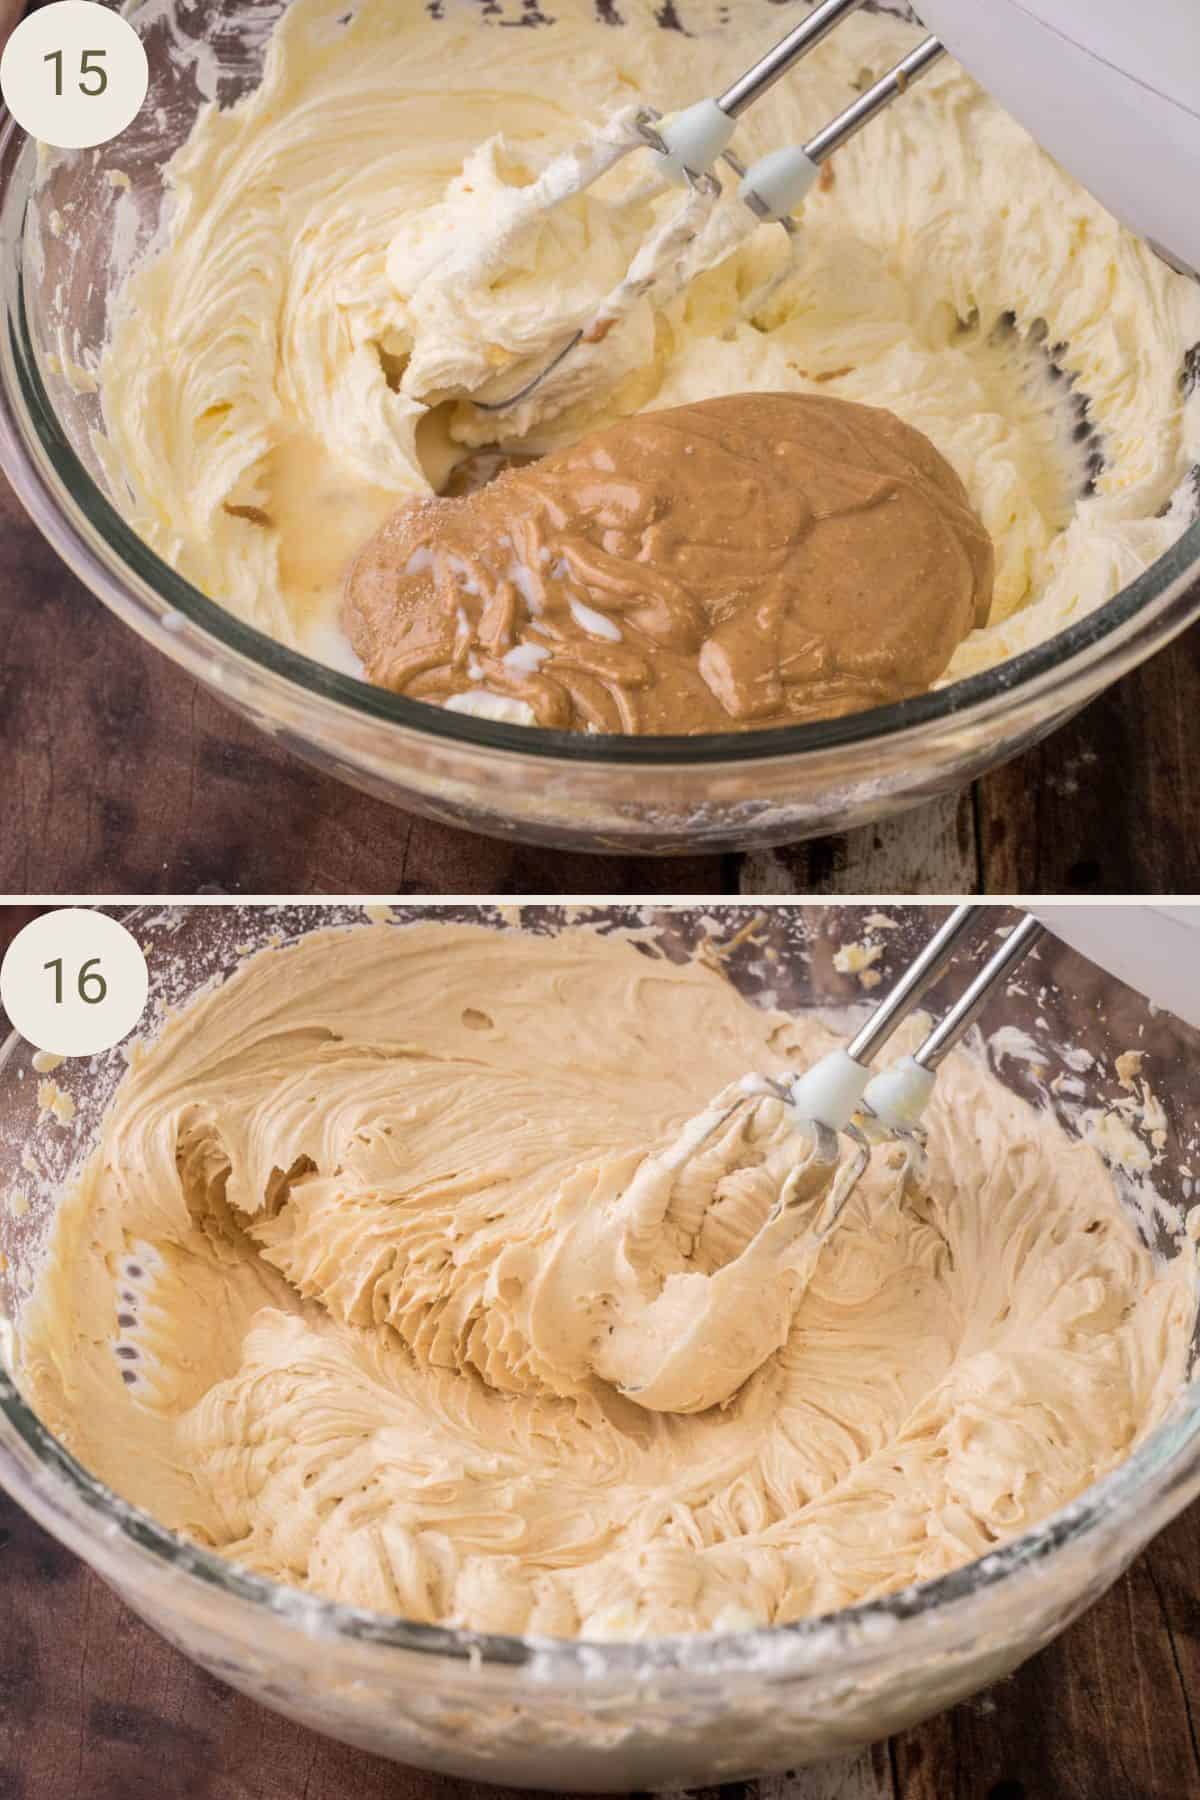
Mix Wet Ingredients: In a separate large bowl, beat peanut butter, olive oil, soft light brown sugar, eggs, and vanilla together until smooth.
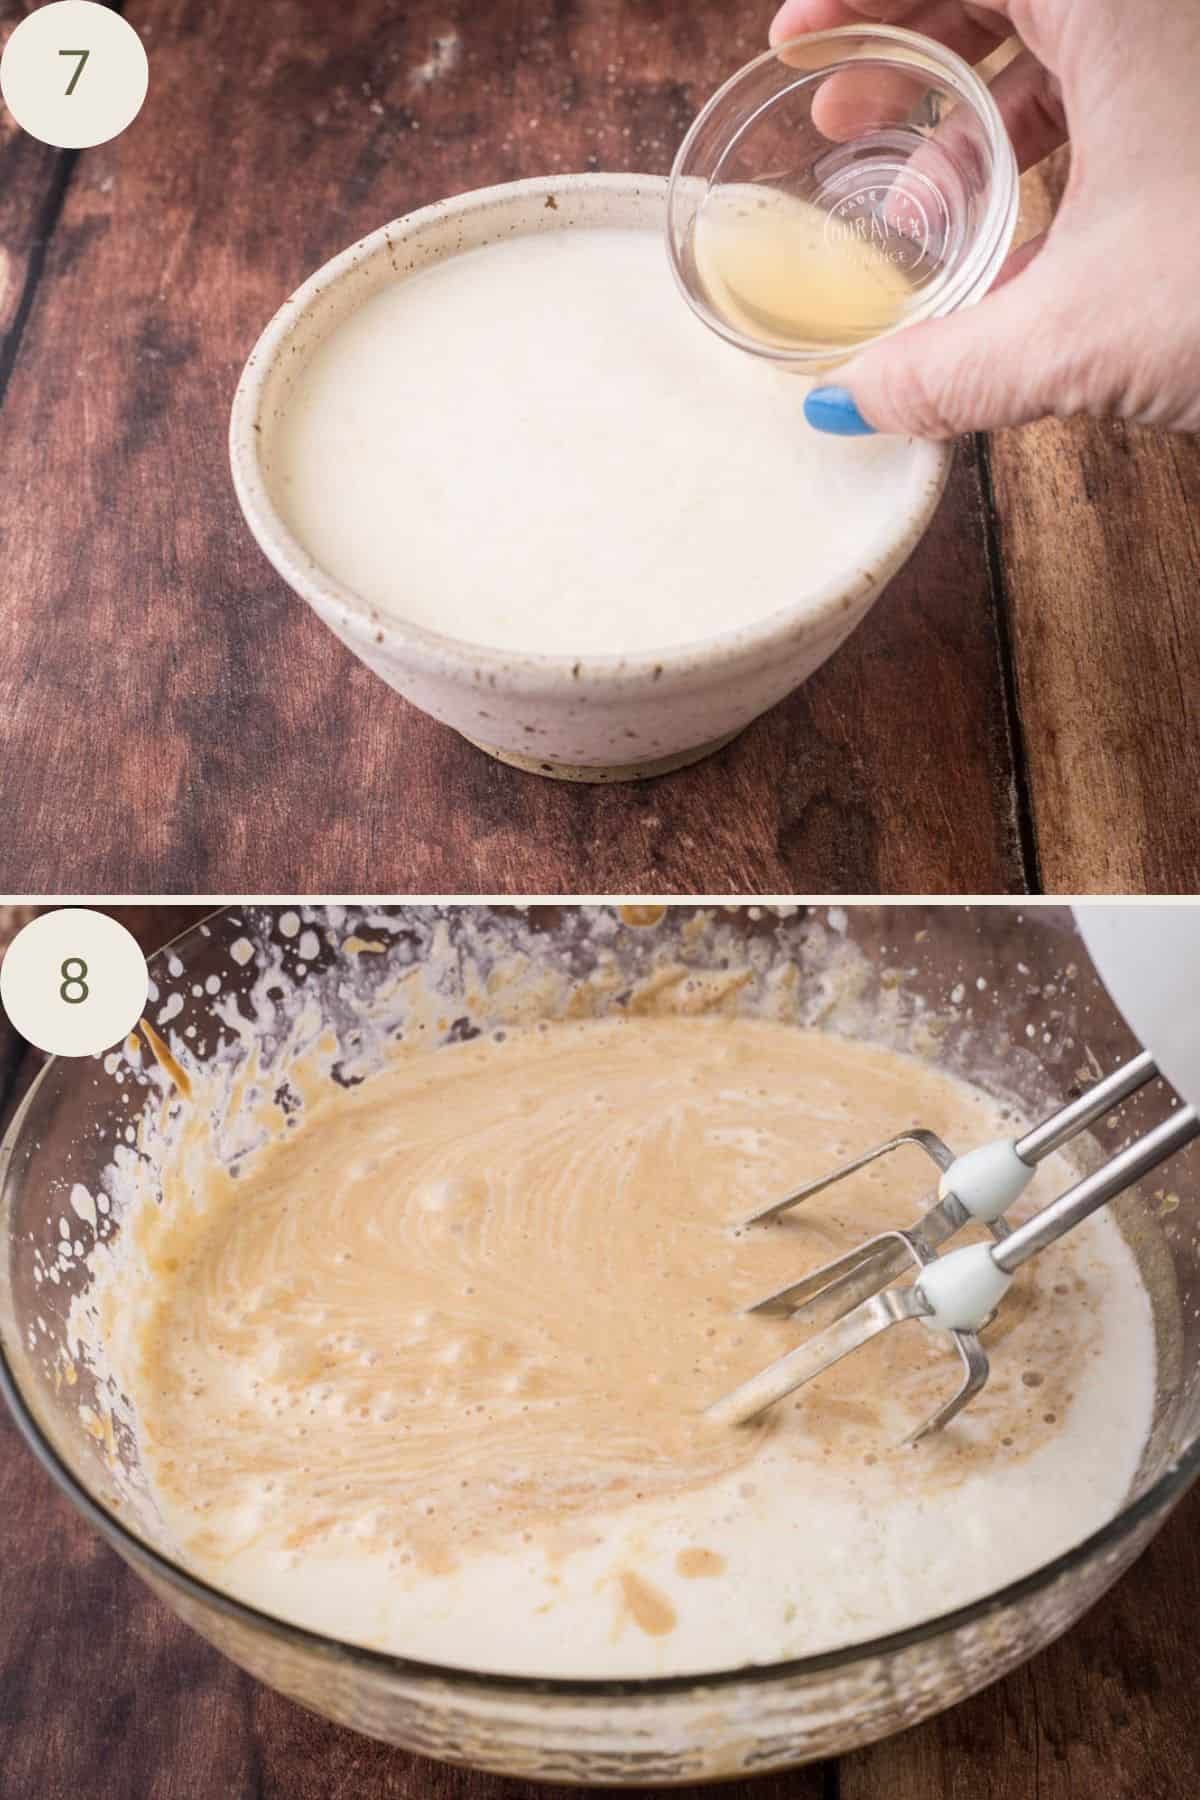
Add Milk and Vinegar: Mix the vinegar together with the milk in a small bowl and rest for 5 minutes. Gradually add this mixture into the rest of the wet ingredients until the batter is smooth.
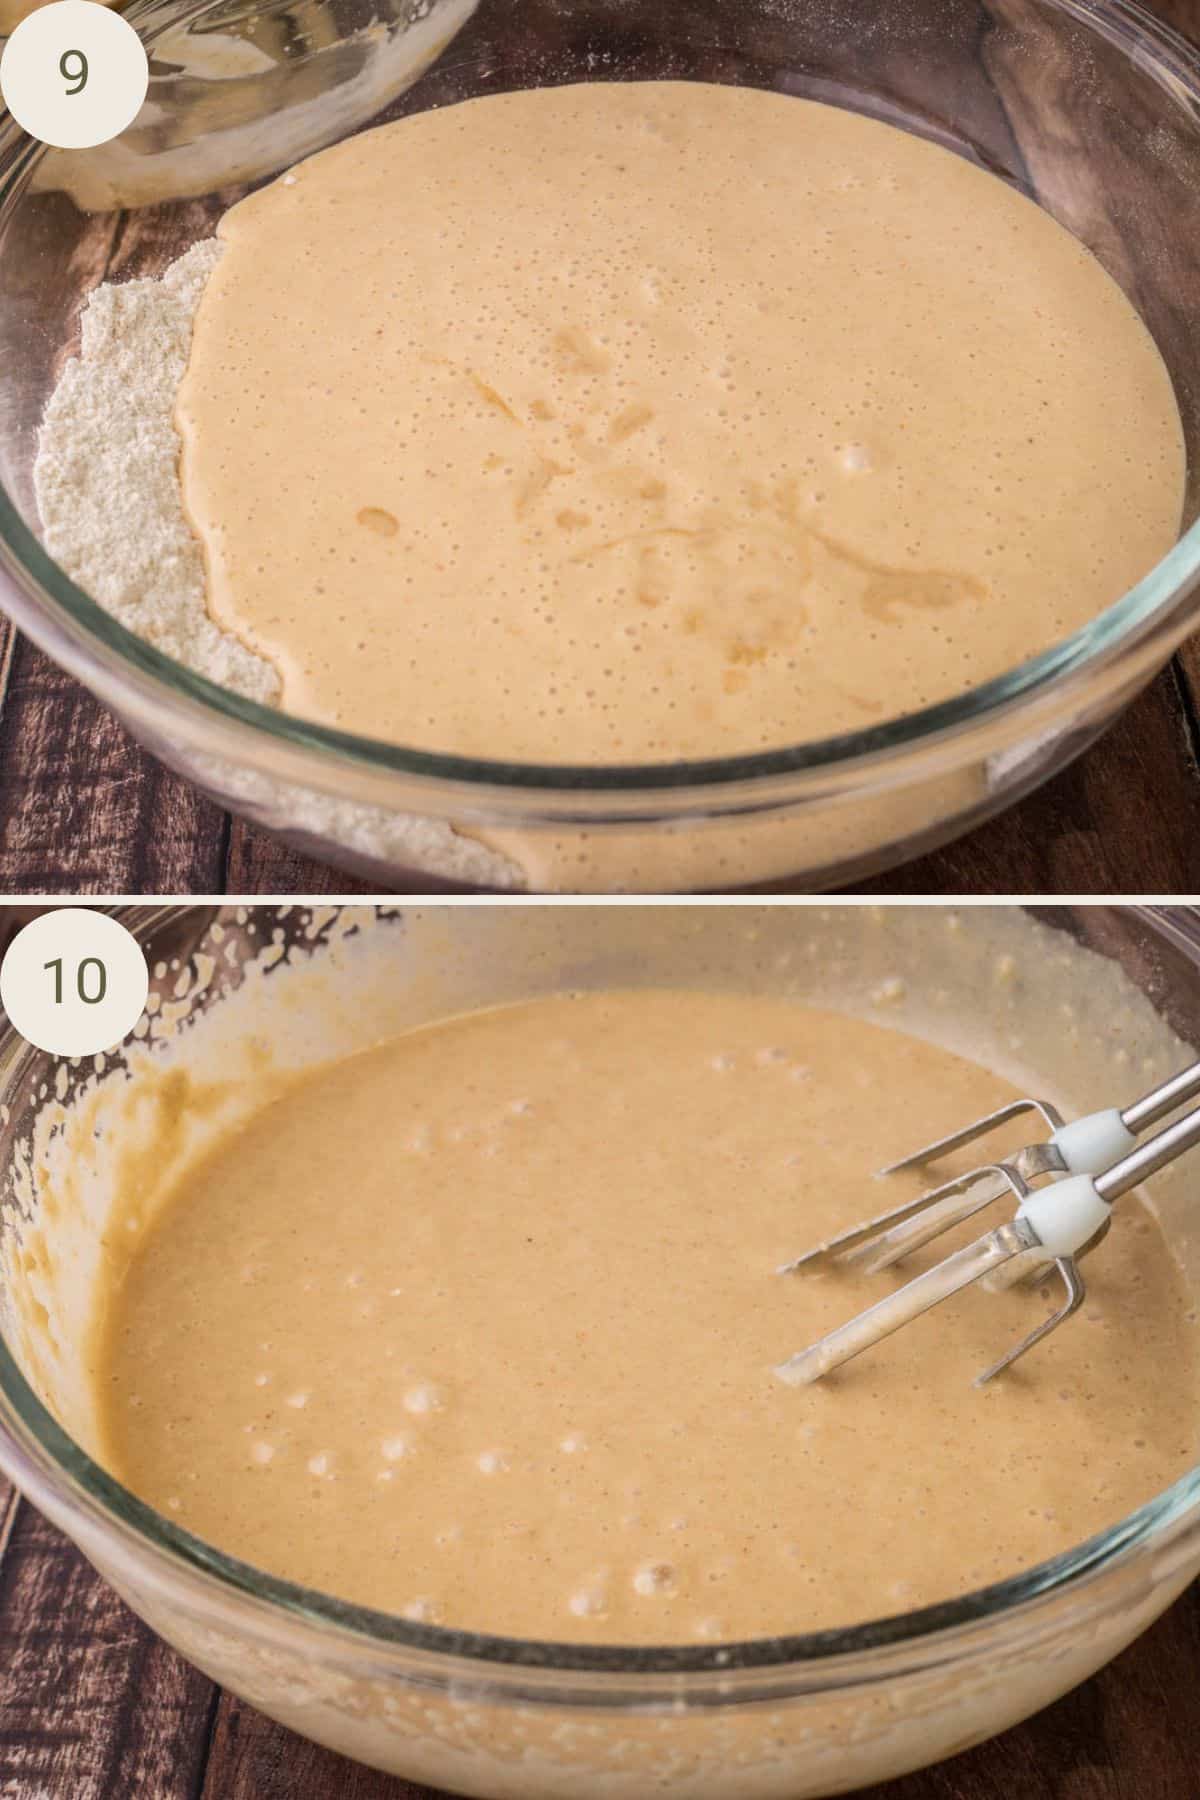
Combine Wet and Dry: Make a well in the dry ingredients, pour in the wet mixture, and stir until well combined.
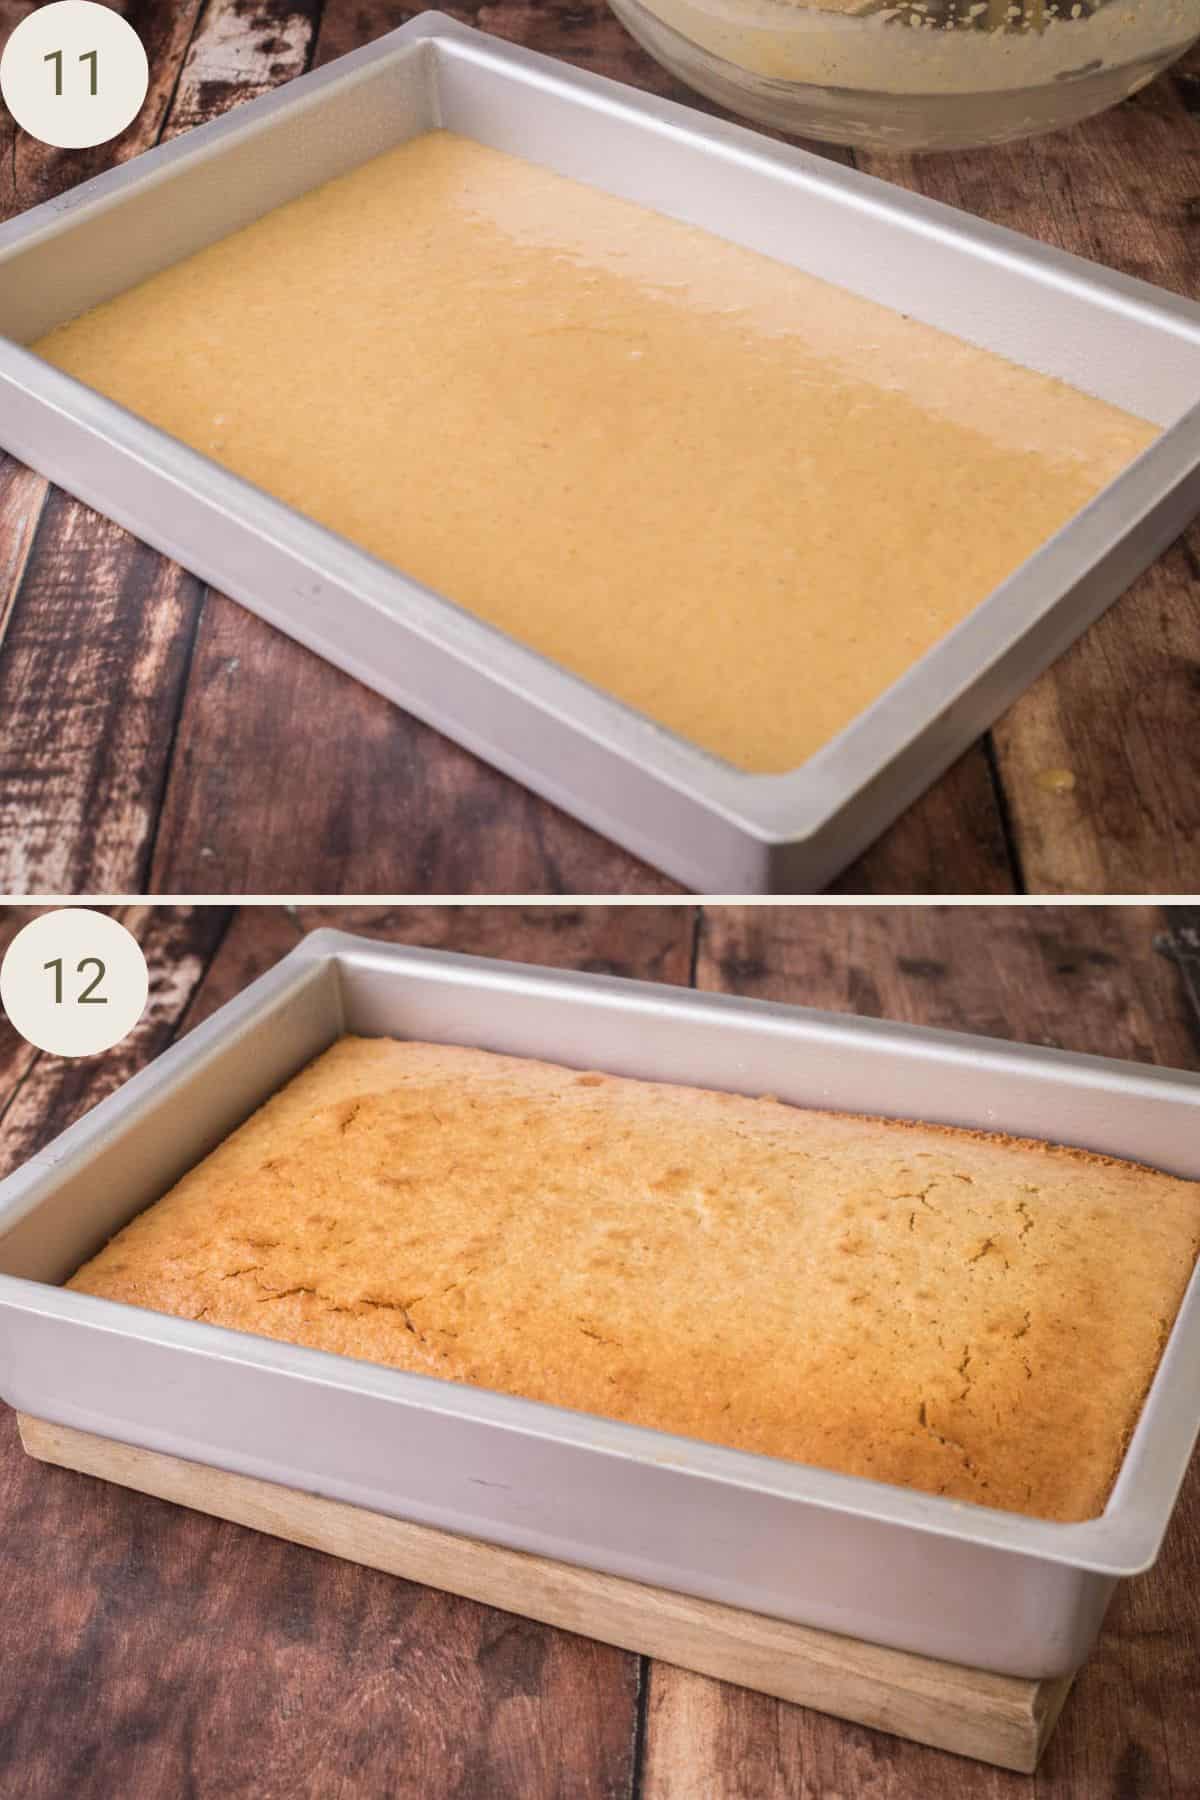
Bake: Pour the batter into a prepared cake tin and bake for 30-35 minutes, until a toothpick comes out clean.
Peanut Butter Buttercream Frosting
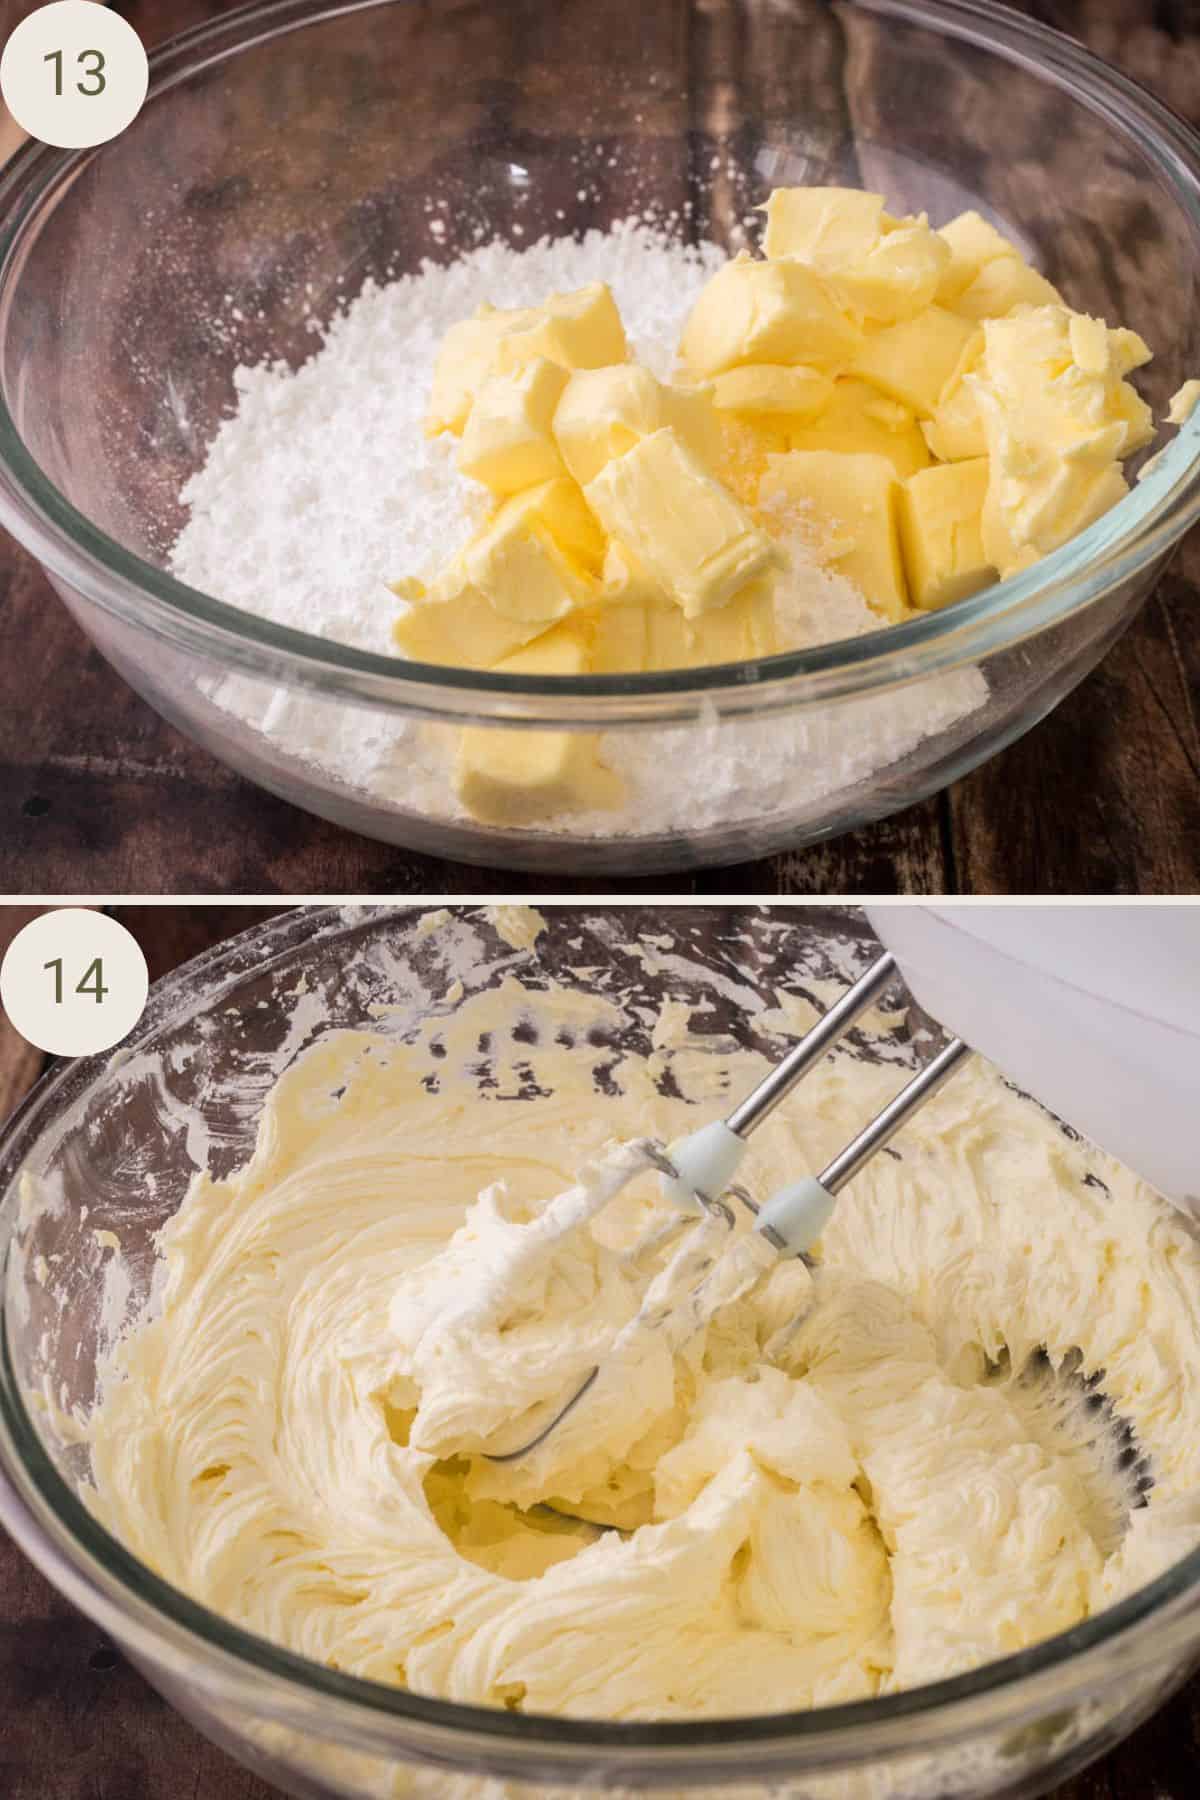
Cream Butter and Sugar: In a large mixing bowl beat together the butter and icing sugar for 3-4 minutes.
Add in the rest of the ingredients: Add the peanut butter, milk, vanilla extract and salt and mix until smooth and creamy.
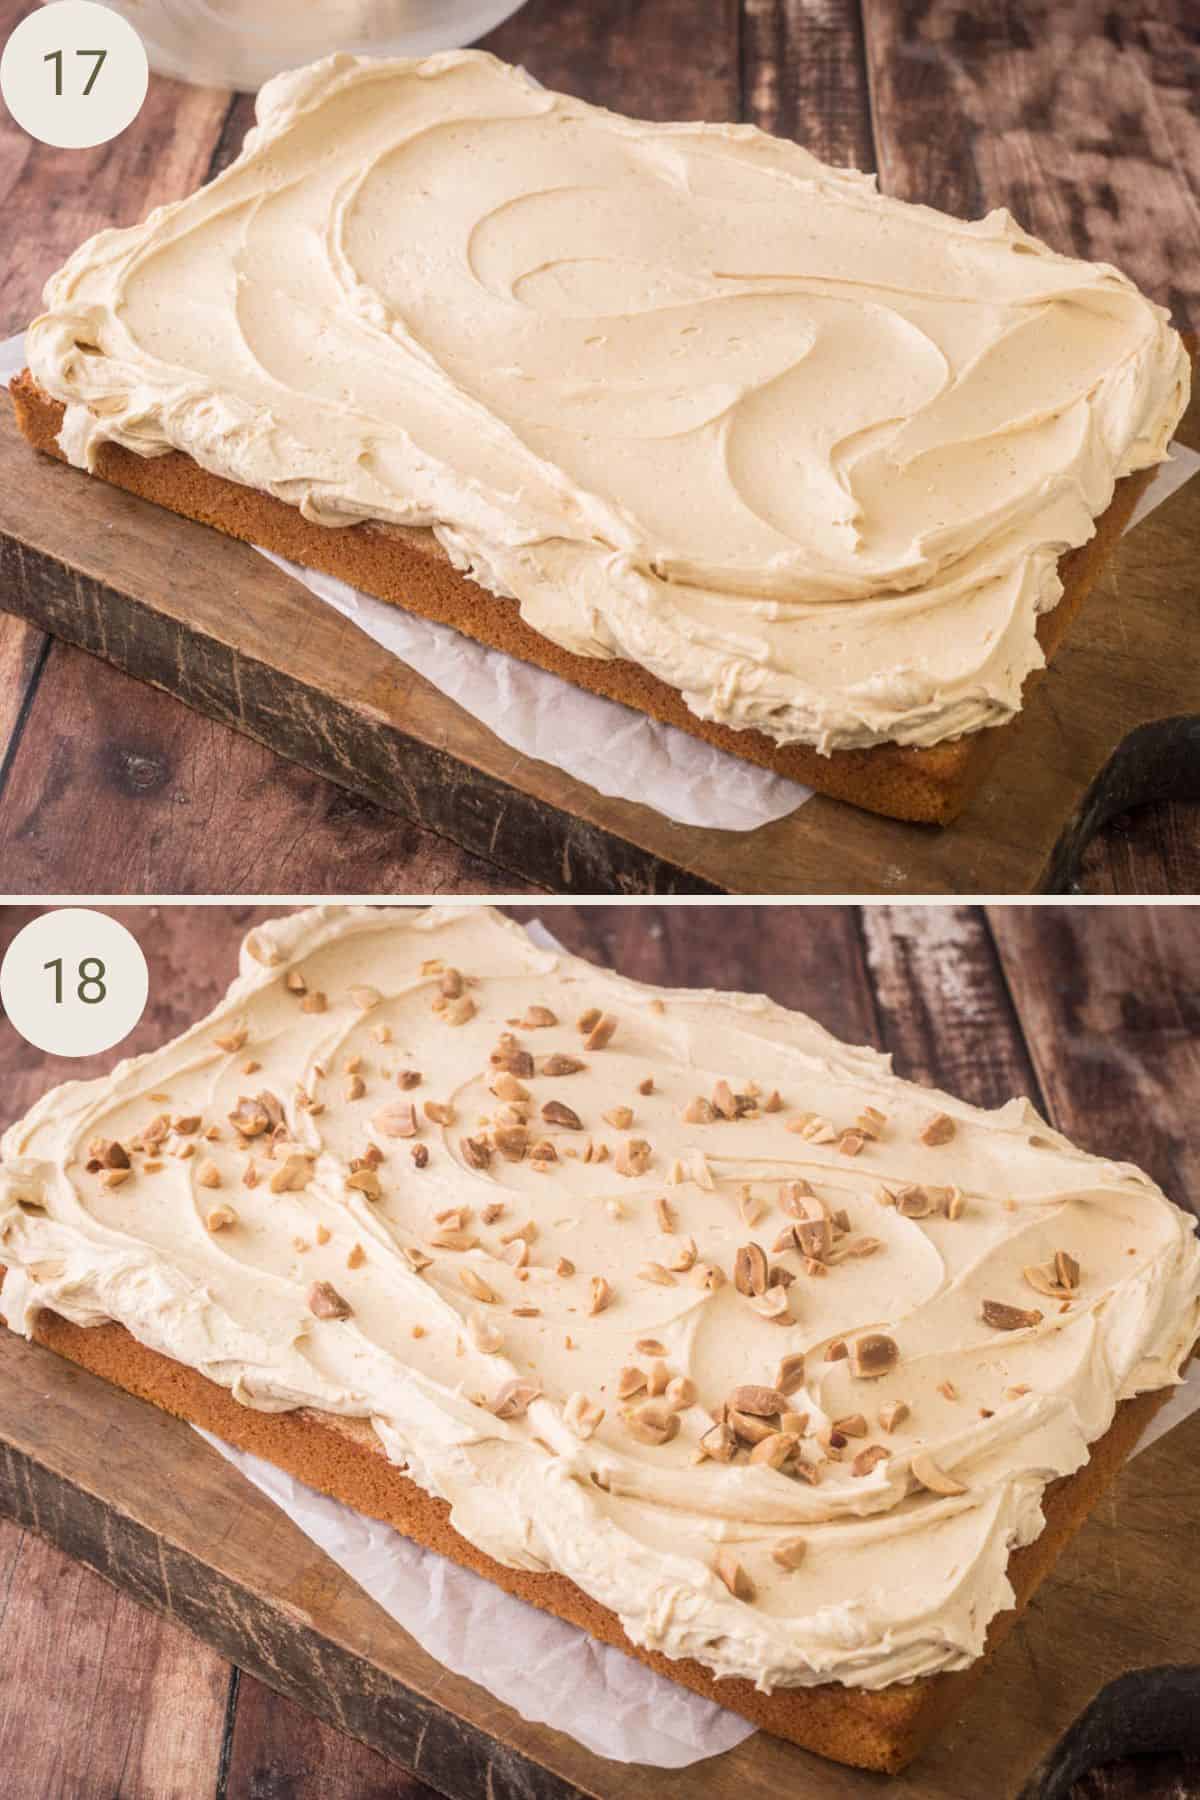
Assembly: Apply the buttercream to your cooled cake and decorate with chopped salted peanuts.
Expert Tips
This is a very easy recipe to prepare but a couple of things will ensure you bake this recipe perfectly first time:
Room Temperature Ingredients. Ensure that all the ingredients including the eggs and butter are at room temperature. This helps in achieving a smoother batter, even mixing and helps them to emulsify together so the cake isn’t greasy.
Measure Ingredients Accurately. Use precise measurements for all ingredients, this is especially the case when working with gluten-free flours. And I urge you to use digital scales, any slight variation in measurements can alter the desired texture and consistency.
Milk and Vinegar. The aim of mixing the milk and vinegar together is to create a mock buttercream which adds incredible lightness and a tanginess to the finished sponge which complements the rich flavour. It will look curdled once it’s rested for 5 minutes, don’t worry – this is correct.
Ground Peanuts. The reason behind using the brown sugar to help grind the peanuts is that it helps soak up the excess oil for the peanuts so you aren’t producing more peanut butter.
Salted Roasted Peanuts. You can use the same kind of blanched peanuts which you used for the sponge. To roast them then toss 30g with a pinch of salt. Place on a lined baking tray and bake in an oven set at 220°C / 200°C fan assisted / gas mark 7 / 425°F for 7-8 minutes. Allow to cool then roughly chop and use to decorate the cake.
Slicing and serving. For cleanly sliced servings of this cake, refrigerate the decorated cake for about 30 minutes so the buttercream sets a little. Use a large knife dipped in hot water (then dried) to slice perfect portions.
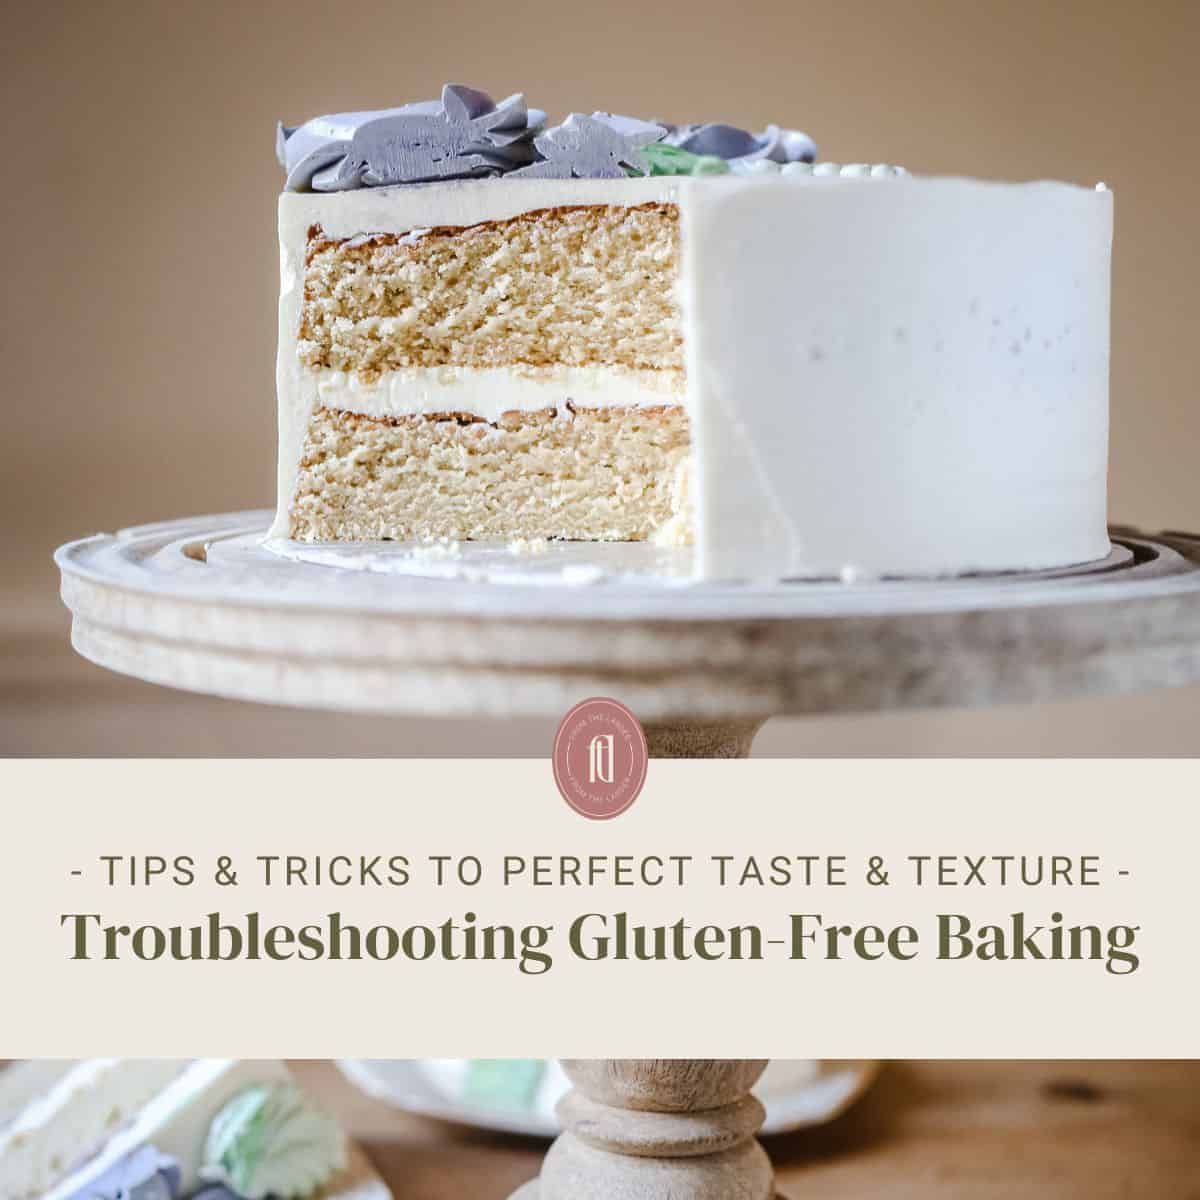
Troubleshooting Gluten-Free Baking
Say goodbye to dense, dry, crumbly bakes that taste weird with this Gluten-Free Baking Guide. You'll build confidence quickly as you apply these tips and tricks to your next bake and see the delicious difference!
Optional Add-ins and Variations
PB&J. This cake in cupcake form swirled with raspberry jam was one of my bestsellers at my cake stall. To make the same variation to this Peanut Butter Sheet Cake then just swirl in 2-3 tablespoons fresh raspberry jam or strawberry jam before baking.
Chocolatey Versions. You can either fold in 100g chocolate chips into the batter or simply top the traybake with a luxurious chocolate ganache instead of the buttercream.
FAQs
I really like to use my ‘swiss roll tin’ for baking this cake. It measures at 30 x 20 x 5cm (8 × 12 × 2 inch). It’s smaller than a standard sheet cake but makes the perfect amount.
You can make and store the peanut butter sponge up to 2 days before filling and covering with the buttercream. Store in a cool dark place (not the fridge as it will dry out) in an airtight container.
You can store this cake in an airtight container for up to 3 days (but preferably tin rather than plastic as it plastic will keep the cake too moist). Then store the cake in a cool dark place. Refrigerating this cake will dry out the sponge so I only recommend storing this way if a cool and dark place is not available.
Absolutely, this peanut butter cake is suitable for freezing either before or after you have covered in buttercream. You could also freeze leftover cake in slices. You can freeze the cake successfully by double wrapping it. First wrap it tightly in plastic wrap then aluminium foil. Don’t forget to label including the date. To enjoy, thaw at room temperature overnight.
Yes! You can use this recipe to make gluten-free peanut butter cupcakes. This recipe makes enough for 12-15 cupcakes. You can also reduce the baking time to about 20 minutes.
Either of those variations would be delicious but give very different flavours. Almond butter gives a milder taste, cashew butter a creamier flavour.
Yes, you just need to swap the whole milk in the sponge for a plant-based milk. I like almond milk for this recipe. For the buttercream you can use your favourite plant-based butter as an alternative. And also the dairy-free milk as before.
More Peanut Butter Recipes You’ll Love
Gluten-Free Peanut Butter Oatmeal Cookies are the easiest cookies in the world to make and they only have 7 ingredients! Completely flourless and one of the most satisfyingly chewy cookies you will have the pleasure to bake.
These Black Sesame Peanut Butter Brownies are a richly decadent fudgy treat. Packed with honeyed black sesame, swirled generously with peanut butter layered through the brownie and topped with salted peanuts and black sesame.
This Blond Chocolate Mousse is rich and indulgently whipped through with peanut butter. Perfect for lovers of all things peanut butter and butterscotchy. A very fancy chocolate mousse which is definitely destined for special occasions.
Enter your email below to get this recipe sent to your inbox plus get new recipes, baking tips, and updates.
Gluten-Free Peanut Butter Cake
Ingredients
- 140 g blanched peanuts
- 140 g gluten-free all-purpose flour*
- 2 teaspoons baking powder
- ¾ teaspoon kosher salt
- 180 g natural unsweetened peanut butter
- 200 g soft light brown sugar
- 80 g olive oil
- 3 eggs - medium*
- 2 teaspoons vanilla extract
- 240 g whole milk
- 1 tablespoon apple cider vinegar
Peanut Butter Buttercream Frosting
- 220 g unsalted butter
- 220 g icing sugar
- 150 g natural unsweetened peanut butter
- 25 g whole milk
- 1 teaspoon vanilla extract
- ¼ teaspoon salt
- 30 g salted peanuts - roughly chopped*
Instructions
- Pre-heat the oven to 180°C / 160°C fan assisted / gas mark 4 / 350°F and line and grease a 30 x 20 x 5cm (8 × 12 × 2 inch) baking tin with parchment paper.
- Pour the milk into a small bowl or jug and stir in the apple cider vinegar. Set aside for 5 minutes.
- Place peanuts in a food processor with 4 tablespoons of the brown sugar. Process the peanuts until finely ground.
- Whisk together the ground peanuts, gluten-free all-purpose flour, baking powder, and salt in a large mixing bowl until well combined. Set aside.
- In a separate large mixing bowl, mix together the peanut butter, olive oil, sugar, eggs and vanilla until smooth and creamy. It’s possible to mix by hand but you can use handheld electric beaters if you prefer.
- Gradually pour in the vinegar milk (which will look slightly curdled) into the wet ingredients and continue mixing until the batter is smooth and well combined.
- Make a well in the centre of the dry ingredients and pour in the wet ingredients, stirring until everything is well incorporated.
- Pour the cake batter into the prepared baking tin and place in the pre-heated oven. Bake for 30-35 minutes, or until a toothpick inserted into the centre of the cakes comes out clean.
- Remove from the oven and allow to cool in the tin for 10 minutes before transferring to a wire rack to cool completely before covering with the buttercream.
Peanut Butter Buttercream Frosting
- Beat together the butter and icing sugar in a large mixing bowl with an electric mixer on low speed for about 3-4 minutes, until creamy, light and pale in colour. Scrape down the bowl occasionally to achieve an even mix.
- Add the peanut butter, milk, vanilla extract and salt and mix again for a further minute until the buttercream is smooth and creamy.
- Apply your buttercream to your peanut butter cake using a palette knife to create easy deep smooth swirls. For a little more of a flourish you could pipe the buttercream on using a piping bag fitted with your favourite piping tip.
- Scatter over roughly chopped salted peanuts to finish, then slice and serve.
Video
Notes
The nutrition serving is for 1 slice of cake, assuming the cake is cut into 16 servings.
