
Gluten-Free S'mores Cake
This post contains affiliate links. Please read my disclosures.

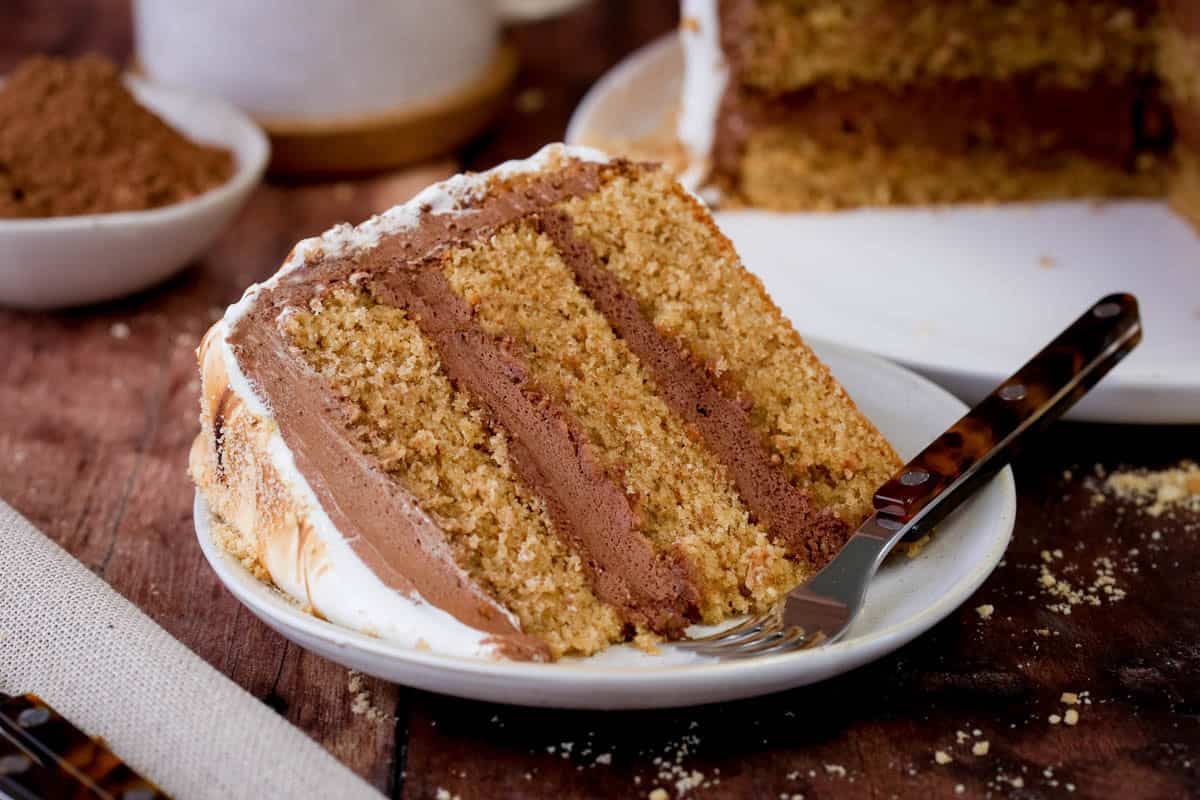
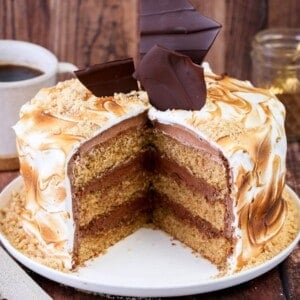
Gluten-Free S’mores Cake is made with a rich cinnamon sponge, silky chocolate buttercream and a toasted marshmallow meringue. Also dairy-free.
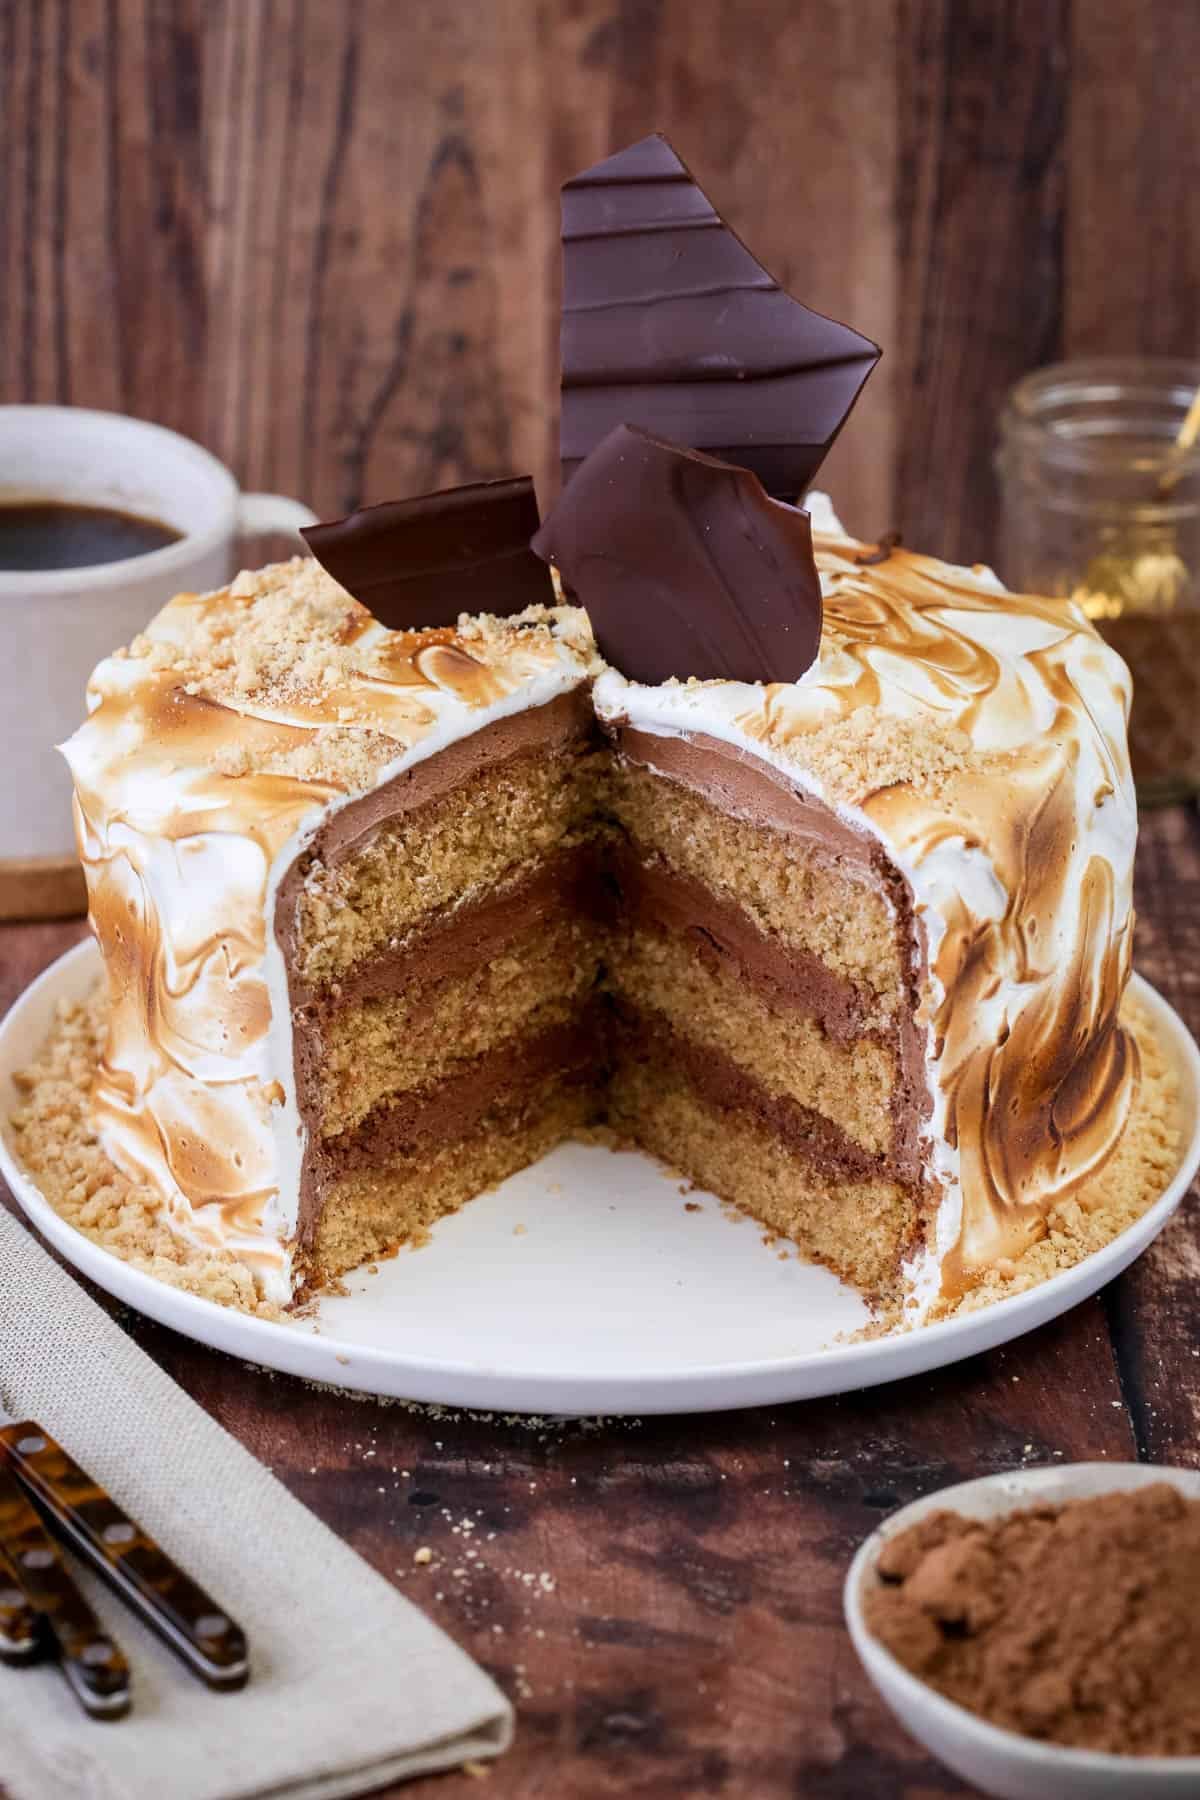
I made this cake for my son’s 11th birthday, he is always very discerning over his cakes and flicks through all my cookbooks for his inspiration. This time it came from Tessa Huff’s Layered (it usually does – this is his favourite cookbook) which is filled with gorgeously stunning celebration cakes. So this cake is inspired by her S’mores Cake.
I have learnt though to simply take the structure of her cakes and basically use my own recipes. Please understand that I’m sure her cakes are absolutely wonderful just as they are and don’t normally need any adaptation. However, as her recipes aren’t designed to be gluten-free, I find it’s much easier to use my own tried-and-tested gluten-free baking techniques which are more suited to my style. And in this instance, also dairy-free techniques, as some of my son’s friends are dairy-free, and we wanted everyone to enjoy some cake.
For this cake we’re basically re-creating the flavours of a S’more, which is a traditional campfire treat of molten marshmallows and chocolate sandwiched in graham crackers (or digestive biscuits if you’re in the UK). Now cinnamon isn’t usually in a digestive biscuit but I’ve been flavour led here by Tessa Huff who perhaps has been inspired by cinnamon graham crackers. It really doesn’t matter as the flavour of these vanilla cinnamon sponges is incredible and is a perfect fit for a campfire cake.
Is It a Difficult Cake to Make?
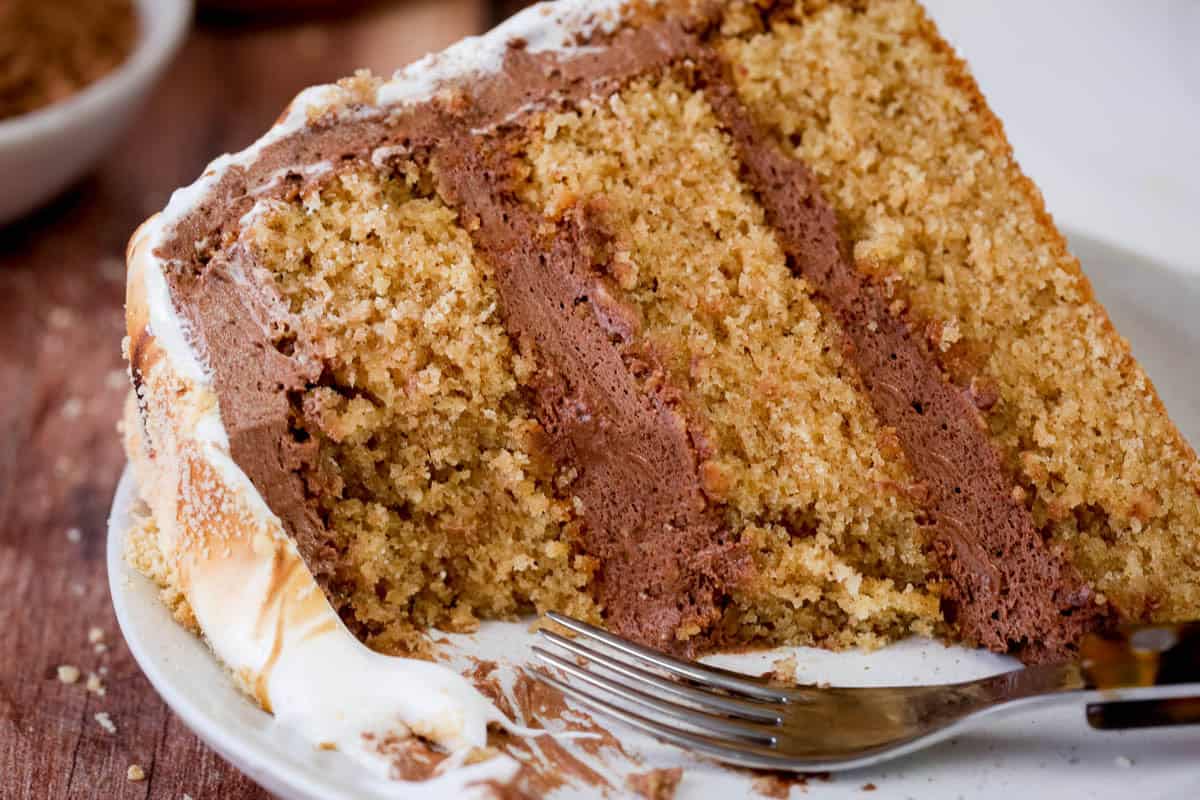
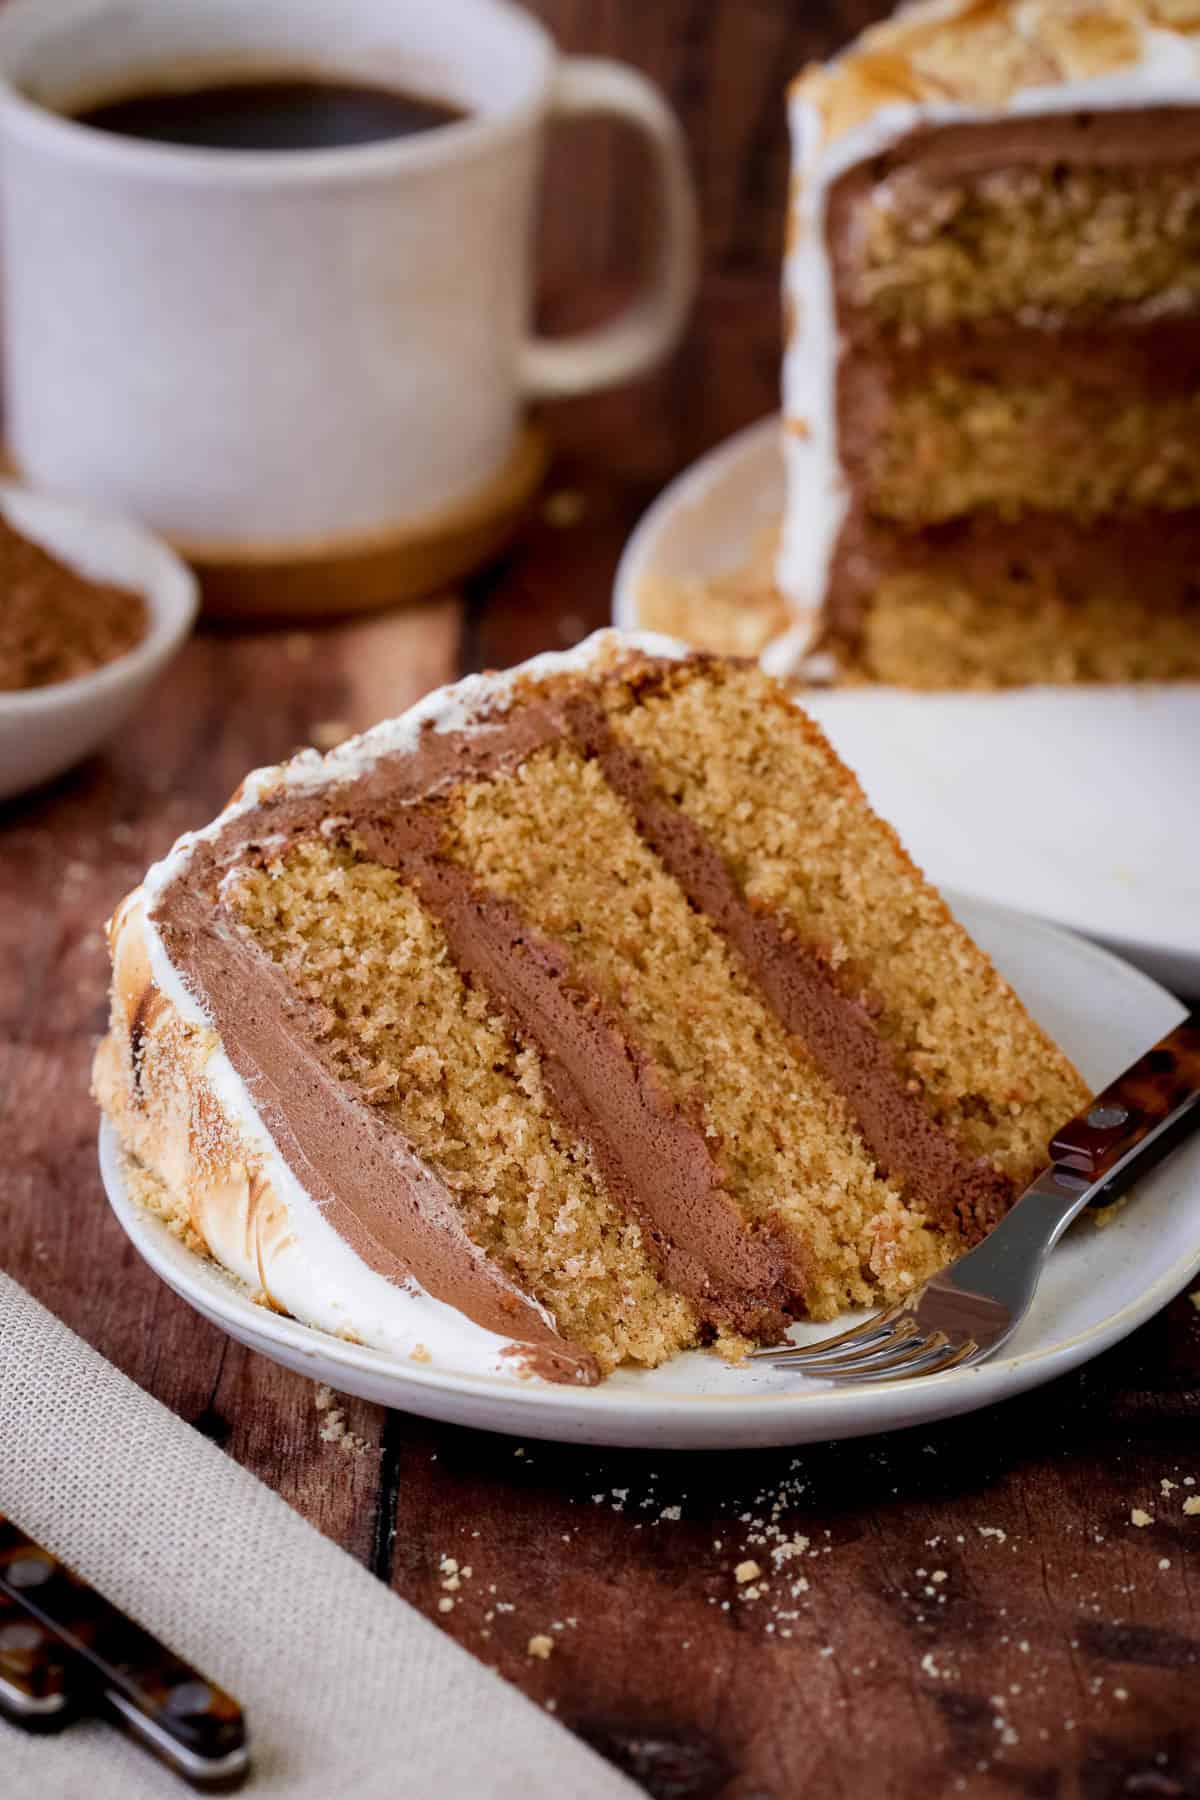
The gluten-free sponges could not be simpler to pull together, it’s simply a case of whisking dry ingredients (my homemade gluten-free flour blend, cinnamon, baking powder and salt) then combining them with the wet ingredients (olive oil, eggs, brown sugar and vanilla). There’s no xanthan gum needed as my flour blend is well balanced with starchy and wholegrain flours so it binds very well and always gives a soft and tender crumb.
The sponges take about 30 minutes to cool then we can fill and cover them with our plant-based chocolate buttercream. Say what you like about plant-based butter but it’s a lot quicker to achieve the same soft and creamy texture that you would from regular butter. The trick is to not use as much icing sugar as you might as a regular buttercream as otherwise it can get very sweet. The cocoa powder also does wonders with helping the buttercream reach good stability for spreading (as the butter is very soft).
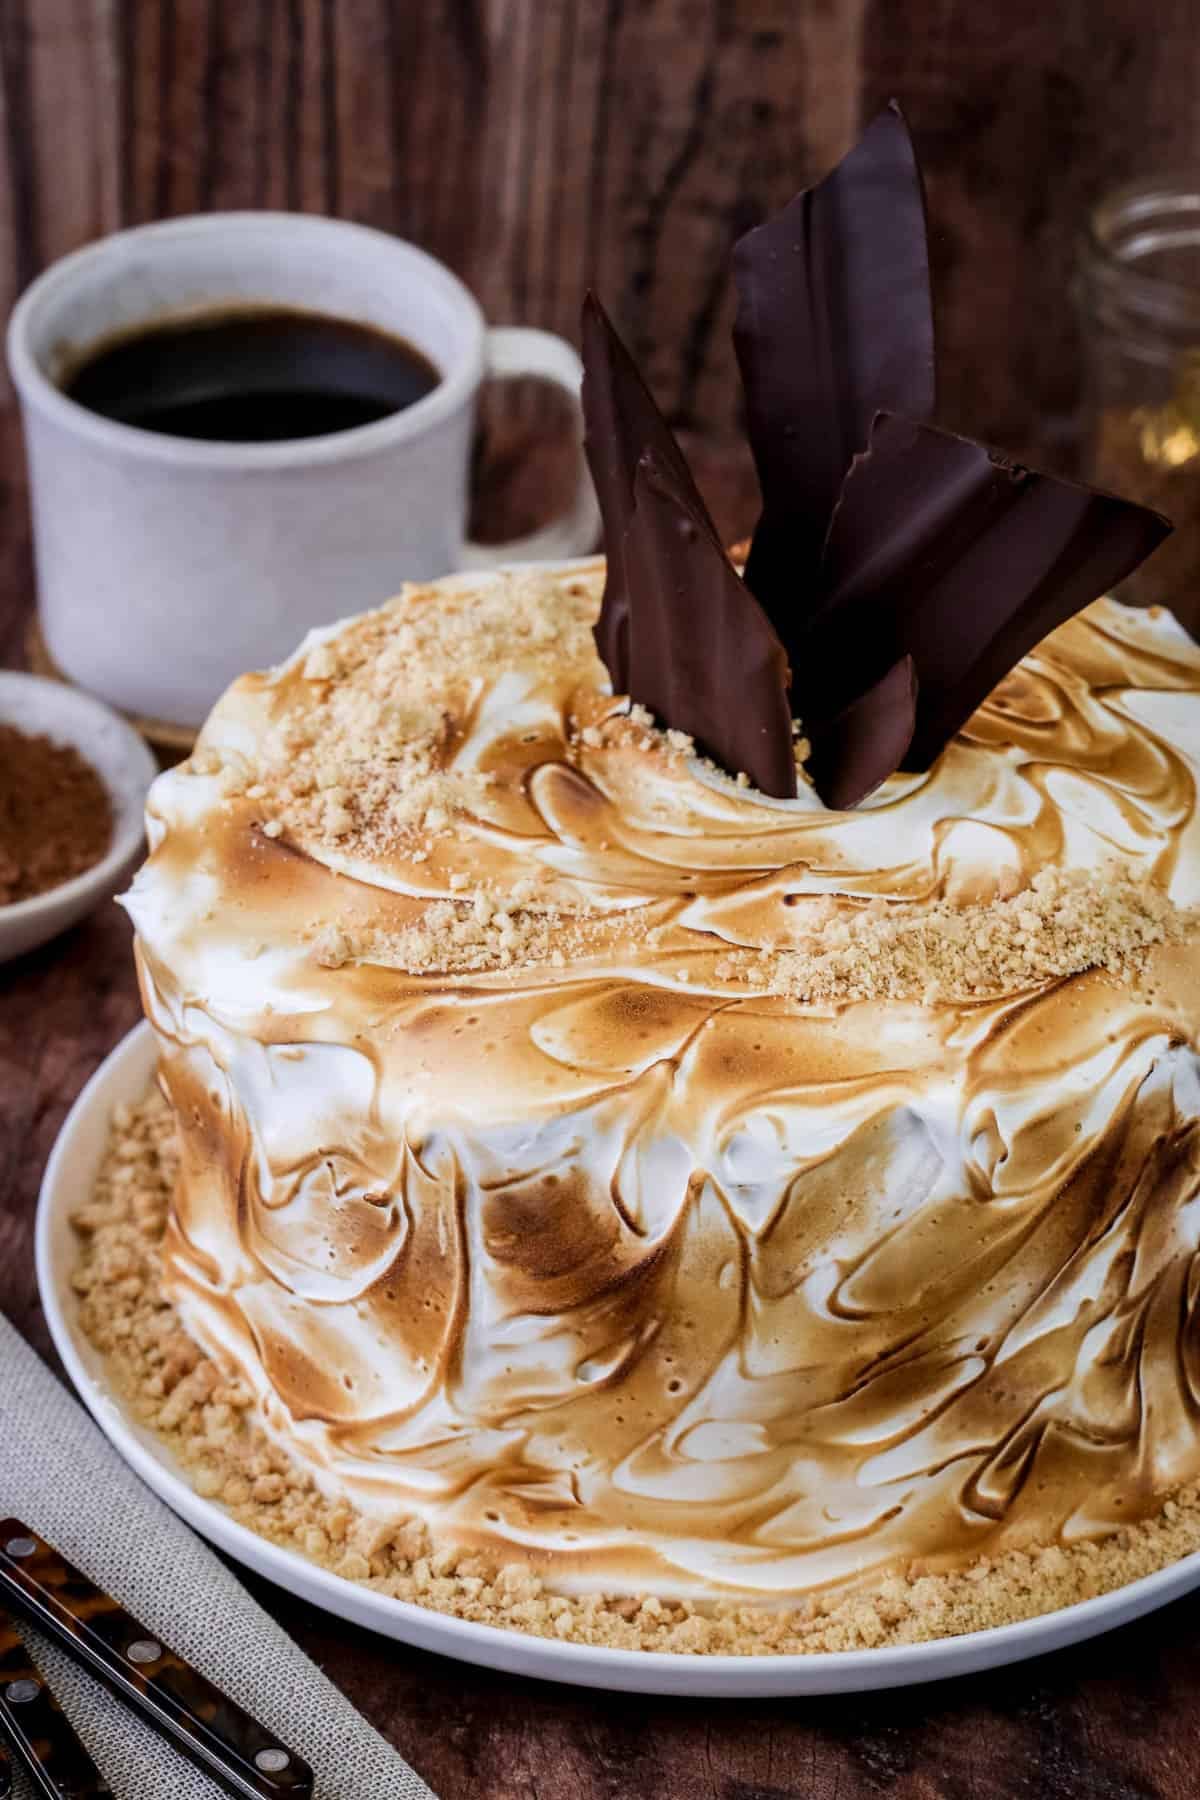
Making the swiss meringue for the toasted marshmallow covering might seem intimidating but it’s so simple. Heat the caster sugar and egg whites until the sugar has completely dissolved (use a digital thermometer if you’re unsure) then just pour into a mixer and whip until you have firm peaks. Once you’ve covered your cake with this delicious meringue the best bit of making the cake is always grabbing your kitchen blowtorch and toasting away.
Why You’ll Love This Gluten-Free S'mores Cake
- Toasty campfire flavours: fluffy, moist cinnamon sponge, rich chocolate buttercream and fluffy toasted marshmallow topping.
- Uses my gluten-free flour blend so isn’t brand reliant and has a perfect texture and structure without any need for xanthan gum.
- Perfect cake for birthdays, BBQs and Bonfire Night.
- It's dairy-free.
Watch The Video
This video was created for social media so gives more vibes on how to make the cake rather than a step-by-step which I normally do.
Ingredients Needed
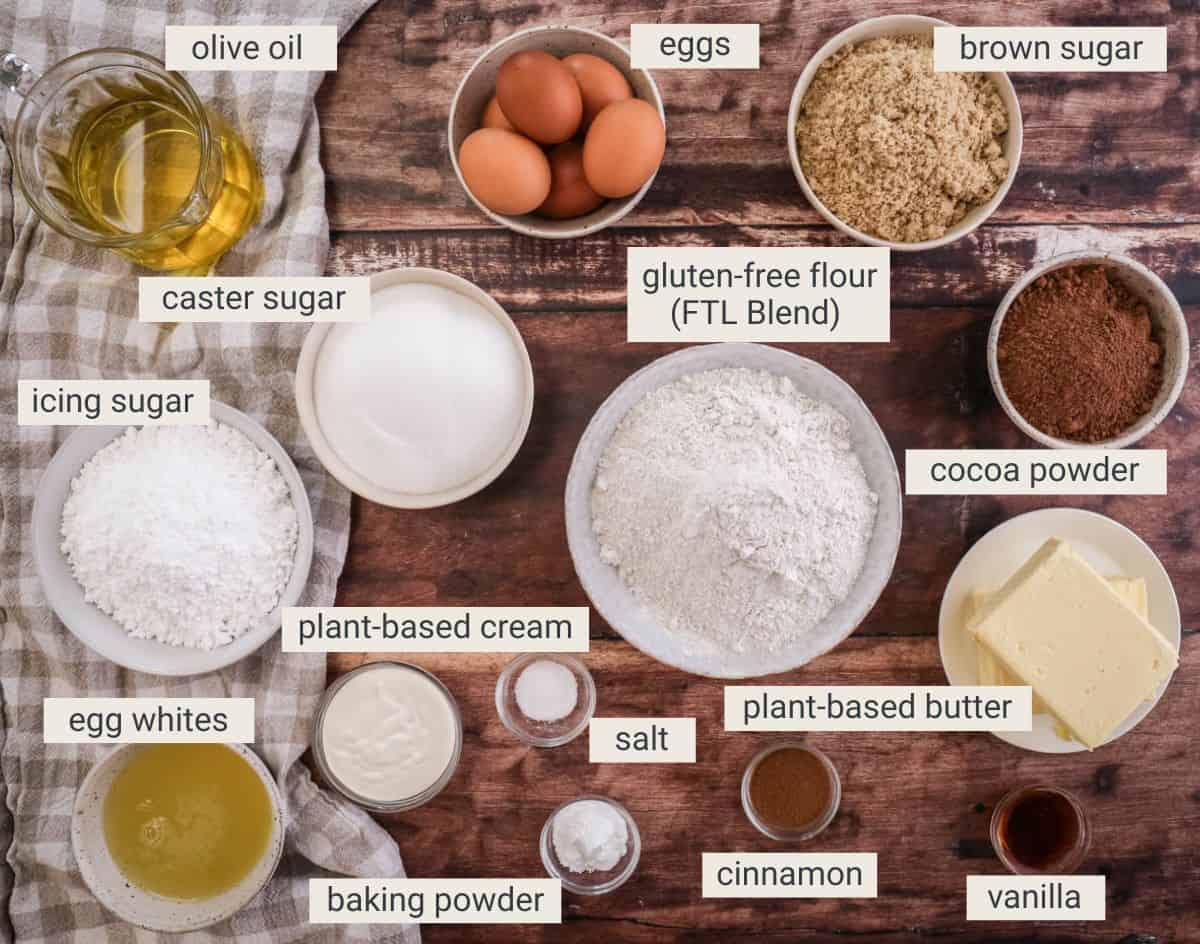
Cinnamon Sponges
Gluten-Free Flour – FTL Blend. This recipe uses my Homemade Gluten-Free All Purpose Flour which works really well here as the flour ratio has been carefully tested to ensure the mix between wholegrain flours and starchy flours is balanced. This also means we don’t need to use xanthan gum as the blend is strong enough and produces a well-structured and textured bake which can hold together without needing any extra binders.This flour blend is a mix of 4 different flours: sweet rice flour (glutinous rice flour), sorghum flour, gluten-free oat flour, tapioca flour (tapioca starch).
Baking powder. A leaving agent which causes the cake to rise and become light and fluffy. Do check your baking powder is gluten-free before use.
Ground cinnamon. Flavouring our sponges with cinnamon gives the overall cake a warm toasty feeling. Perfectly in keeping with our theme.
Light Soft Brown Sugar. Using brown sugar adds a gentle molasses flavour and moisture to the batter, enhancing the depth of taste and providing a subtle caramel undertone, contributing to a more flavourful and moist bake.
Olive oil. This is my preferred oil in cakes rather than vegetable oil or coconut oil (if I’m using oil rather than butter). I like to use a flavourless mild and light olive oil but groundnut oil is also a great option. You don't need much but just a little means you get a softer texture to your cake.
Eggs. This recipe uses medium size, about 60g each with shell (50g each without shell). These are often classified as large eggs in the US. I recommend weighing your eggs to ensure the correct amount.
Vanilla extract. You don’t need to use the best quality vanilla extract here as there's already a lot going on with the flavours and it won't make a difference. A supermarket brand is just fine.
Salt. I like to use kosher salt in my baking as it has a round gentle flavour. Using salt in your baked goods lifts and sharpens all the other flavours.
Whipped Chocolate Buttercream
Plant-based butter. I use the Flora Unsalted Block Butter Alternative for this buttercream. This recipe hasn’t been tested with an alternative but it’s quite a forgiving buttercream recipe so if you are confident in your usual dairy-free butter brand that it is suitable for buttercreams then you are welcome to use an alternative.
Icing sugar. (powdered sugar). It’s better to use icing sugar in buttercream rather than caster sugar because it dissolves more easily, resulting in a smoother and less grainy texture.
Cocoa powder. I choose to use cocoa powder only for this buttercream (rather than actual dairy-free chocolate) as it helps keep the buttercream more stable as the plant-based butter doesn’t hold its structure as well as real butter. By using a good amount of cocoa powder you can keep the icing sugar at a reasonable amount so it’s not overly sweet.
Plant-based cream. This makes our buttercream deliciously creamy. I like using Coconut Collab Double Cre&m but you could also use Elmlea 100% Plant Based Double Cream Alternative which is often easier to get. You could even swap for a plant-based milk like cashew milk or almond milk.
Plus salt and vanilla (as above).
Toasted Marshmallow Frosting
Egg whites. You can use fresh egg whites by all means and then just freeze the egg yolks for another day or make custard or ice cream. However, I recommend buying a carton of liquid egg whites as it saves wasting the yolks or finding a use for them. You can freeze the rest of the carton for another day when you need them for meringues or swiss meringue buttercream.
Caster sugar. This is a finely ground white baking sugar common in the UK. If you can only get hold of white granulated sugar then that’s a fine substitute.
Plus salt and vanilla (as above).
Equipment Needed
Many of these items are helpful for a smooth baking process, but you can easily substitute with whatever you have on hand.
Double boiler or heatproof bowl. A double boiler is ideal for gently warming the egg whites and sugar for the meringue marshmallow as it prevents the bowl from sitting over direct heat. If you don’t own one, simply place a heatproof bowl over a saucepan containing about 4cm of gently simmering water. Just make sure the base of the bowl doesn’t touch the water below.
Digital thermometer (candy thermometer). A thermometer takes all the guesswork out of making the meringue, especially if it’s your first time. My favourite is a thermapen because it gives an almost instant reading. Many budget thermometers can take much longer to register the temperature and often have trailing wires that can get in the way. If you don’t have one then you are really looking for the right feel of the ingredients as you are whisking. They will feel a little looser and whisk more freely once the sugar has fully melted with the egg white.
Kitchen blowtorch. This is the easiest way to achieve that beautifully toasted marshmallow finish. If you don’t have one then my advice would be either to borrow one or leave untoasted. Avoid using a gas hob flame, ordinary lighter or even putting the cake under the grill – none of these techniques will give you enough control for a beautifully evenly toasted cake.
Stand mixer. While you can make the meringue with an electric hand whisk, a stand mixer makes the process easier. The meringue marshmallow needs several minutes of whipping, so it’s nice to be able to leave the mixer to do the hard work while you get on with something else. A stand mixer is also great for making the sponges, but to be honest you can make the sponges just using mixing bowls and a whisk. An electric hand mixer is fine for the buttercream.
Other useful equipment
- Mixing bowls.
- 20cm (8-inch) x 8cm (3-inch) deep round cake tins for baking the cakes.
- Silicone spatula for scraping the bowl.
- 3 x wire racks for cooling the sponges.
- Sieve for sifting cocoa powder and icing sugar.
- Offset spatula or knife for applying buttercream and the marshmallow meringue.
- Cake turntable. Helpful for smoothing the buttercream and if you have one that tilts then it’s very helpful for applying the marshmallow.
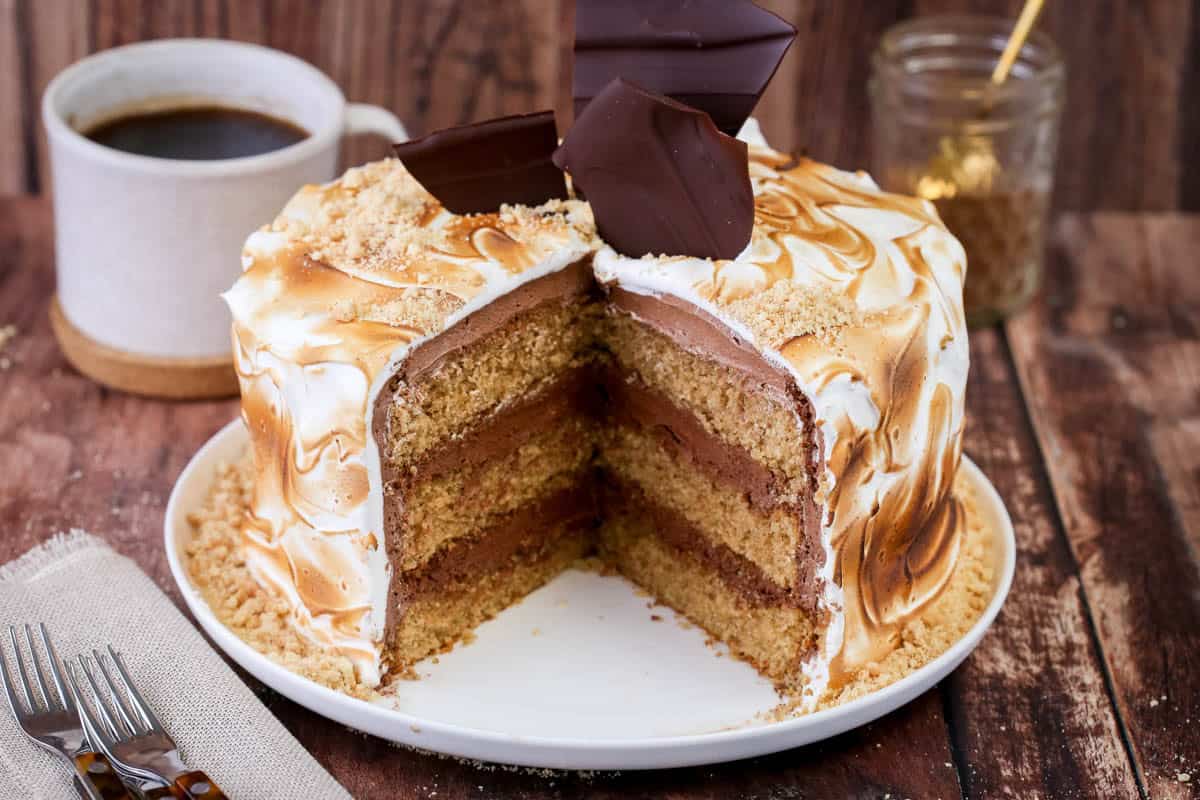
How To Make a Gluten-Free S’mores Cake
The following gives a short concise method with step-by-step images. For full recipe instructions go to the recipe card at the end of this post.
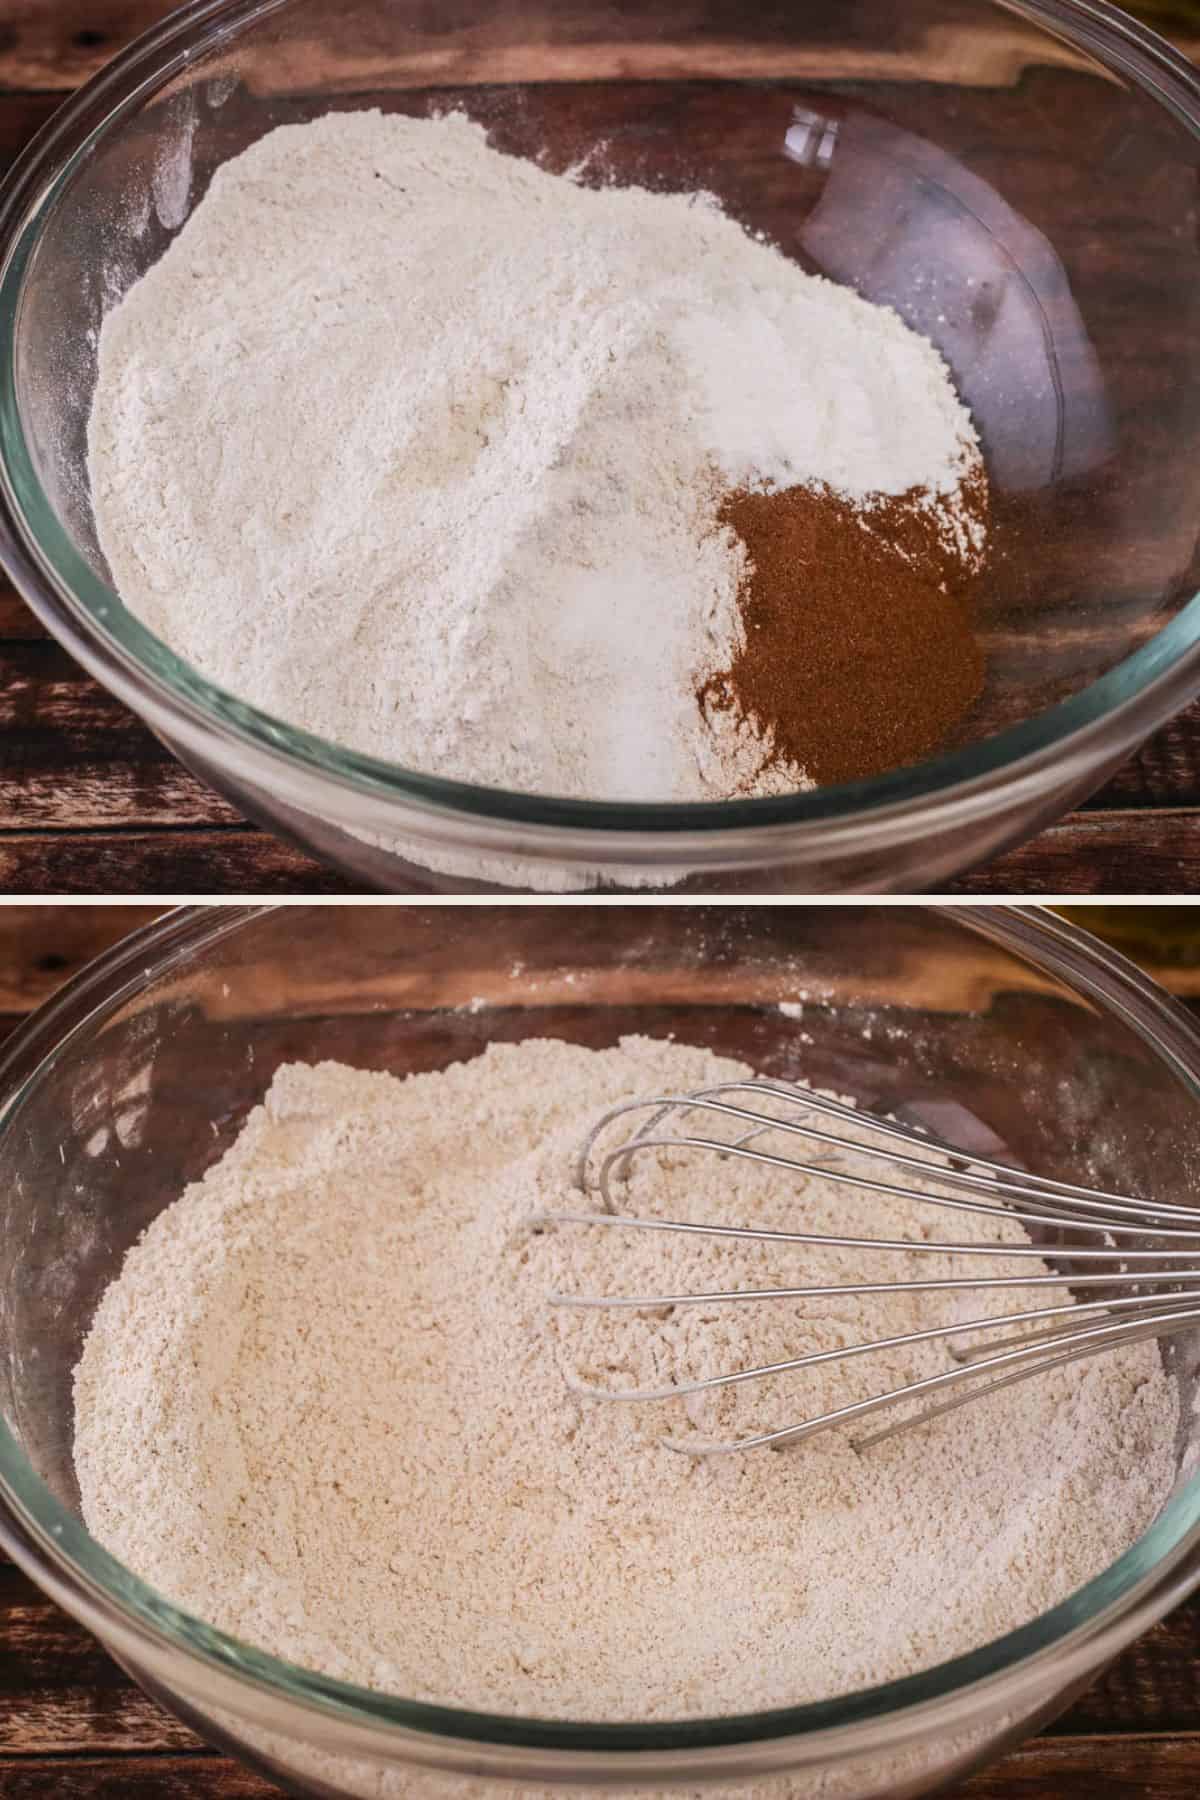
Make the gluten-free cinnamon sponge: Whisk together the gluten-free flour blend, baking powder, ground cinnamon and salt until evenly combined.
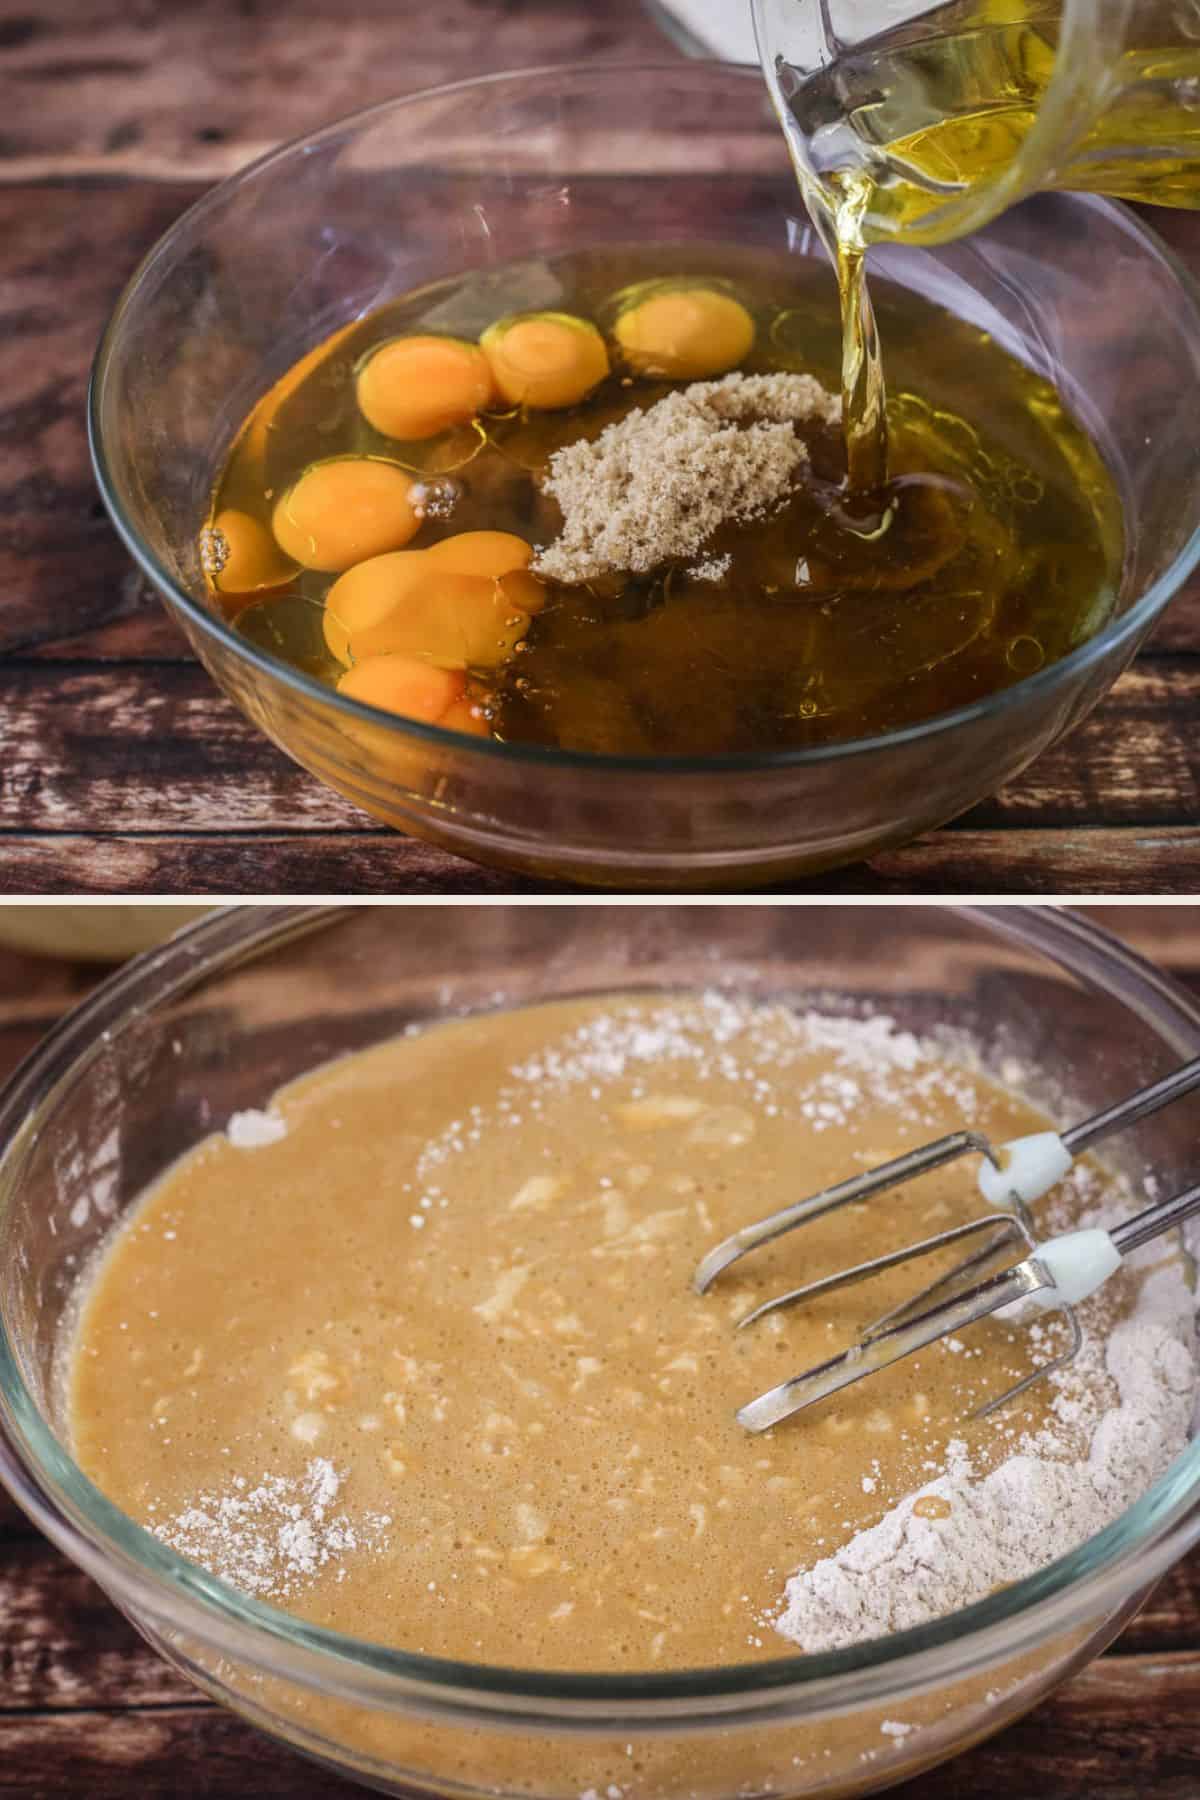
Whisk the light brown sugar, olive oil, eggs and vanilla extract until smooth and well combined then pour the wet ingredients into the dry ingredients and mix together.
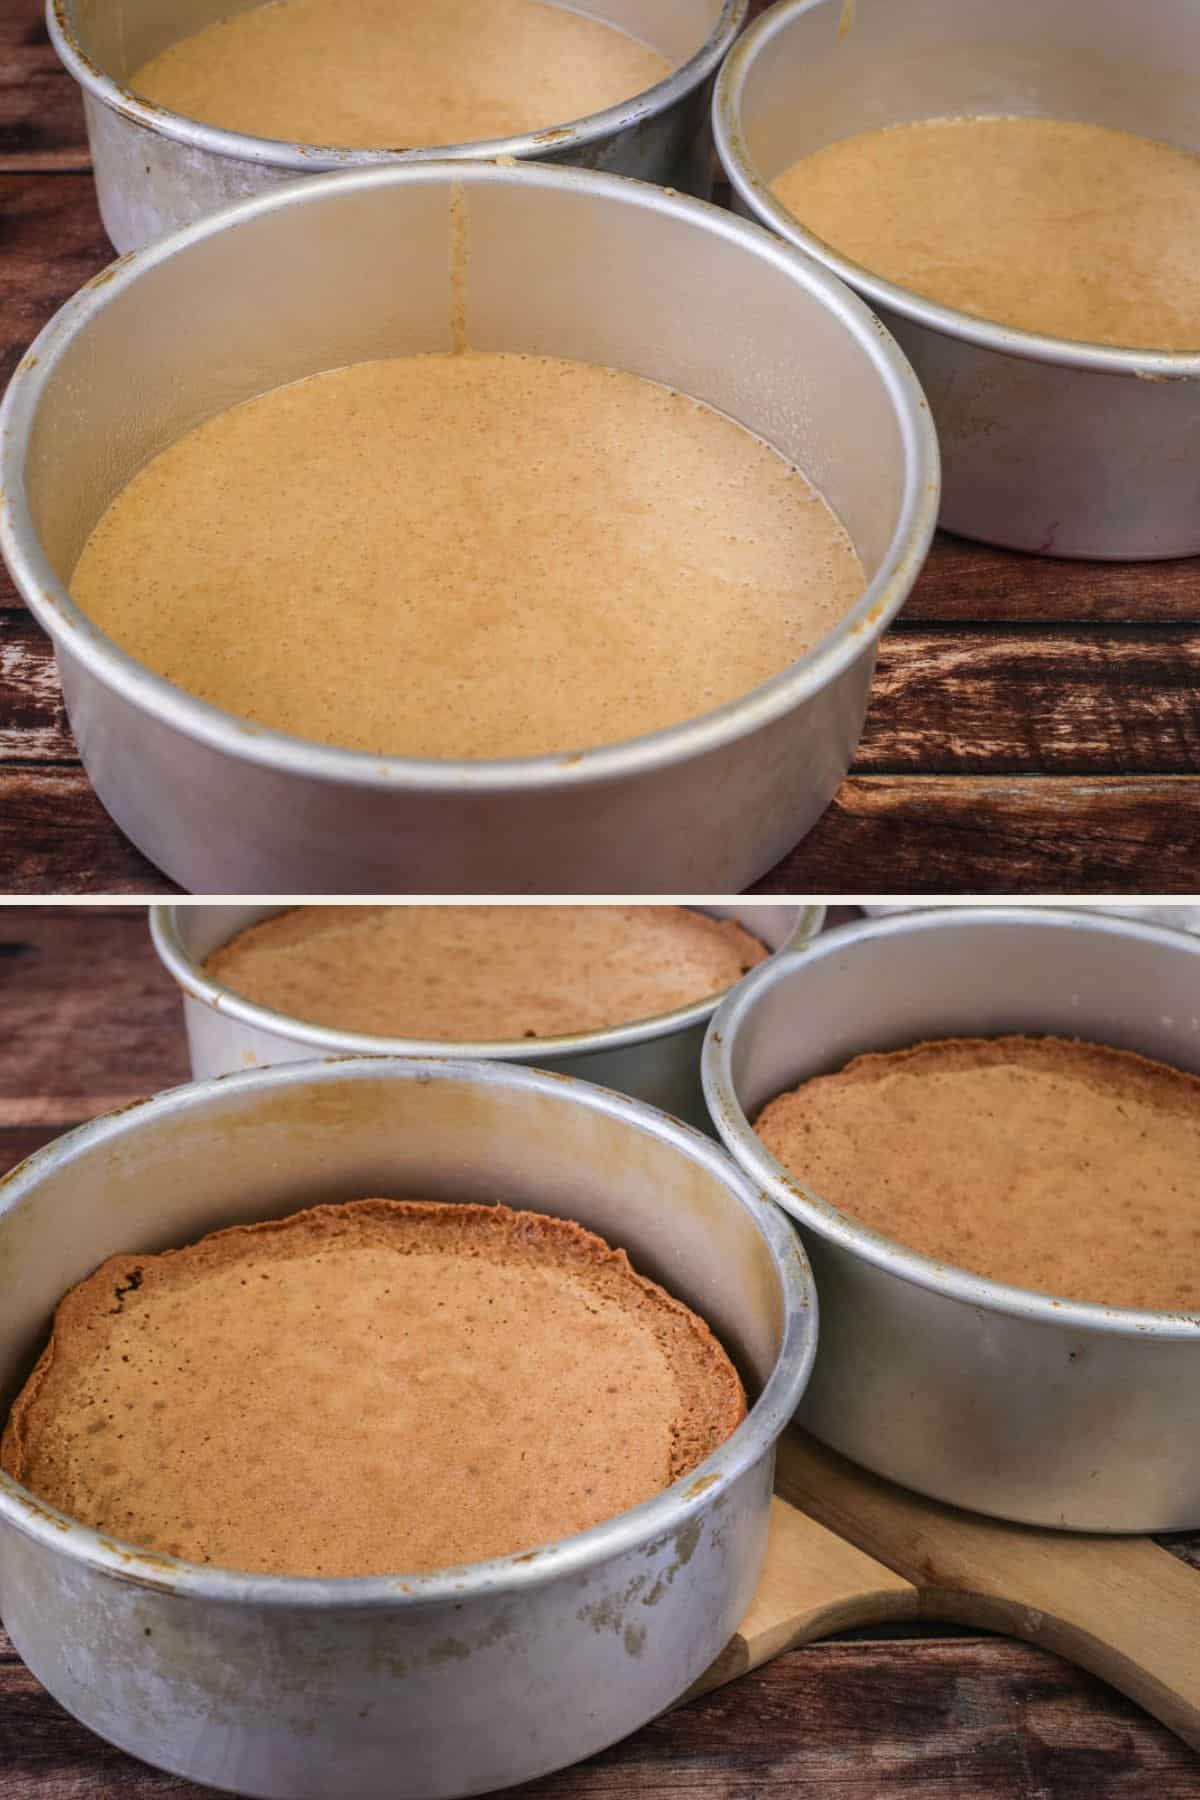
Divide the batter evenly between three lined and greased 20cm (8-inch) cake tins and bake for 20-25 minutes then cool on wire racks.
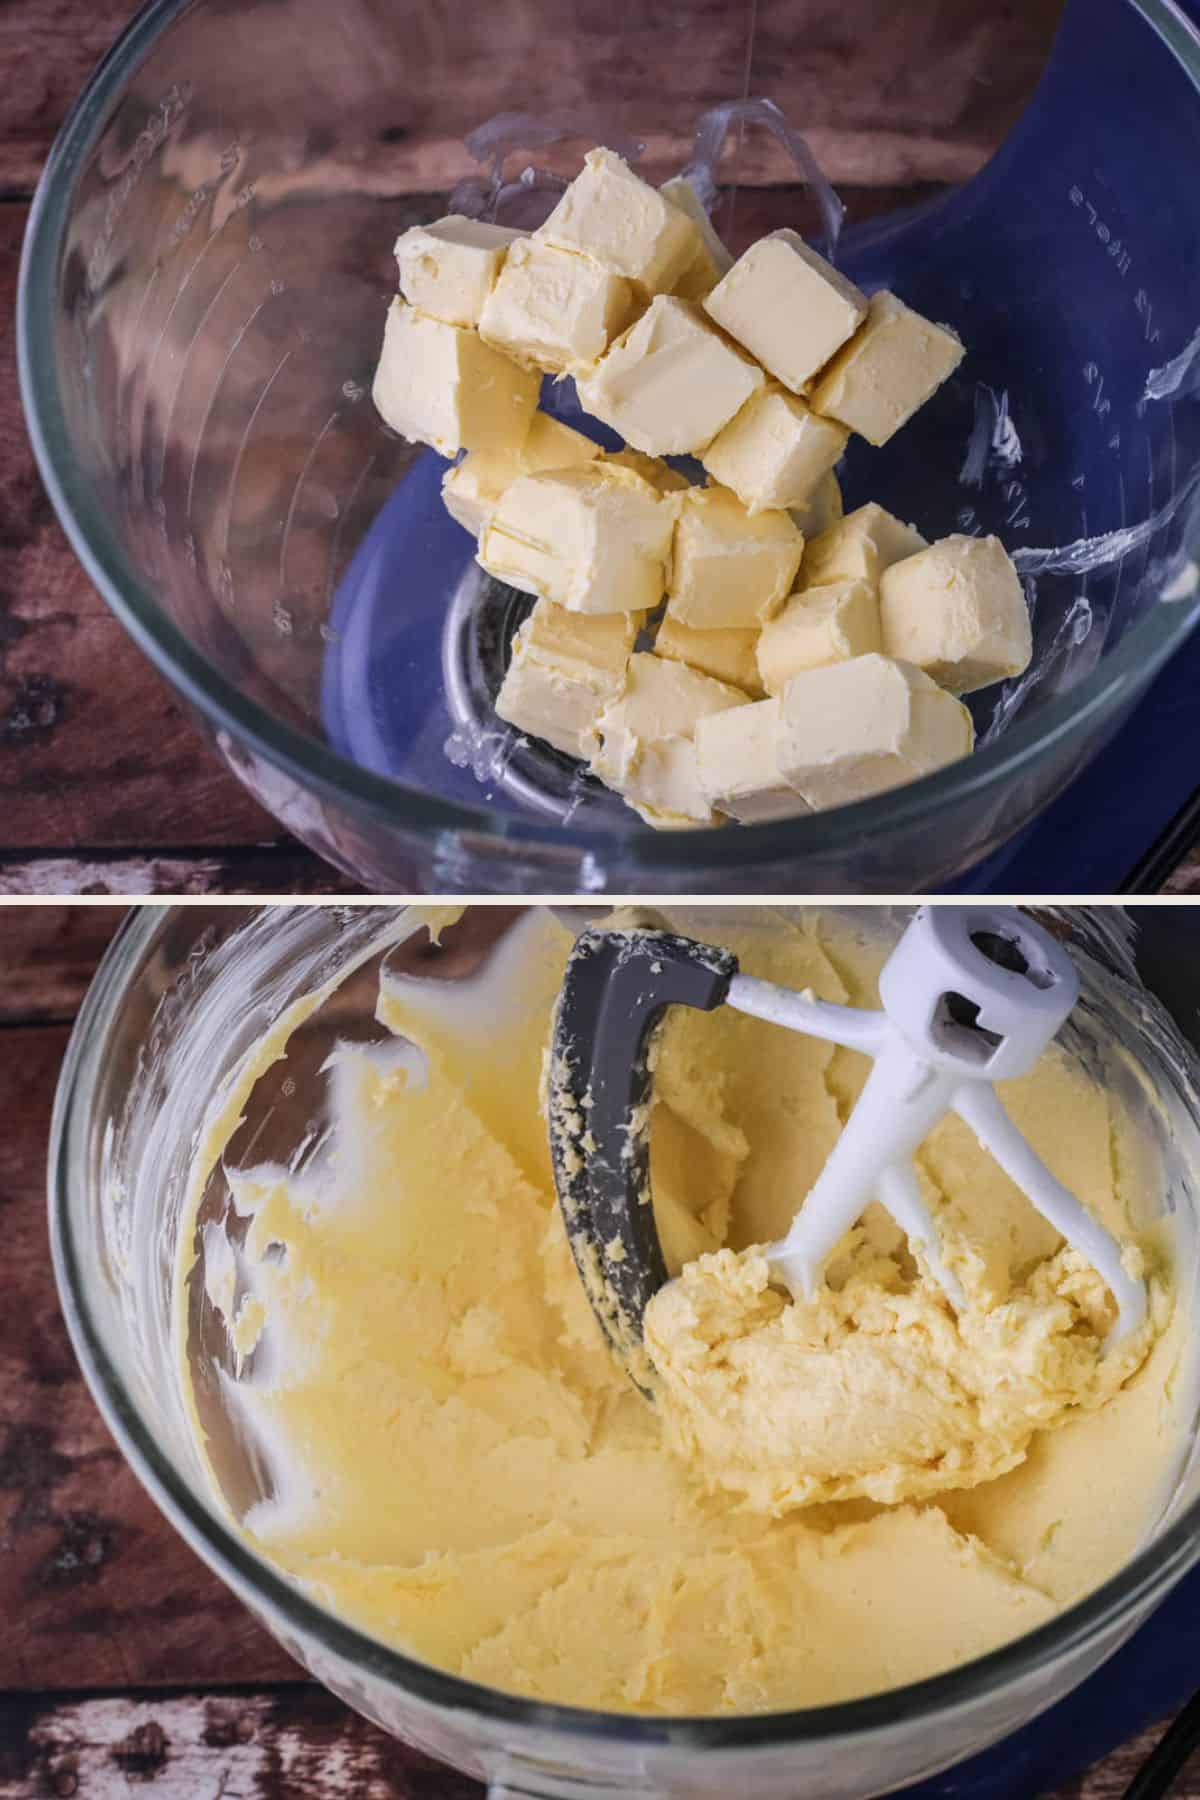
Make the whipped chocolate buttercream. Add the plant-based butter to a large mixing bowl (or bowl of a stand mixer fitted with the paddle attachment) and beat briefly until smooth.
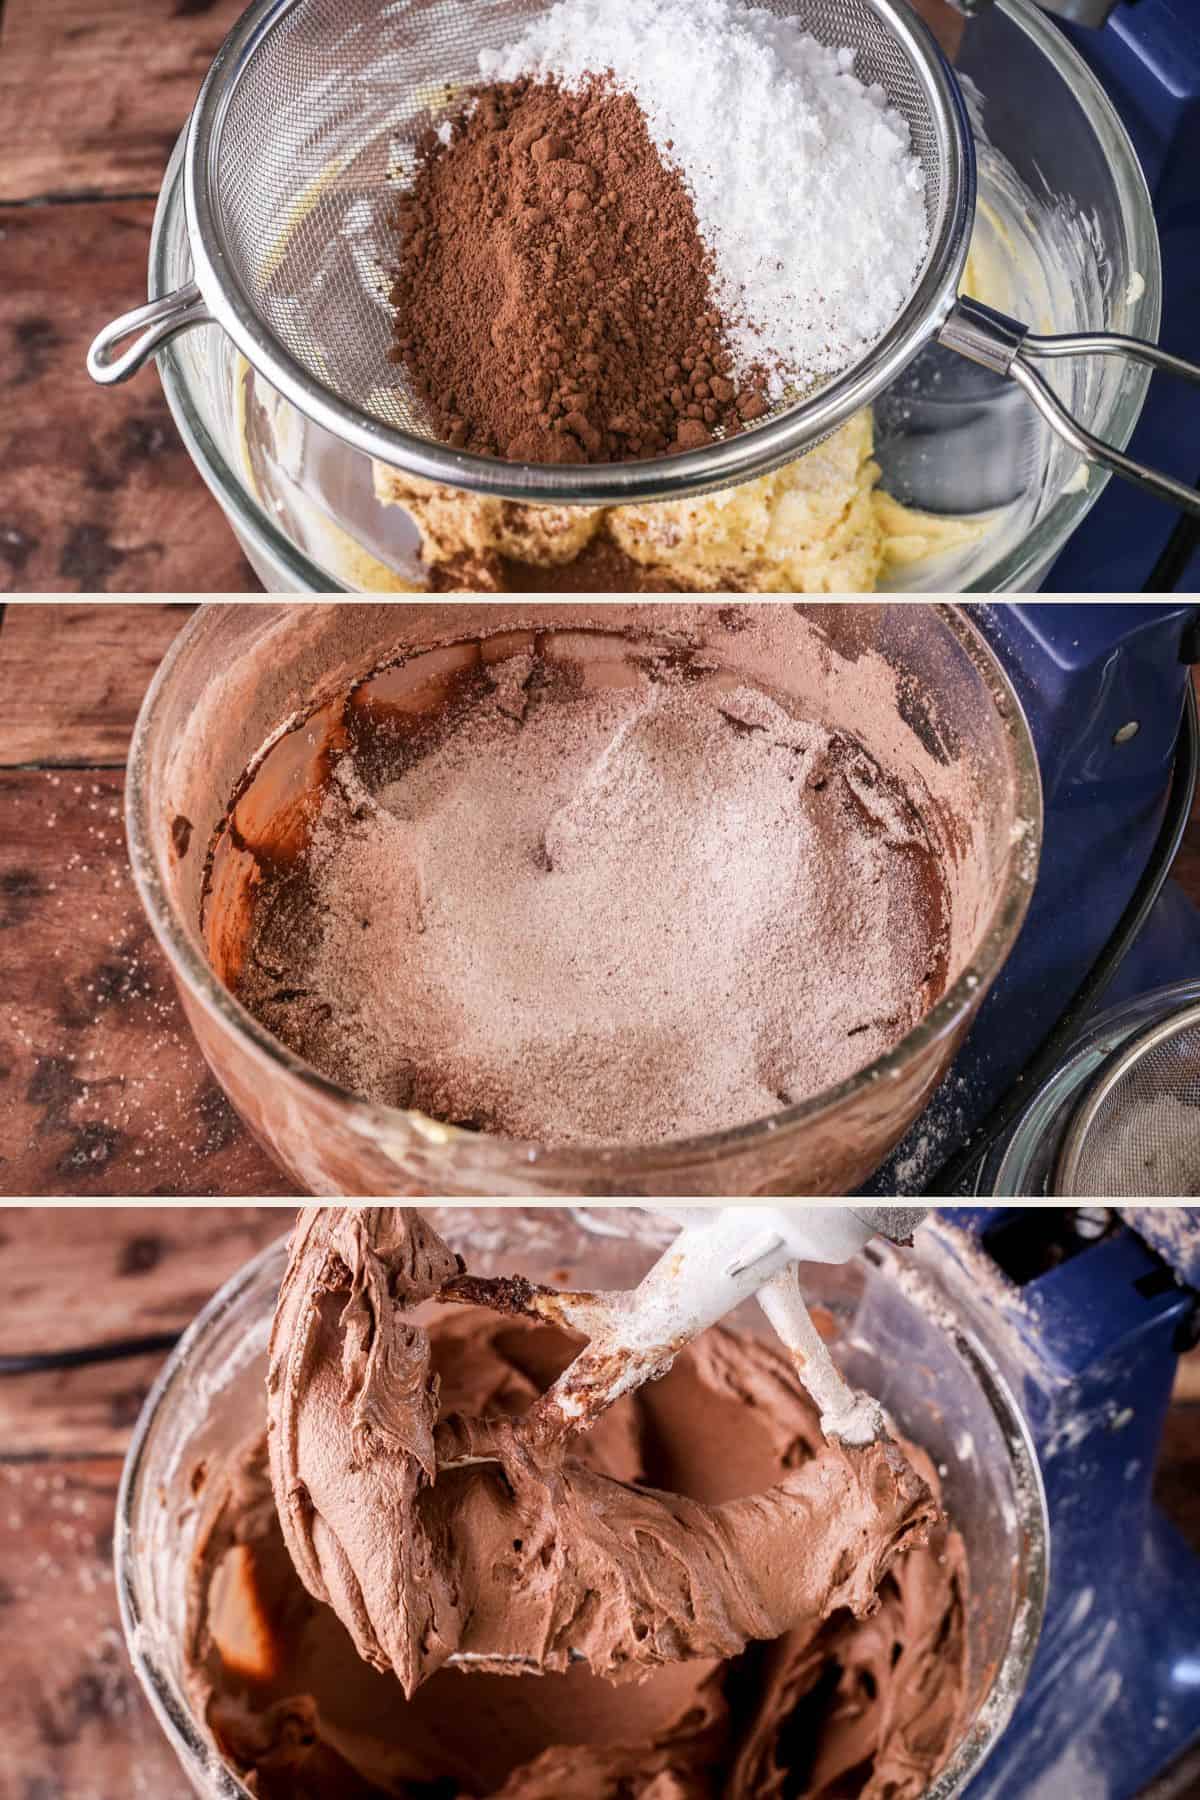
Sift in the icing sugar and cocoa powder. Starting on a low speed, mix until incorporated, then increase to medium speed and beat for 2-3 minutes until smooth.
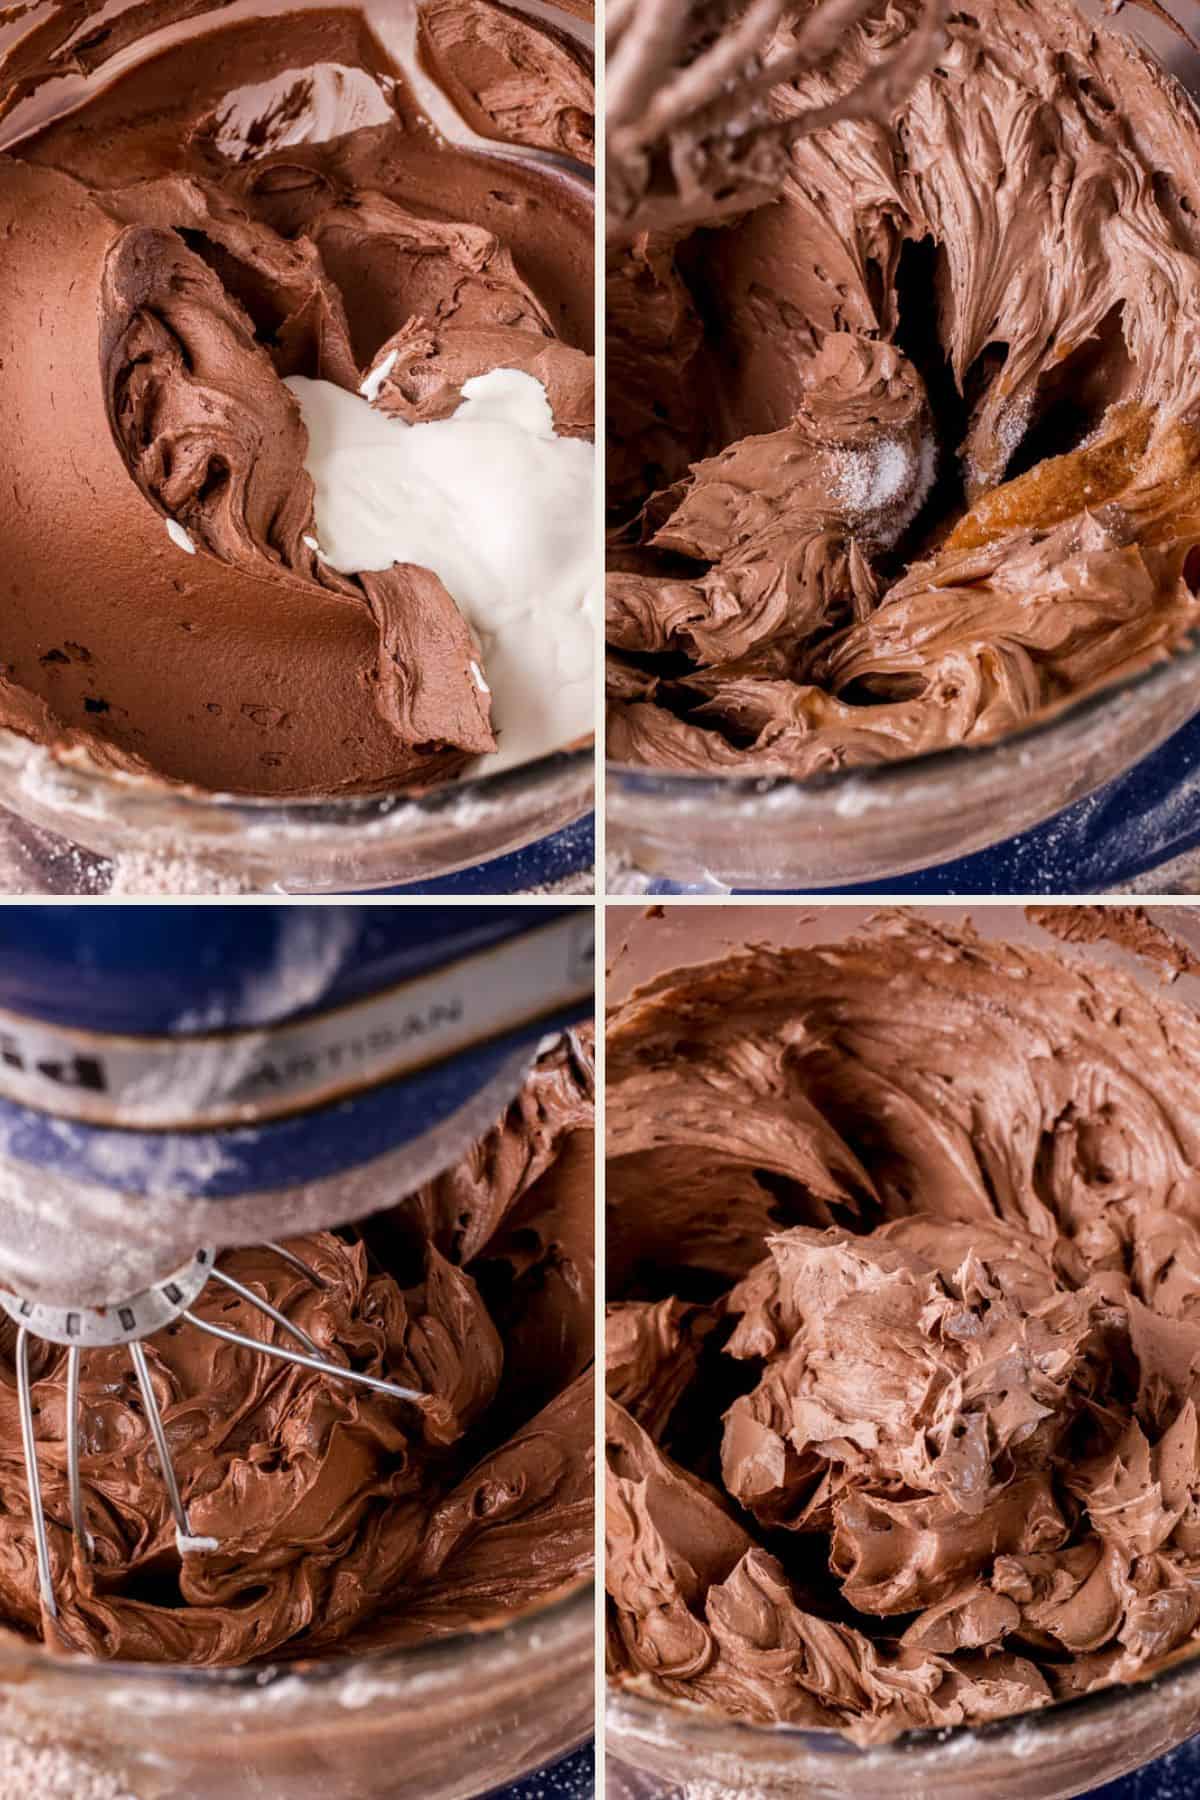
Add the plant-based cream, vanilla extract and salt and whip until smooth light and creamy.
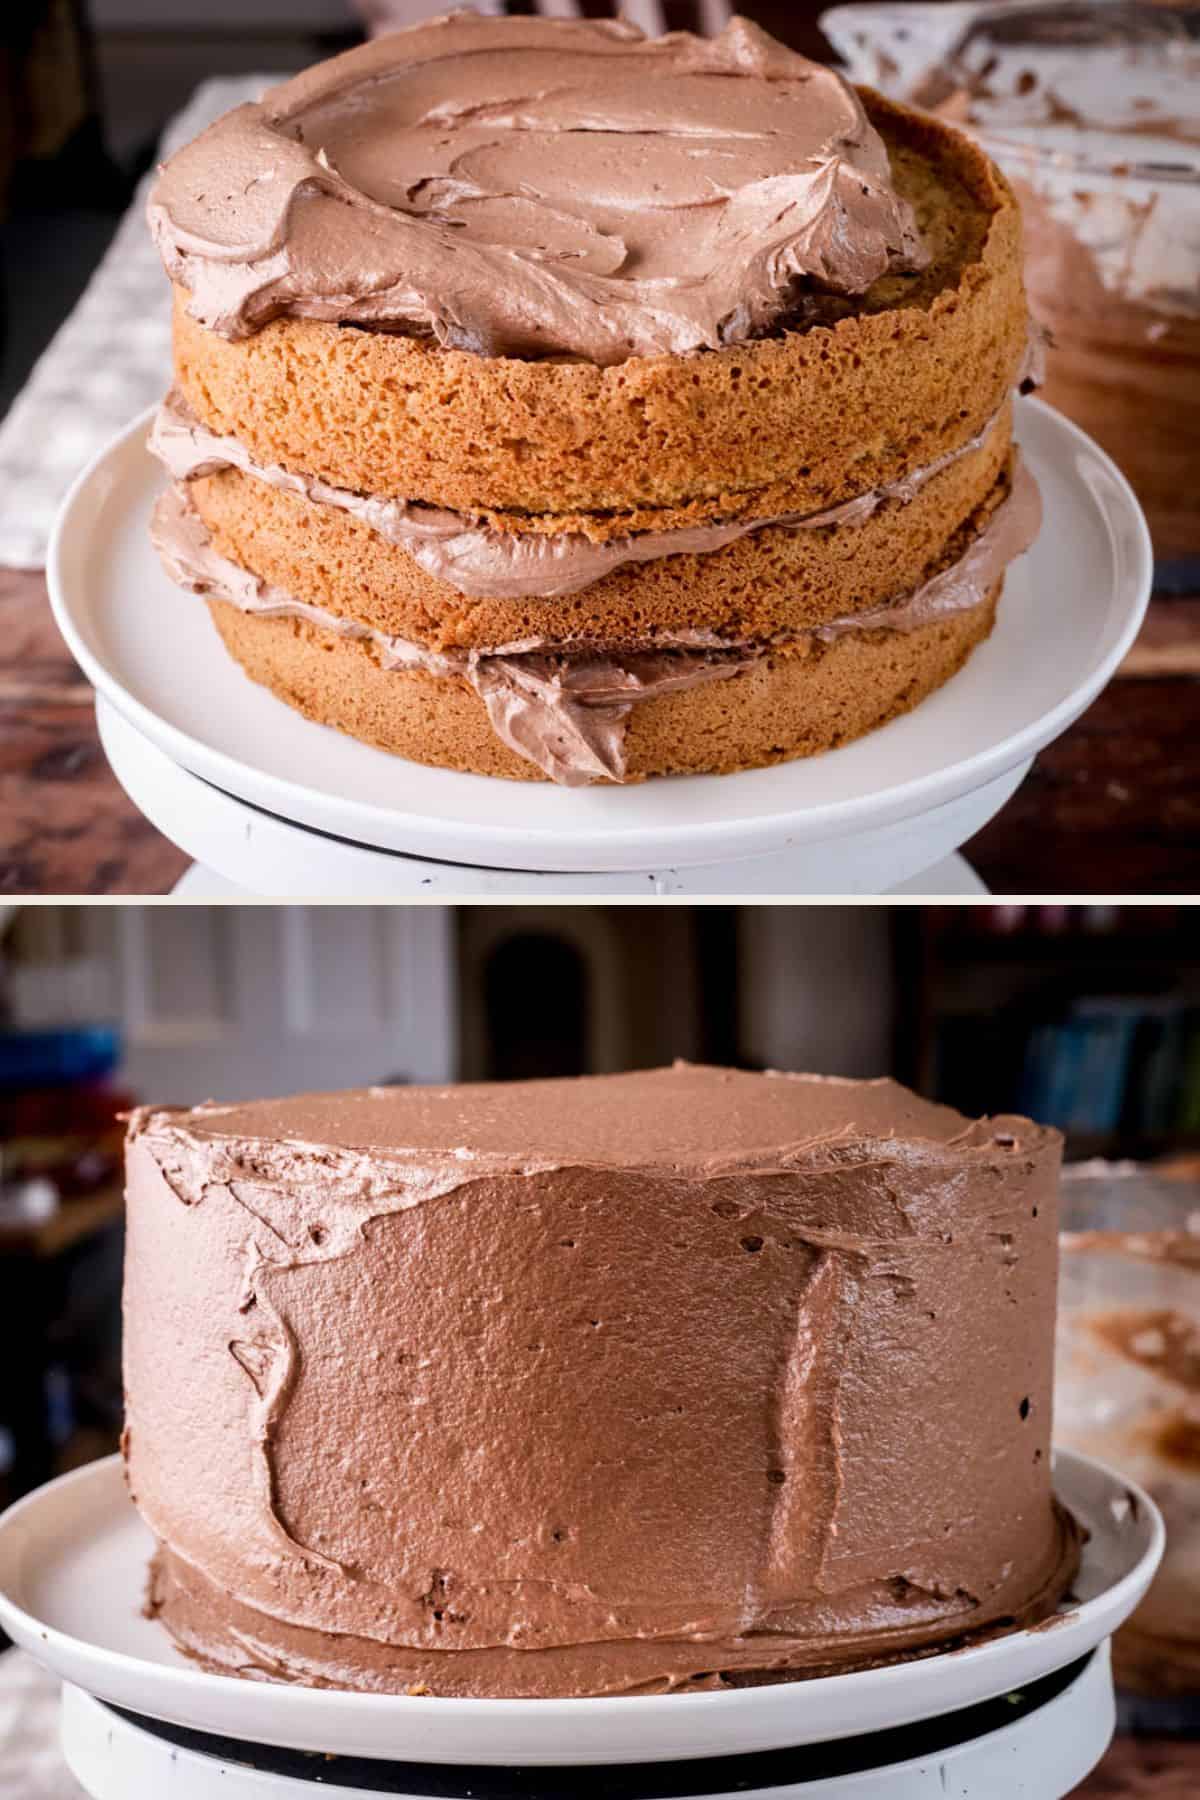
Fill and crumb coat the cake: Spread over an even layer of the chocolate buttercream over the first sponge layer. Repeat with the second sponge.
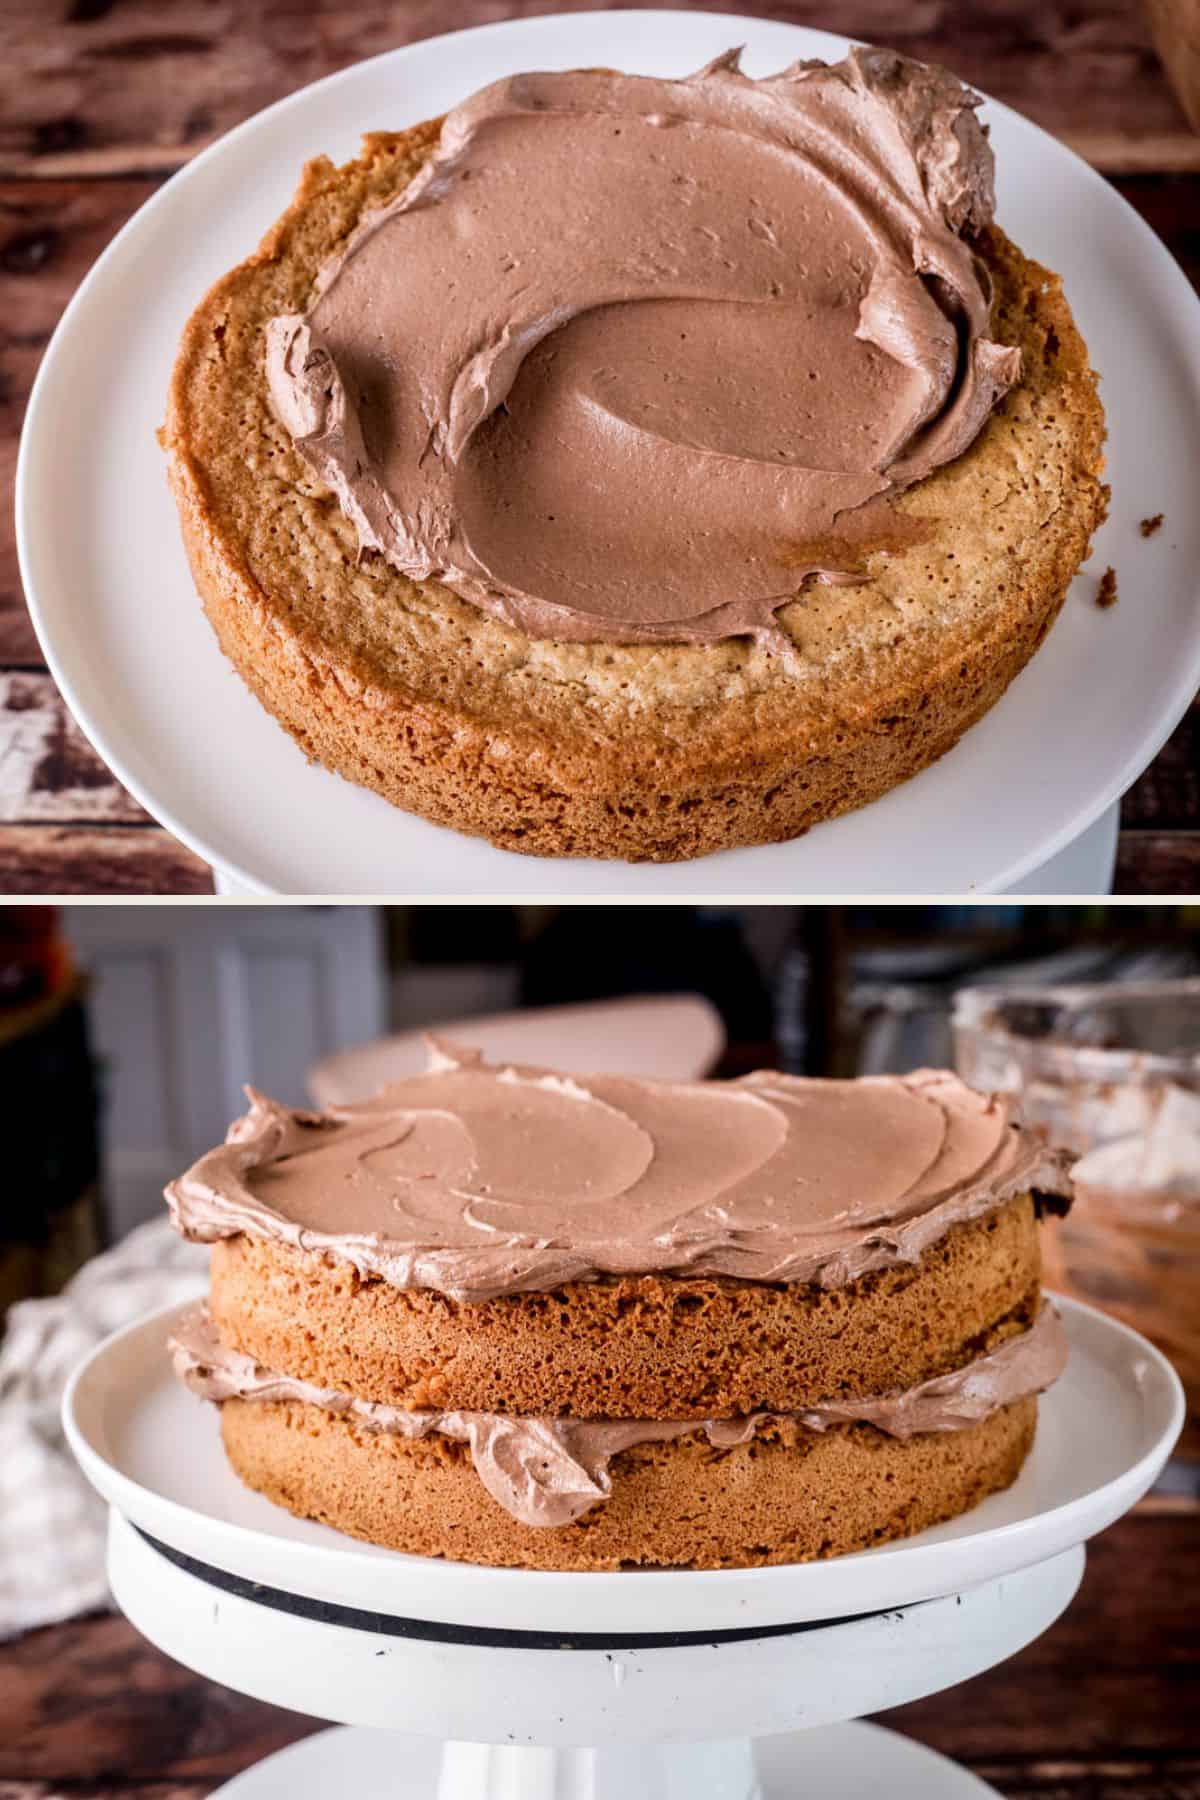
Cover the top and sides of the cake with the remaining buttercream, smoothing it with an offset palette knife. Chill the cake for at least an hour to allow the buttercream to firm up.
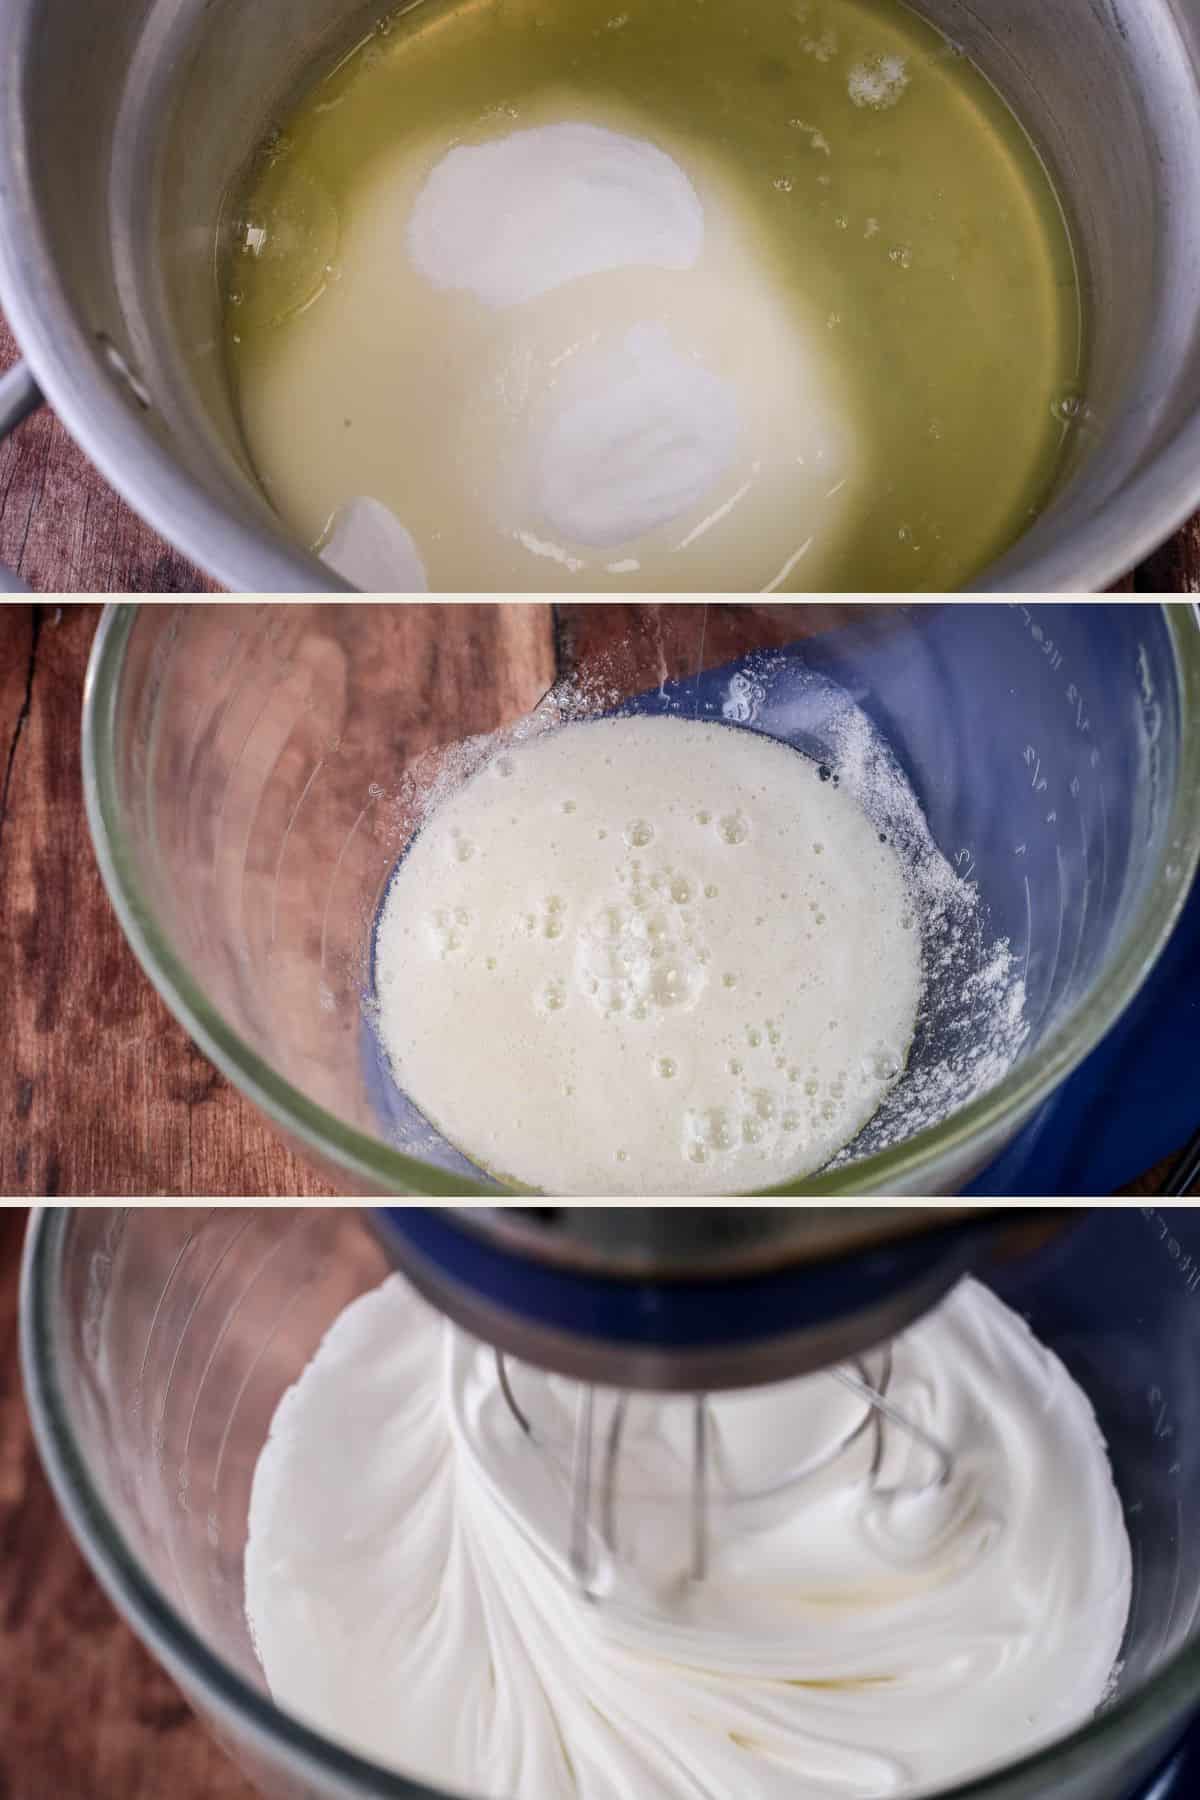
Make the toasted meringue marshmallow frosting: Place the egg whites, caster sugar and a pinch of salt into a bowl set over a saucepan of gently simmering water. Whisk until the sugar has dissolved and the mixture reaches 71°C (160°F). Transfer the bowl to the stand mixer and whisk until stiff with glossy peaks.
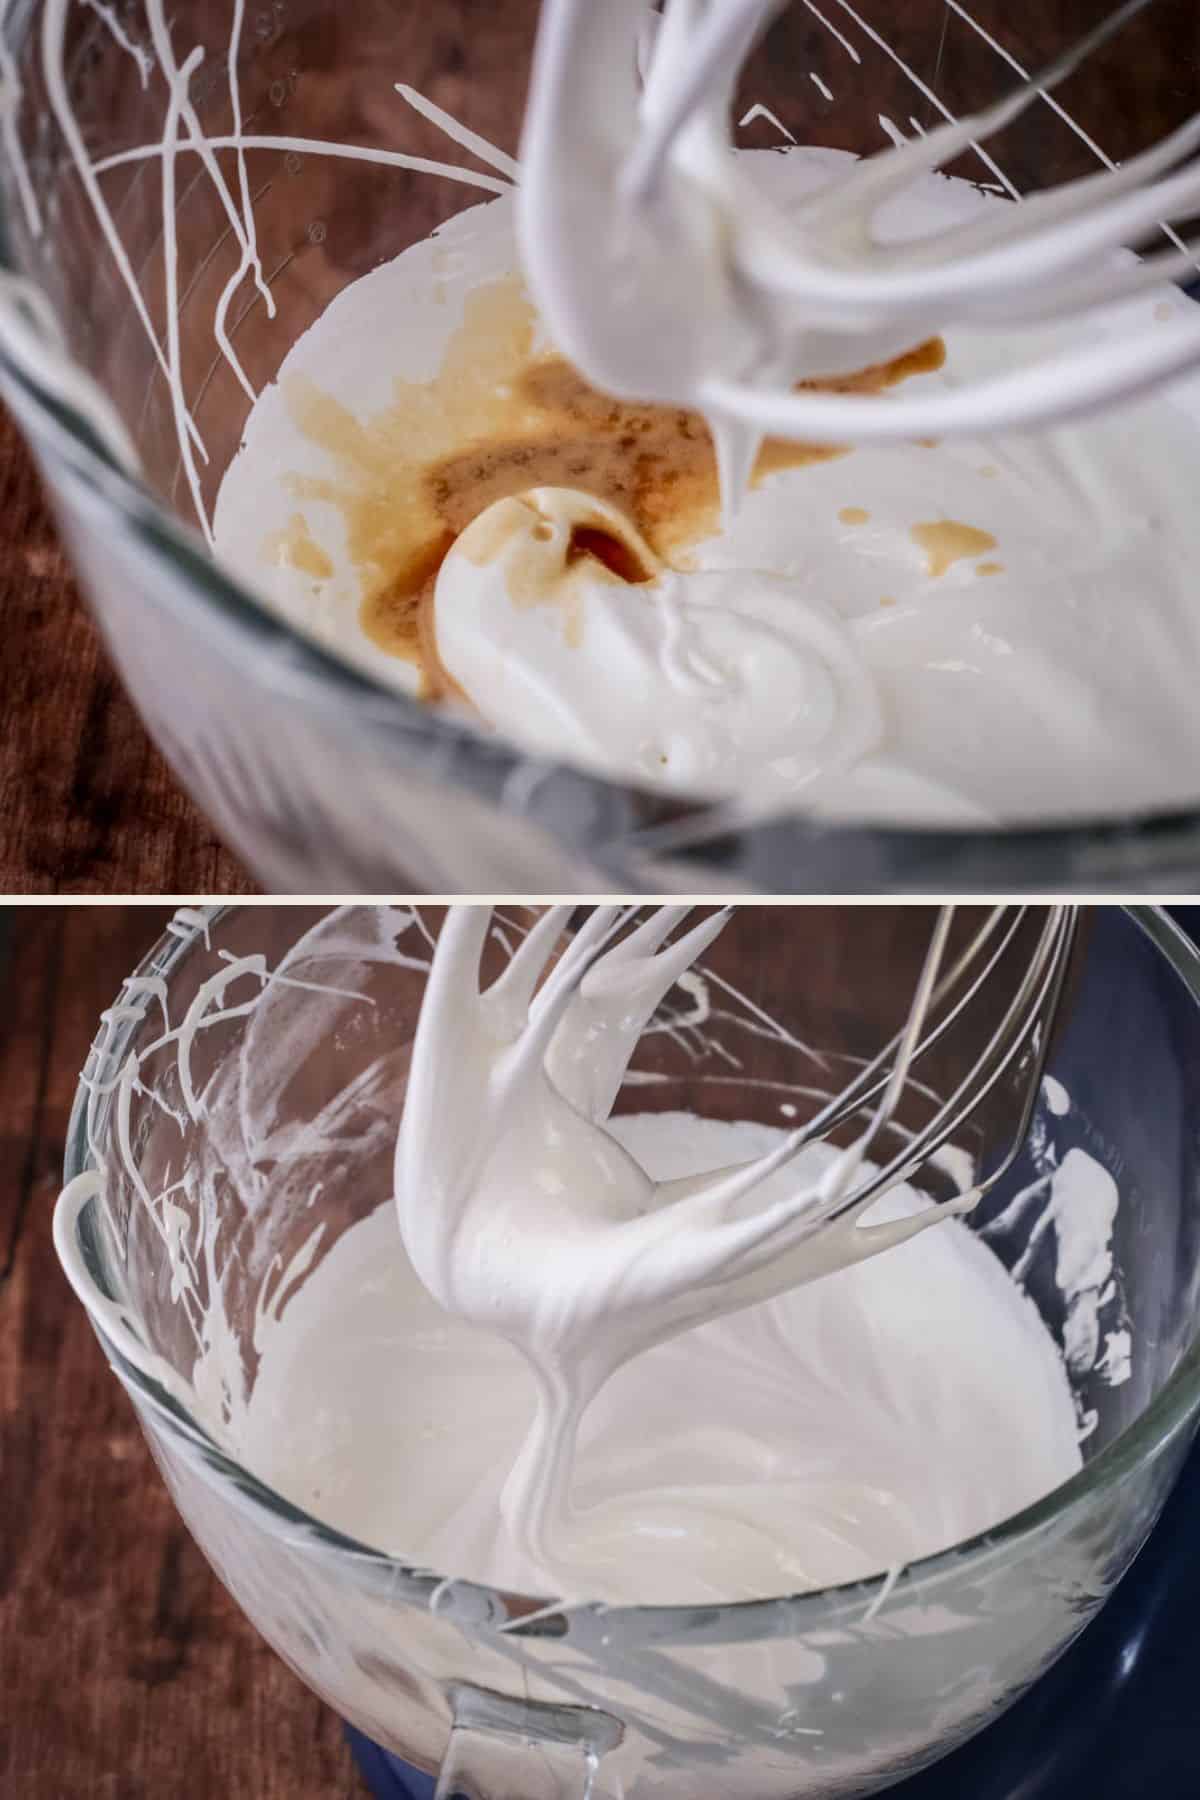
Add the vanilla and salt and whisk to combine.
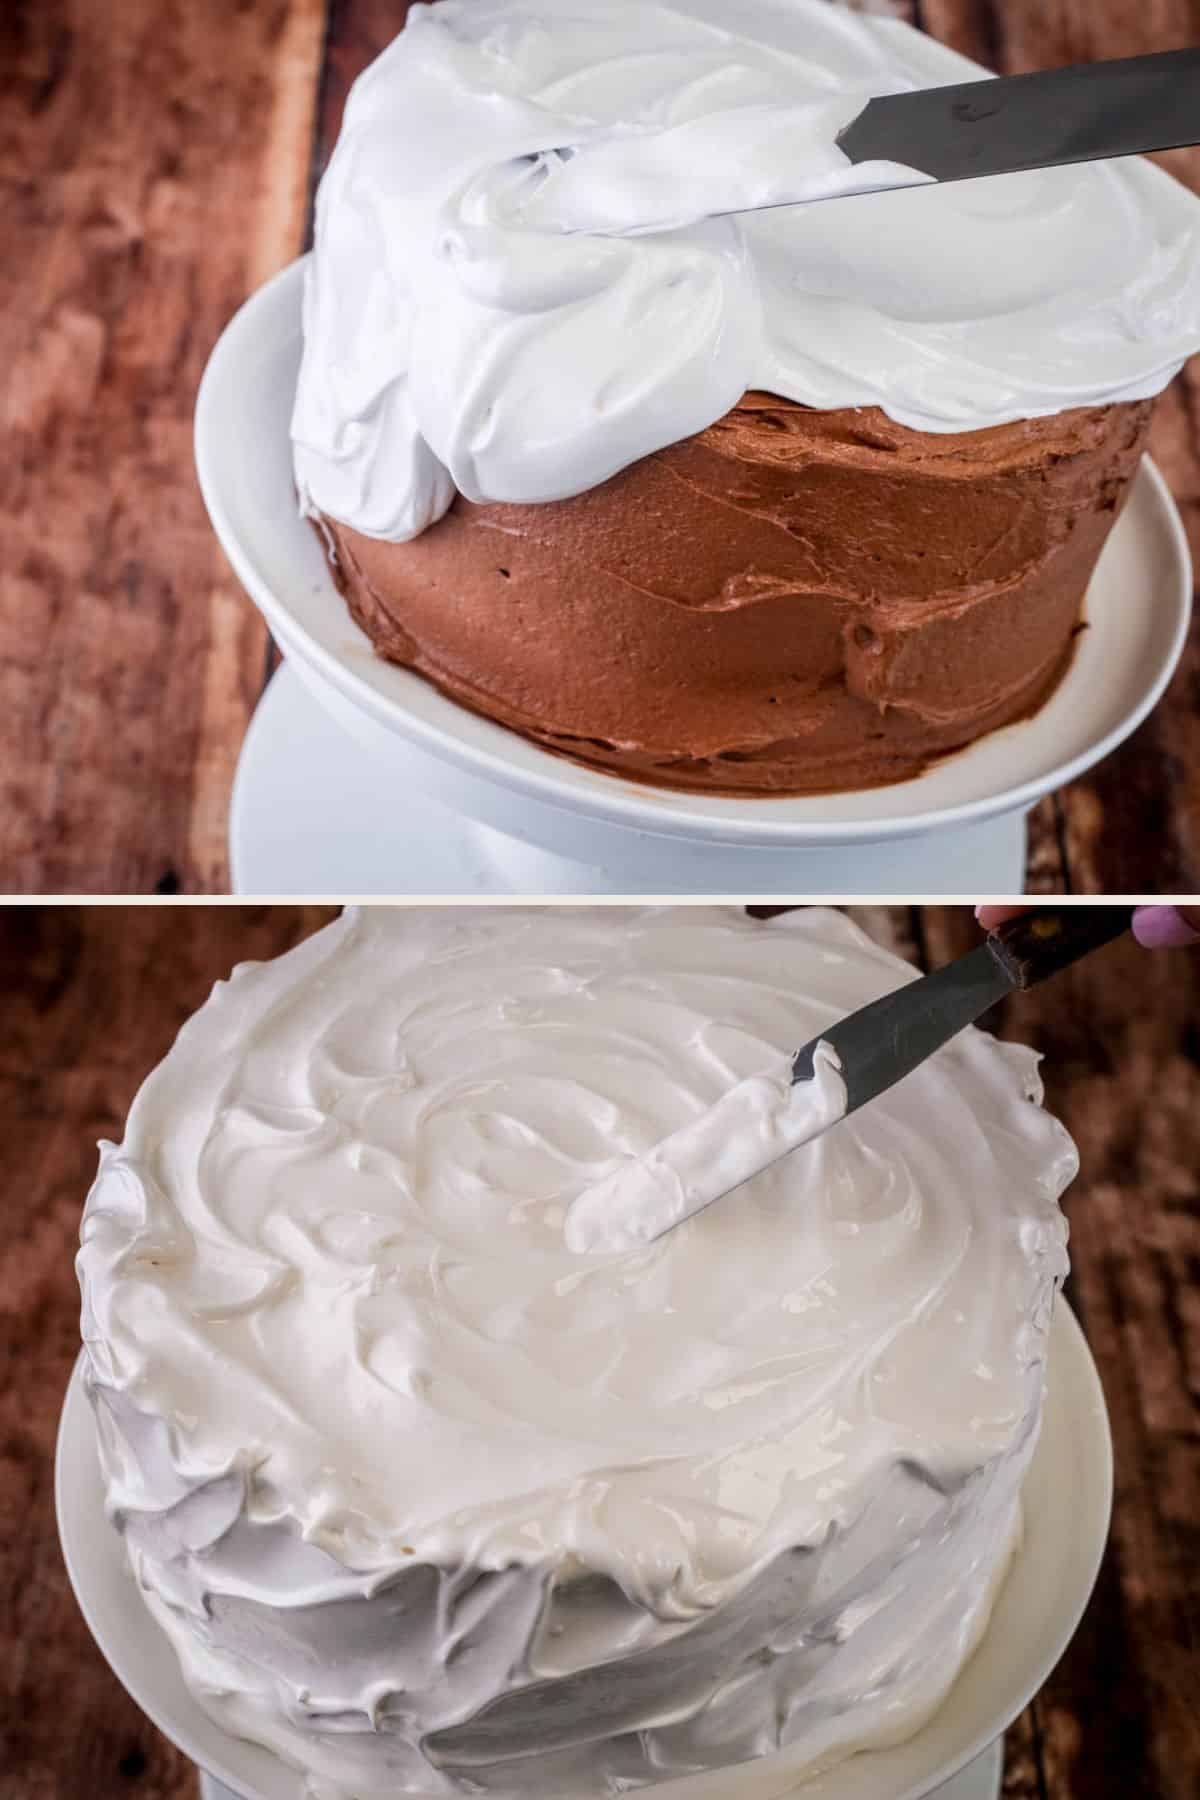
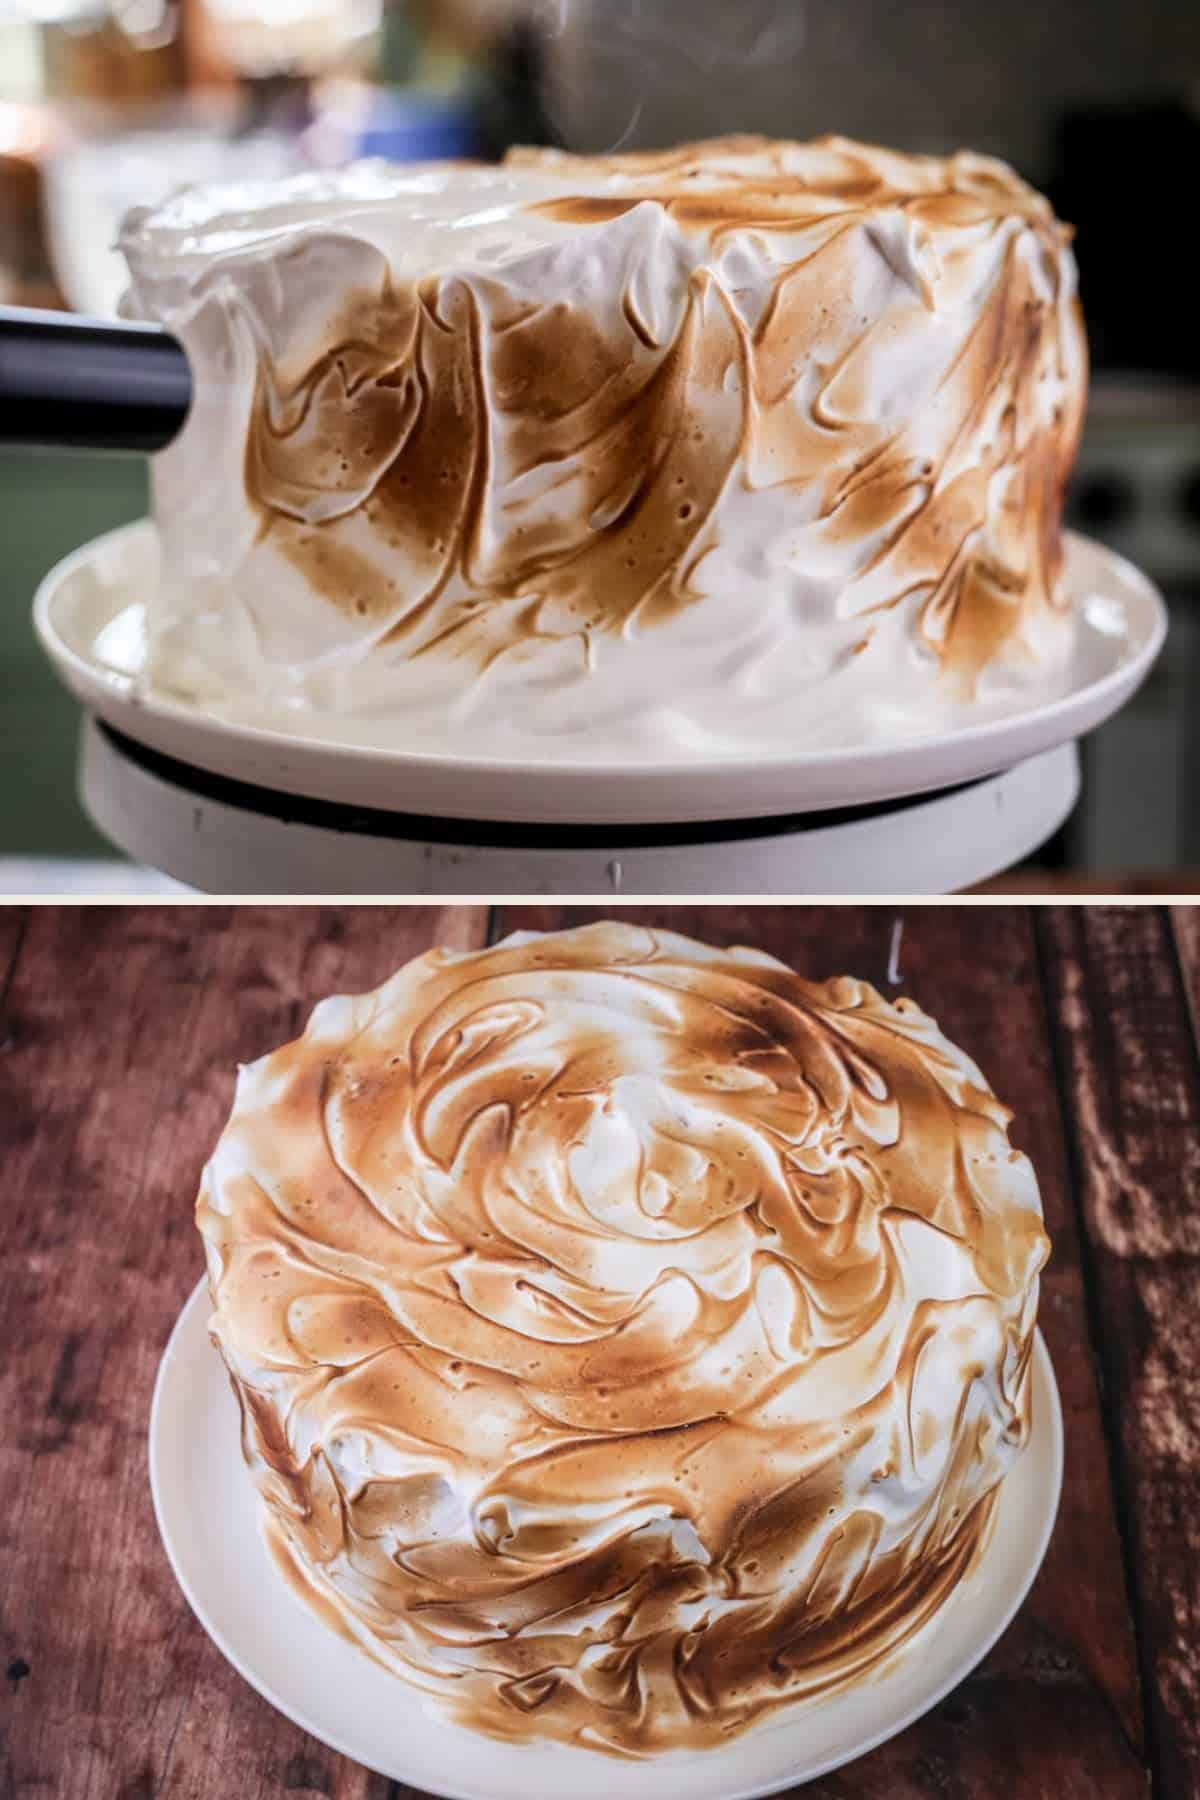
Decorate the cake: Spoon the marshmallow meringue frosting over the chilled cake, covering the top and sides completely. Use the back of a spoon or offset palette knife to create soft swirls and peaks all over the surface.
Toast the marshmallow using a kitchen blowtorch until lightly golden.
Making Ahead
This is a great cake to make ahead. I make it all the way up to covering the cake in the chocolate buttercream and it can stay like this in the fridge in an airtight container for up to 48 hours. Then make the meringue marshmallow frosting and decorate it on the day of serving.
The whole finished cake can be kept chilled in the fridge for up to 24 hours before serving but I think the marshmallow meringue frosting loses its crisp toasty freshness once refrigerated. It also starts to weep if left longer than 24 hours.
Freezing. You can also make and freeze the cake sponges to make ahead for up to two months. Bake and cool them then wrap each individually tightly in plastic wrap and double wrap in aluminium foil. Don’t forget to label the sponges including the date. To enjoy, thaw at room temperature overnight, unwrap once thawed and assemble with the buttercream and marshmallow as per the recipe.
Leftover cake. Any leftover cake can either be stored in the fridge in an airtight container for up to three days or stored in an airtight container in the freezer for up to two months.
Recipe Variations
Make with chocolate sponge instead
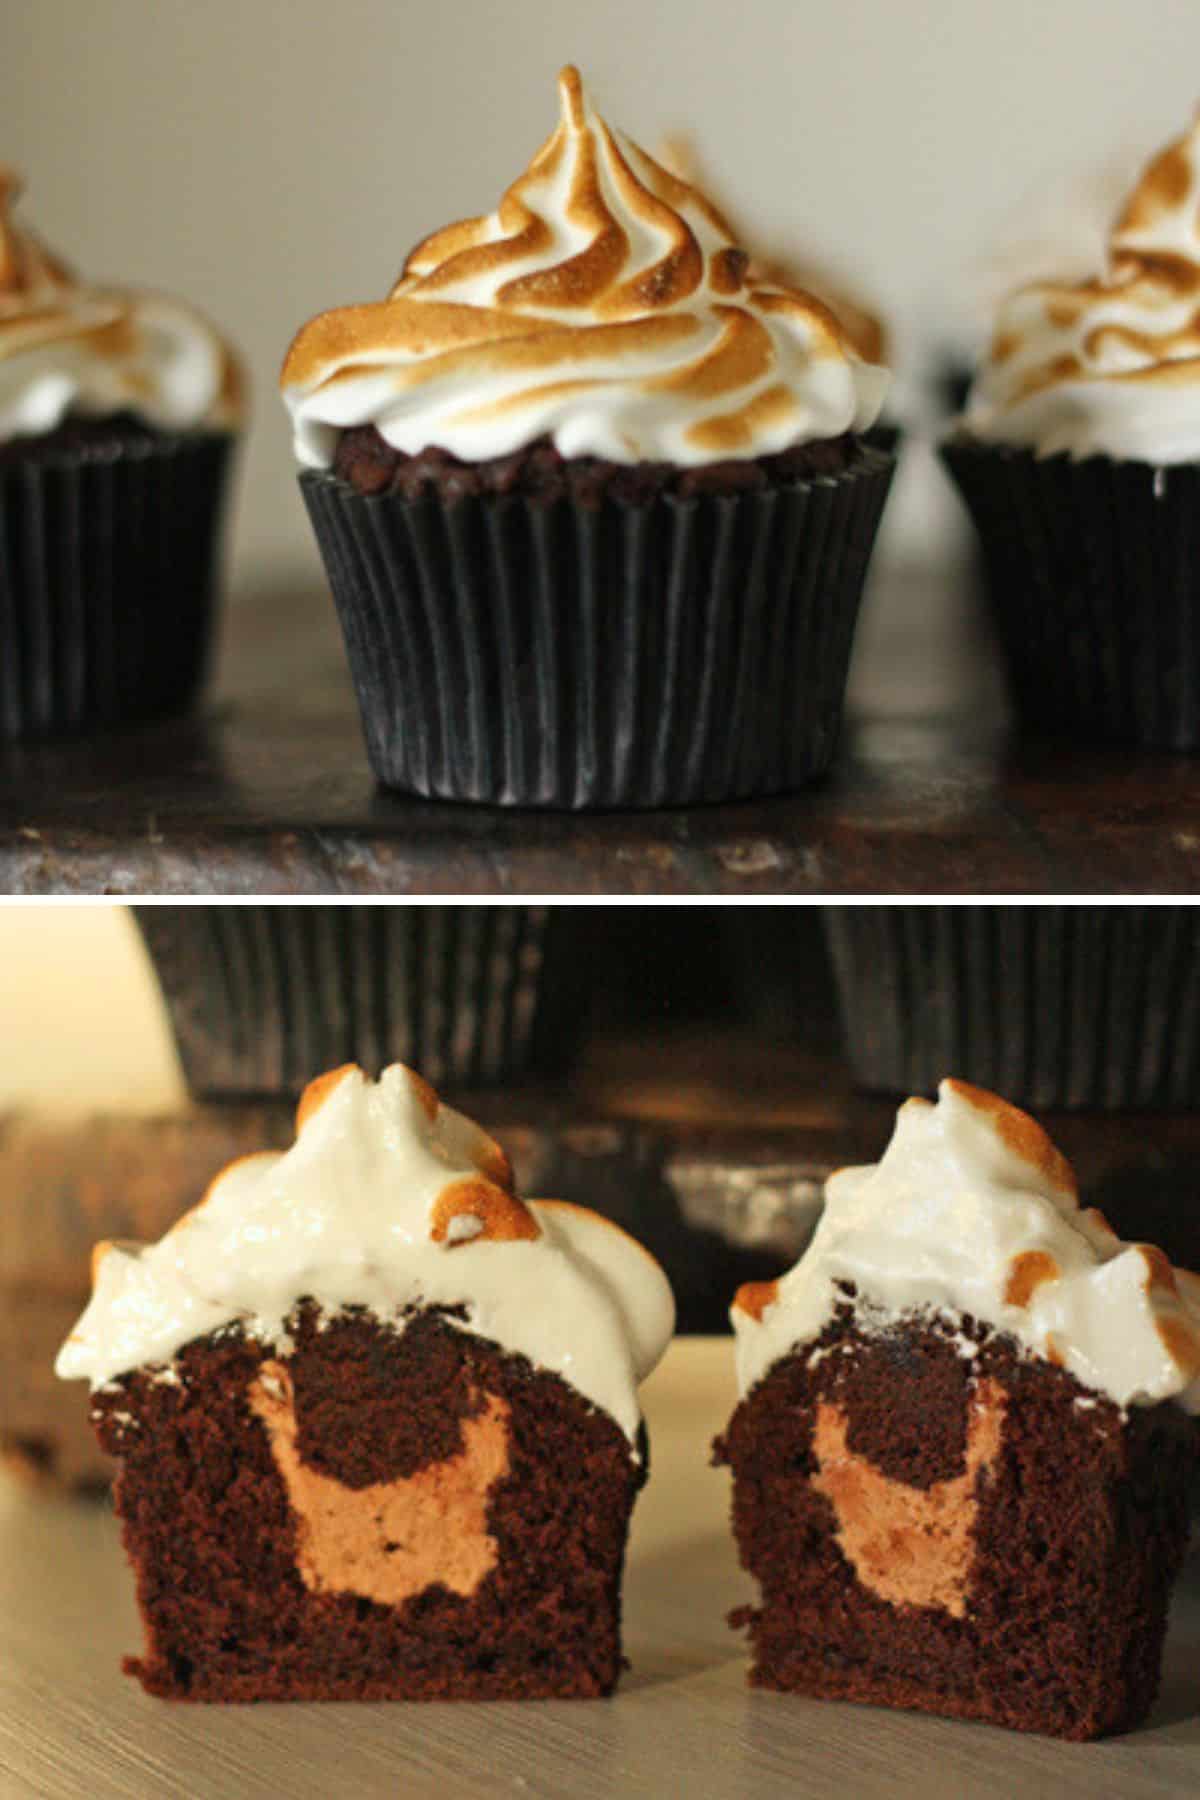
I used to sell a version of this recipe as cupcakes on my cake stall but it had chocolate sponge instead of the cinnamon sponge. It was also featured on this website way back in the day (it was the fourth recipe I ever published back in 2013 – hence the fuzzy images). I recommend if you want to make this switch then you use the sponge recipe from this gluten-free chocolate cake recipe. Although you will need to switch the whole milk for a plant-based milk if you need the recipe to be dairy-free.
Make it as cupcakes
If you want to make this cake as a cupcake variation then the whole recipe will make about 24 cupcakes.
Bake the sponge into cupcake cases – they should take about 20 minutes in the oven.
Core out the centre of the cupcakes using an apple corer and fill the centre with the chocolate buttercream. Squidge the cored sponge back on top of the buttercream. You won’t need as much chocolate buttercream as the original layer cake recipe.
Swirl the meringue marshmallow on top of the cupcakes then toast the topping with the blowtorch.
More Gluten-Free Dairy-Free Recipes You’ll Love
If you love this recipe then you’ll also enjoy my Dairy-Free and Egg Free Chocolate Cupcakes which lose none of the rich indulgence of classic chocolate cupcakes.
If you are looking for a lighter celebration cake then my Dairy-Free and Egg-Free Vanilla Sponge Cake is worth checking out.
I’ll tell you what is a delicious accompaniment to this S’mores Cake – my Dairy-Free Rich Banana Hot Chocolate.
Enter your email below to get this recipe sent to your inbox plus get new recipes, baking tips, and updates.
Gluten-Free S’mores Cake
Equipment
- Equipment: 3 x 20cm cake tins, kitchen blowtorch
Ingredients
Gluten-Free Cinnamon Sponge
- 360 g homemade gluten-free flour blend - FTL blend
- 2 ¾ teaspoons baking powder
- 2 teaspoons ground cinnamon
- ½ teaspoon salt
- 360 g light brown sugar
- 300 g olive oil
- 6 eggs
- 1 tablespoon vanilla extract
Whipped Chocolate Buttercream
- 400 g plant-based butter
- 500 g icing sugar
- 1 ½ teaspoons vanilla extract
- 100 g cocoa powder
- ½ teaspoon salt
- 80 g plant-based cream
Toasted Meringue Marshmallow
- 180 g egg whites
- 300 g caster sugar
- A pinch of salt
- 1 teaspoon vanilla extract
- Optional: Chocolate shards - need 100g dairy-free dark chocolate and free-from digestive biscuit crumbs (2-3 crushed biscuits) to decorate.
Instructions
Make the gluten-free cinnamon sponge
- Pre-heat the oven to 180°C / 160°C fan assisted / gas mark 4 / 350°F. Line three 20cm (8-inch) round x 8cm (3-inch) deep cake tins with baking parchment and grease.
- In a large bowl, whisk together the gluten-free flour blend, baking powder, ground cinnamon and salt until evenly combined.
- In a separate large bowl, whisk the light brown sugar, olive oil, eggs and vanilla extract until smooth and well combined.
- Pour the wet ingredients into the dry ingredients and whisk until you have a smooth, lump-free batter.
- Divide the batter evenly between the prepared cake tins, you can weigh the tins to ensure an equal amount.
- Bake for 20-25 minutes, or until the cakes are well risen, lightly golden, coming away from the sides slightly, and a skewer inserted into the centre comes out clean.
- Leave the cakes to cool in their tins for 10 minutes, before turning them out onto wire racks to cool completely.
Make the whipped chocolate buttercream
- Add the plant-based butter to a large mixing bowl (or bowl of a stand mixer fitted with the paddle attachment) and beat briefly until smooth.
- Sift in the icing sugar and cocoa powder. Starting on a low speed, mix until incorporated, then increase to medium speed and beat for 2-3 minutes until smooth.
- Add the vanilla extract, salt and plant-based cream.
- Swap to the whisk attachment and whisk for 30-60 seconds, scraping down the sides of the bowl once, until the buttercream is light, fluffy and silky.
Fill and crumb coat the cake
- Place one sponge layer onto your serving plate or cake board then place on a cake turntable if you are using one.
- Spread over an even layer of the chocolate buttercream.
- Repeat with the second sponge, then top with the final cake layer.
- Cover the top and sides of the cake with the remaining buttercream, smoothing it with an offset palette knife. It doesn’t need to be perfectly smooth, as it will be covered with the marshmallow meringue frosting.
- Chill the cake for at least an hour to allow the buttercream to firm up before adding the marshmallow.
Make the toasted meringue marshmallow
- Place the egg whites, caster sugar and a pinch of salt into a bain marie or the clean bowl of a stand mixer or another heatproof bowl.
- Set the bowl over a saucepan of gently simmering water, making sure the base of the bowl doesn’t touch the water.
- Whisk continuously for around 5-10 minutes, until the sugar has completely dissolved and the mixture reaches 71°C (160°F) on a digital thermometer.
- Transfer the bowl to the stand mixer fitted with the whisk attachment.
- Whisk on high speed for 12-15 minutes, until the mixture has cooled to room temperature and forms stiff, glossy peaks with a marshmallow-like consistency.
- Add the vanilla and salt and whisk to combine.
Decorate the cake
- Spoon the marshmallow meringue frosting over the chilled cake, covering the top and sides completely.
- Use the back of a spoon or offset palette knife to create soft swirls and peaks all over the surface.
- Toast the marshmallow using a kitchen blowtorch until lightly golden.
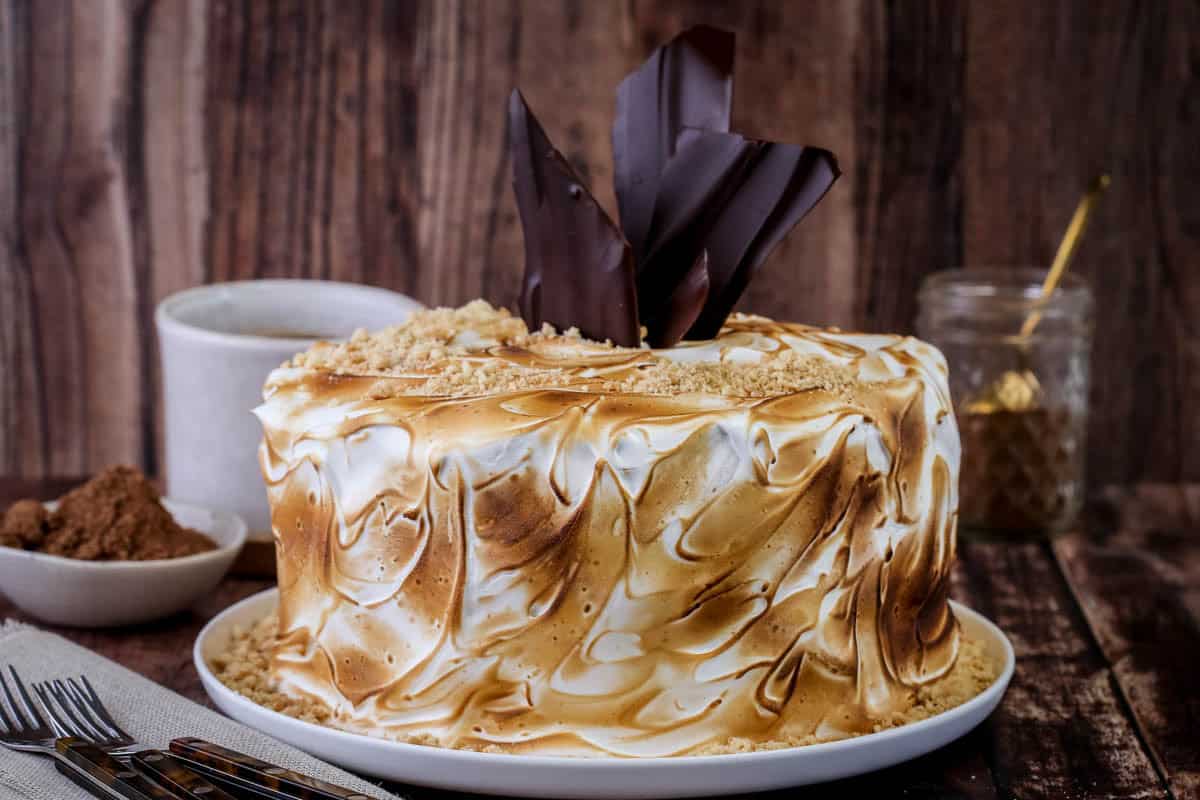
- If using sprinkle gluten-free digestive biscuit crumbs around the base of the cake and lightly over the top. Finish with chocolate shards on top.
Making the optional chocolate shards
- Melt 100g dark chocolate in a heatproof bowl set over a saucepan of simmering water (or in bursts the microwave).
- Spread the chocolate into a thin layer on a baking sheet lined with parchment paper.
- Chill the chocolate until set, then break the chocolate into irregular shards using your hands or a sharp knife.
- Store the shards in a cool place until ready to decorate the cake.
Hi Georgina,
I was getting your newsletter but somehow I nolonger recieveit. Would you please put me back on. I really love all your recipes. I use you homemade gluten-free flour blend all the time in other reciepes and it works fine. Keep baking.