This post contains affiliate links. Please read my disclosures.
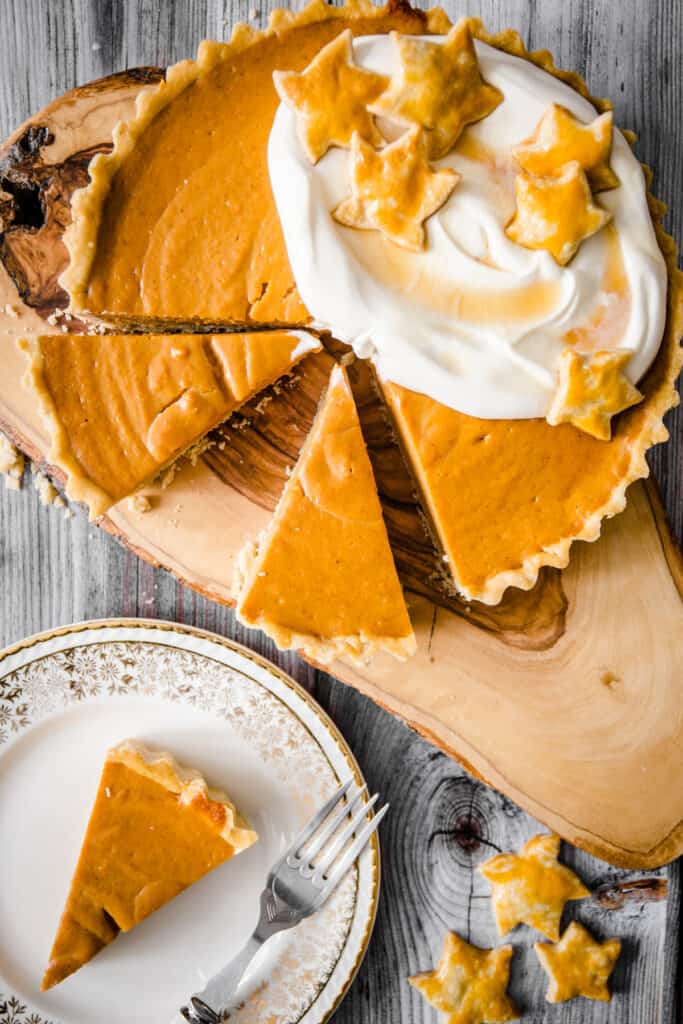
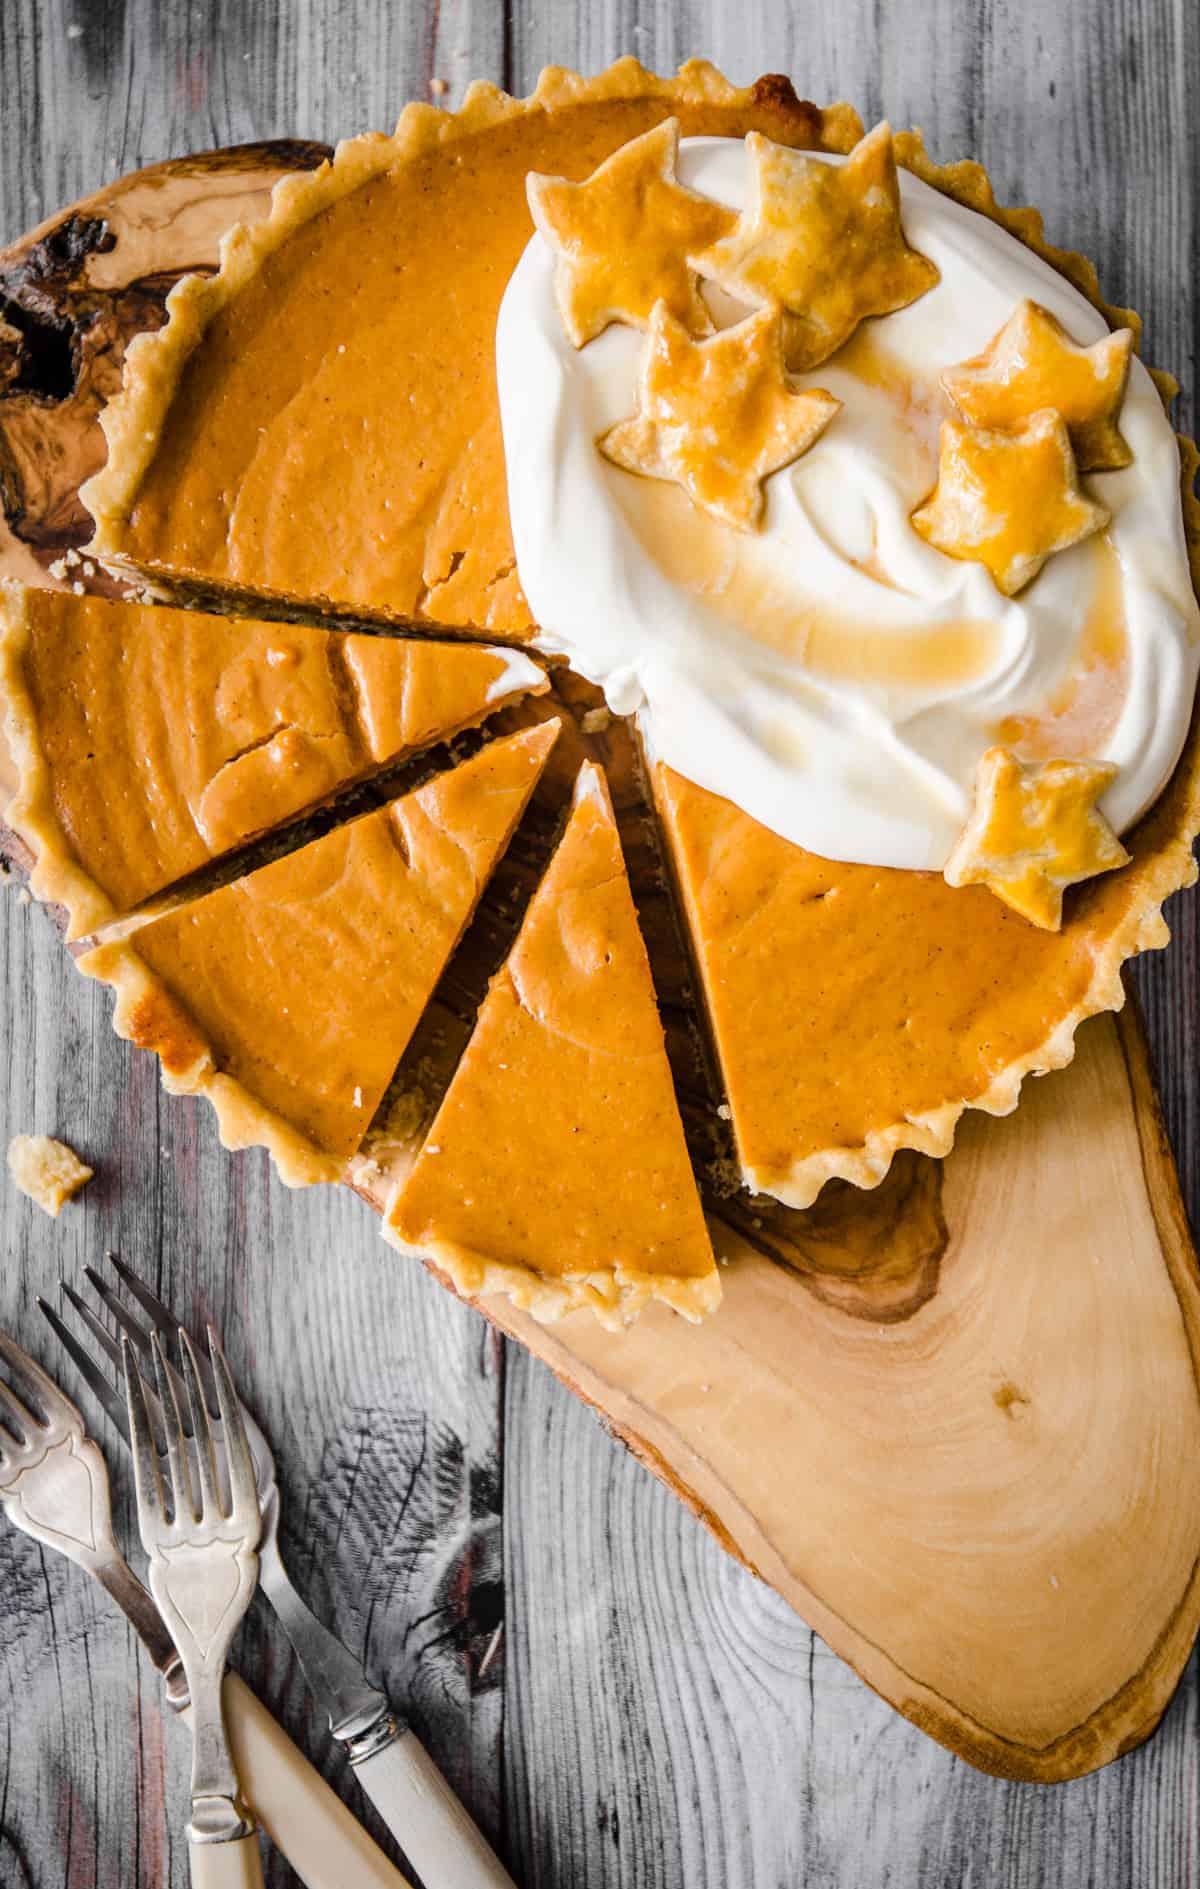
This classic Gluten-Free Pumpkin Pie is an absolute showstopper. The smooth creamy filling is a rich blend of pumpkin, brown butter, condensed milk and spices. Topped with whipped maple cream and encased in the most deliciously flaky all-butter pie crust which has no xanthan gum!
Meet the crowning glory of pumpkin season. This all-American pumpkin pie recipe is perfect for a Thanksgiving feast. Even if you don’t celebrate Thanksgiving I urge you to make this pie which encapsulates everything that is cosy and comforting about this time of year.
Just a simple bite will conjure up images of red and golden leaves crunching underfoot, long woollen scarves and evenings spent nestled in an armchair in front of the fire. It’s such a special pie with deep roots in sharing a slice whilst celebrating friends and family.

Why is this Gluten-Free Pumpkin Pie so special?
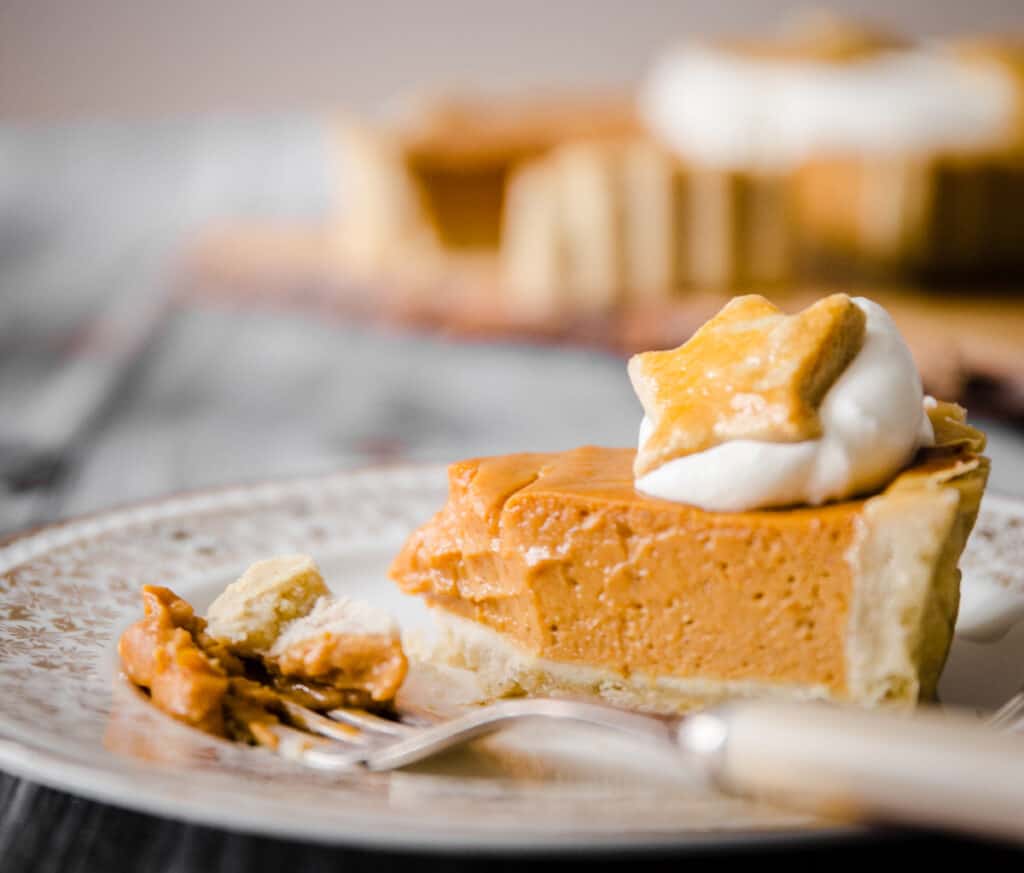
- This is a deep dish pie with a gorgeous creamy pumpkin filling which is almost custard-like with its gentle wobble.
- If you want an easy pumpkin pie recipe then look no further - the filling is made in the blender and takes under a minute to whizz up.
- Spiced with a perfect blend of cinnamon, ginger and nutmeg.
- We use condensed milk which makes the pie filling ultra creamy with the right balance of sweetness.
- It’s the browned butter which takes this pie into the stratosphere with a toasty nutty level of flavour.
- The pumpkin pie crust is flaky, buttery and delicious. It’s so easy to make with just 3 gluten-free flours and no xanthan gum.
- Topped with a non-negotiable dreamy whipped maple cream which takes moments to whip up and is a lovely cloud-like contrast to the velvety pumpkin filling.
Gluten-Free Pumpkin Pie Crust
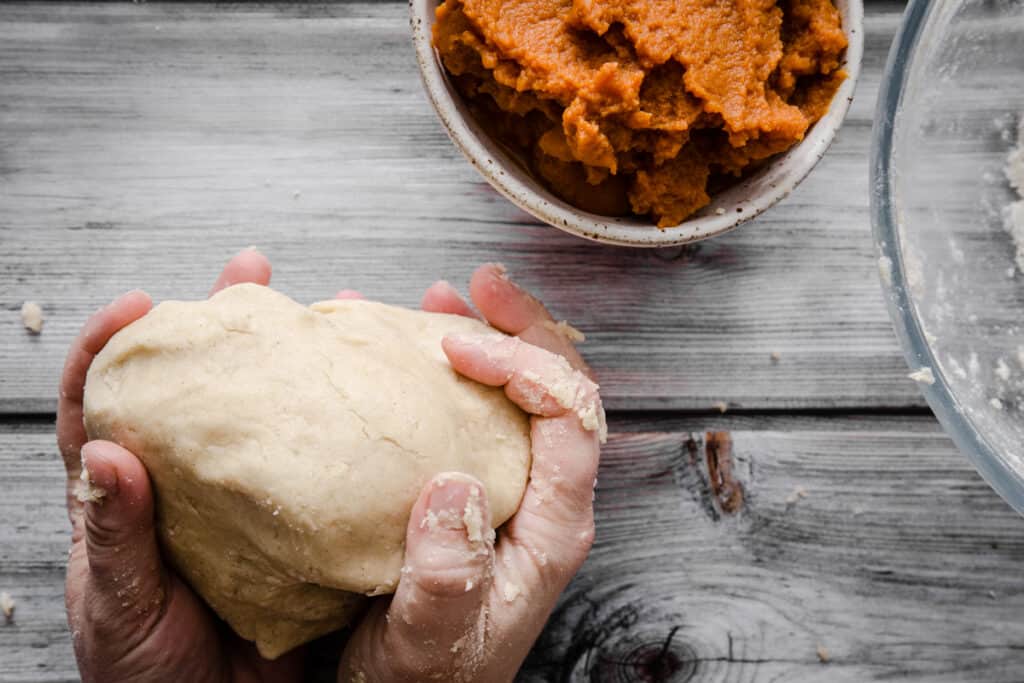
If you are thinking about baking a gluten-free pumpkin pie then your number one priority will be achieving a perfectly buttery and flaky pie crust. My easy All-Butter Gluten-Free Pastry is the exact recipe you need for that. It’s very easy to make with just 3 gluten-free flours including sweet rice flour, sorghum flour and tapioca flour. No fancy methods and no xanthan gum.
The complete method including step by step photos can be found here >>> The Best All-Butter Gluten-Free Pastry
Please note as well that I do recommend blind baking the pie crust before adding the filling so that you don’t have a soggy bottom for your finished pie. See the recipe card below for instructions.
Fresh pumpkin or tinned?
This recipe uses tinned pumpkin for ease. This is not to be confused by tinned pumpkin pie filling which is already spiced and flavoured. The prepared pumpkin you can buy is thick, sturdy and has a lovely set once baked.
It is sometimes hard to track down in the UK but tinned pumpkin can be found in the larger supermarkets especially in the run up to Thanksgiving in November.
Secret ingredient: Brown butter
This is my tip for the absolute best pumpkin pie. A couple of tablespoons of brown butter included in the filling for the most delicious caramelised toasted flavour.
If you have never made brown butter then you may be a little intimated at first but let me tell you it’s incredibly easy and once you’ve tried it you will be browning the butter for all your recipes.
How to make it
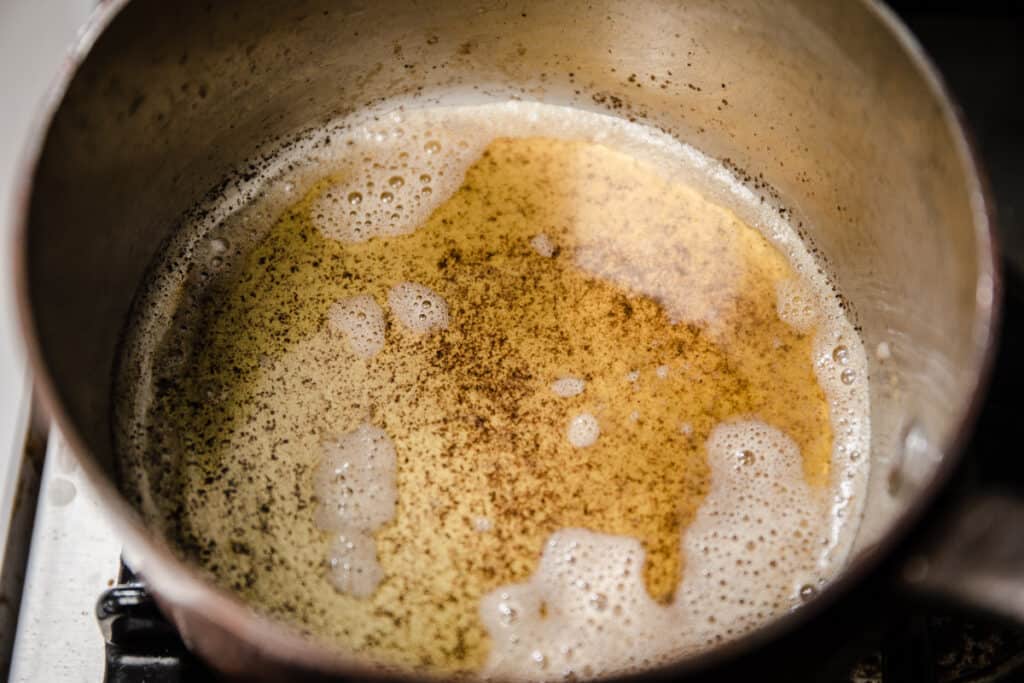
- Melt the butter in a small saucepan on a low-medium heat.
- Once melted the butter will start to crackle as it turns golden and little brown toasty bits form on the bottom of the pan.
- As soon as the crackling starts to ease off, remove the pan from the heat immediately so it doesn’t burn and pour the brown butter into a bowl so it can stop cooking.
- Leave to cool for 10 minutes before adding to the rest of the filling ingredients.
What else do we need for the perfect pumpkin pie filling?
- Condensed milk – this gives your pumpkin pie a totally gorgeous creamy set whilst adding the perfect amount of sweetness.
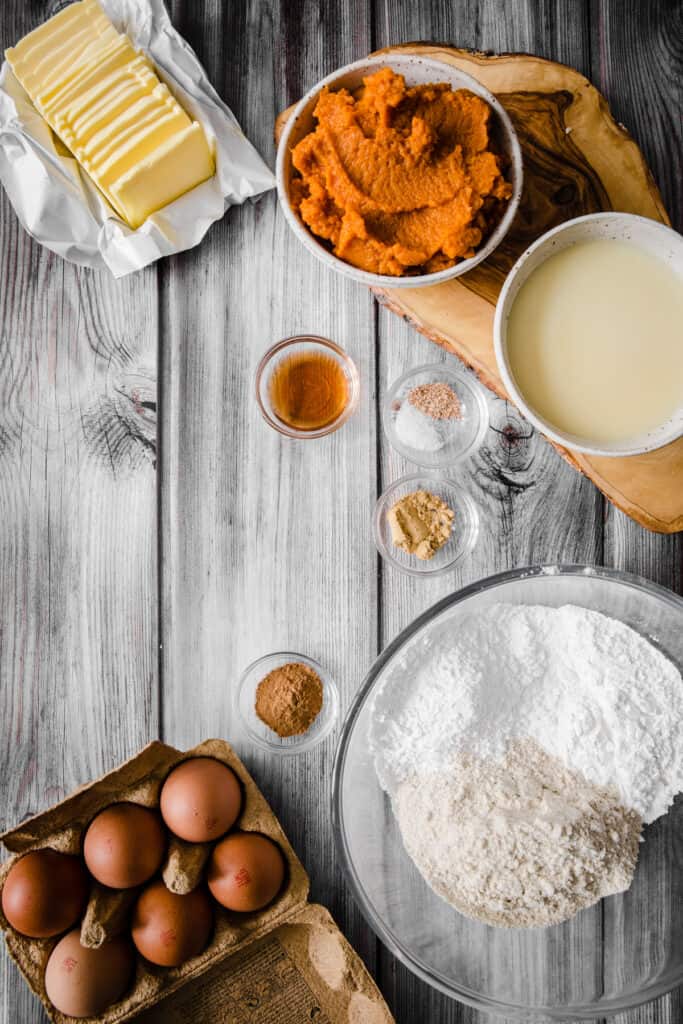
- Eggs – use 3 medium free-range eggs. Burford Browns with a rich yellow yolk are my favourites.
- Vanilla extract – not essence!
- Spices – ground cinnamon, ground ginger and freshly grated nutmeg are a perfect triumvirate of flavour.
How to make the easiest Pumpkin Pie filling
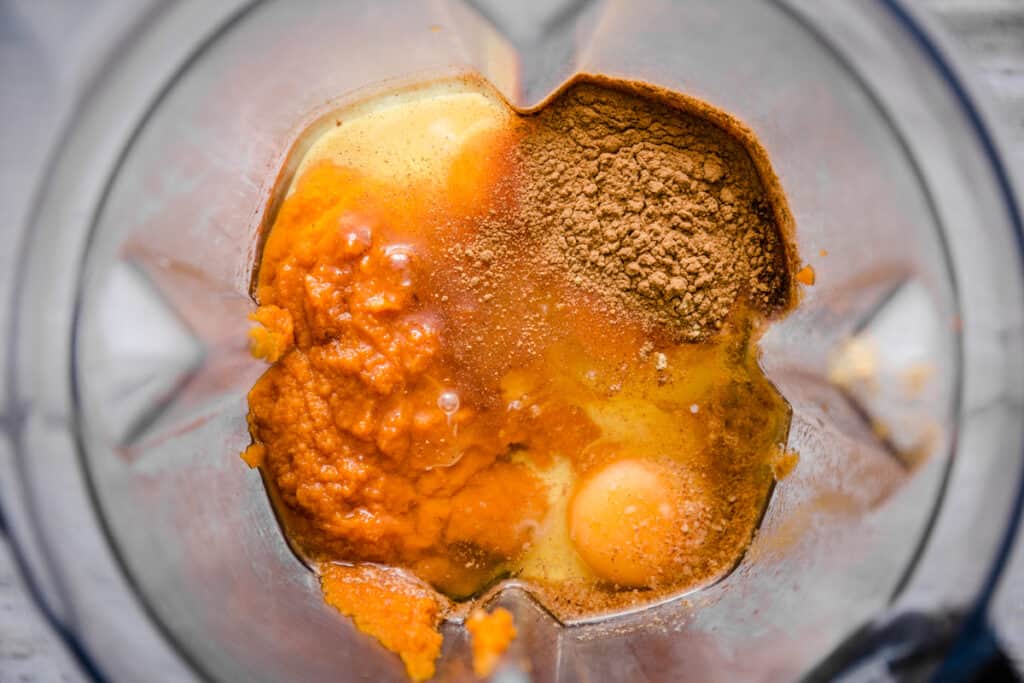
My number one tip is to make your filling in the blender to create the most dreamy creamy filling.
- Pour all the pie filling ingredients into the blender.

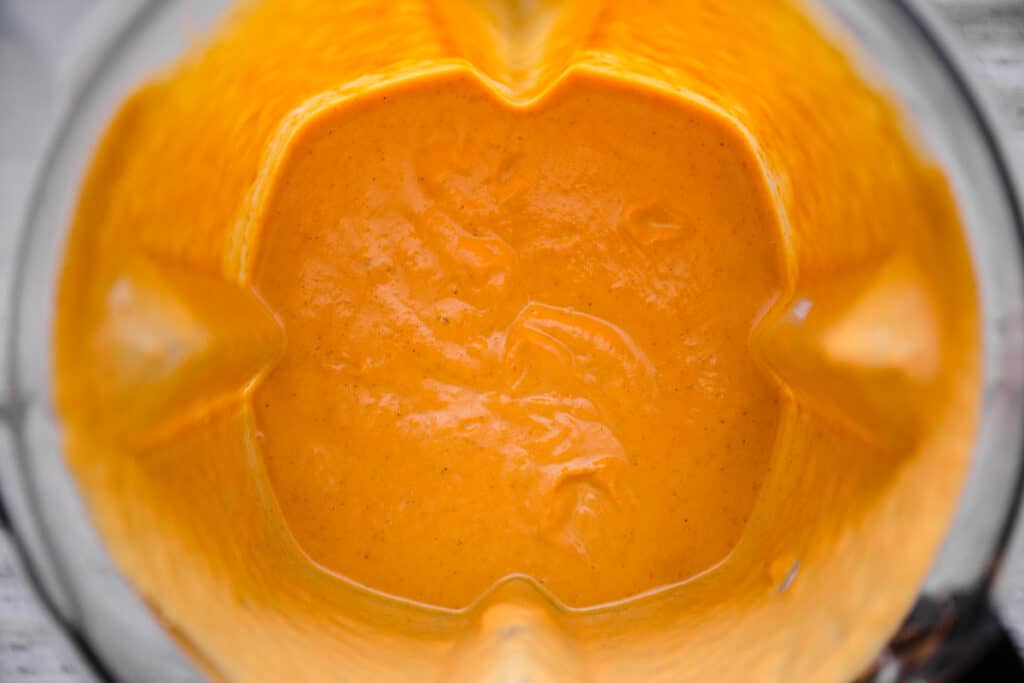
- Blend on a low speed for 10 seconds or so before gradually increasing the speed.
- After about a minute the filling will be velvety smooth and ready to pour into your pie crust.

If you don’t have a blender then don’t worry - mixing your filling by hand is perfectly acceptable.
How to make the Whipped Maple Cream
You can whip the cream by hand or using a stand mixer.
Add 2 teaspoons of maple syrup to the double cream and then beat until the cream just begins to take shape.
FAQs
How can you tell when the pumpkin pie is done?
Trust the wobble! The pie takes 35 minutes to cook once the filling is poured into the blind baked pie crust. At this point the surface of the pie will look set but when you gently shake it there will still be a slight jiggle in the centre. This is the correct time to take it out of the oven.
What should I do if my pie filling is cracked?
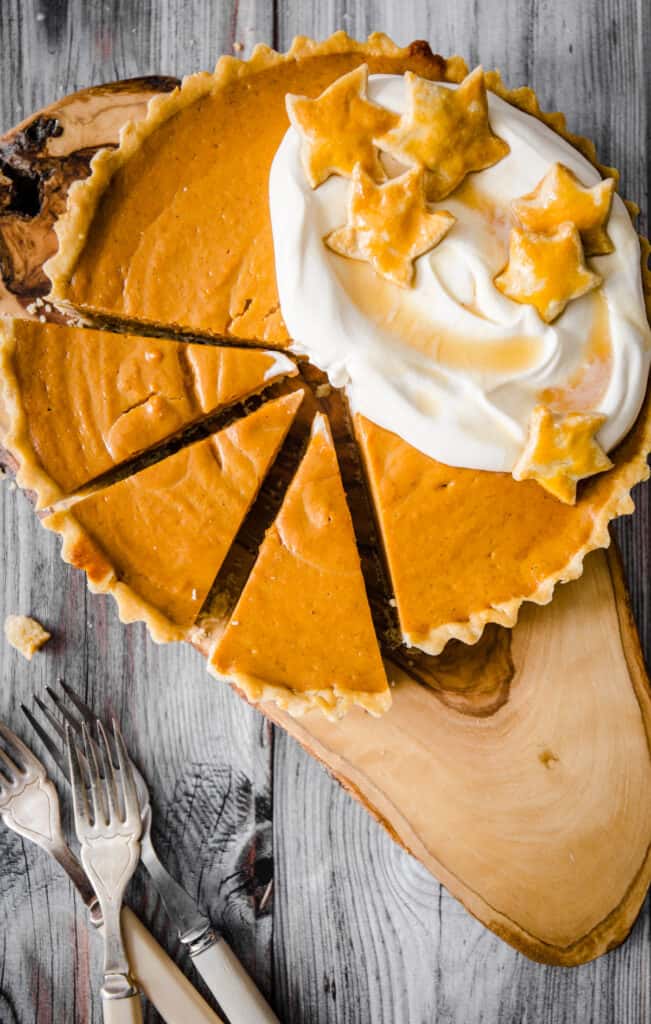
Don’t worry, this is inevitable. The maple whipped cream will provide double duty in taste and covering up any cracks which may occur during the bake. What a hero!
How long should you cool pumpkin pie?
At least 4 hours. At this point the pie will be totally set and cool enough to cover with the maple whipped cream.
Can you make it ahead?
Yes, you can make up to 2 days before you want to serve it. Store in the fridge and top with the maple cream just before serving.
Can you freeze it?
Yes. You should freeze without the maple whipped cream. Wrap the cooled pie tightly in cling film and aluminium foil to avoid any freezer spoilage.

Shop the recipe:
- 20cm Pie/Flan Tin (4cm deep)
- Blender
If you like this recipe then you may also like…
I urge you to give this Gluten-Free Pumpkin Pie a try. If you do then please leave a comment below and give the recipe a rating which helps others find the recipe on Google. If you then go on to use this recipe as a launch pad for your own culinary creation then I’d also love it if you’d share it and tag me on Instagram. It is so lovely for me to see your versions and variations of my recipes.
Gluten-Free Pumpkin Pie
Ingredients
Gluten-Free Pie Crust
- 120 g sweet rice flour
- 110 g sorghum flour
- 60 g tapioca flour
- ½ teaspoon sea salt
- 200 g unsalted butter - cold from the fridge
- 1 egg + 1 egg white - medium sized, lightly whisked together
Pumpkin Filling
- 30 g unsalted butter
- 425 g pumpkin puree - 1 tin
- 250 g condensed milk
- 3 eggs - medium
- 2 teaspoons vanilla extract
- 1½ teaspoons ground cinnamon
- 1 teaspoon ground ginger
- ¼ teaspoon ground nutmeg
- ¼ teaspoon salt
Whipped Maple Cream
- 300 ml double cream
- 2 teaspoons maple syrup
Instructions
Gluten-Free Pie Crust
- In a large mixing bowl whisk together the sweet rice flour, sorghum flour, tapioca flour and salt.
- Slice the butter very thinly directly from the fridge and add to the flour.
- Rub the mixture between fingertips until roughly shorn. The mixture does not need to resemble breadcrumbs. It’s okay that the butter is still in largish pieces. It should look quite shaggy in the flour.
- Whisk one egg with the egg white from the second egg in a small bowl. Save the extra egg yolk for later for sealing the pastry during the blind bake.
- Make a well in the centre and pour in the whisked eggs.
- Bring the dough together using your hands.
- Turn the pastry out on to a tapioca floured work surface and knead for about two minutes until the dough comes together into a smooth ball which is no longer sticky.
- Roll the pastry into a ball and flatten slightly to make a thick round disc. Wrap in baking parchment.
- Place in the fridge for 1 hour to chill before rolling out.
- Pre-heat the oven to 190°C / 170°C fan / gas mark 5.
- Cut two large pieces of baking parchment, 2½ inches wider than the size you need to roll the pastry out to. Sprinkle tapioca flour on the inside of the parchment and place the chilled pastry disc between the parchment sheets.
- Using a long rolling pin roll out the pastry into a round until it is about 5mm thick.
- Peel away the baking parchment and use the rolling pin to lift the pastry over a 20cm x 4cm deep pie tin.
- Fit the pastry into the tin, patching up any cracking with excess pastry.
- Use a sharp knife to cut away the excess pastry against the top of the tin.
- Place the baking tin in the freezer for 10 minutes.
- Remove and place a sheet of baking parchment over the pastry and fill the tin with baking beans.
- Place the baking tin on a large baking tray to help get it in and out of the oven.
- Place the baking tray with the tin in the middle of the oven and bake for 25 minutes.
- Remove from the oven and discard the parchment and baking beans.
- Take the saved egg yolk from making the pastry and whisk it lightly in a small bowl. Using a pastry brush, brush the egg yolk all over the surface of the pastry and up the insides and on the edges.
- Place back in the oven for 5 minutes.
- Remove from the oven and let rest for a few minutes whilst preparing the filling.
Pumpkin Pie Filling
- Make the brown butter first by melting the butter in a small saucepan over a low- medium heat.
- Listen carefully and the butter will start hissing and cracking and forming little brown bits at the bottom of the pan.
- Wait until the noises start to subside, the butter smells toasty and is turning golden.
- Remove from the heat immediately and pour into a bowl so it doesn’t begin to burn. Leave to cool for 10 minutes.
- Place the pumpkin pie filling ingredients into the blender and blend for about a minute until very smooth.
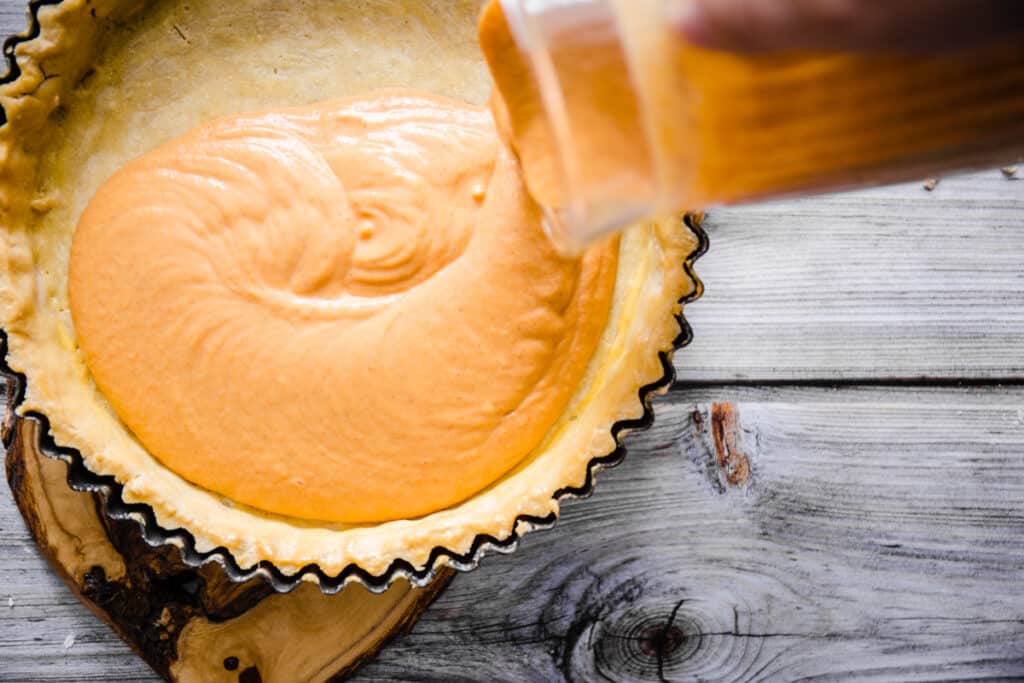
- Pour the filling into the blind baked pie crust.
- Turn oven down to 170°C /150°C fan / gas mark 3 and bake for 35 minutes.
- Remove the pie from the oven and carefully take it out of the pie tin. Leave on a cooling rack to cool completely before topping with the whipped maple cream.
Whipped Maple Cream
- Whisk the double cream with the maple syrup into a thick billowing cloud using either a stand mixer or by hand. You don’t want the cream too loose or too stiff, it should just drop off a spoon.
Notes
- This recipe uses tinned pumpkin (not pumpkin pie filling)
- Use the excess pastry for cutting out decorative pastry shapes. Brush the decorations with egg yolk and bake for 10 minutes in the oven on a large baking sheet.
- You can make the pie up to 2 days ahead, but make the whipped maple cream on the day you serve it.
- Store the pie in the fridge.
- You can freeze the pie, without the cream, wrapped up well in cling film and aluminium foil, for up to 2 months.


Shanley Bonnett says
I won’t be able to remove my pie from the tin is that ok?
Georgina Hartley says
You can keep your pie in your tin if you want to.
Jean ingram says
How do you remove the whole pie from the tin when you take it out of a hot oven
Georgina Hartley says
Great question! The pie tin I use has a loose bottom so using oven gloves I hold the outside of the tin with one glove and the underside of the tin with the other. I push the loose bottom up away from the sides and slip the pie out onto a cooling rack. It slides off the loose base very easily. It sounds like a tricky manoeuvre but actually it's quite easy - the pie crust doesn't stick to the tin at all.