This post contains affiliate links. Please read my disclosures.
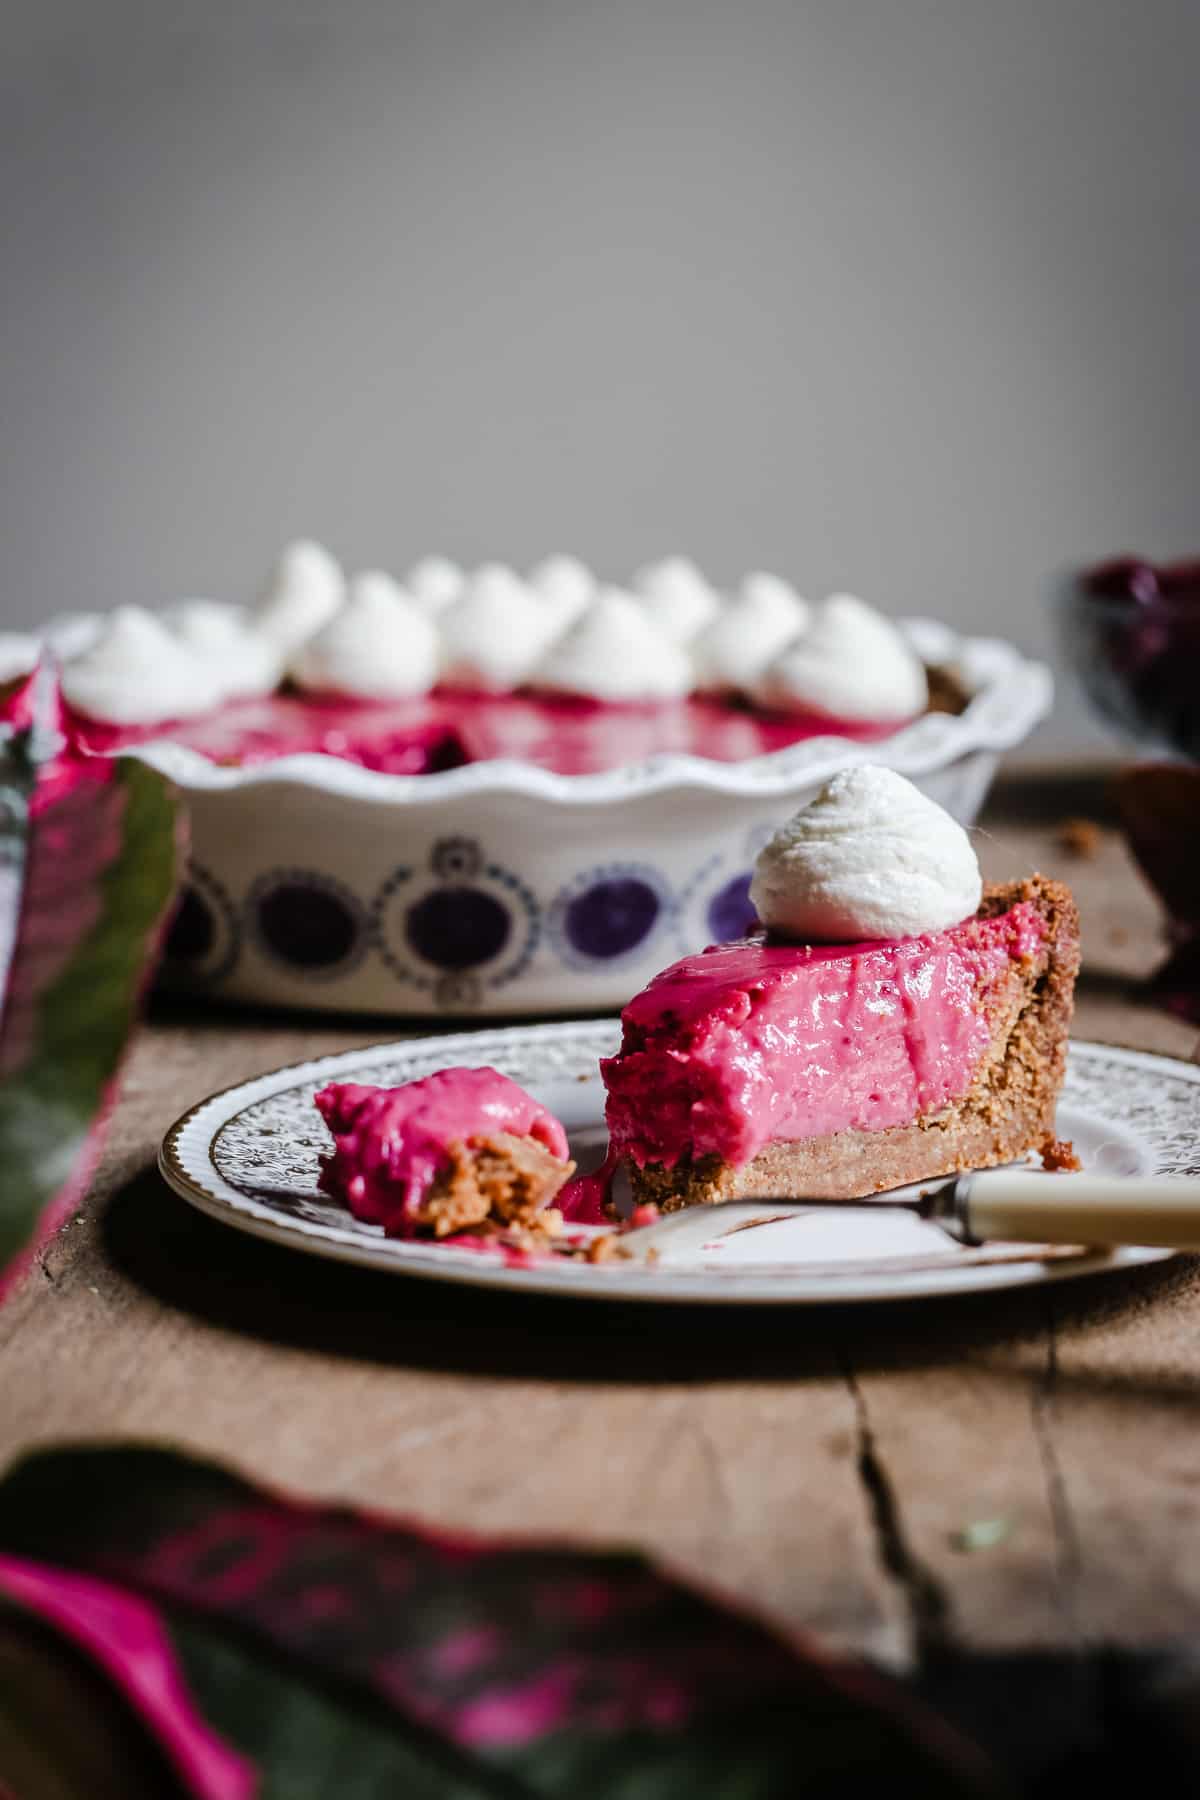
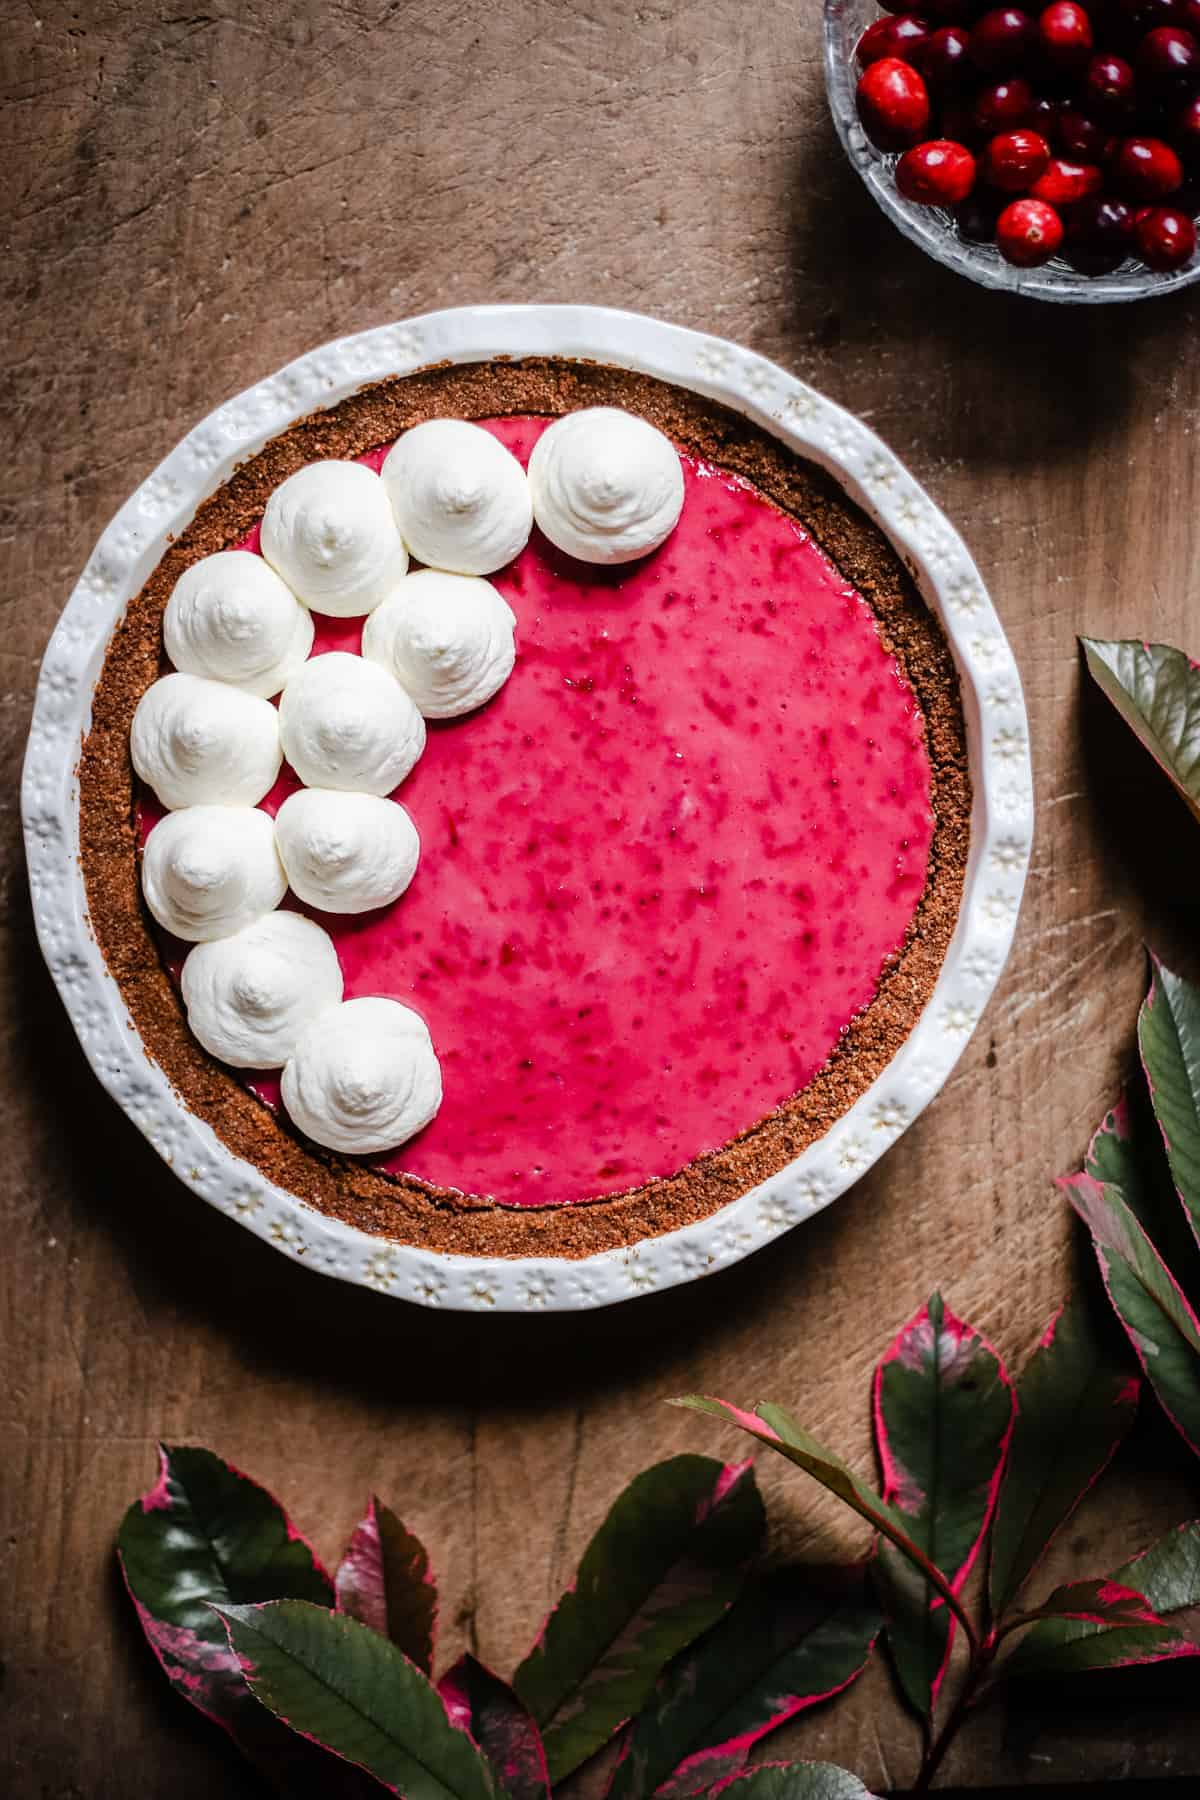
This easy Gluten-Free Cranberry Tart is tangy and fruity with a buttery gluten-free biscuit crust which you can easily make with gluten-free biscuits and topped with whipped cream clouds. It is a zingy, creamy and crunchy gluten-free dessert which feels festive enough to enjoy on your holiday table and its gorgeous red colour lends itself perfectly to your valentine's day celebrations. However you enjoy this gorgeous cranberry curd tart I can promise you it will be a total crowd pleaser.
Jump to:
This beautifully vibrant Cranberry Tart is one of the best things to do with a bag of cranberries and is one of the easiest holiday desserts. If you love a lemon curd tart then this cranberry version is the perfect dessert and I can guarantee it will be yummed up by all your loved ones. It's a joyful end to any celebratory meal round the holiday season.
I will take you through all the steps so that you can make this Cranberry Tart ahead of time so that it can be ready for the next day by just taking it out of the fridge and slinging it on your holiday dessert table without any fuss.
It's also a very simple dessert to make and only needs 7 ingredients. The tart crust is easy peasy and made of crushed gluten-free biscuits which you can make yourself or for an even easier dessert then buy them from the supermarket.
The filling is just a case of stirring some ingredients together. When we mix lemon juice, egg yolks and condensed milk with the cranberry puree the most beautiful alchemy occurs. Poured into our biscuit pie crust and baked in the oven they become a gorgeously creamy set custard with an ever-so-gentle wobble. No sugar is needed as all the sweetness comes from the condensed milk. The tartness of the cranberries and the the lemon juice is the perfect contrast.
The dessert is then finished with an unsweetened whipped cream.It is a lovely counterpoint to the sweet cranberry filling so no sugar is added.
Why you'll love this Gluten-Free Cranberry Tart
- This is a great make-ahead dessert as it tastes best chilled so there is no last minute prep required.
- It's an easy gluten-free festive dessert which is in the style of those great American pies which are really popular over the holiday season.
- The biscuit crust is thick and buttery rich, made from your favourite biscuits (or a graham cracker crust!).
- The cranberry filling is so easy to pull together - just fruity fresh tart cranberries pureed and mixed with condensed milk, a spritz of lemon juice and egg yolks.
- Baked in the oven the filling turns into a creamy cranberry set custard. Think key lime pie or lemon meringue pie but with cranberries.
- A heavenly light cream is whipped into clouds to adorn this delicious dessert.
Ingredients and Notes
Fresh cranberries. If you are used to eating your cranberries from a jar then these tart little berries will be a revelation. They pop up in large UK supermarkets just before Thanksgiving at the end of November and you can usually find them next to the blueberries. You can use frozen.
Gluten-free biscuits. It’s your choice on which biscuits or cookies you use for your tart crust. I use gluten-free oat biscuits but you can use Hobnobs, plain digestives or graham crackers. I particularly recommend these gluten-free homemade digestive biscuits which are made from oat flour and have an amazing buttery toasted flavour.
Butter. Unsalted is the best choice here. Make sure it is at room temperature.
Lemon. You only need the juice for this recipe so you don’t need to worry about an unwaxed lemon.
Egg yolks. You need 8 yolks for this recipe so quite a lot. You can freeze the egg whites. I tend to freeze egg whites in batches of 4 as that’s the common amount you’ll need for meringue. This recipe uses medium size eggs, about 60g each with shell (50g each without shell).
Condensed milk. This is a thick, sweetened milk product where most of the water content has been removed, resulting in a dense and sticky consistency. It is commonly used in baking, desserts, and beverages to add richness and sweetness.
Whipping cream. This is a light cream which has a high fat content that can be easily whipped to incorporate air, creating a light and fluffy texture.
Substitutions and Variations
Whipping cream. This kind of cream doesn’t seem as prevalent as it once was so if you can’t get hold of it then you can substitute with double cream (heavy cream) but the result will be slightly heavier.
Dairy-free version
- Butter in biscuit crust: Swap the regular butter for a dairy-free alternative, such as vegan butter or coconut oil.
- Check the biscuits: Ensure that the biscuits you choose for the crust are dairy-free.
- Condensed milk in filling: Use a dairy-free condensed milk substitute. I have seen a coconut-based option.
- Cream in topping: Substitute dairy cream with a non-dairy alternative. Coconut cream is the one I often use and it whips up brilliantly.
Cranberry Orange Tart. For a little change you could add a splash of orange juice and orange zest to the cranberries for a warming citrus note to the flavours in your tart.
Nutty Pie Crust. You can always add a handful of nuts to the biscuit base. This tart would be lovely with a pecan, almond or hazelnut crust.
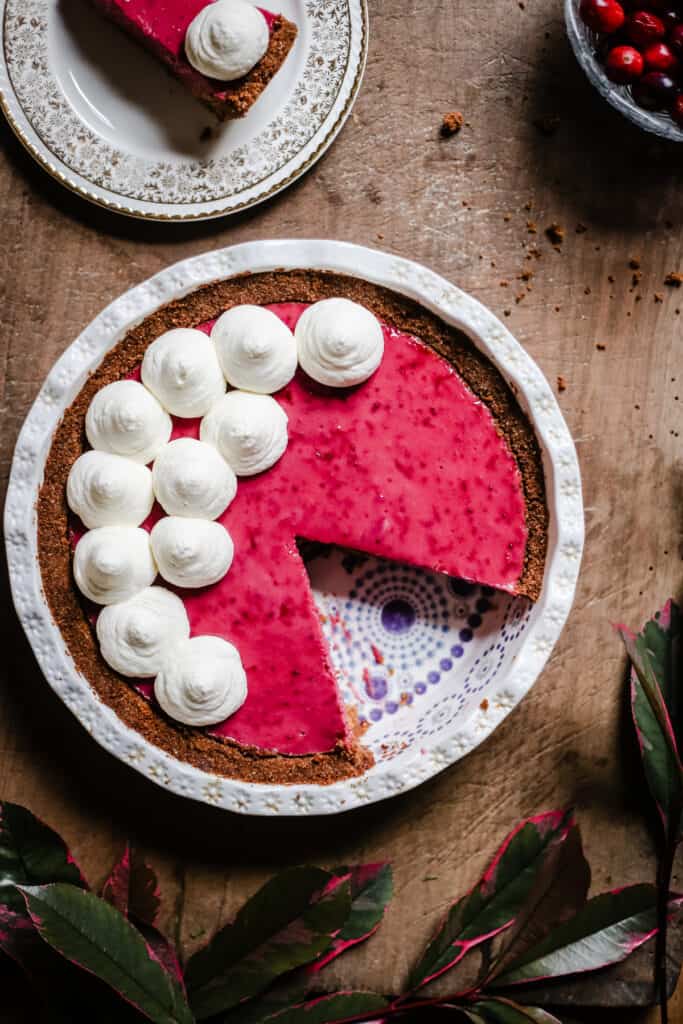
How to make this Easy Gluten-Free Cranberry Tart
For full recipe instructions go to the recipe card at the end of this post.
- Preheat the oven to 170°C/150°C fan/gas mark 3.
- Cook cranberries with cold water in a saucepan over low - medium heat for 15 minutes until they burst and thicken; blend until smooth and cool in the fridge.
- Melt butter, let cool.
- Add biscuits to bowl of a food processor and process them to a sandy texture. Mix in the melted butter.
- Press biscuit crust into a 23cm pie dish with the back of a spoon, bake for 18 minutes until golden brown. Re-shape if needed, and cool in the fridge.
- Reduce oven temperature to 160°C/140°C fan/gas mark 1.
- Combine cranberries, lemon juice, egg yolks, and condensed milk in a large bowl.
- Pour the cranberry mixture into the biscuit tart shell, smoothing the top.
- Bake for 25 minutes until slightly wobbly; cool and set in the fridge overnight.
- Whip cream until thick, then pipe over the top of the pie.
- Serve chilled.
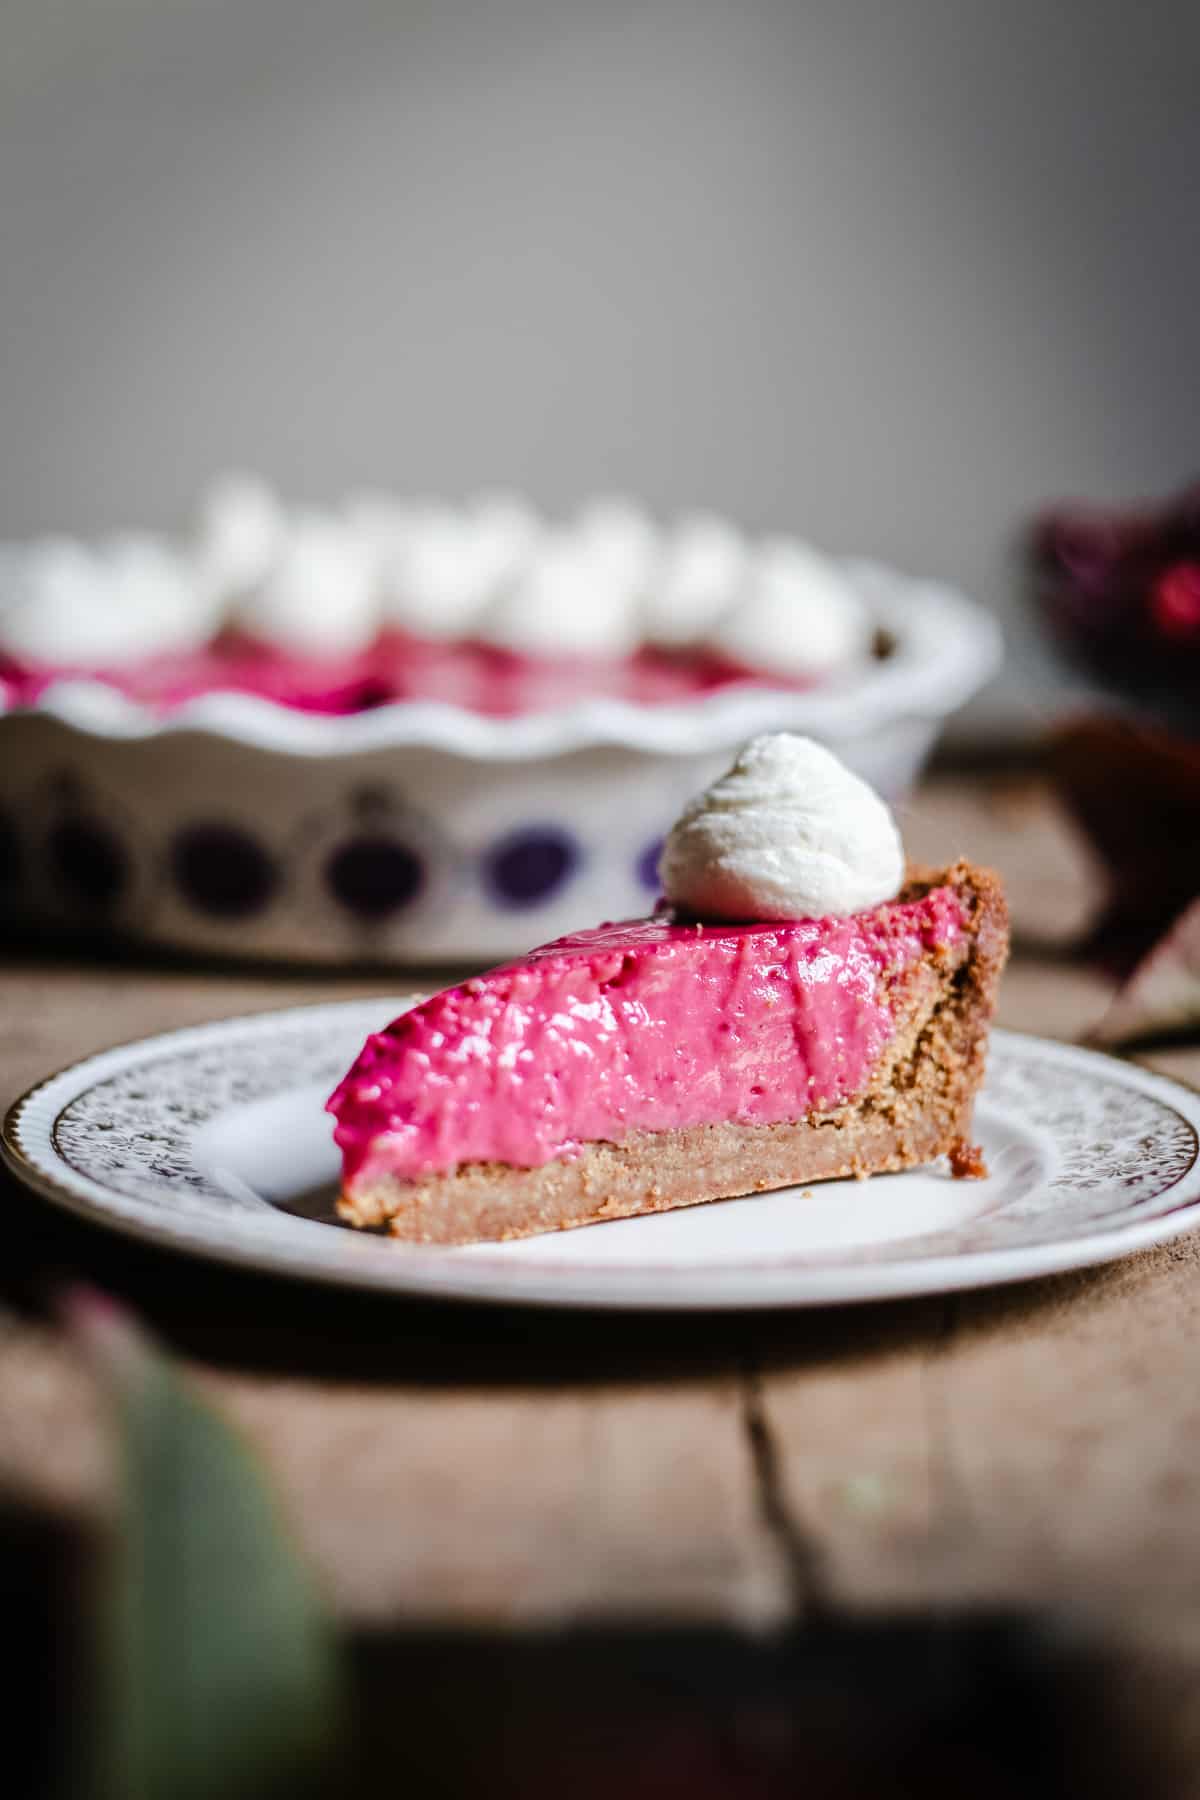
Expert Tips
- When you are melting the butter for the biscuit base leave it to cool for a few minutes just so the butter is warm rather than hot when you add it to your biscuit crumbs. This helps your biscuit base from becoming too greasy.
- Use an immersion blender straight into the saucepan to blend the cranberries. It saves on getting pink juice all over your kitchen if you don’t have to transfer it anywhere.
FAQs
Yes, pre-baking the crust helps it set and maintain a crisp texture. It ensures the crust isn't soggy once the filling is added.
Whip the cream until it reaches a thick billowy consistency and can hold its shape, although keep an eye on it as it’s easy to overwhip and you don’t want a stiff cream.
Yes - this Cranberry Cream Pie can be made up to 2 days ahead of when you want to serve it. I recommend whipping the cream on the same day you serve though otherwise it can deflate a little in the fridge.
Yes, you can freeze it with or without the cream. Remove from the freezer the night before you want to serve it and defrost thoroughly in the fridge. Although a slice of still frozen tart straight from the freezer is a real cheeky treat!
Serve chilled for the best texture and flavour. You could sprinkle over some additional cranberries or a dusting of icing sugar before serving.
How do I store leftover cranberry tart?
Store any leftovers in the refrigerator, covered with plastic wrap or in an airtight container, for up to 2-3 days.
More holiday desserts you’ll love!
✨Have you tried this Gluten-Free Cranberry Tart? Please leave a 5-star ⭐️ ⭐️ ⭐️ ⭐️ ⭐️ rating on the recipe card and consider leaving a comment as well! I would love to hear about how your recipe turned out and your feedback also helps other readers✨
Easy Gluten-Free Cranberry Tart
Ingredients
- 450 g cranberries + 3 tablespoons water
- 500 g oat biscuits*
- 200 g unsalted butter
- Juice ½ lemon
- 8 egg yolks
- 397 g condensed milk - 1 tin
- 400 ml whipping cream
Instructions
- Pre-heat the oven to 170°C/ 150°C fan/gas mark 3.
- Place the cranberries in a medium sized saucepan with the water and cook on a low heat for about 15 minutes, stirring occasionally until the cranberries have broken down.
- Blend the cranberries until they are smooth then set aside in the fridge to cool completely.
- Melt the butter in a small saucepan and leave to cool for a few minutes just so the butter is warm rather than hot which helps your biscuit base from becoming too greasy.
- Whizz up the biscuits in a food processor then with the mixer still on pour in the melted butter until it combines with the biscuit to become a thick sandy texture.
- Press the biscuit crust into a 23cm pie dish using the back of a spoon and push the base up the sides of the dish.
- Bake the crust for 18 minutes then remove from the oven. Gently re-press and shape the biscuit crust which might have puffed up a bit and then leave to cool in the fridge to set whilst you make the filling.
- Turn the oven down to 160°C/140°C fan/gas mark 1.
- Mix the cranberries, lemon juice, egg yolks and condensed milk in a large mixing bowl.
- Pour the cranberry filling into pie crust, smoothing out the top.
- Bake the pie for 25 minutes, the cranberry filling should still be a little wobbly.
- Leave to cool and set in the fridge overnight.
- Whip the cream until thick and it can hold its shape then pipe over the top of the pie.
- Serve chilled.
Notes
- Eggs. The eggs used in this recipe are medium size.
- Oat Biscuits - I use gluten-free oat biscuits but you can use any. Hobnobs, digestive biscuits or graham crackers are also fine. If you like you could push the boat out and use Homemade Digestive Biscuits.
- Biscuit Base - When you are melting the butter for the biscuit base leave it to cool for a few minutes just so the butter is warm rather than hot when you add it to your biscuit crumbs. This helps your biscuit base from becoming too greasy.
- Fresh Cranberries - you can find these in the UK from November onwards. Usually in the berry aisle - next to the blueberries. Using frozen cranberries is absolutely fine too.
- Whipping Cream - you can use double cream or heavy cream.
- Make Ahead - The pie can be made up to 2 days ahead but whip and add the cream topping on the day you are serving.
- Freeze - This tart can be frozen. It might be easier to freeze and store without the cream but if you have leftovers then these can be frozen in slices or whole. Defrost overnight in the fridge. In fact this tart is delicious still a little bit frozen!!!
US customary measurements
These US measurements for the ingredients provided are based on a conversion calculator. This recipe was tested with metric measurements and I recommend using a digital scale to weigh ingredients for the most accurate results. READ MORE >>> Why you should always weigh vs measuring with cupsNutrition information
Please note that the nutrition information provided below is an estimate based on an online nutrition calculator. It will vary based on the specific ingredients you use. Please seek a professional nutritionist’s advice for further clarification. The nutrition serving is for 1 slice of tart, assuming the tart is cut into 10 servings.Nutrition
This post was originally published in December 2018 but updated in November 2020 with clearer instructions and more pro tips. The recipe remains the same.


Alene says
I am planning to make this for an extra dessert for Thanksgiving, because I always have to overdo everything. One question though. Is your evaporated milk already sweetened? You do mention that is how the pie gets sweetened. Here, you can buy sweetened or unsweetened evaporated milk. I am assuming that is what you meant, sweetened evaporated milk. And, of course, I'm making my own digestive biscuits from your recipe. We have nothing like that here, gluten free. Thank you so much for everything you do.
Georgina Hartley says
Hi Alene, actually this recipe requires condensed milk rather than evaporated milk. They are different ingredients and the recipe won't work with evaporated milk. Condensed milk is thicker and is sweetened. I hope that helps.