
Homemade Piccalilli
This post contains affiliate links. Please read my disclosures.

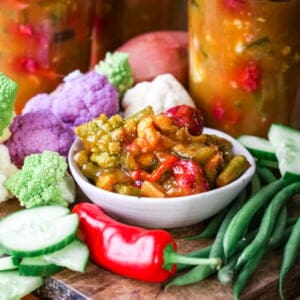
Piccalilli is delicious spicy British pickle. Bite-sized pieces of Autumn vegetables fragrant with mustard and curry spices which is excellent with any kind of cheese or cold cut. It’s also gluten-free as we thicken our sauce with cornflour.
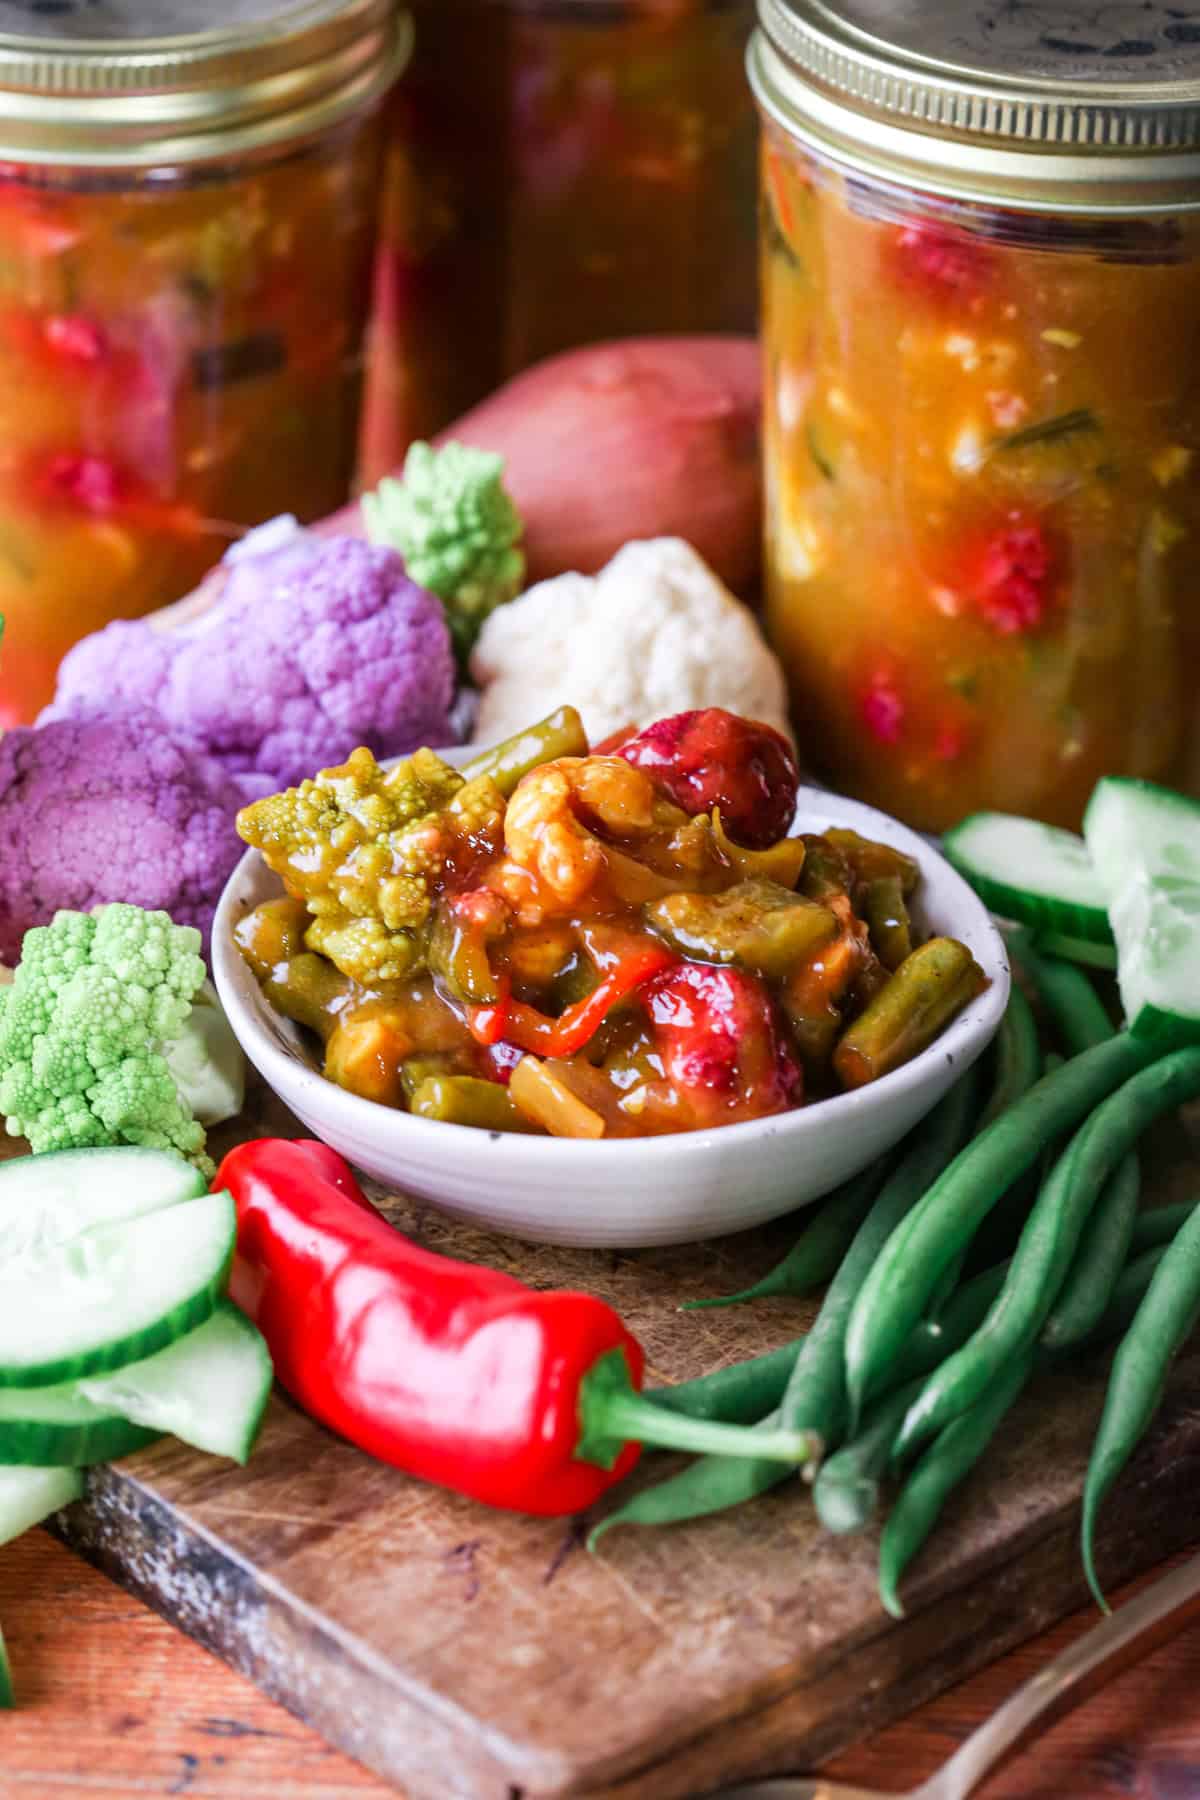
This almost-traditional Piccalilli recipe holds a special place in my heart as it was the most popular preserve at my farmers’ market stall. It was the first preserve I brought to my stall which had been primarily a cake stall. The way these jars flew off the table meant that I kept bringing more and more chutneys and jams to nestle amongst the Victoria Sponges and brownies.
This curry spiked piccalilli was a particular star in the Autumn months as everyone was rushing to buy a jar for their relatives at Christmas. Even now, years since I hung up my farmers’ market apron (I’ll be back one day!!) I still get emails from past customers asking if I’m making a cheeky batch this year.
To be honest, I usually am. It wouldn’t be Christmas without piccalilli served alongside our cold cuts. And my version is just a little bit different to that which you can buy in so it’s well worth a try.
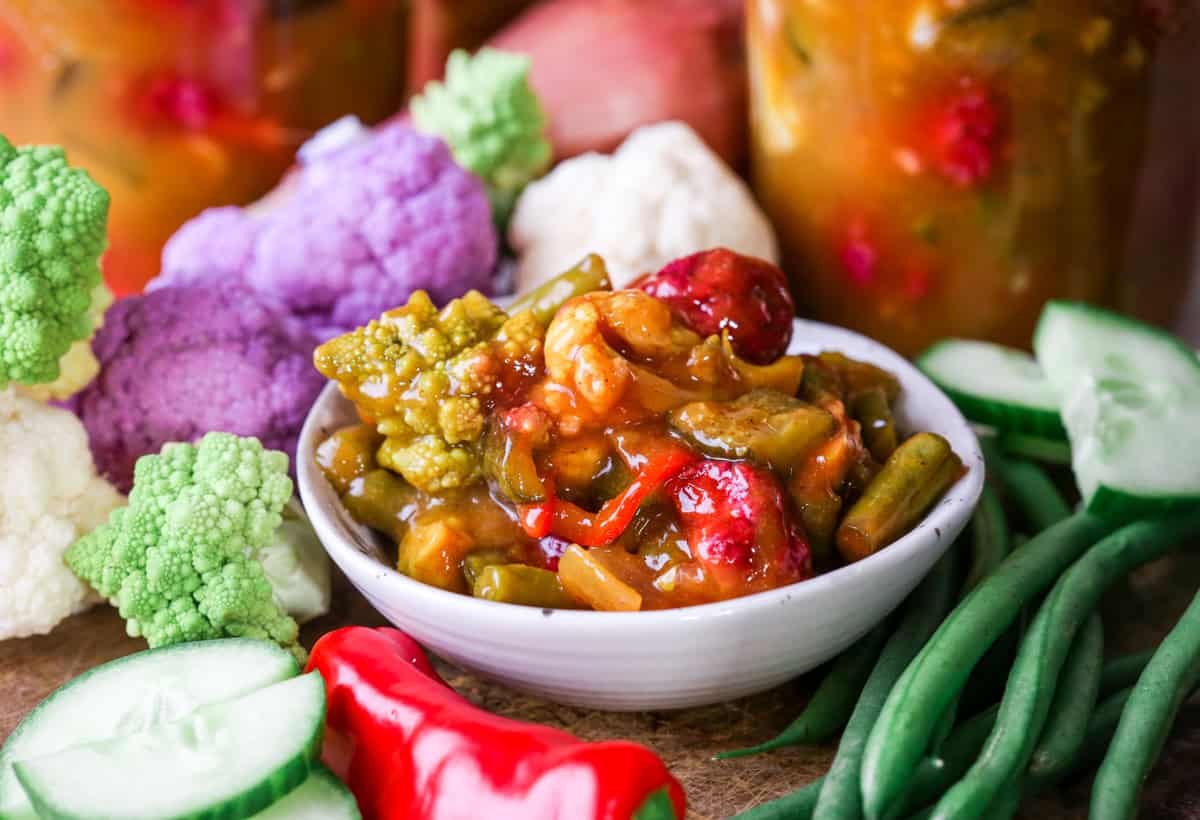
For starters, you may notice the vibrant colour. Not the usual garish yellow. And that’s due to my addition of purple cauliflower, as well as regular white cauliflower and Romanesco in the mix, plus my generous heaping of curry powder. That deep rich colour makes it looks absolutely gorgeous on the plate, spooned onto crackers with your favourite cheddar.
You can make piccalilli at any time of year but September/October works very well as if you allow the Piccalilli to rest for a few weeks, the vinegar has a chance to mellow and the spices are given room to breathe and really envelop the vegetables. Perfect for the festive season.
The only real labour of making a Piccalilli is the chopping of the vegetables which I like to be bite-sized so they can hunker down happily in a sandwich or on a cracker without overwhelming it. The vegetables should then be brined overnight which helps them retain their crunch. Then all that’s left to do the next day is to quickly pickle them in vinegar and sugar before submerging them into your delicately spiced curry dressing and potting.
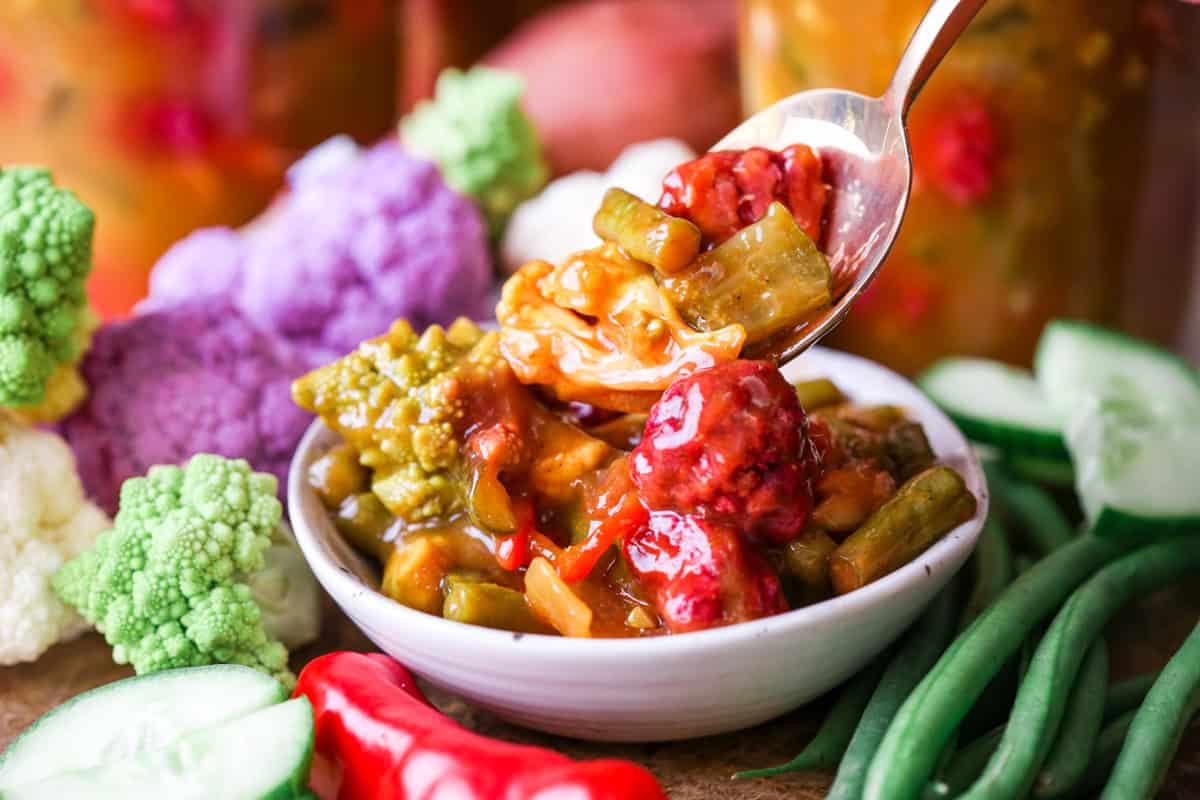
Why You’ll Love This Homemade Piccalilli
- It’s almost traditional. We keep the regular spiced mustard sauce but add in some curry spices which adds a slightly different flavour profile.
- The sauce is smooth, rich and velvety and clings onto the crisply pickled vegetables.
- Our trio of cauliflower add such a great mix of textures – the Romanesco - and pop of colour thanks to the purple addition!
- Other than the cauliflower it’s very simple with green beans, shallots and firm cucumbers.
- Very easy to make, the most labour intensive bit is the cutting up of the veg.
- Makes 4 good sized jars so you can gift a couple away.
- It’s gluten-free. Most supermarket piccalilli contains wheat flour but we use cornflour instead.
Ingredients Needed
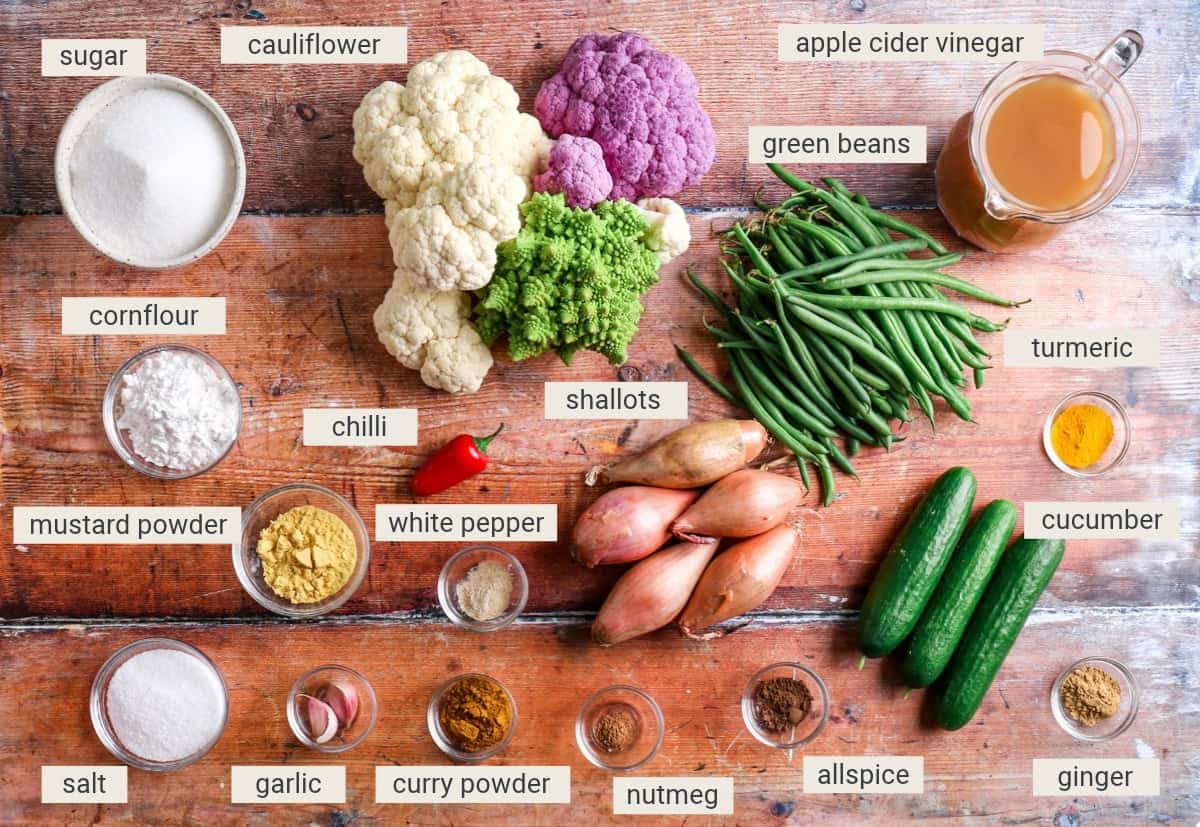
Cauliflower. We use a trio of cauliflower. White cauliflower, Romanesco and purple cauliflower. I love the added texture and colour this mix brings. You can absolutely just use white cauliflower.
Other vegetables. I use a mix of green beans, cucumbers and shallots. You could also swap some of the beans and cucumbers for carrots, runner beans or courgettes.
Red chilli. I just use one red chilli but if you want a bit more heat then add a second. Although I do remove the seeds.
Salt. Most of the salt is used for brining the vegetables overnight which gives them some added crunch. Nothing worse than a soggy piccalilli.
Apple cider vinegar. The apple cider vinegar I use has the mother and I buy it in bulk for all my preserves. It has quite a dark rich colour so that has contributed to the final colour of this piccalilli. However, you can substitute for regular apple cider vinegar or white wine vinegar.
Spices. This piccalilli is heavily spiced with mainly mustard powder but also a good helping of curry powder. I just love that flavour angle. We also ad in a little turmeric, ginger, nutmeg and allspice.
Sugar. Just regular white granulated sugar works well here.
Pepper. I like white pepper for the flavour here but you can use black pepper.
Cornflour (cornstarch). We use this starchy flour to thicken our sauce. Regular piccalilli uses wheat flour so by using cornflour we’re ensuring it’s gluten-free.
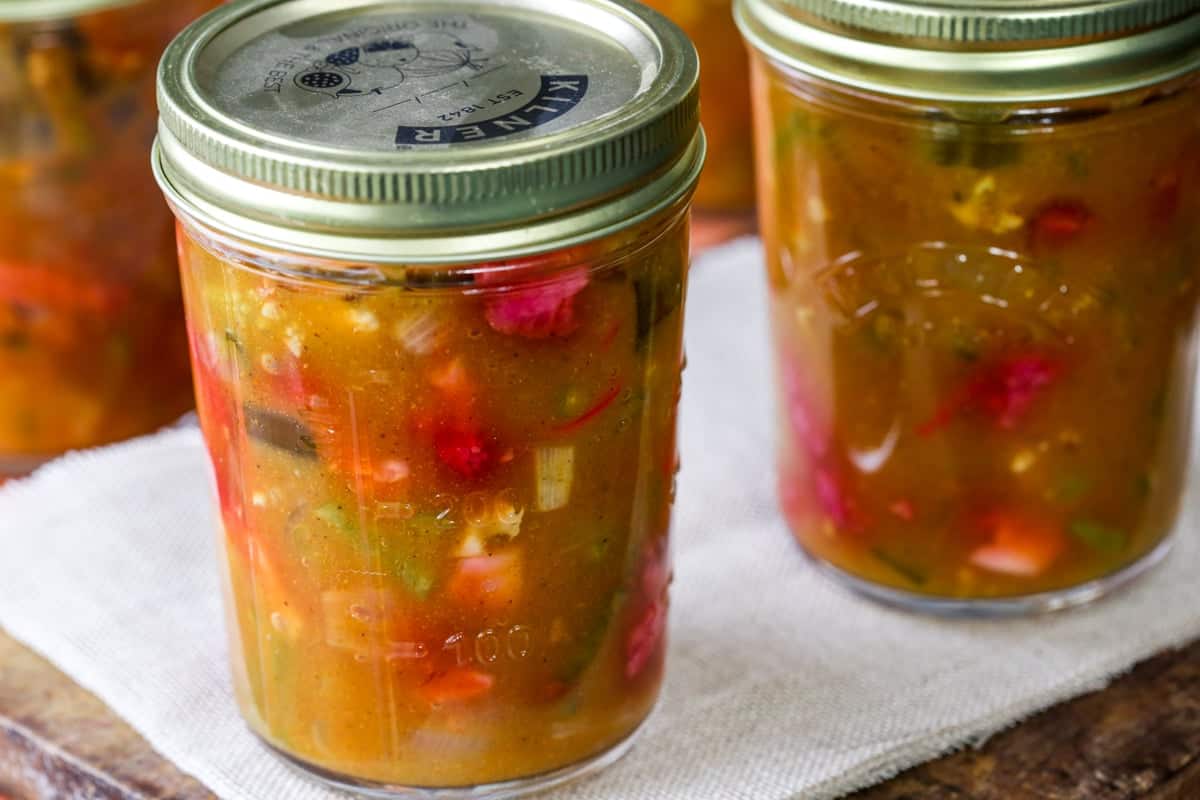
How To Make Piccalilli
For full recipe instructions go to the recipe card at the end of this post.
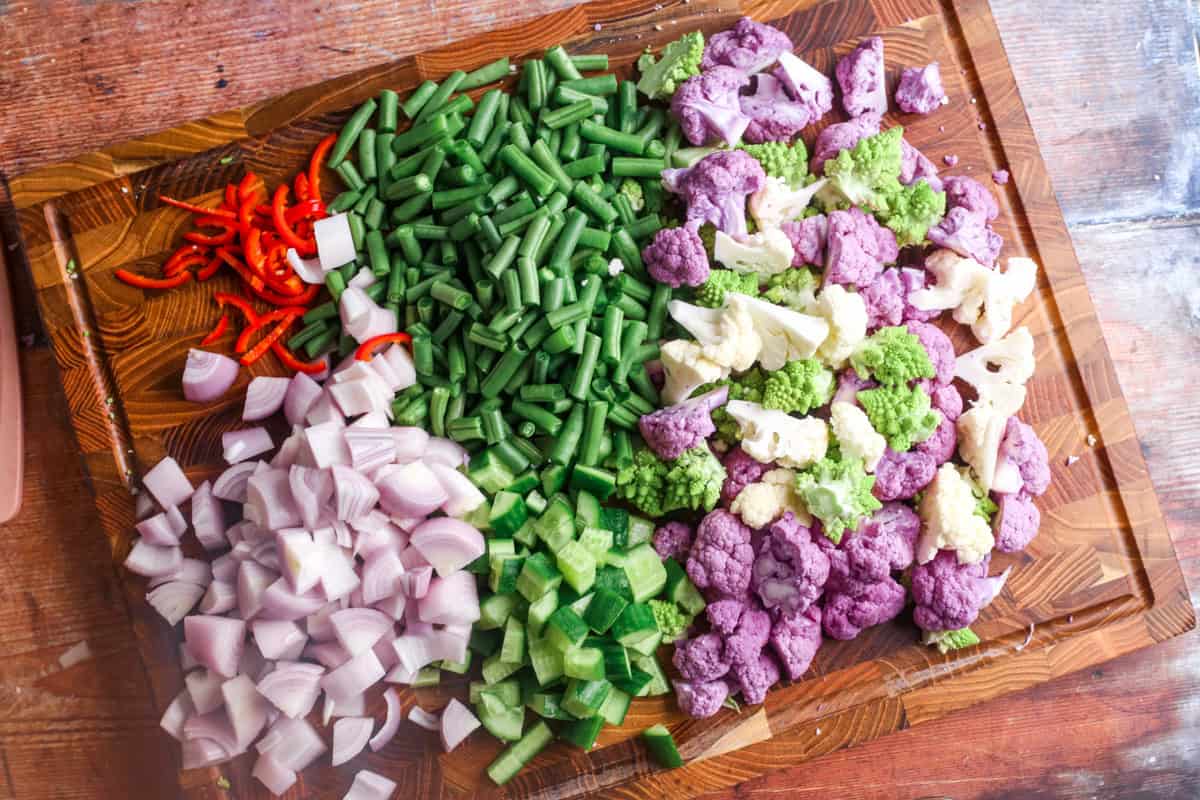
Cut the cauliflowers, shallots, green beans, cucumbers and chilli into bite sized pieces.
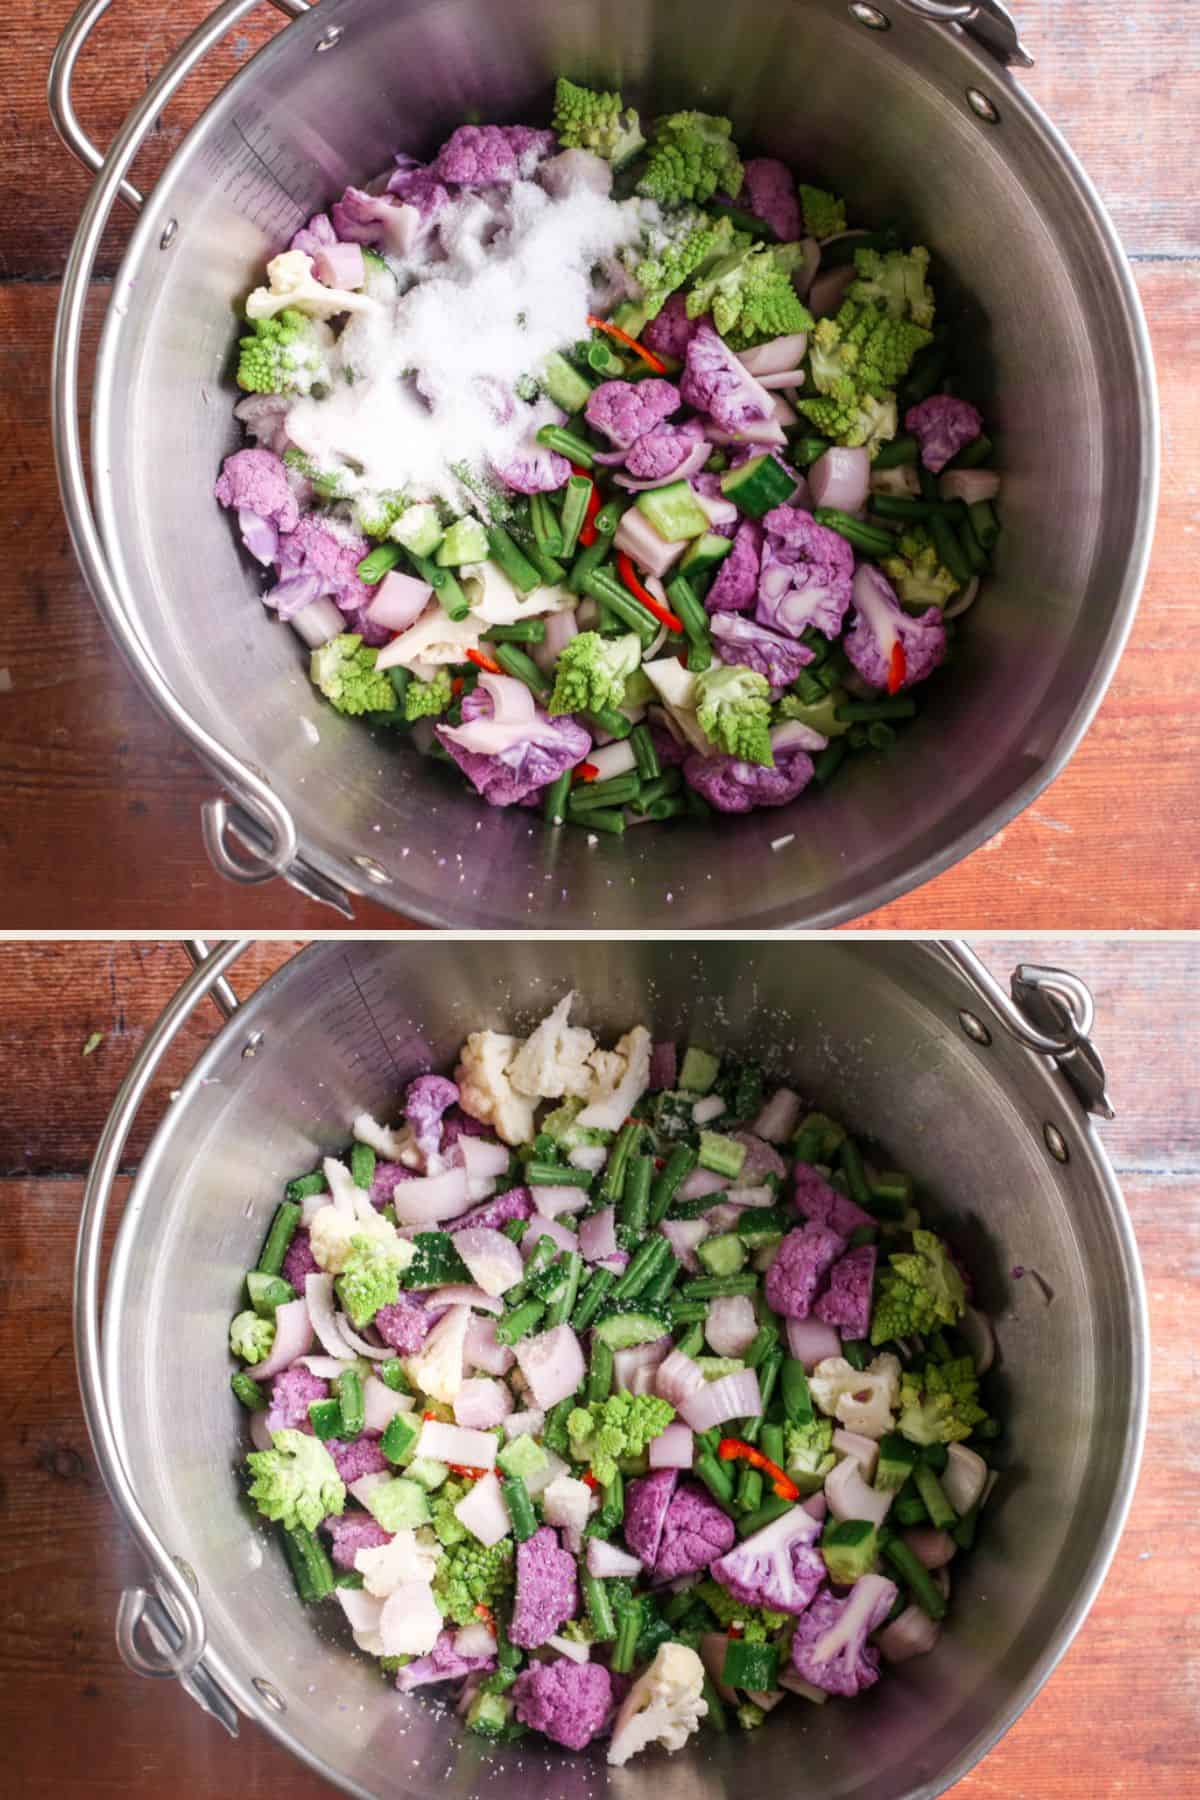
Place in a large bowl and toss with 50g of salt. Cover and place in the fridge overnight.
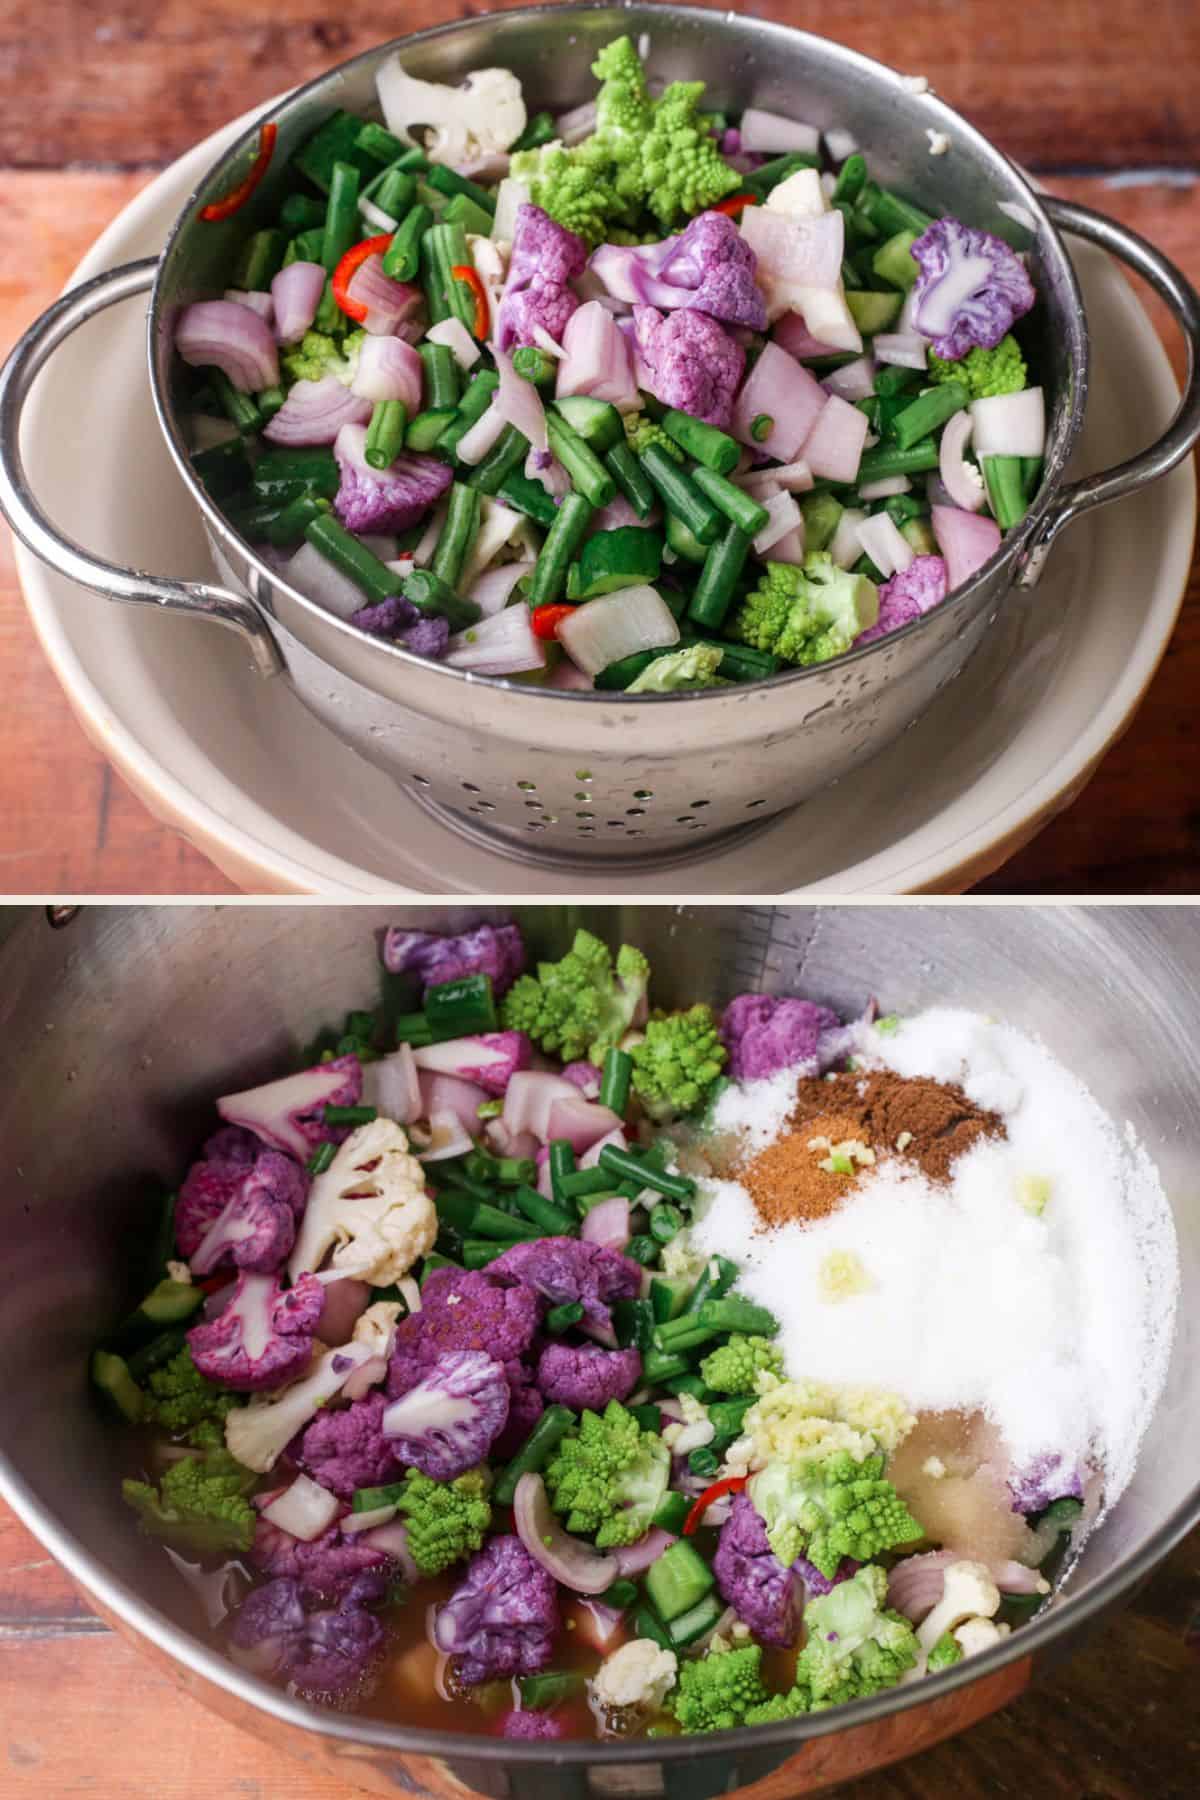
The next day drain the vegetables and rinse with cold water to remove the excess salt.
Place the vegetables in a large preserving pan with the vinegar, nutmeg, allspice and sugar. Add the crushed garlic and the salt.
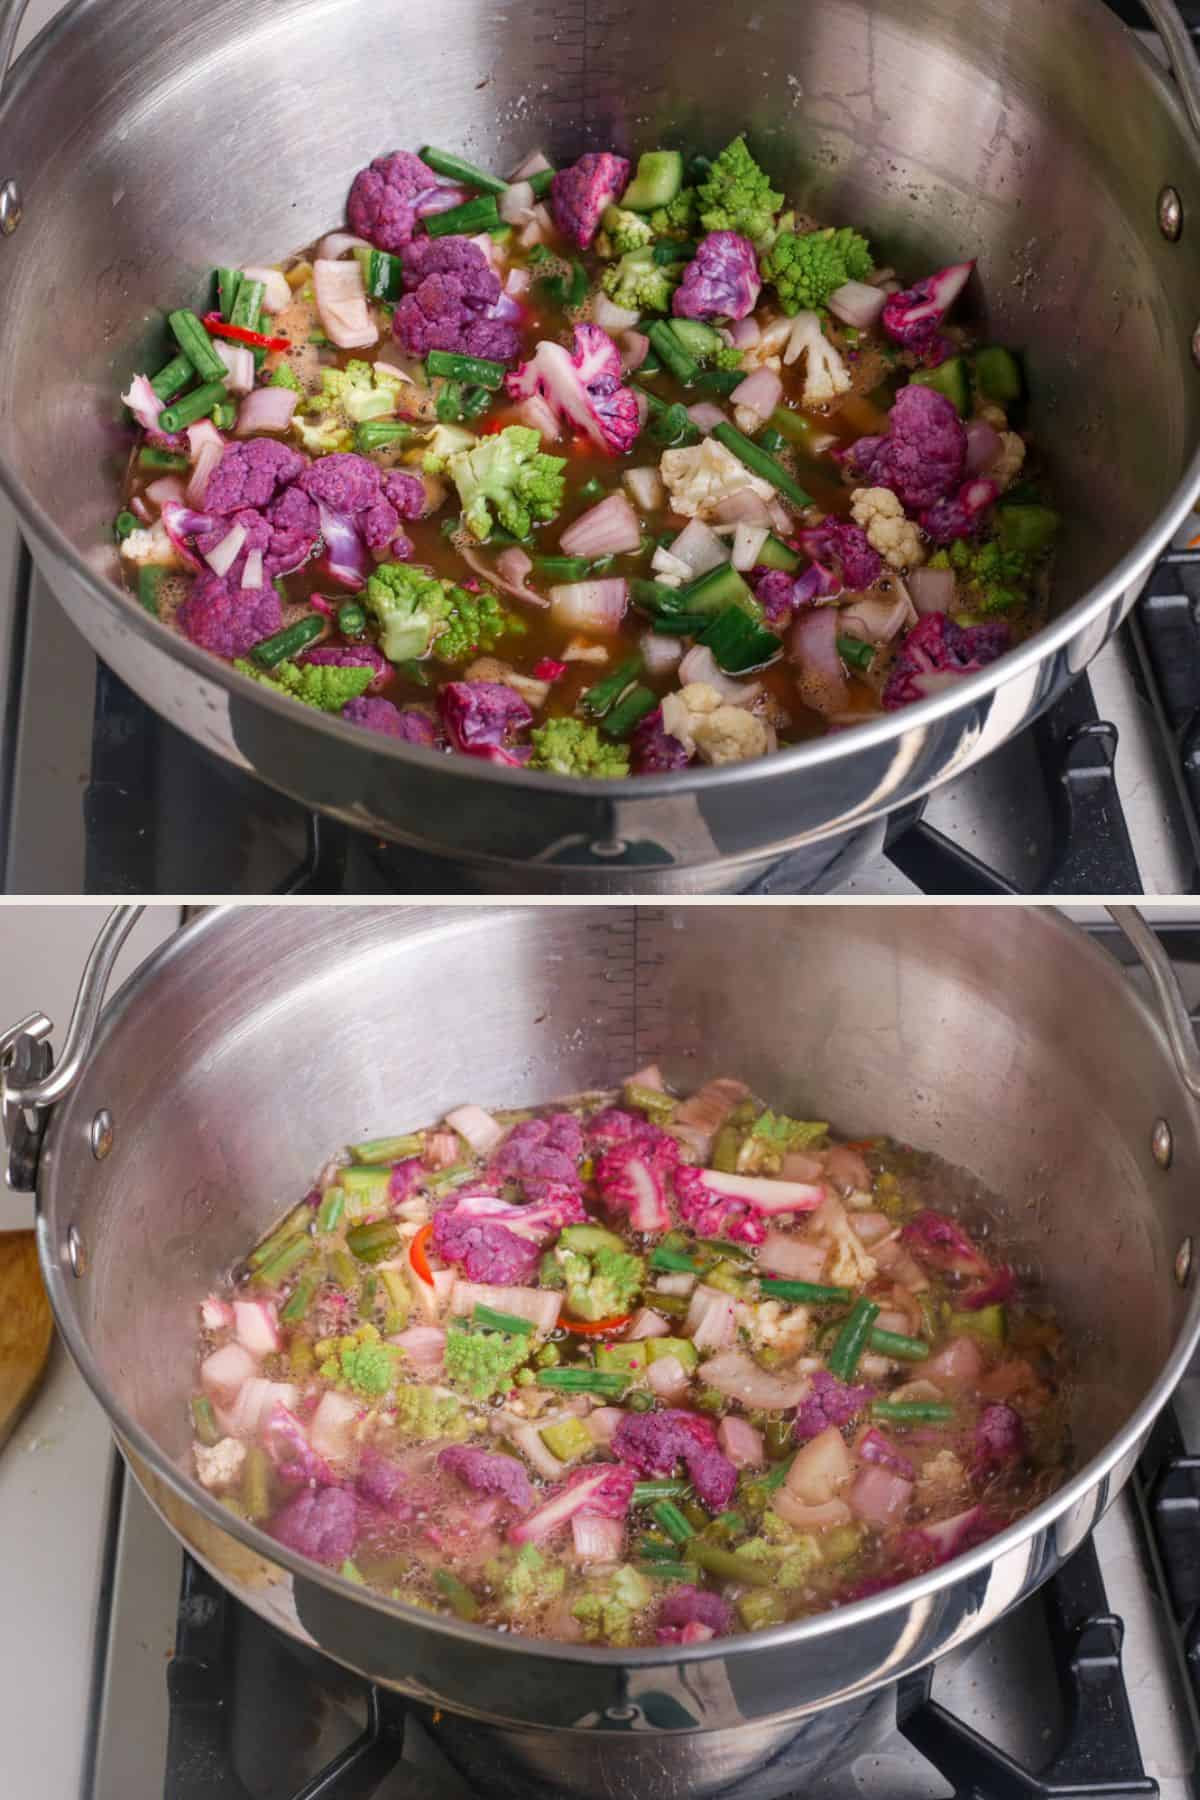
Bring to the boil, then turn down to simmer for 5 minutes.
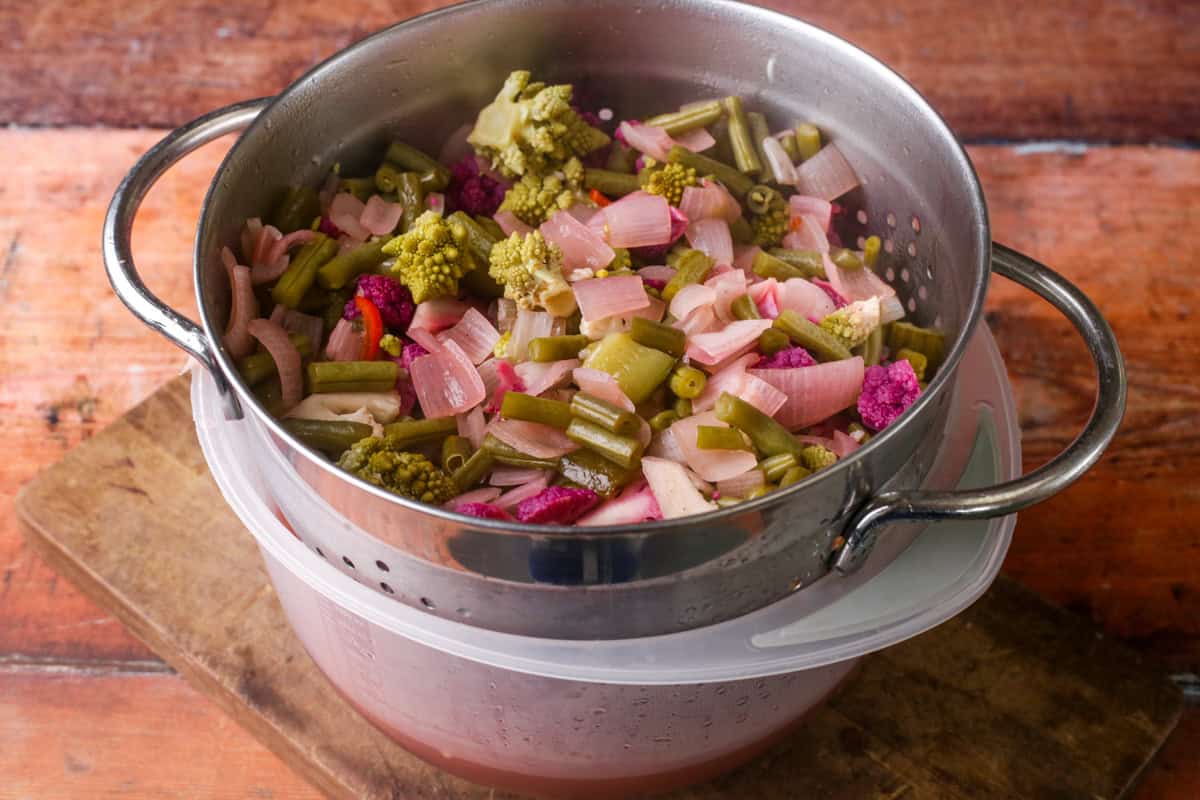
Take off the heat then drain the vegetables into a colander sat on top of a large bowl so you can retain the liquid.
Whisk together the cornflour, turmeric, ginger, curry powder, mustard powder and pepper.
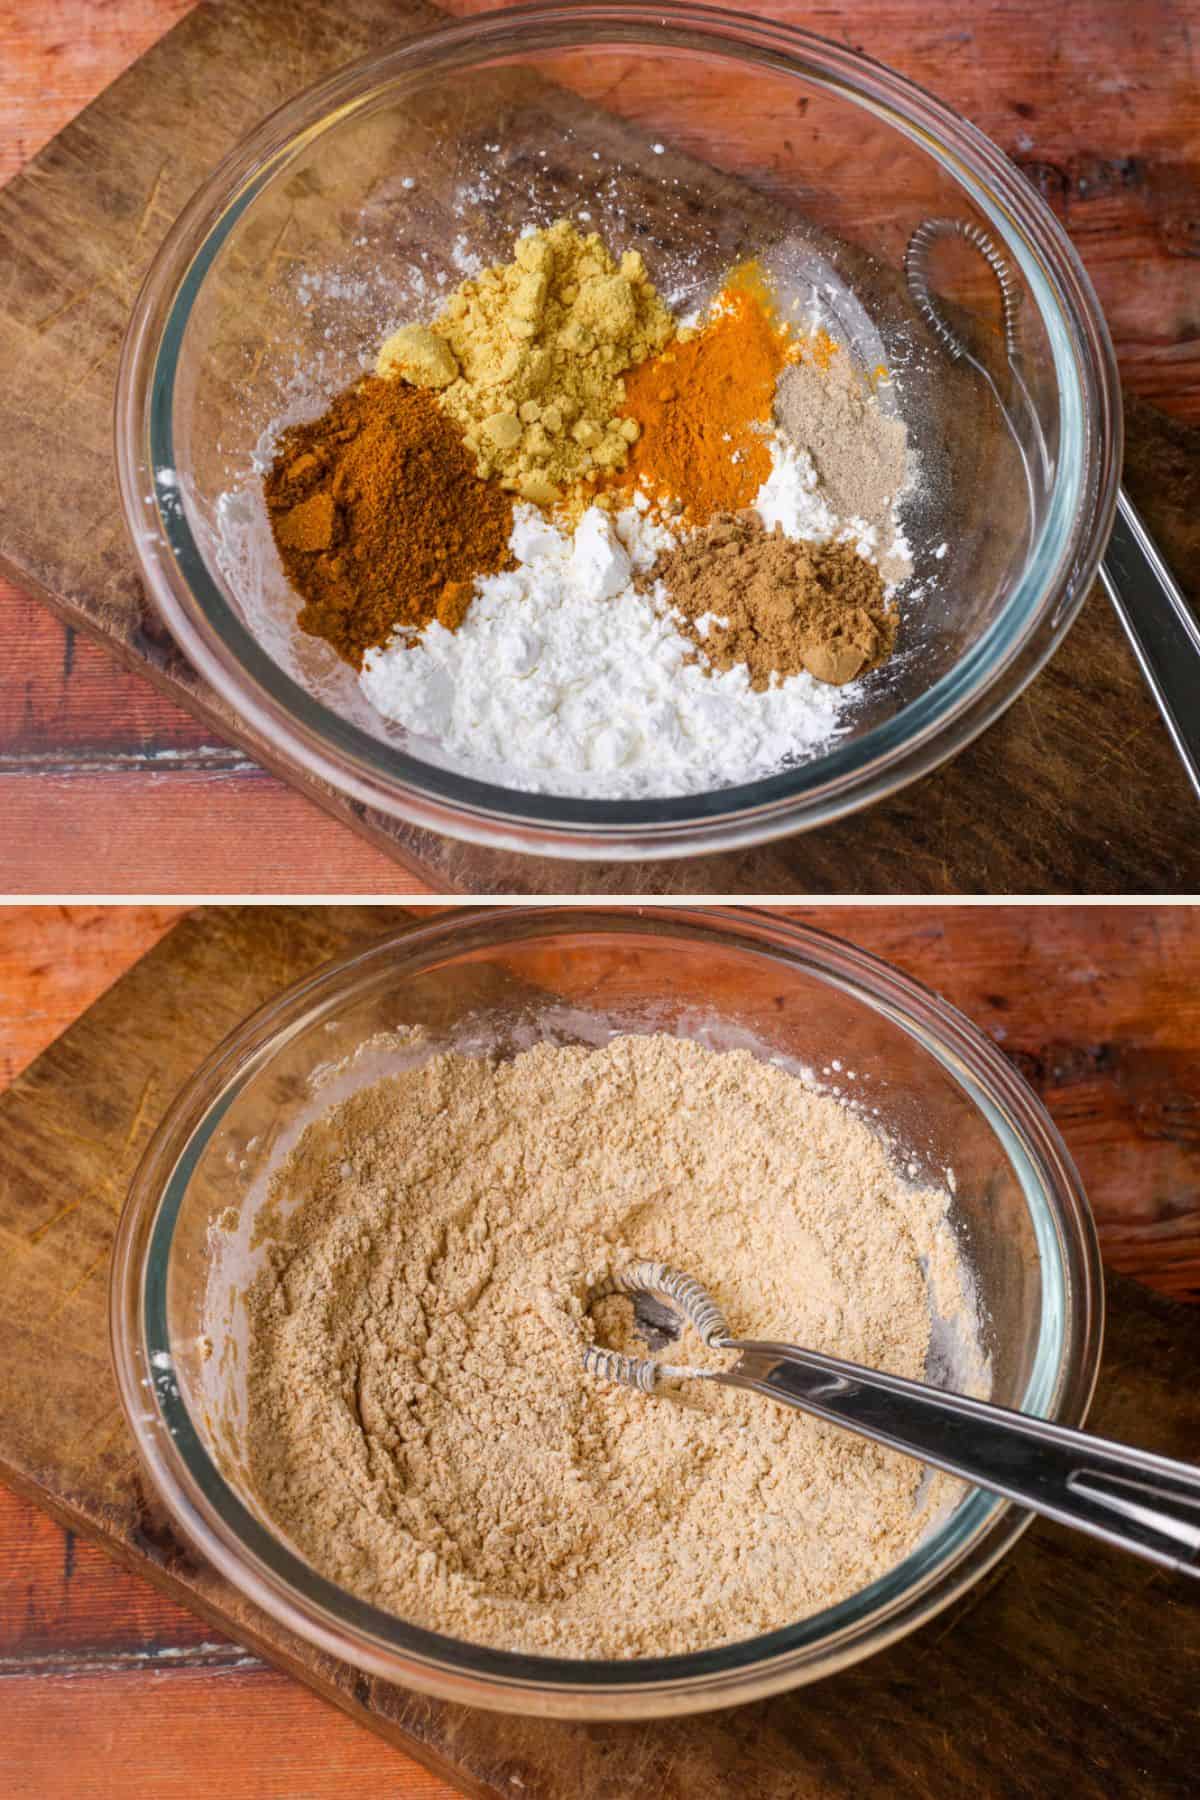
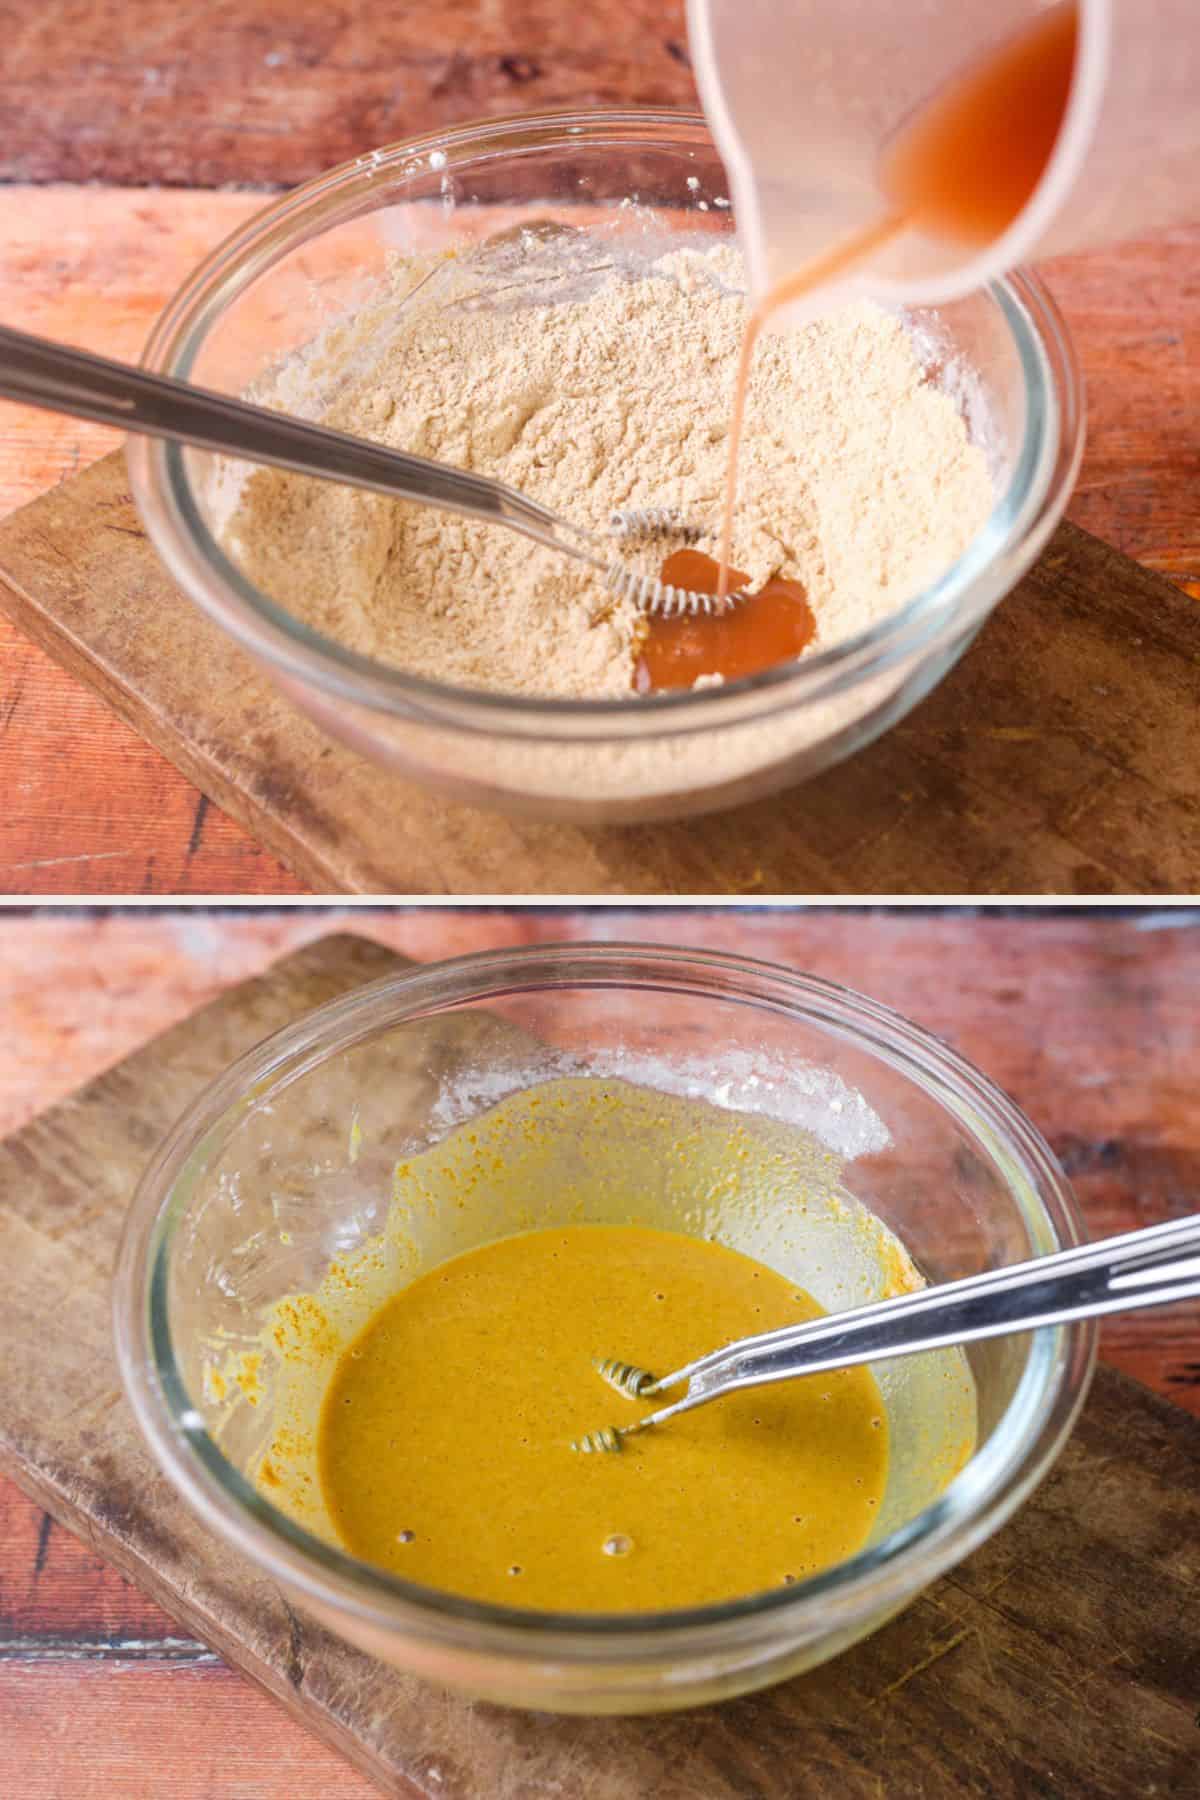
Add 100ml of the reserved liquid and whisk together to make a smooth thick sauce.
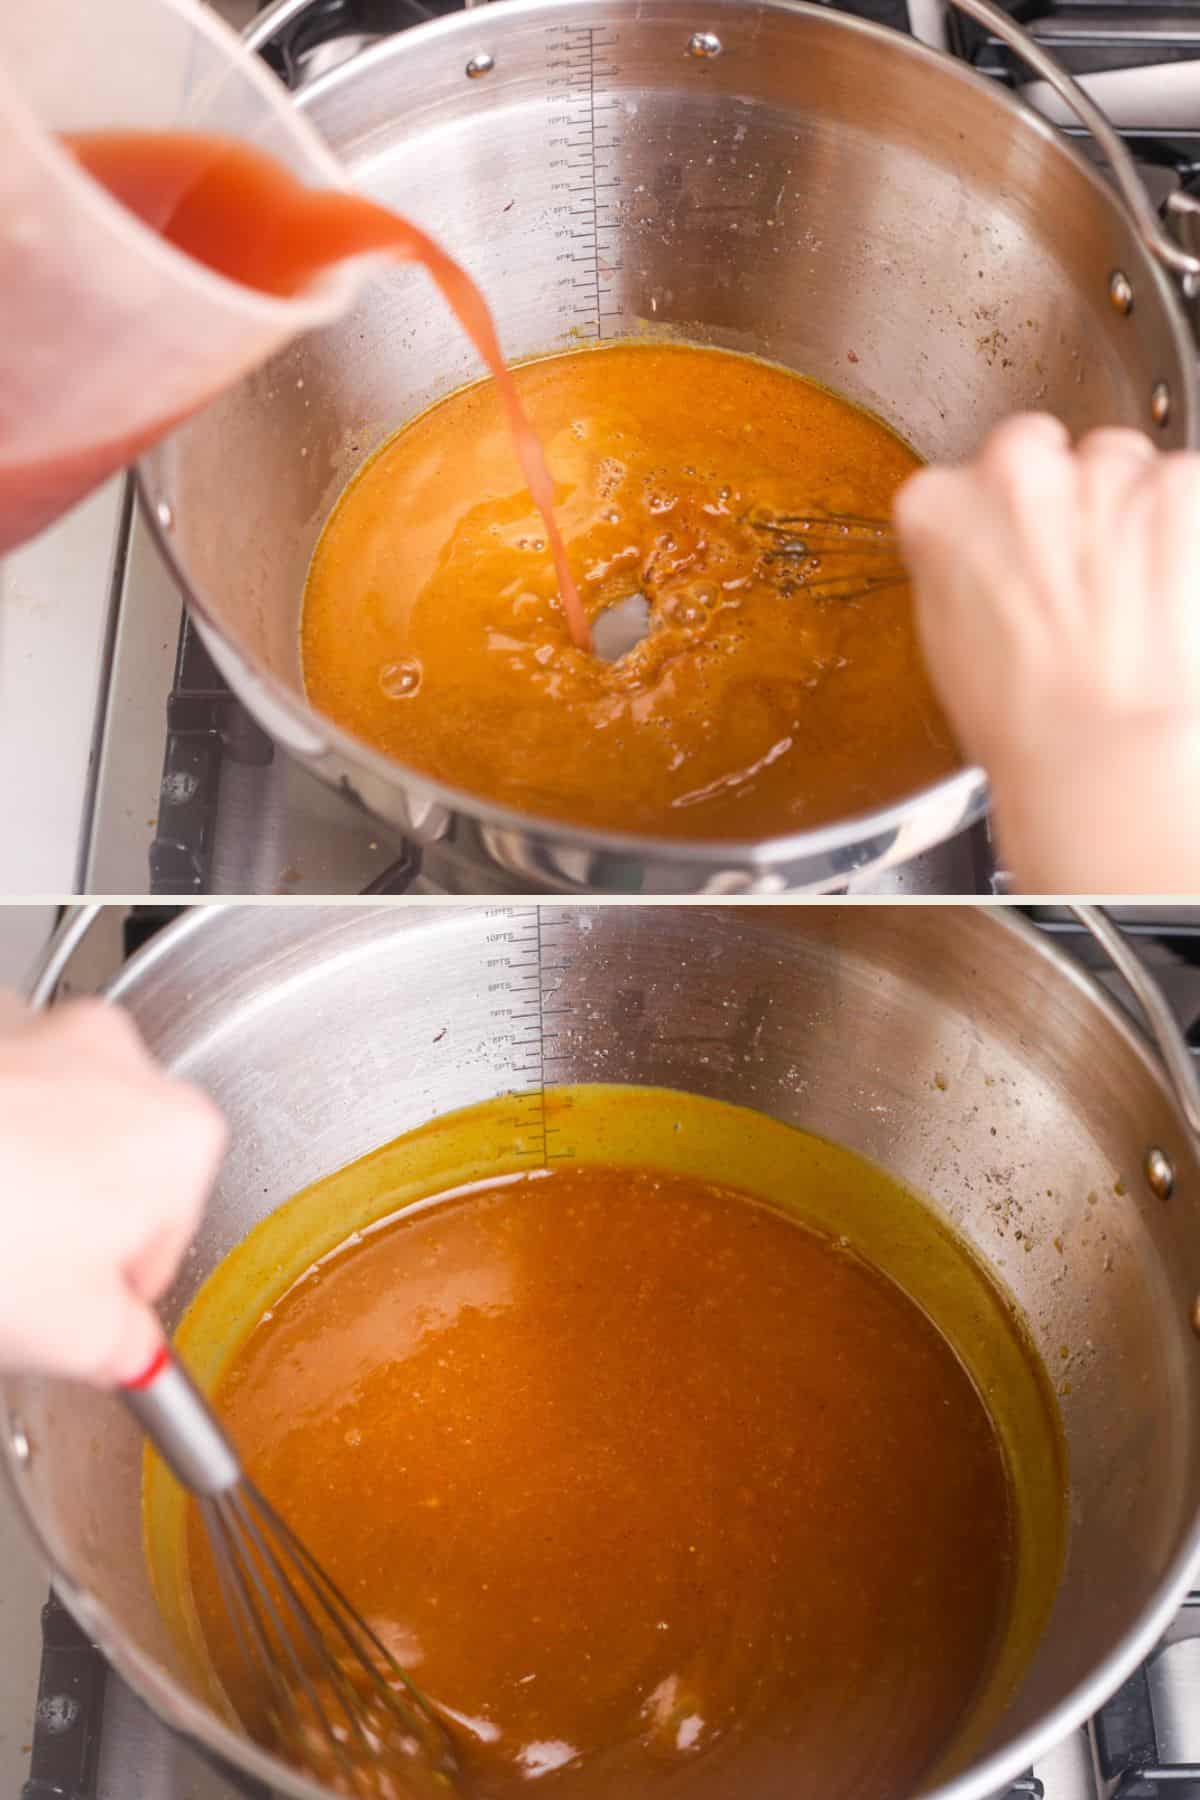
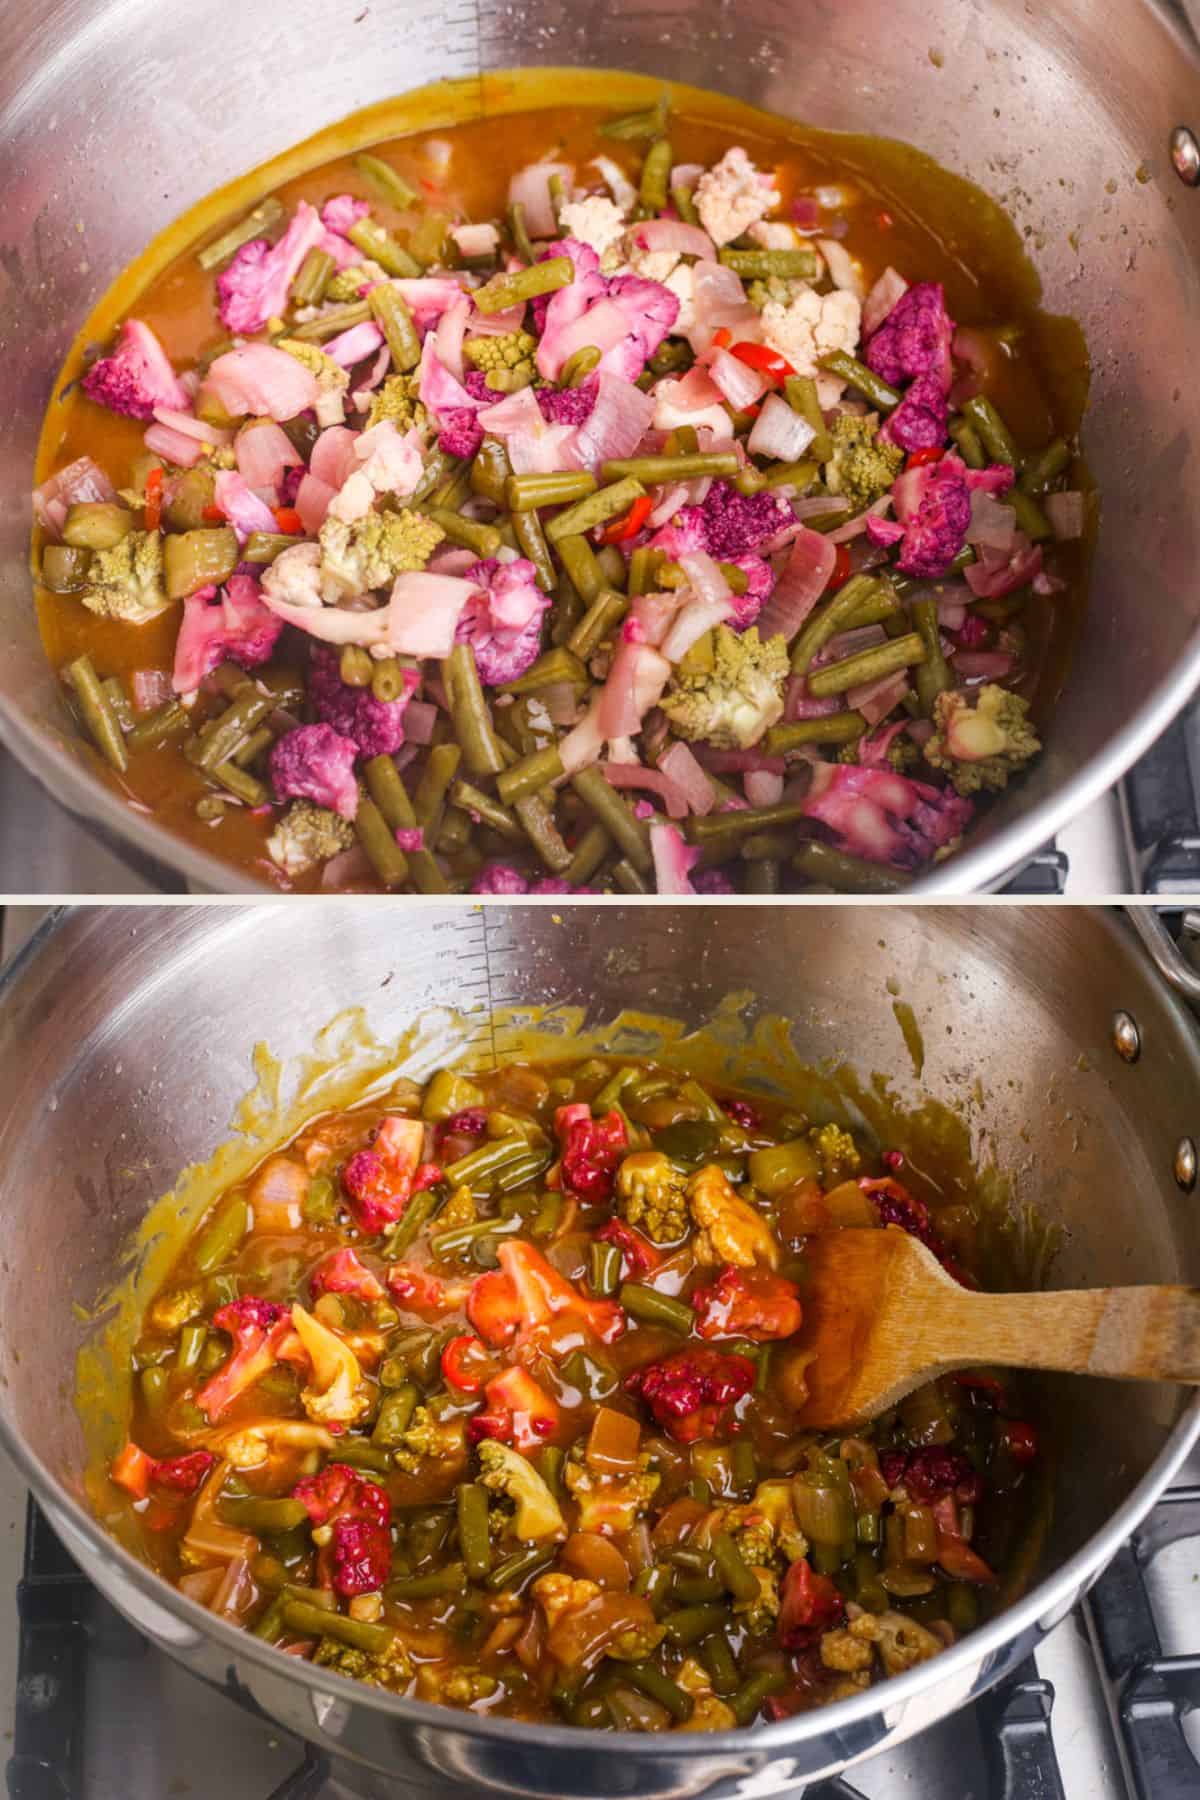
Pour the sauce into the preserving pan and with the heat on very low, slowly pour the rest of the reserved liquid into the sauce and simmer until thick and smooth.
Add the vegetables back into the sauce, stirring to coat thoroughly then turn off the heat.
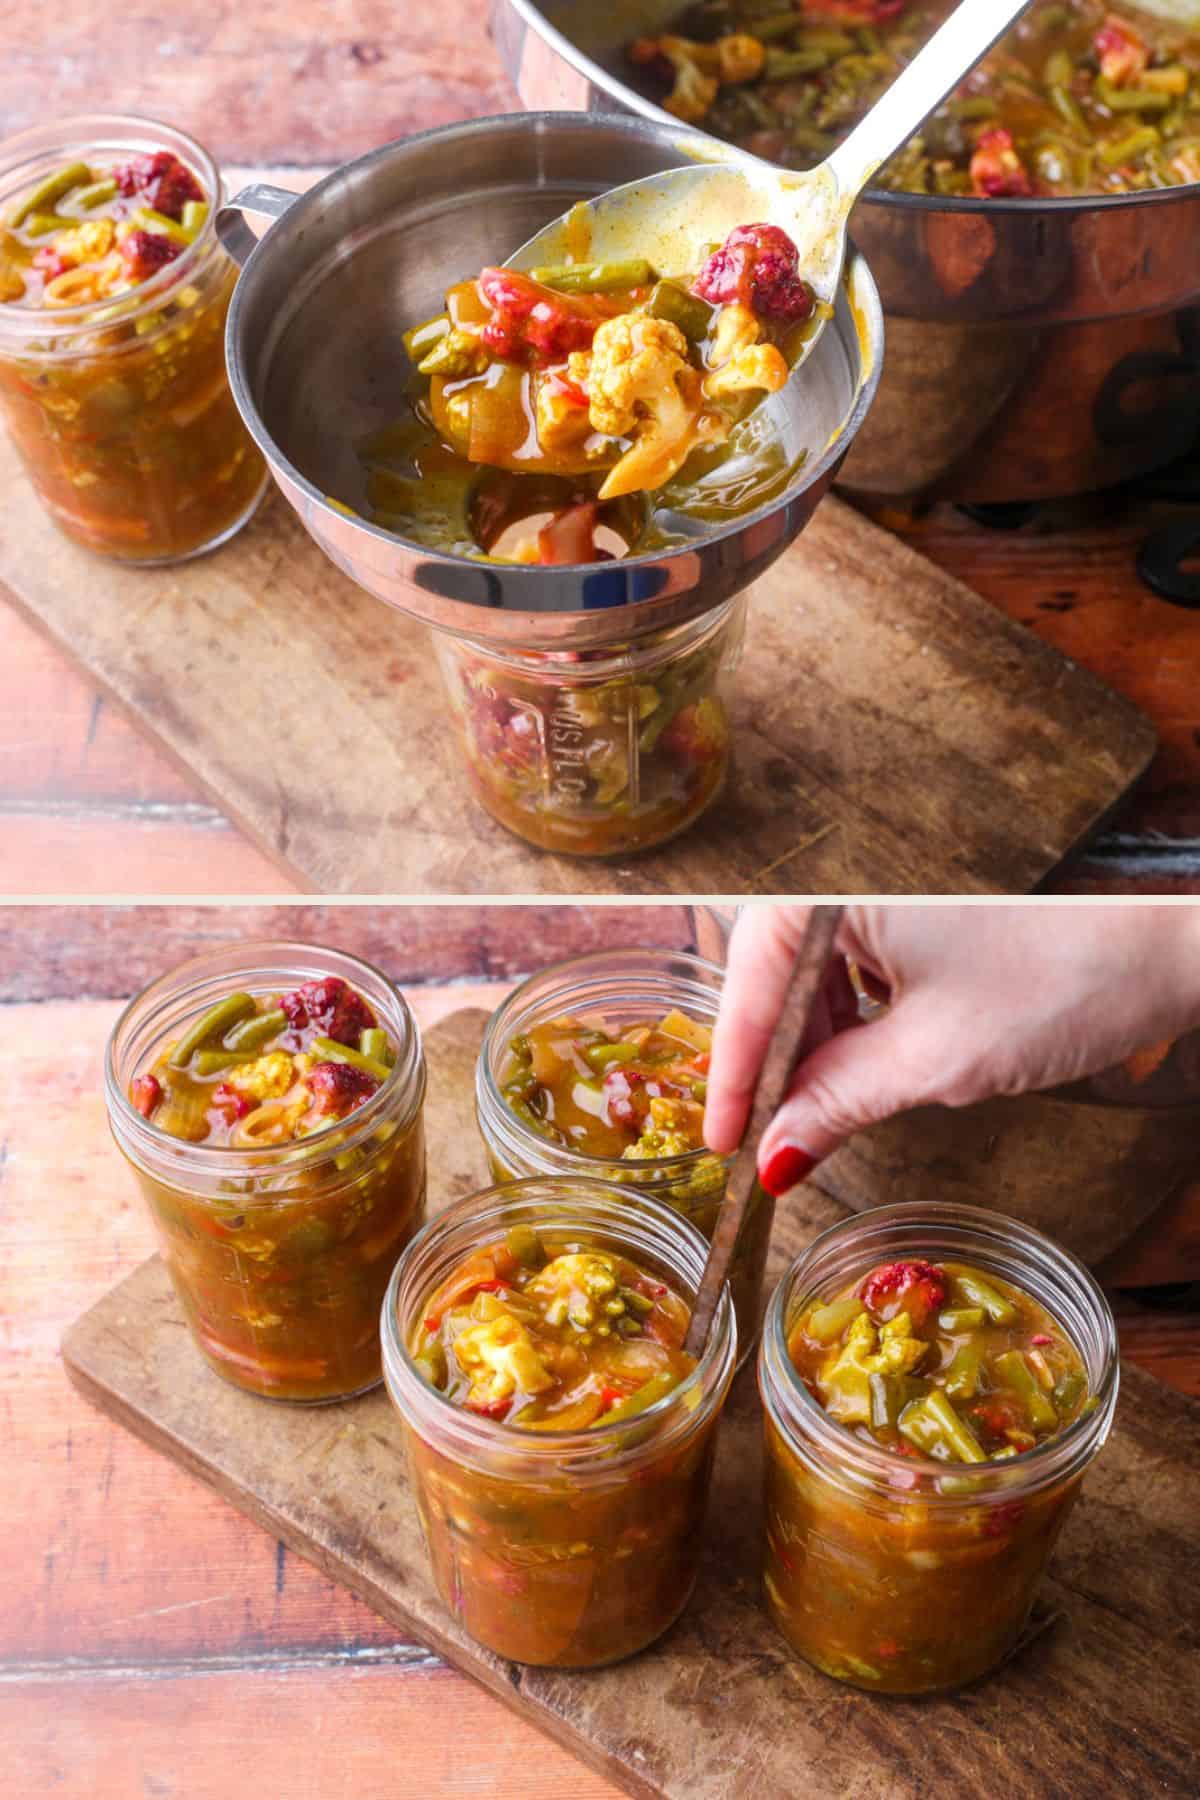
Decant into sterilised jars and store in a cool dark place until needed.
Tips & Troubleshooting
Pre-brining the vegetables with the salt helps them keep their crunch.
Try not to overcook your vegetables. Once they have come up to boil then I have put in 5 minutes as a guide but if you are cutting your vegetables up very small then they may be ready after a couple of minutes. Taste to check the texture – you want them to retain plenty of bite.
It’s best to use a stainless steel pan for this recipe so that the material of the pan does not react with the vinegar. I like to use a maslin pan but you can see my full Preserving Equipment Guide for any other bits and pieces that I think is useful when you’re making this kind of pickle.
Once you have potted your piccalilli, run a sterilised skewer alongside the edges of the jar to disperse any air bubbles.
The piccalilli can be eaten right away but it’s better to allow it to mature for a 6-8 weeks where the flavour will become fully rounded.
This recipe makes 4 x 350ml jars of piccalilli with just a smidge left over. Make sure the jars and lids are sterilized and for a full explanation on how to do that your jars then visit my Guide To Sterilising Jars For Preserving.
FAQs
The best vegetables to use are the most seasonal ones. Choose firm clean veg that at its best at the time you are making it. Onions (or shallots in this case) are pretty much essential but other than that it’s up to you. Cauliflower, green beans, runner beans, courgettes, carrots, cucumbers or even butternut squash are all good choices.
The piccalilli keeps well in a cool dark place at room temperature away from direct sunlight and is best eaten within 6 months. Once opened store in the fridge and consume within a couple of weeks.
What To Serve with Piccalilli
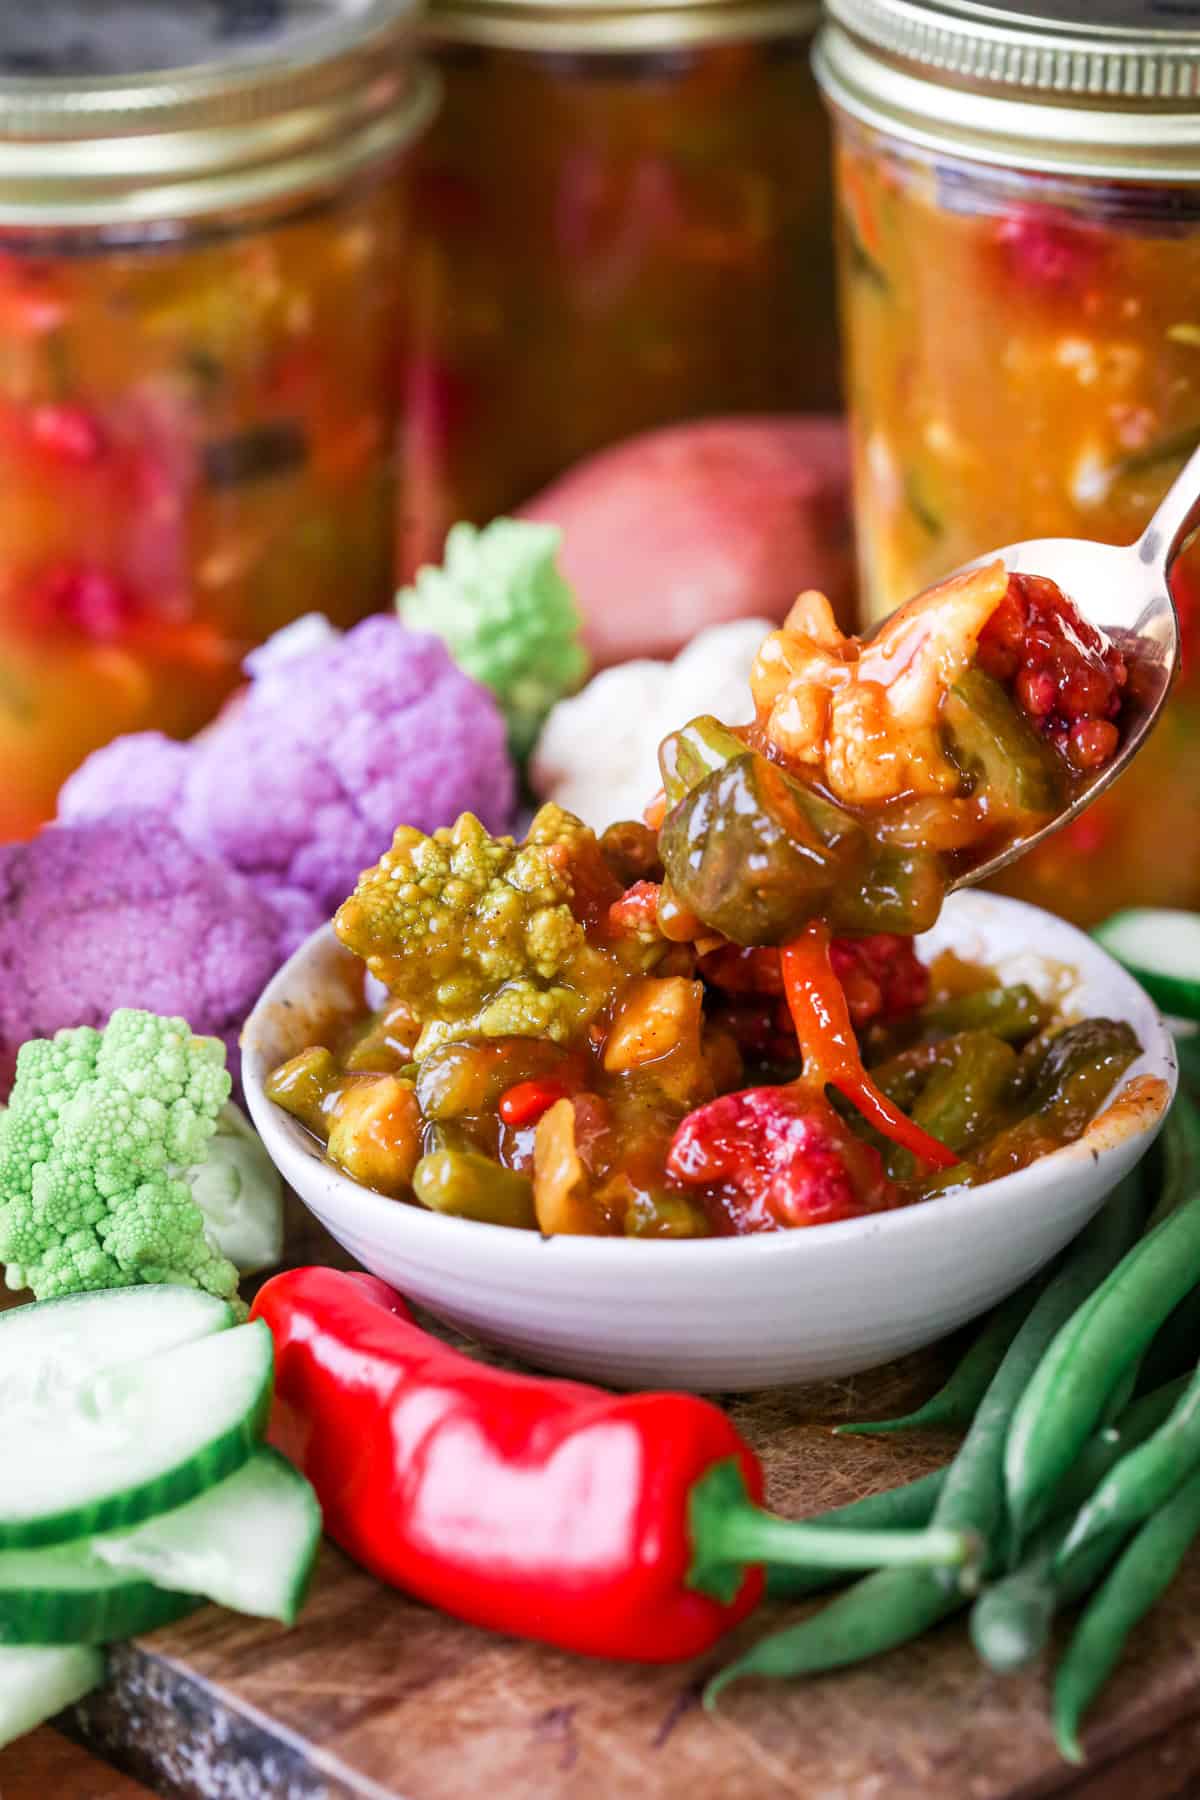
Piccalilli is great as part of a Ploughman’s Lunch or on a Cheeseboard.
Simply perfect accompaniment to Sausage Rolls or Pork Pies.
Heaped inside a cheese toastie or served with a Cheese Quiche.
More Preserves You’ll Love
This Christmas Ale Chutney is a rich sweet malty fruity chutney which tastes delicious over the festive season. It’s sweet, tart and spiced and an ideal accompaniment to cold meats and cheeses.
This Homemade Brown Sauce recipe is even better than the commercial stuff. Made with plums for a full fruity flavour but still with its familiar spicy personality and brilliant on a bacon sandwich.
Enter your email below to get this recipe sent to your inbox plus get new recipes, baking tips, and updates.
Homemade Piccalilli
Ingredients
- 1 kg cauliflower
- 400 g shallots
- 350 g green beans
- 2 small firm cucumbers
- 1 red chilli - sliced
- 50 g salt
- 750 g apple cider vinegar
- ¼ teaspoon ground nutmeg
- ¾ teaspoon ground allspice
- 275 g granulated sugar
- 2 cloves garlic - peeled and crushed
- 1 ½ teaspoons salt
- 1 ½ teaspoons ground turmeric
- 1 ½ teaspoons ground ginger
- 1 tablespoon curry powder
- 1 ½ tablespoons English mustard powder
- ½ teaspoon ground white pepper
- 50 g cornflour - cornstarch
Instructions
- Cut the cauliflowers, shallots, green beans and cucumbers into bite sized pieces then place into a large bowl, along with the sliced chilli (seeds removed) and toss with 50g of salt. Cover and place in the fridge overnight.
- The next day drain the vegetables and rinse with cold water to remove the excess salt.
- Place the vegetables in a large preserving pan with the vinegar, sugar, nutmeg and allspice. Add the crushed garlic and the salt. Bring to the boil, then turn down to simmer for about 5 minutes.
- Take off the heat then drain the vegetables into a colander sat on top of a large bowl so you can retain the liquid.
- Whisk together the cornflour, turmeric, ginger, curry powder, mustard powder and pepper. Add 100g of the reserved liquid and blend together to make a smooth sauce.
- Pour the sauce into the preserving pan and with the heat on very low, slowly pour the rest of the reserved liquid into the sauce, whisking all the while.
- Bring to the boil, then cook for 5 minutes until the sauce is smooth and thick.
- Add the vegetables back into the sauce, stirring to coat thoroughly. Turn off the heat.
- Decant into sterilised jars and store in a cool dark place until needed.
Notes
Nutrition

Best picalli I’ve ever tasted
Hi Georgina
Can you half the ingredients and still get the same results please? I’m also making your courgette relish and my great grandma’s marrow chutney and my husband’s not too keen on chutney or piccalilli
Thanks
You will just need to be careful that the ratio of vinegar and sugar compliments the amounts of vegetables so that they are preserved correctly.
Which winter christmas fairs are you doing this year in December preferably.
All my dates for my market stall are kept updated at this link
I'm so looking forward to the winter fair. Family orders for the piccalilli are already coming in!
Me too! The Stroud Green WInter Fair is definitely the start of Christmas for me.
Hello Georgina, I'm looking forward to giving this recipe a go. But first I'd like to know if the veggies and salt go in the bowl with water overnight. You don't explicitly mention water, but say to drain and then rinse the veggies the next day. So are the vegetables in salt water (brine) overnight? Thanks for clarifying. Best wishes, Kathryn
Hi Kathryn, there is no addition of water. What you'll find though is the salt will draw water out of the vegetables when you leave them overnight so there will be a pool of water at the bottom which you will need to drain, and then rinse the excess salt off.