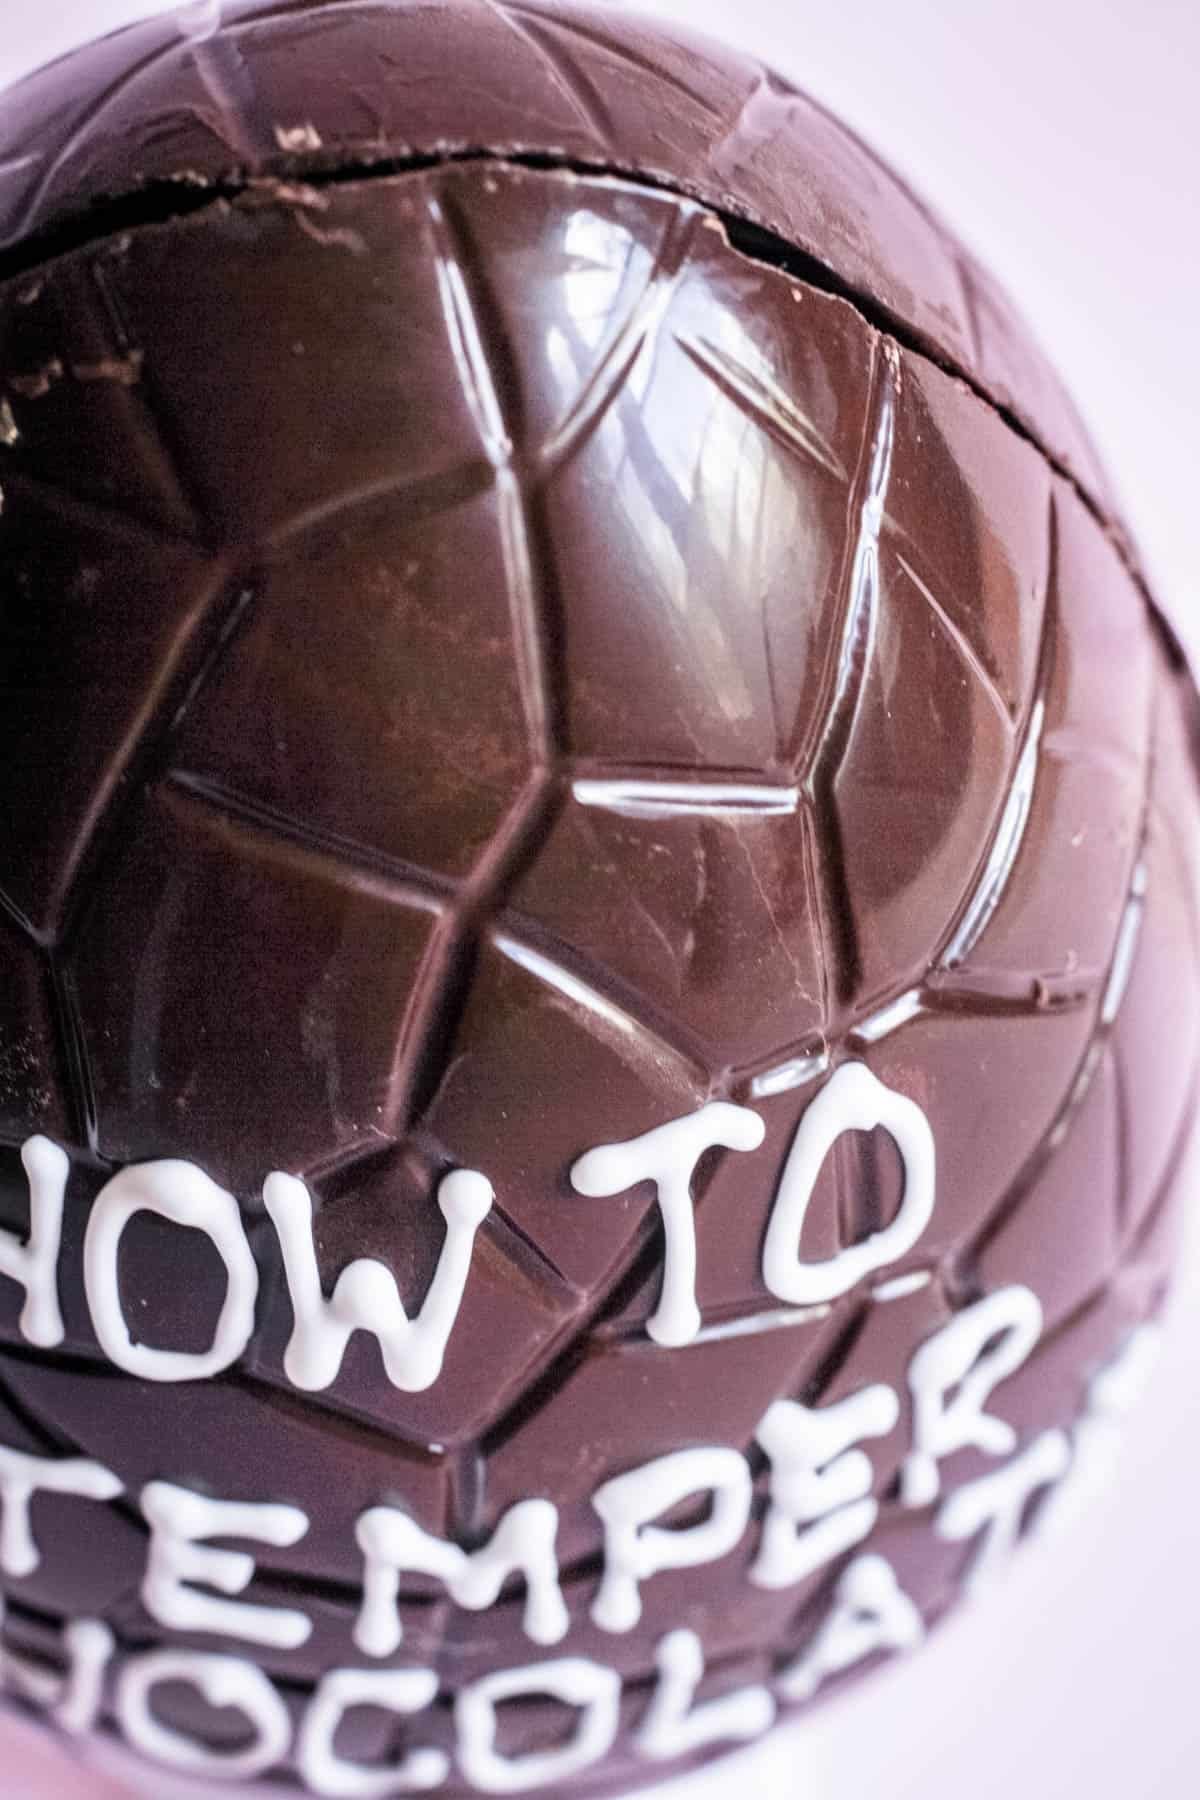
How To Temper Chocolate At Home
This post contains affiliate links. Please read my disclosures.

Learn how to temper chocolate at home using precise temperatures for dark, milk and white chocolate so you can make your own chocolate truffles, chocolate bark and hand filled chocolates. From seeding to microwave methods, expert tips and temperature charts for glossy snappy chocolate.
Making your own chocolate truffles, chocolate bark and hand filled chocolates is a glorious indulgence. If you want them to look and taste just like the ones you might buy in a fancy chocolate shop then you will need to know how to temper chocolate to create a beautifully glossy appearance and crisp snap. Yes you can do this at home and it’s easier than you think. Here is a step-by-step process so you can master the technique for stunningly simple homemade chocolate.
Not only can tempering chocolate seem intimidating if you’ve never done it before but it’s also a bit of a hassle and can be overwhelming with all the different techniques on offer.
Let’s break down these obstacles together and I guarantee once you have tried it then you’ll be relieved how easy it can be once you find a technique that suits you.
You don’t need any fancy equipment although if you are just starting out then a digital thermometer is a great idea so you can get the feel of the different temperatures you are working with. There are other methods which we discuss below but they can take longer to get to grips with.
I’ll take you through the easiest way to temper the chocolate, how much you need to get started and give you troubleshooting tips all along the way.
So, let’s melt some chocolate!
Do You Always Need to Temper Chocolate?
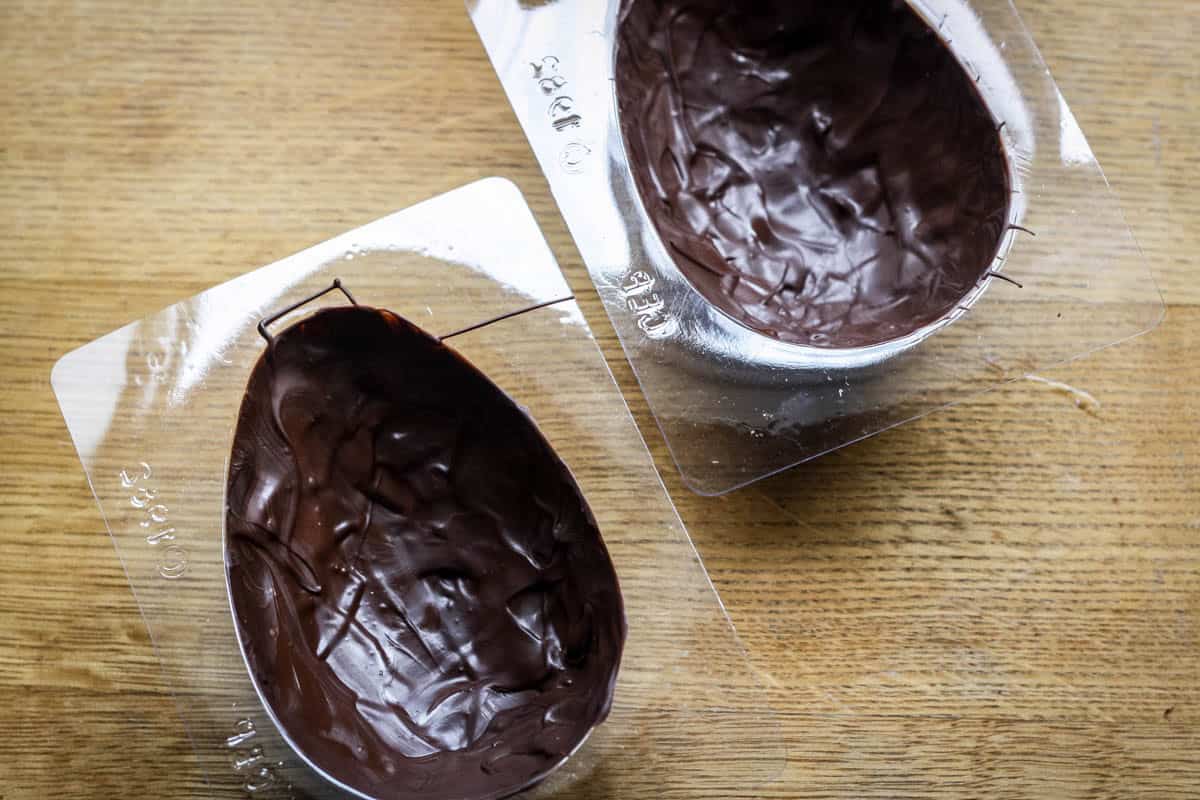
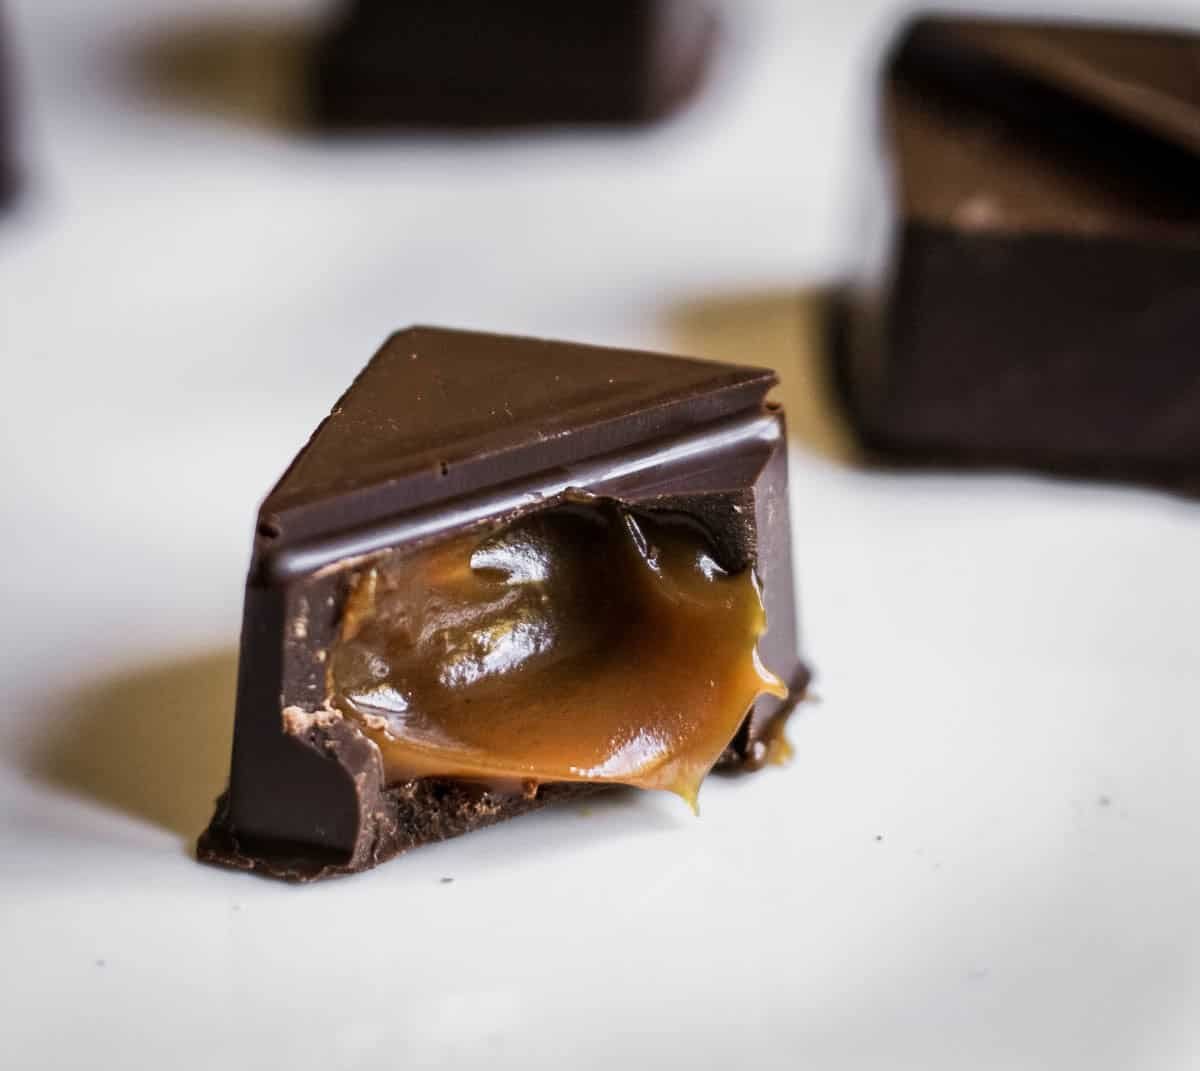
Chocolate does not need to be tempered if you are melting chocolate for everyday use such as adding into cakes, cookies or making ganache and buttercreams. However, if the finished look and texture of the chocolate is important, such as if you are coating truffles, creating chocolate cages for your cakes, drizzling chocolate for decoration or making Easter Eggs, chocolate bark or hand-filled chocolates then you will need to temper the chocolate.
What Does Tempering Chocolate Mean?
Chocolate bars we buy from the supermarket have already been tempered but if we melt the chocolate we are taking it out of temper, which means that the crystallisation of the cocoa butter will run amok. We need to take these crystals into line by regulating the temperature of the chocolate during the melting process. You can recognise tempered chocolate by its shiny appearance, snappy texture and smooth and creamy mouthfeel. Think of the lovely glossy shine of an Easter egg right before you break it apart with a glorious crack.
Shelf Stability
Another reason for tempering chocolate is to improve its shelf life. The controlled crystalline structure means that the cocoa butter will solidfy into a form with a higher melting point so the chocolate can withstand room temperature fluctuations more. This will also provide protection against oxidation meaning the chocolate will last longer.
What Happens If You Don’t Temper Chocolate
Without tempering, chocolate will soften and bloom, giving it a dull white streaky appearance and with no satisfying snap, the chocolate will crumble miserably. It also won’t have that silky smooth mouthfeel so won’t be the chocolate you recognise.
Chocolate Tempering Methods
There are three main methods for tempering chocolate and you can decide which is best for you depending on how experienced you are and what equipment you have at your disposal.
Marble Slab Method
The marble slab method gives a more consistent result if you are dealing with large amounts of chocolate but it does require you to have a large marble slab or countertop. This method requires you to cool and move around melted chocolate on a marble surface which regulates the temperature and crystal formation of the chocolate.
This isn’t the easiest method to get to grips with if you are new to tempering chocolate so the rest of this article will focus on the next method – the seeding method.
Seeding Method
The seeding method is the method I prefer and is more suitable for tempering chocolate at home. You can work with less chocolate and have more control, plus you are not pouring chocolate all over your domestic kitchen counter. Instead you melt your chocolate in a double boiler and add small pieces of already tempered chocolate (seed chocolate) to promote a stable crystal formation in the melted chocolate. The regulation of temperature control in this method is key and a digital thermometer is necessary for a beginner.
Microwave Method
It is possible to temper chocolate in the microwave by melting chocolate in short intervals. It is very similar to the seeding method except you are melting your chocolate in the microwave rather than over a heat source in your double boiler. Once you are comfortable using the seeding method then you like to try using the microwave and melt the chocolate in short bursts, but you will still need a digital thermometer and a chocolate seed to ensure the chocolate is melting at the right temperature throughout the process.
Tools and Equipment
It depends on which method you are using to temper your chocolate as to what tools you need.
However, if you are a beginner then I think that the seeding method is the most reliable and foolproof way and then you only need two pieces of equipment:
Double boiler. If you already have a double boiler or bain marie for melting your chocolate then I recommend using one as you’ll be using a minimum of 300g chocolate and the temperature regulation can be more difficult if you are using a glass bowl set over simmering water.
Digital thermometer. The only bit of special equipment required for the seeding method is a digital thermometer. I definitely have a preferred instrument – my thermapen (thermapen.co.uk) – as it reads the correct temperature immediately. Some of the cheaper digital thermometers do have to be held in the chocolate for thirty seconds or so to confirm an accurate reading which could be the pivotal amount of time to drive up your temperature and lead to over-tempering, plus they have annoying wires which really get in the way. Thermapens are not the cheapest but they come in different colours and if you shop around some of the colours are strangely cheaper than others.
What Kind of Chocolate Do You Need?
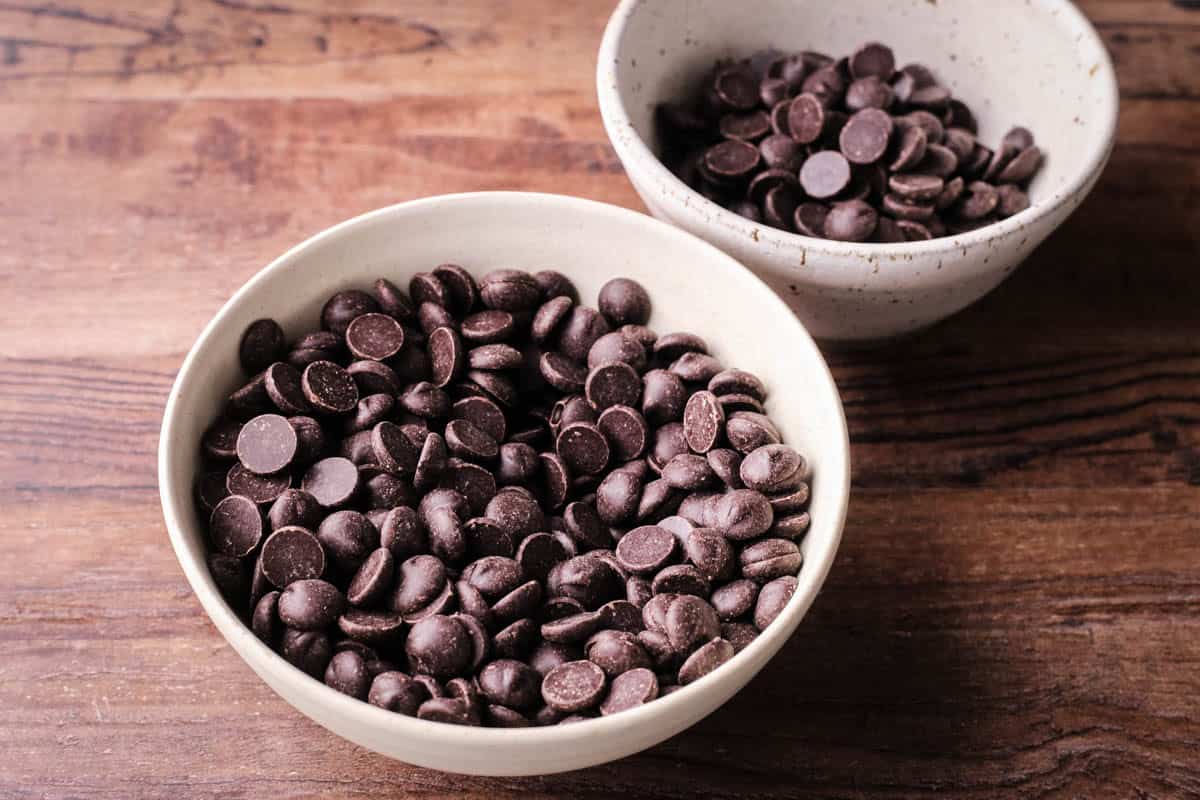
I recommend buying good quality chocolate rather than relying on Green and Black bars, mainly due to the cost, as it is so much cheaper to buy chocolate in bulk online than in single bars from the supermarket. Also this kind of chocolate designed for proper chocolatiers will often come in the forms of couverture chocolate chips (these are not your regular chocolate chips for baking).
These chocolate chips will melt much quicker which will really help when you are adding your seed back into your chocolate. Now, you also can’t buy just any old chocolate chips, if you are spending your afternoon tempering chocolate and covering some delicious chocolate truffles then you really want the chocolate to be of the utmost quality with high cocoa butter content.
Of course you can spend a fortune with this as different brands can be very highly priced, but a good place to start is Belgian Callebaut chocolate chips as they are reasonably priced and have good cocoa butter content. I buy my chocolate online from www.chocolatetradingco.com as they have a very good selection. The different types of chocolate, dark, milk or white work to different crystallisation temperatures, so do read be careful that you follow the correct method for the correct type of chocolate.
How Much Chocolate Do You Need?
The minimum amount of chocolate you can temper successfully is about 300g, any less and you will have difficulty getting an accurate temperature reading. More chocolate means the temperature gauge can fully immerse in the chocolate, plus you will have more control with the more chocolate you are handling.
How To Temper Chocolate With The Seeding Method
For full recipe instructions go to the recipe card at the end of this post.
These instructions are for tempering 70% dark chocolate. For alternative types of chocolate see the chart underneath for understanding the different timings.
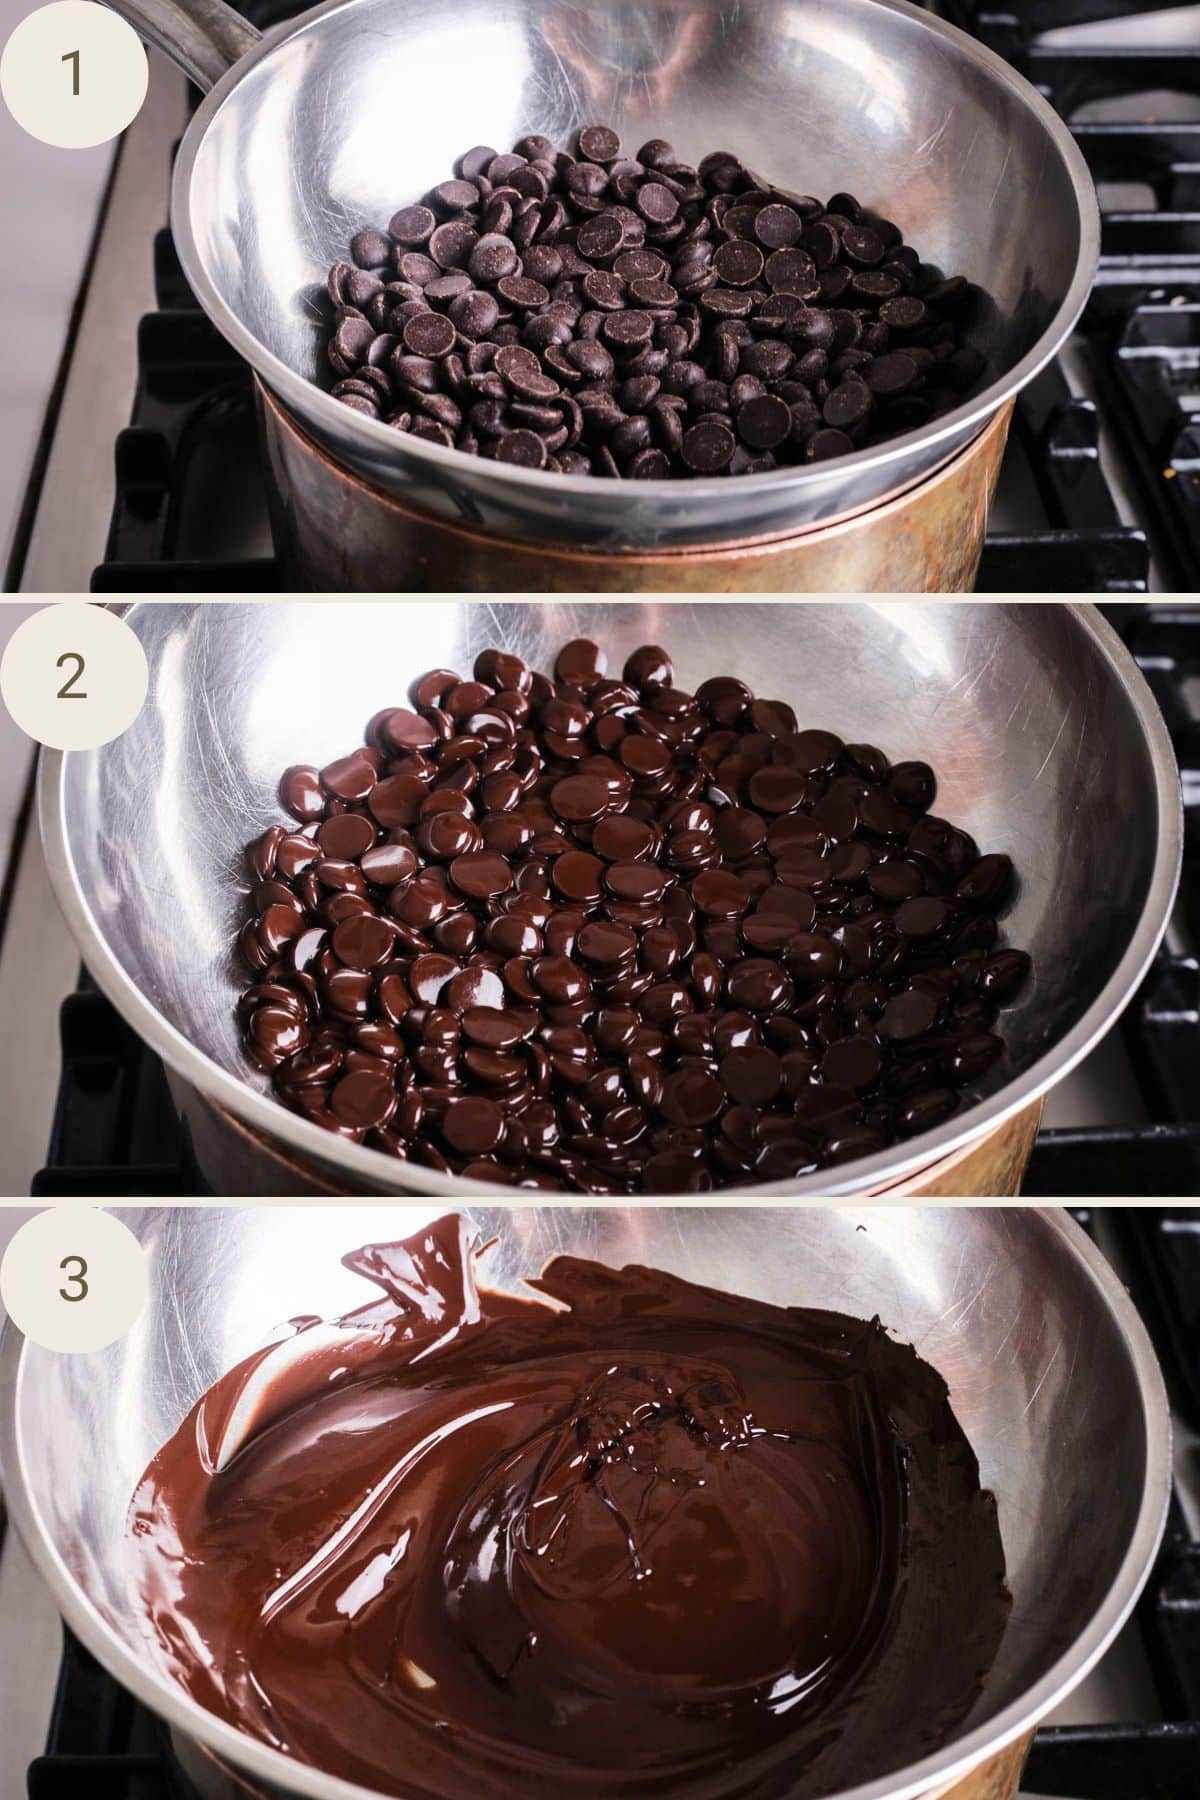
Measure and set aside ⅓ of the chocolate. Melt ⅔ of the chocolate slowly in a bowl over hot water until it reaches 55°C.
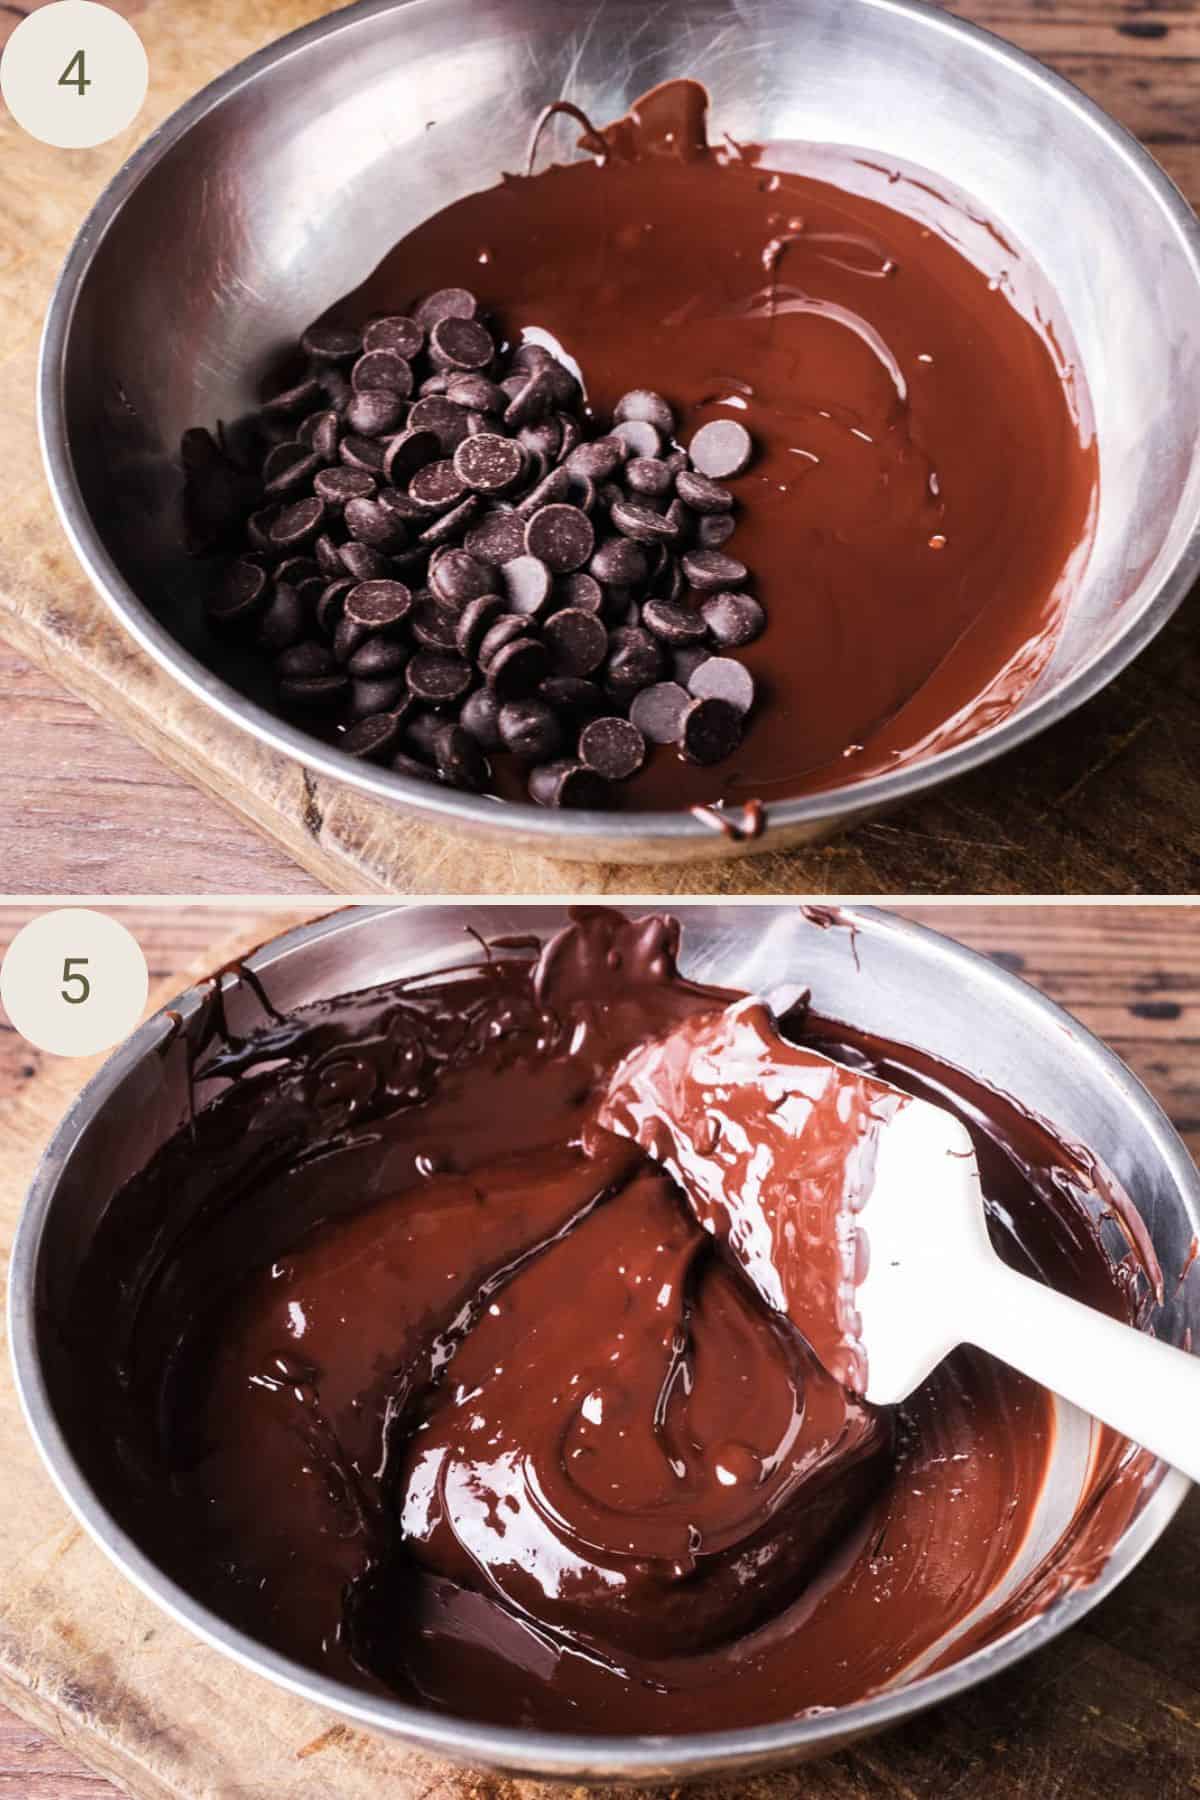
Remove from heat, place on a tea towel, and add the ⅓ chocolate seed, stirring until it drops to 27-28°C.
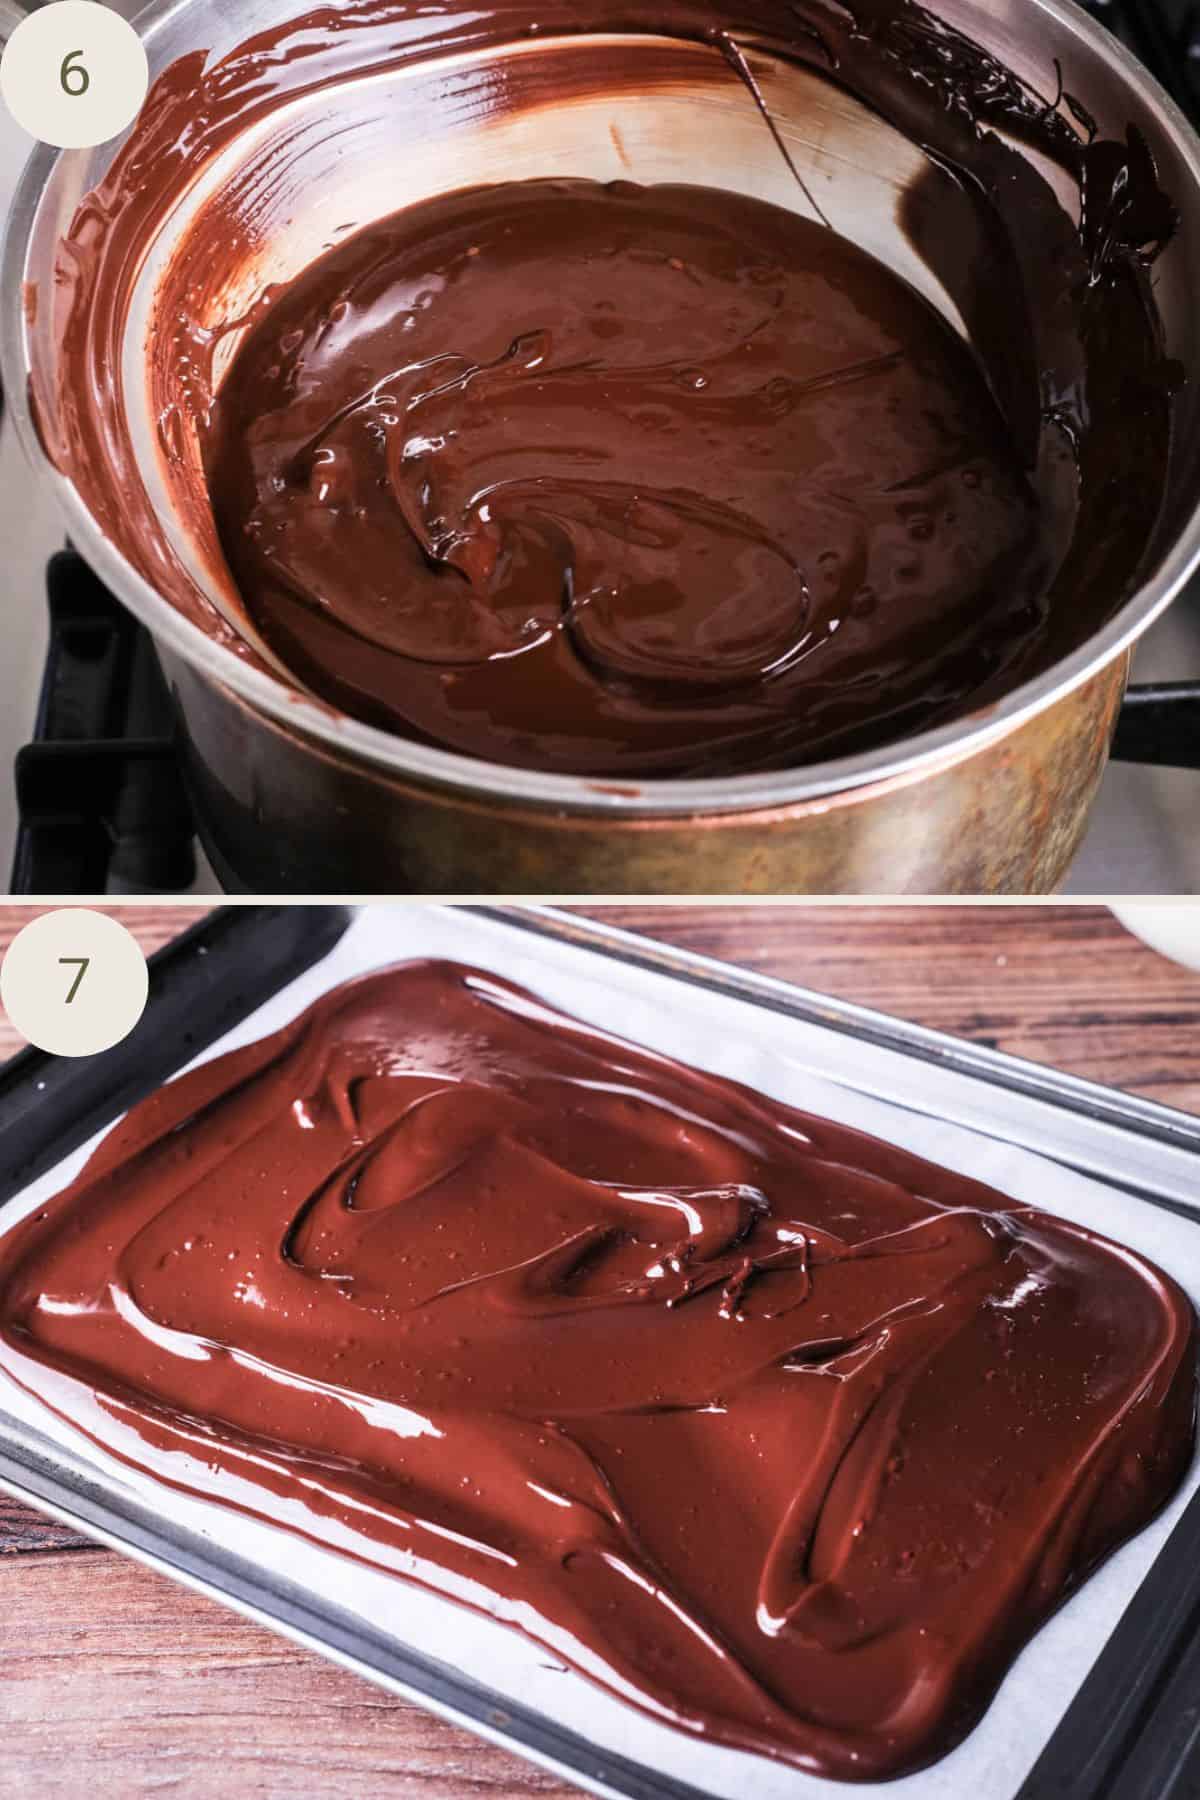
Place the bowl back on heat, bring it up to 31-32°C quickly. Your chocolate is now tempered and ready to use.
Tempering Different Kinds of Chocolate
Different types of chocolate will require alternative temperatures. This is due to the variation of cocoa solids, sugar and milk solids in the chocolate which means the composition and melting points are different. Here is a breakdown of the specific temperatures required for tempering each chocolate type.
| Melt Temperature | Cooling Temperature | Working (Tempered) Temperature | |
| Dark Chocolate | 55°C (131°F) | 27-28°C (80-82°F) | 31-32°C (88-89°F) |
| Milk Chocolate | 50-55°C (122-131°F) | 26-27°C (79-80°F) | 29-30°C (84-86°F) |
| White Chocolate | 50°C (122°F) | 27-28°C (80-82°F) | 29-30°C (84-86°F) |

Tips and Troubleshooting
Good quality chocolate. If you’re going to the trouble of tempering your chocolate then you’ll achieve much better results if you start off with some good quality chocolate.
Temperature measuring. Always measure your chocolate in the centre of the bowl. Maintain 31-32°C during use; work swiftly to avoid losing temper. If temperature exceeds 31-32°C, start over by raising it to 55°C.
Overheating. You can fix overheated chocolate by gradually cooling it and stirring to bring it back the correct temperature you need. It may not have the same perfect results as before though.
Seizing. If your chocolate is looking oily and grainy that means it has seized. Try adding more tempered seed chocolate into the melted chocolate, stirring at a gentle heat to try and bring it back together.
Test your chocolate. The best way to test whether your chocolate is in temper is to drizzle just a couple of teaspoons onto baking parchment. If your chocolate has correctly reached temper then it should firm up and look shiny in just a couple of minutes.
Avoid water or moisture. If any water or moisture gets into your chocolate during the melting process it may affect the final results.
Latex gloves. I recommend using latex kitchen gloves when handling melted chocolate as it can be a messy business. Gloves mean there is less temptation to lick all that molten goodness off your fingers and you can concentrate on the task at hand.
Cleaning equipment. I recommend washing your equipment straightaway before the chocolate solidifies.
FAQs
Chocolate bloom is the white streaks that can form if your chocolate has been melted and left to solidify without being tempered. It can also happen if your chocolate has been put in the fridge or left in front of a radiator or in the sun. The shock of a change in temperature means that the structure of the chocolate hasn’t become unstable. It may not look great and will have a soft and dull appearance but it is still safe to eat.
The easiest way to temper chocolate is by using the seeding method. Melt ⅔ of your chocolate in a double boiler or bain marie. Once melted remove from the heat and stir in the final ⅓ of chocolate to lower the temperature. Finally take your chocolate back to the heat to increase just slightly to reach a tempered state.
If you have been tempering chocolate for a while then you will get to know the feel and look of the chocolate at its various stages during the melting process. However, if you are new to tempering chocolate then it’s essential to use a digital themometre to achieve accurate results.
Yes you can temper chocolate in the microwave but this is still just as nuanced as using a double boiler or bain marie to melt your chocolate. You will still need to use the seeded method and a digital thermometer to ensure you are melting and re-heating chocolate to the correct temperature. Personally I think using the microwave is more difficult as it doesn’t allow you as much hands-on control over the process.
You can re-temper chocolate. If the temperature of the chocolate has risen to high or dropped too low during the process then you can begin again.
You can re-temper the chocolate 3-4 times so don’t worry about the amount of chocolate you are melting if you actually only need about half. You can always have a few chocolate projects on the go. Once you are done with the tempering you will usually have some spare melted chocolate left sitting in your bain marie but you can easily spread it out on some baking parchment for some homemade chocolate bark.
Tempered chocolate is best stored in a cool dry place in an airtight container. Do not store chocolate in direct sunlight, fluctuating temperature or the refrigerator otherwise it will drop out of temper and start to bloom.
Plain tempered chocolate (i.e. not chocolate that’s been turned into truffles etc.) can be stored for 3-6 months in an airtight container in a cool dark place.

How Can You Use Tempered Chocolate
For most home uses you’ll not need tempered chocolate. However, it really comes into its own and is a useful skill to have up your sleeve for these uses:
- Making homemade moulded chocolate and Easter eggs.
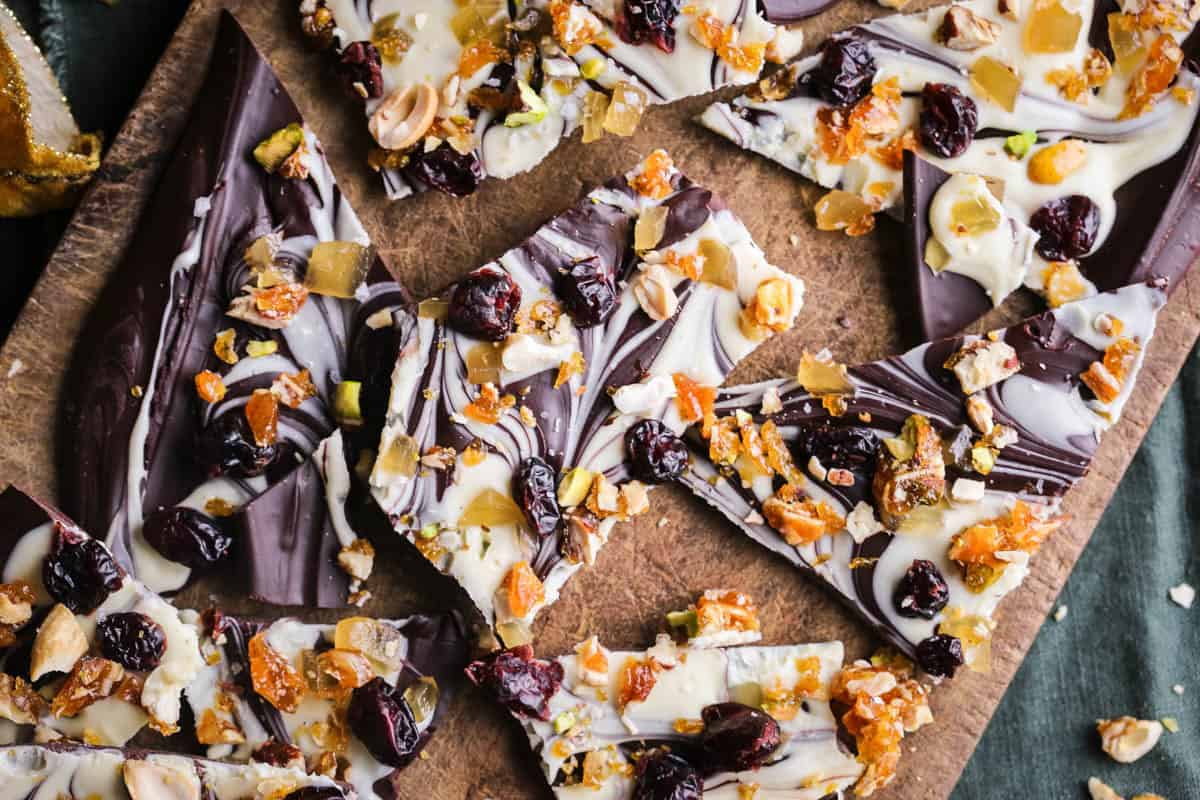
- Chocolate gifts that look professional, like chocolate bark.
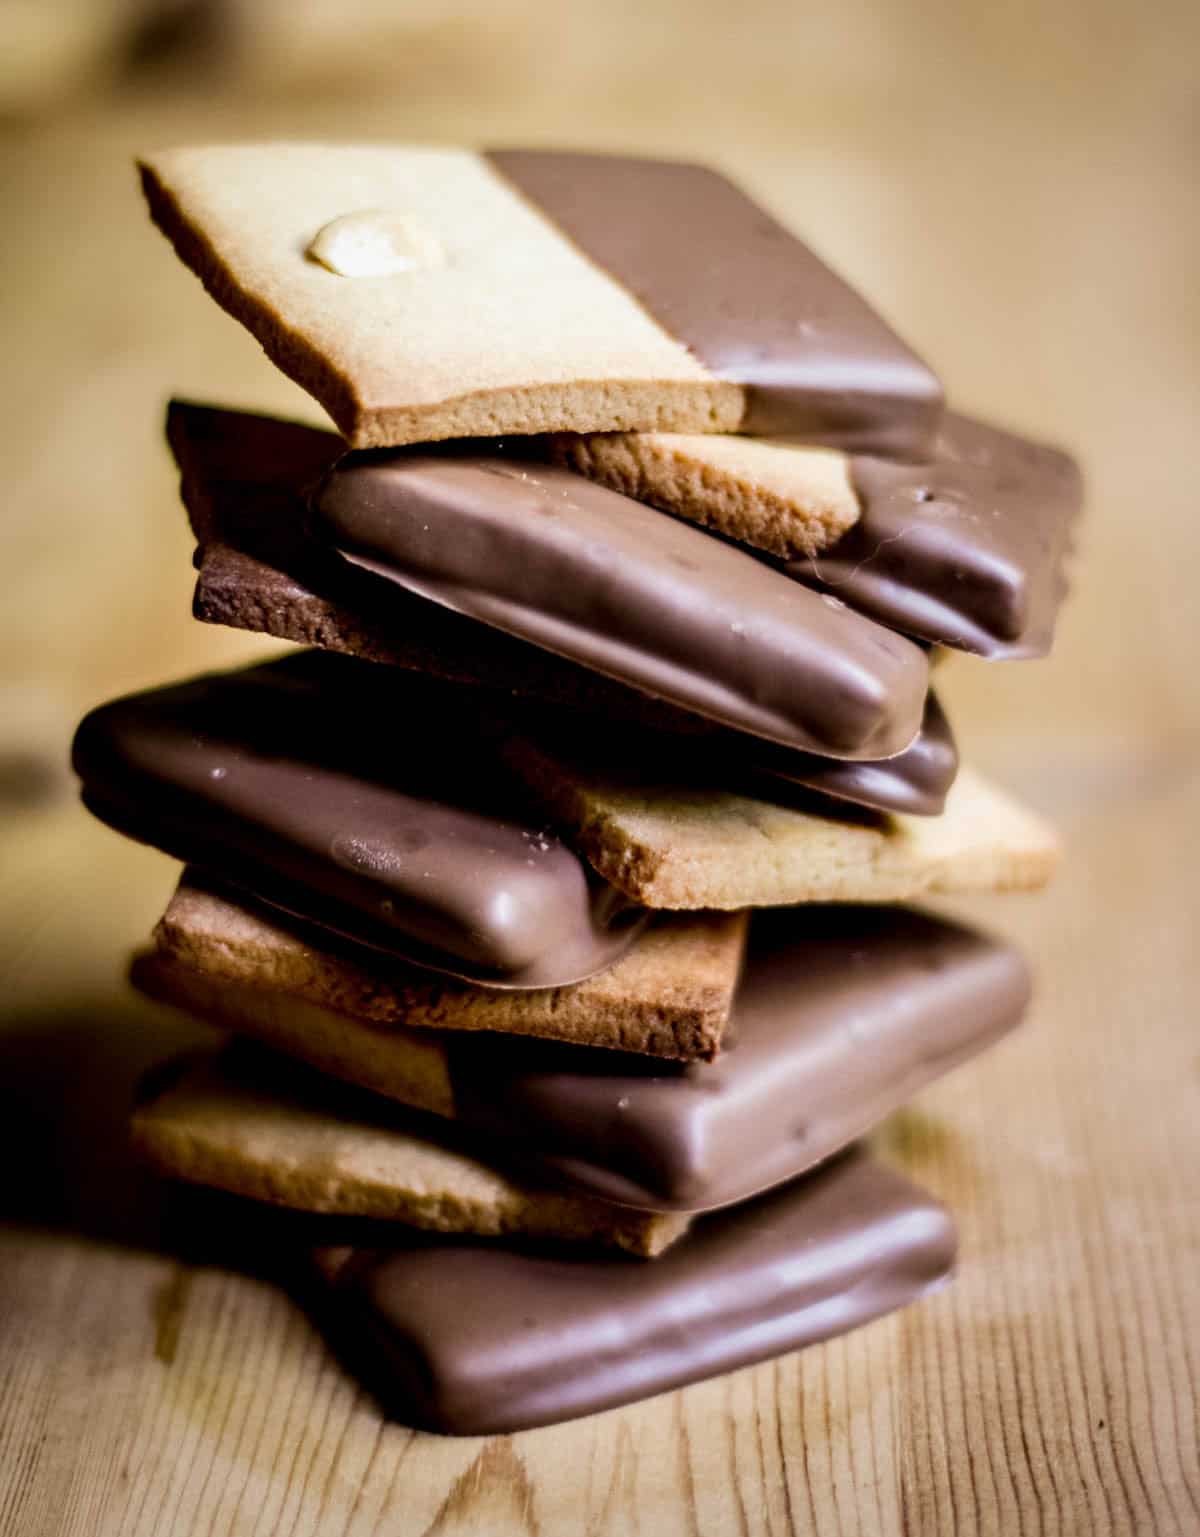
- Dipping biscuits, ice creams, candied fruit.
- Decorating cakes like producing chocolate cages or shards.
Leftover Chocolate
You might find you have some leftover chocolate, especially if you are making hand filled chocolates. The best use for this is to make some delicious chocolate bark.
If you have some chocolate that you’ve struggled to temper for whatever reason, maybe you were rushing it or it was a particularly hot day in your kitchen then you don’t need to throw it away. If you can’t begin again (which you can do) then you can use the chocolate for the following quick and easy recipes:
- Classic Chocolate Brownies
- Easy Chocolate Ganache (and make some cocoa dusted truffles)
- Chocolate Mousse
Easy Chocolate Recipes You’ll Love
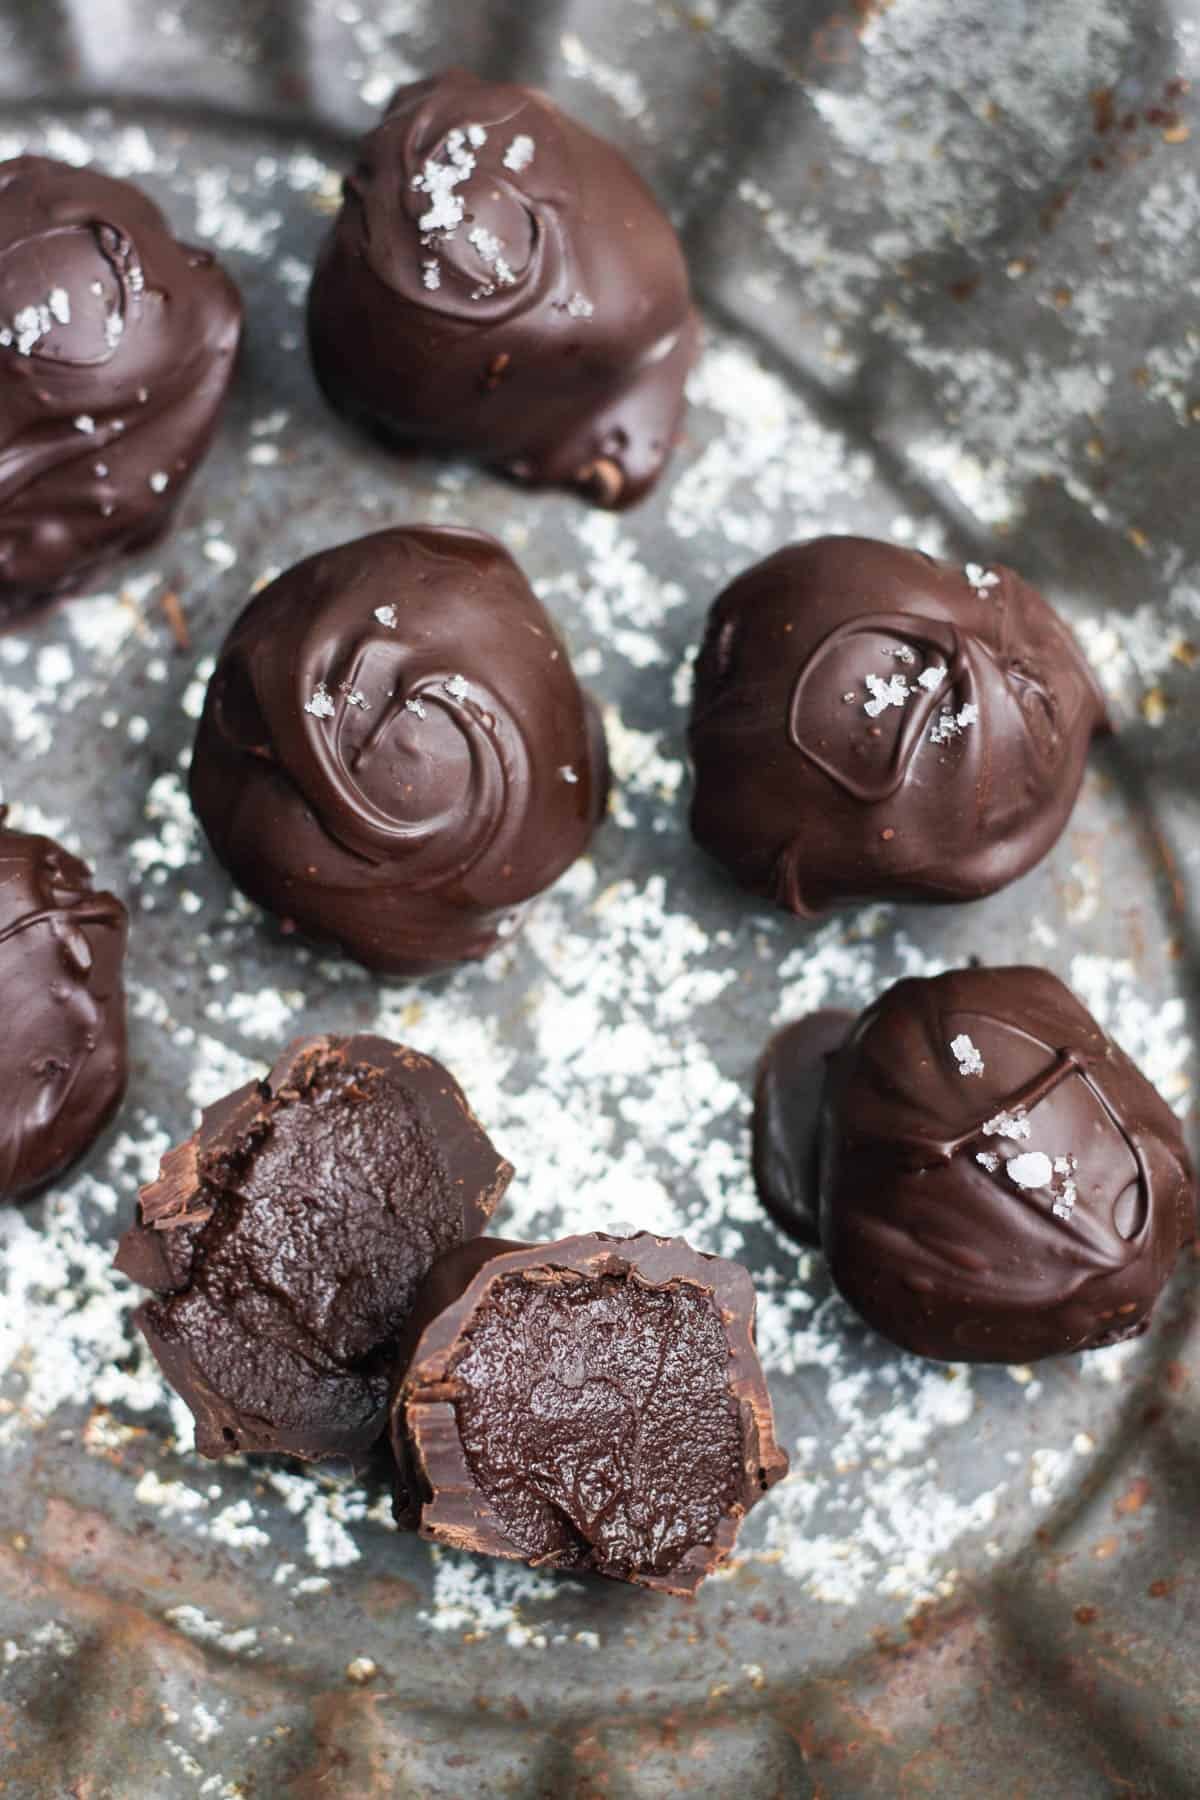
Fleur de Sel Olive Oil Chocolate Truffles are perfect for using with your tempered chocolate. Rich, peppery from the olive oil, flavoured with the most delicate salt and with a crisp chocolate shell coating. –
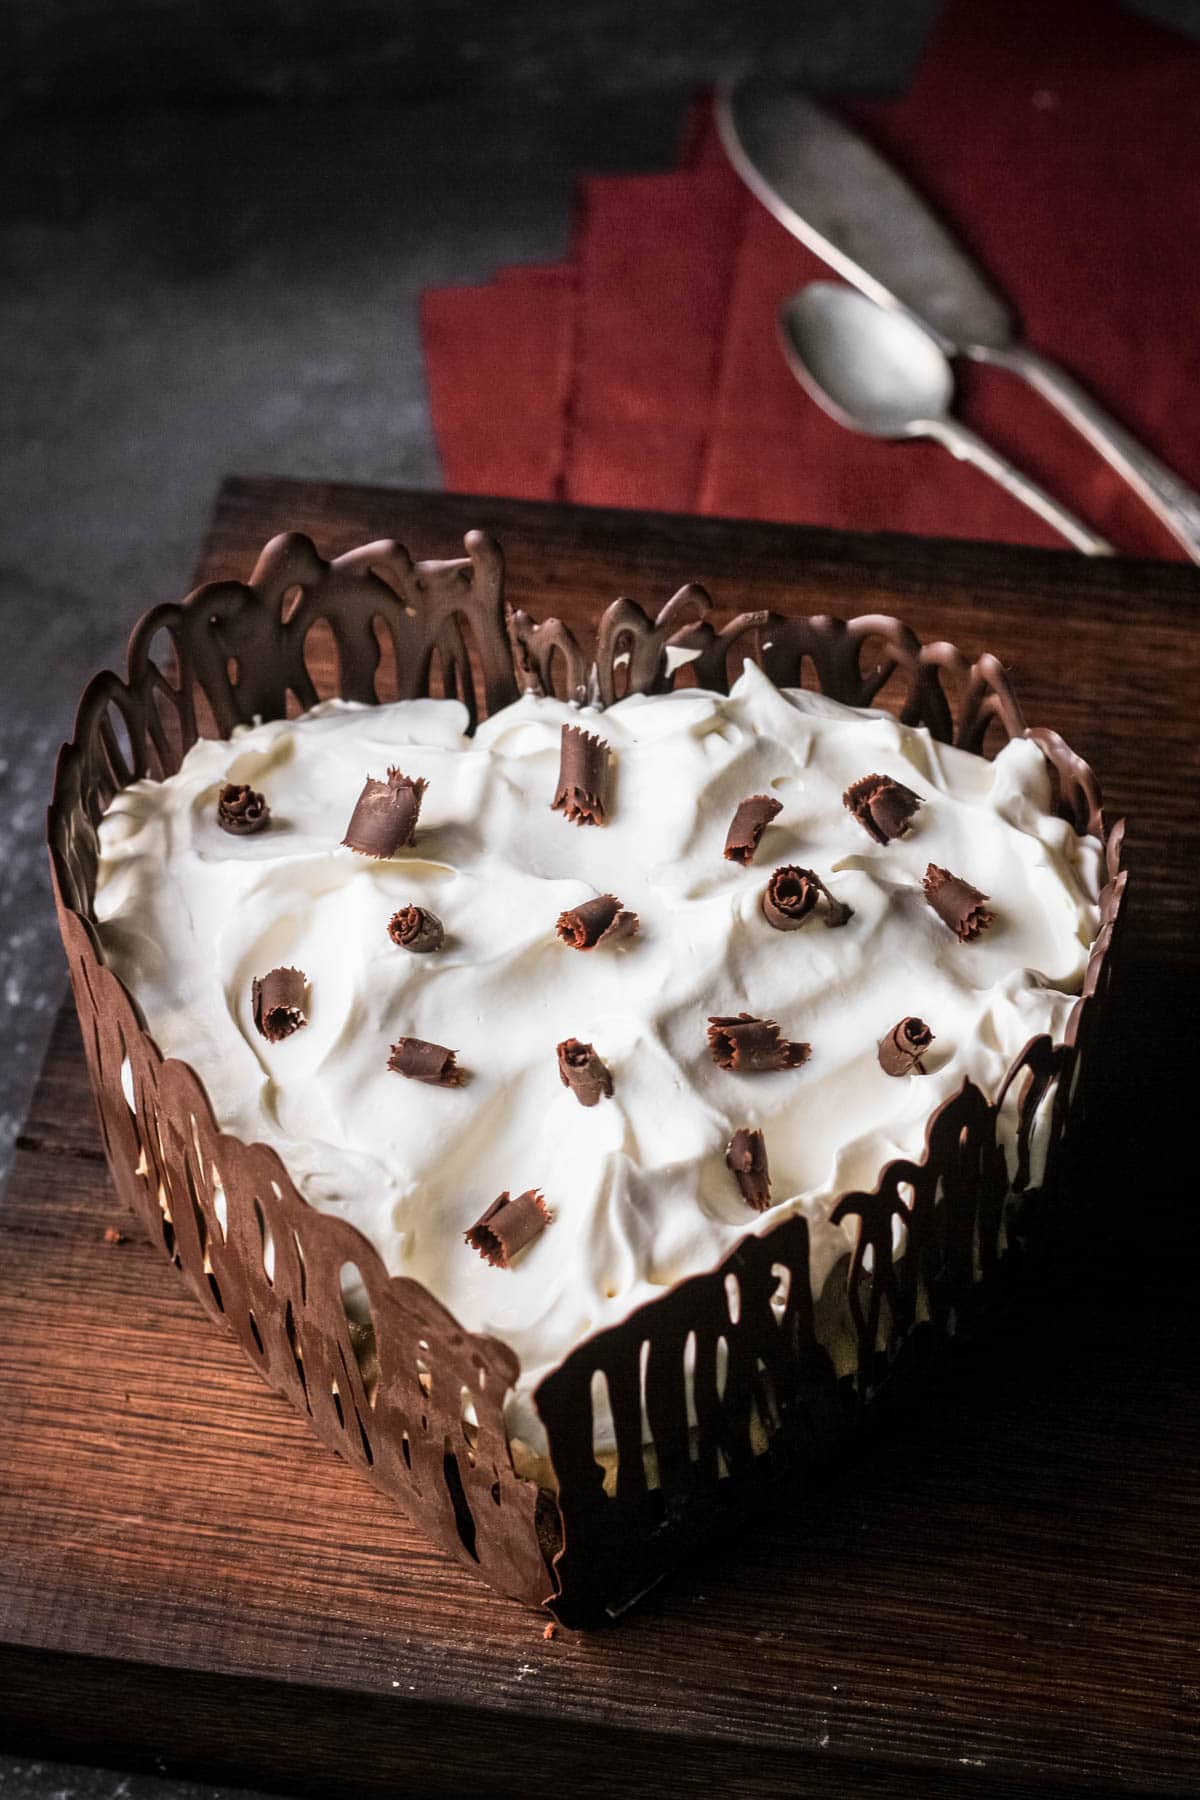
This Flourless Chocolate Cake is an incredible recipe to have up your sleeve and I love to serve it when I have guests coming over as it’s easy to make ahead of time. It suits gluten-free dietary requirements as there is no flour at all and can easily be made with dairy or dairy-free ingredients.
An incredibly easy and heavenly Hot Chocolate Sauce which requires only 5 simple ingredients and less than 5 minutes work. Take your ice cream game to another level with this absolute crowd pleaser.
Enter your email below to get this recipe sent to your inbox plus get new recipes, baking tips, and updates.

How to Temper Chocolate at Home
Ingredients
- 300 grams 70% dark chocolate
Instructions
- Measure out your chocolate, then set aside ⅓ of the chocolate to create the seed.
- Place the first ⅔ of the chocolate in a bain marie, double boiler or a metal bowl set over a saucepan with 1 inch of hot water in it. The water should not be boiling and should not be touching the bottom of the metal bowl.
- Melt the chocolate very slowly, stirring occasionally but always checking the temperature. You want it to reach 55°C (131°F) which is usually just after all the chocolate has melted.
- As soon as the melted chocolate reaches this temperature, remove the metal bowl from the heat and place on a tea towel to halt the heating.
- Tip your ⅓ of chocolate seed into the molten chocolate and stir in very quickly and firmly so that the chocolate melts completely. You need the temperature to reduce to 27-28°C (80-82°F). This could take about 10 minutes of constant stirring. If by this stage your seeded chocolate has not completely melted you need to remove the lumps as these will impair the finished temper of the chocolate.
- As soon as the temperature has dropped to 27-28°C then place the metal bowl back on the heat and bring back up to 31-32°C (88-89°F). It can take just moments so keep stirring with the thermometer at hand to monitor.
- When your chocolate has reached 31-32°C it is now in temper and is ready to use.
- If you are able to keep the chocolate between 31-32°C whilst you are using it then that is ideal. However, if not then you need to work very quickly coating your truffles or filling your moulds otherwise the temperature will drop out of temper. As the chocolate cools it will thicken and become impossible to manipulate.
- If you let your chocolate rise above 31-32°C then you will have over-tempered the chocolate and will need to start again by raising it to 55°C (131°F) and taking it from there.
Notes
- Initial melt: 50-55°C (122-131°F)
- Cooling temp: 26-27°C (79-80°F)
- Working (tempered) temp: 29-30°C (84-86°F)
- Initial melt: 50°C (122°F)
- Cooling temp: 26-27°C (79-80°F)
- Working (tempered) temp: 29-30°C (84-86°F)
